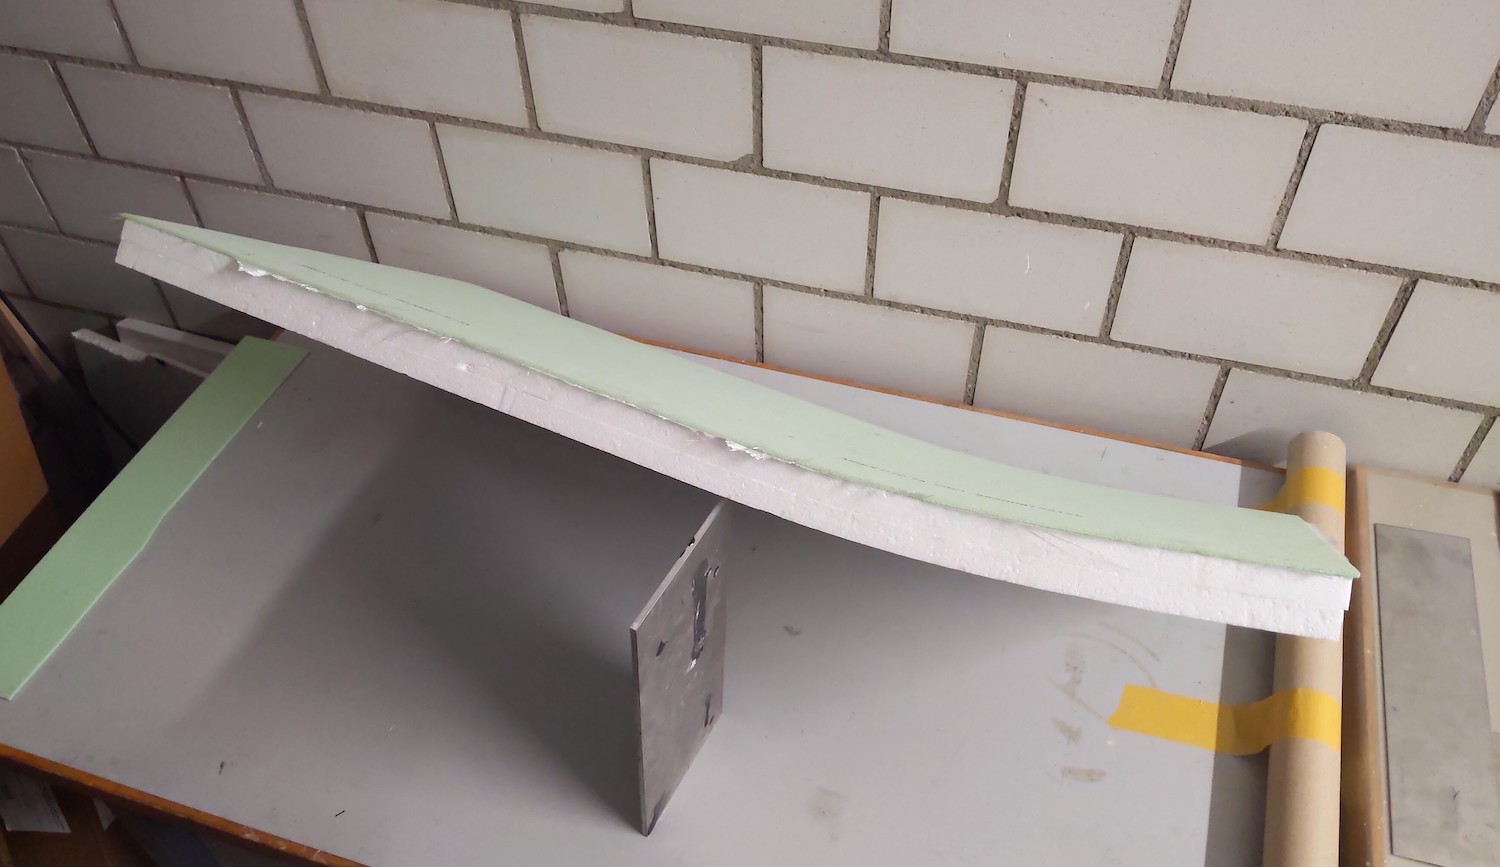
The biggest issue of my previous build, the Balsa Skate, was that it did not have a rocker. This resulted in two problems:
- it felt like pumping needed more energy in comparison to a board with a rocker
- if submerged deep in the water, the board would slowly soar to the surface while drifting away in a random direction. Often it appeared several meters away, which resulted in quite some swimming.
Long story short: Time for a new board with a rocker and this time an EPS - glass - Airex - carbon sandwich construction.
Step 1 - Building the foam core with a rocker
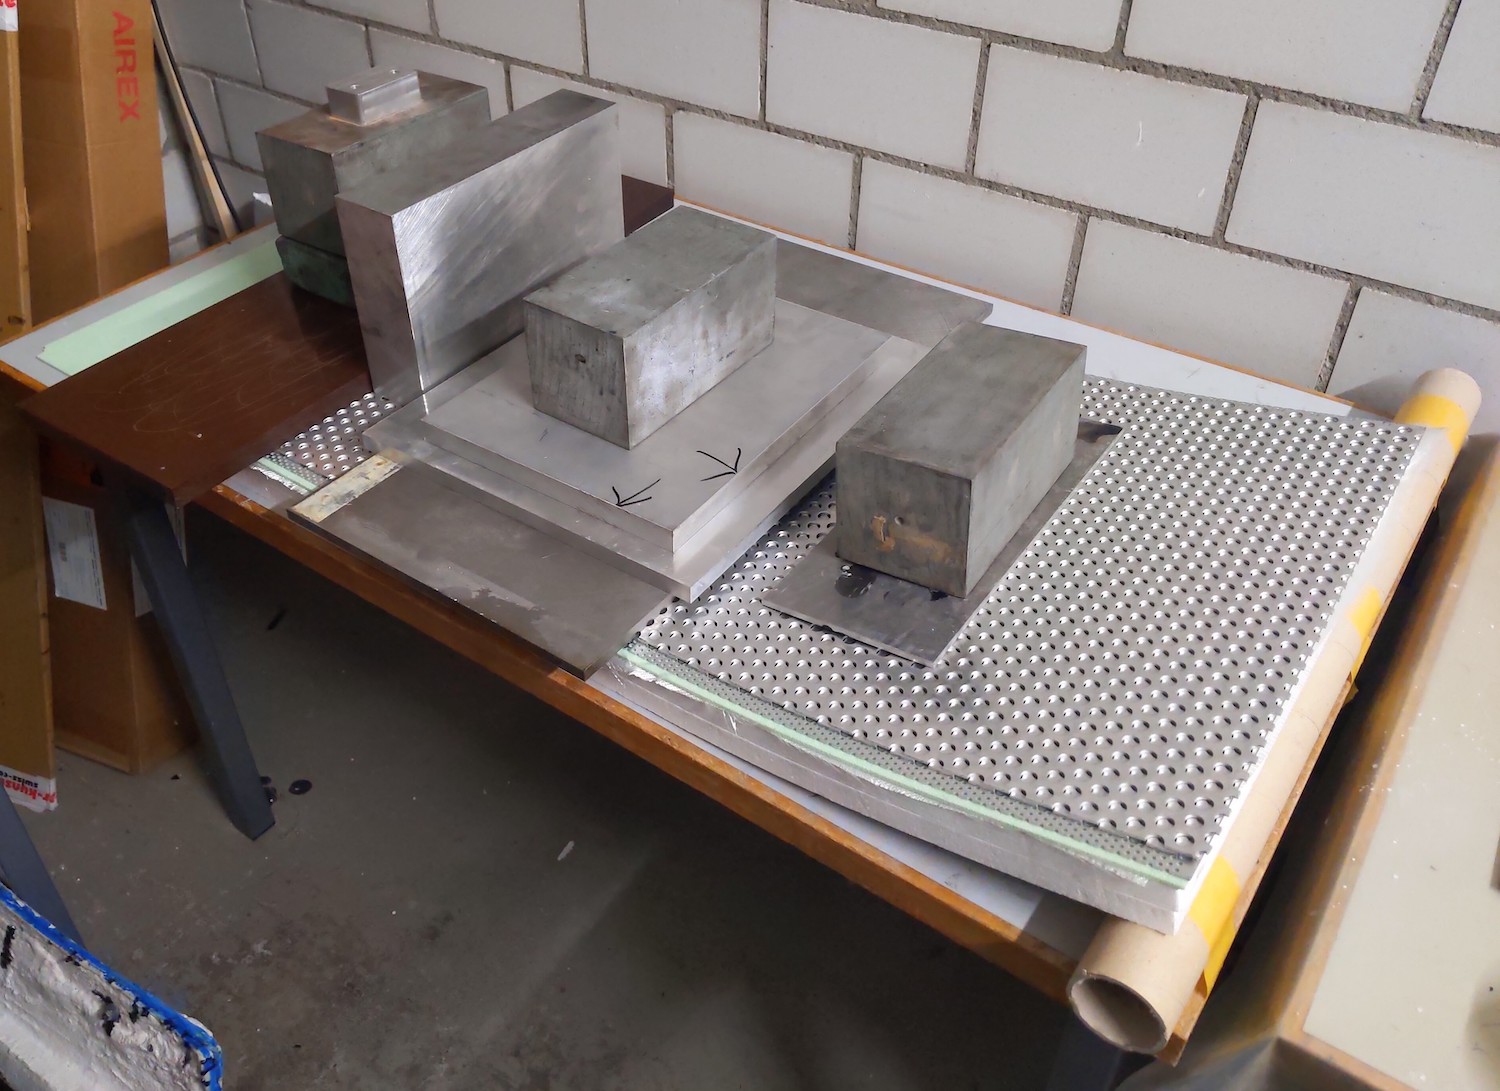
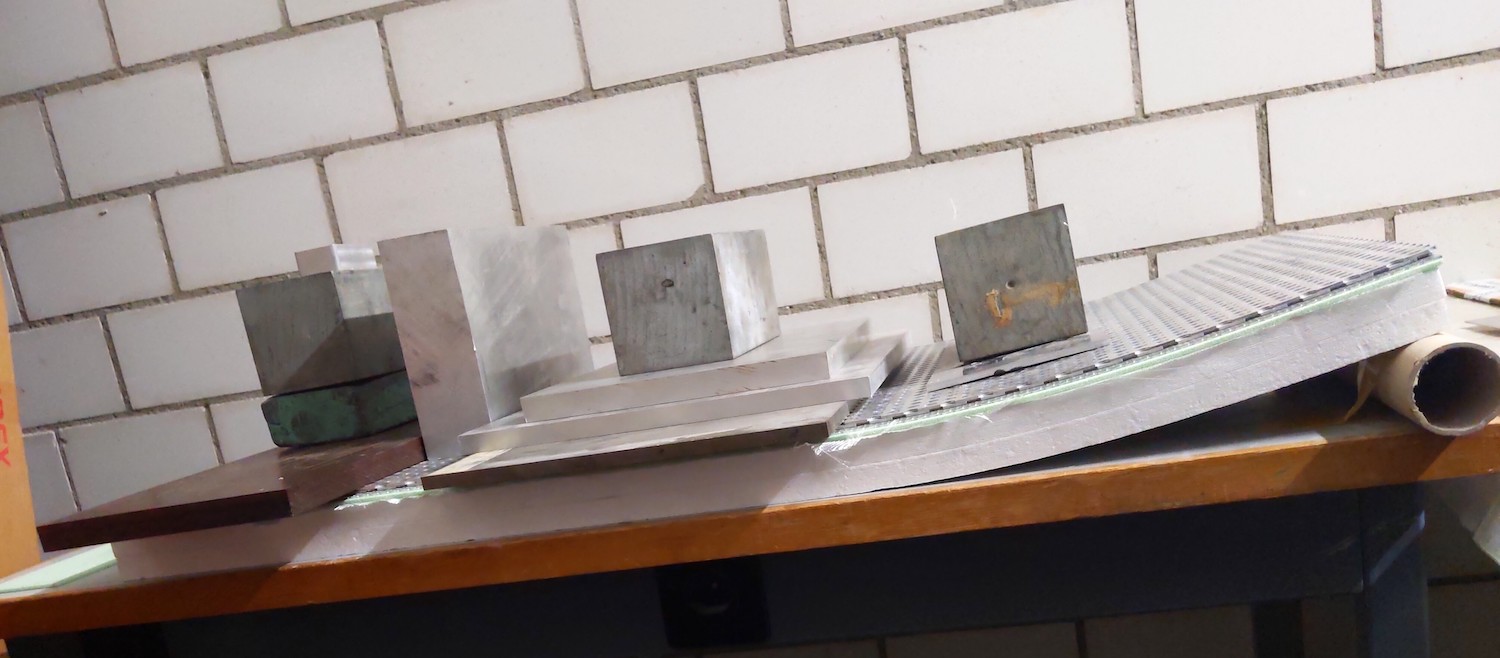
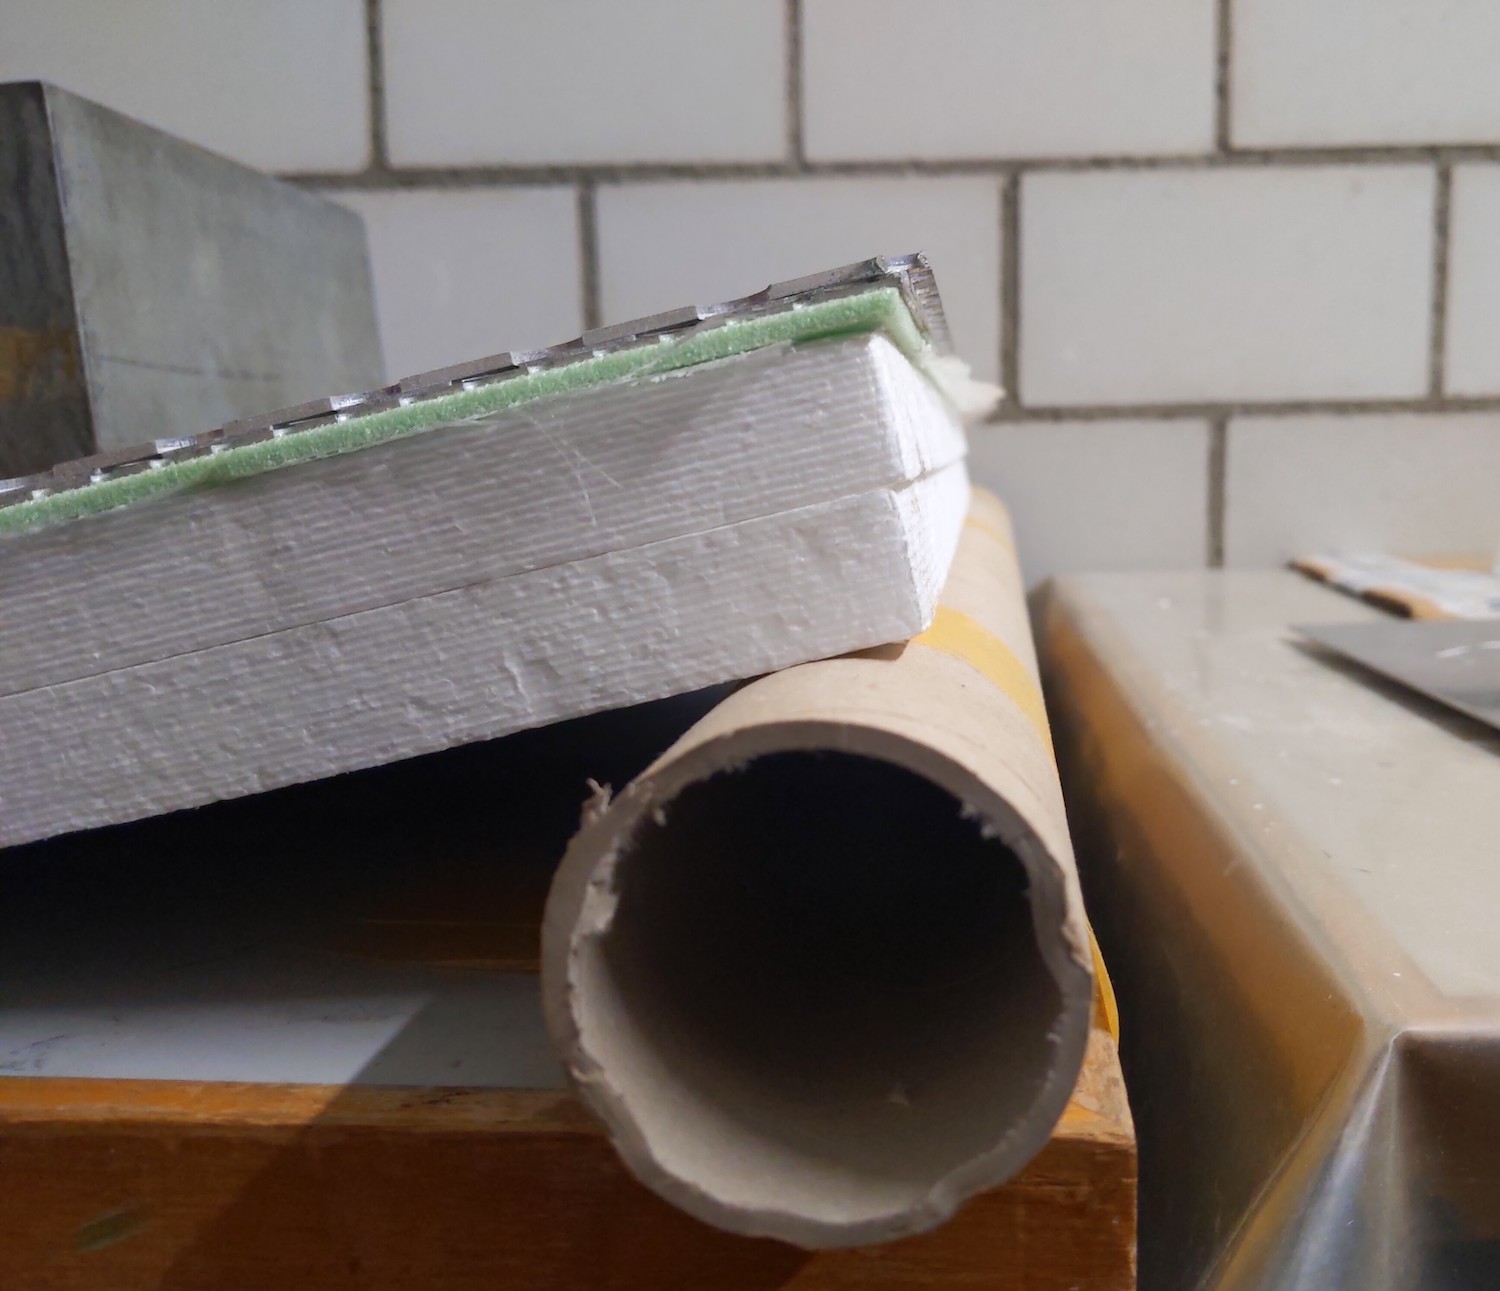
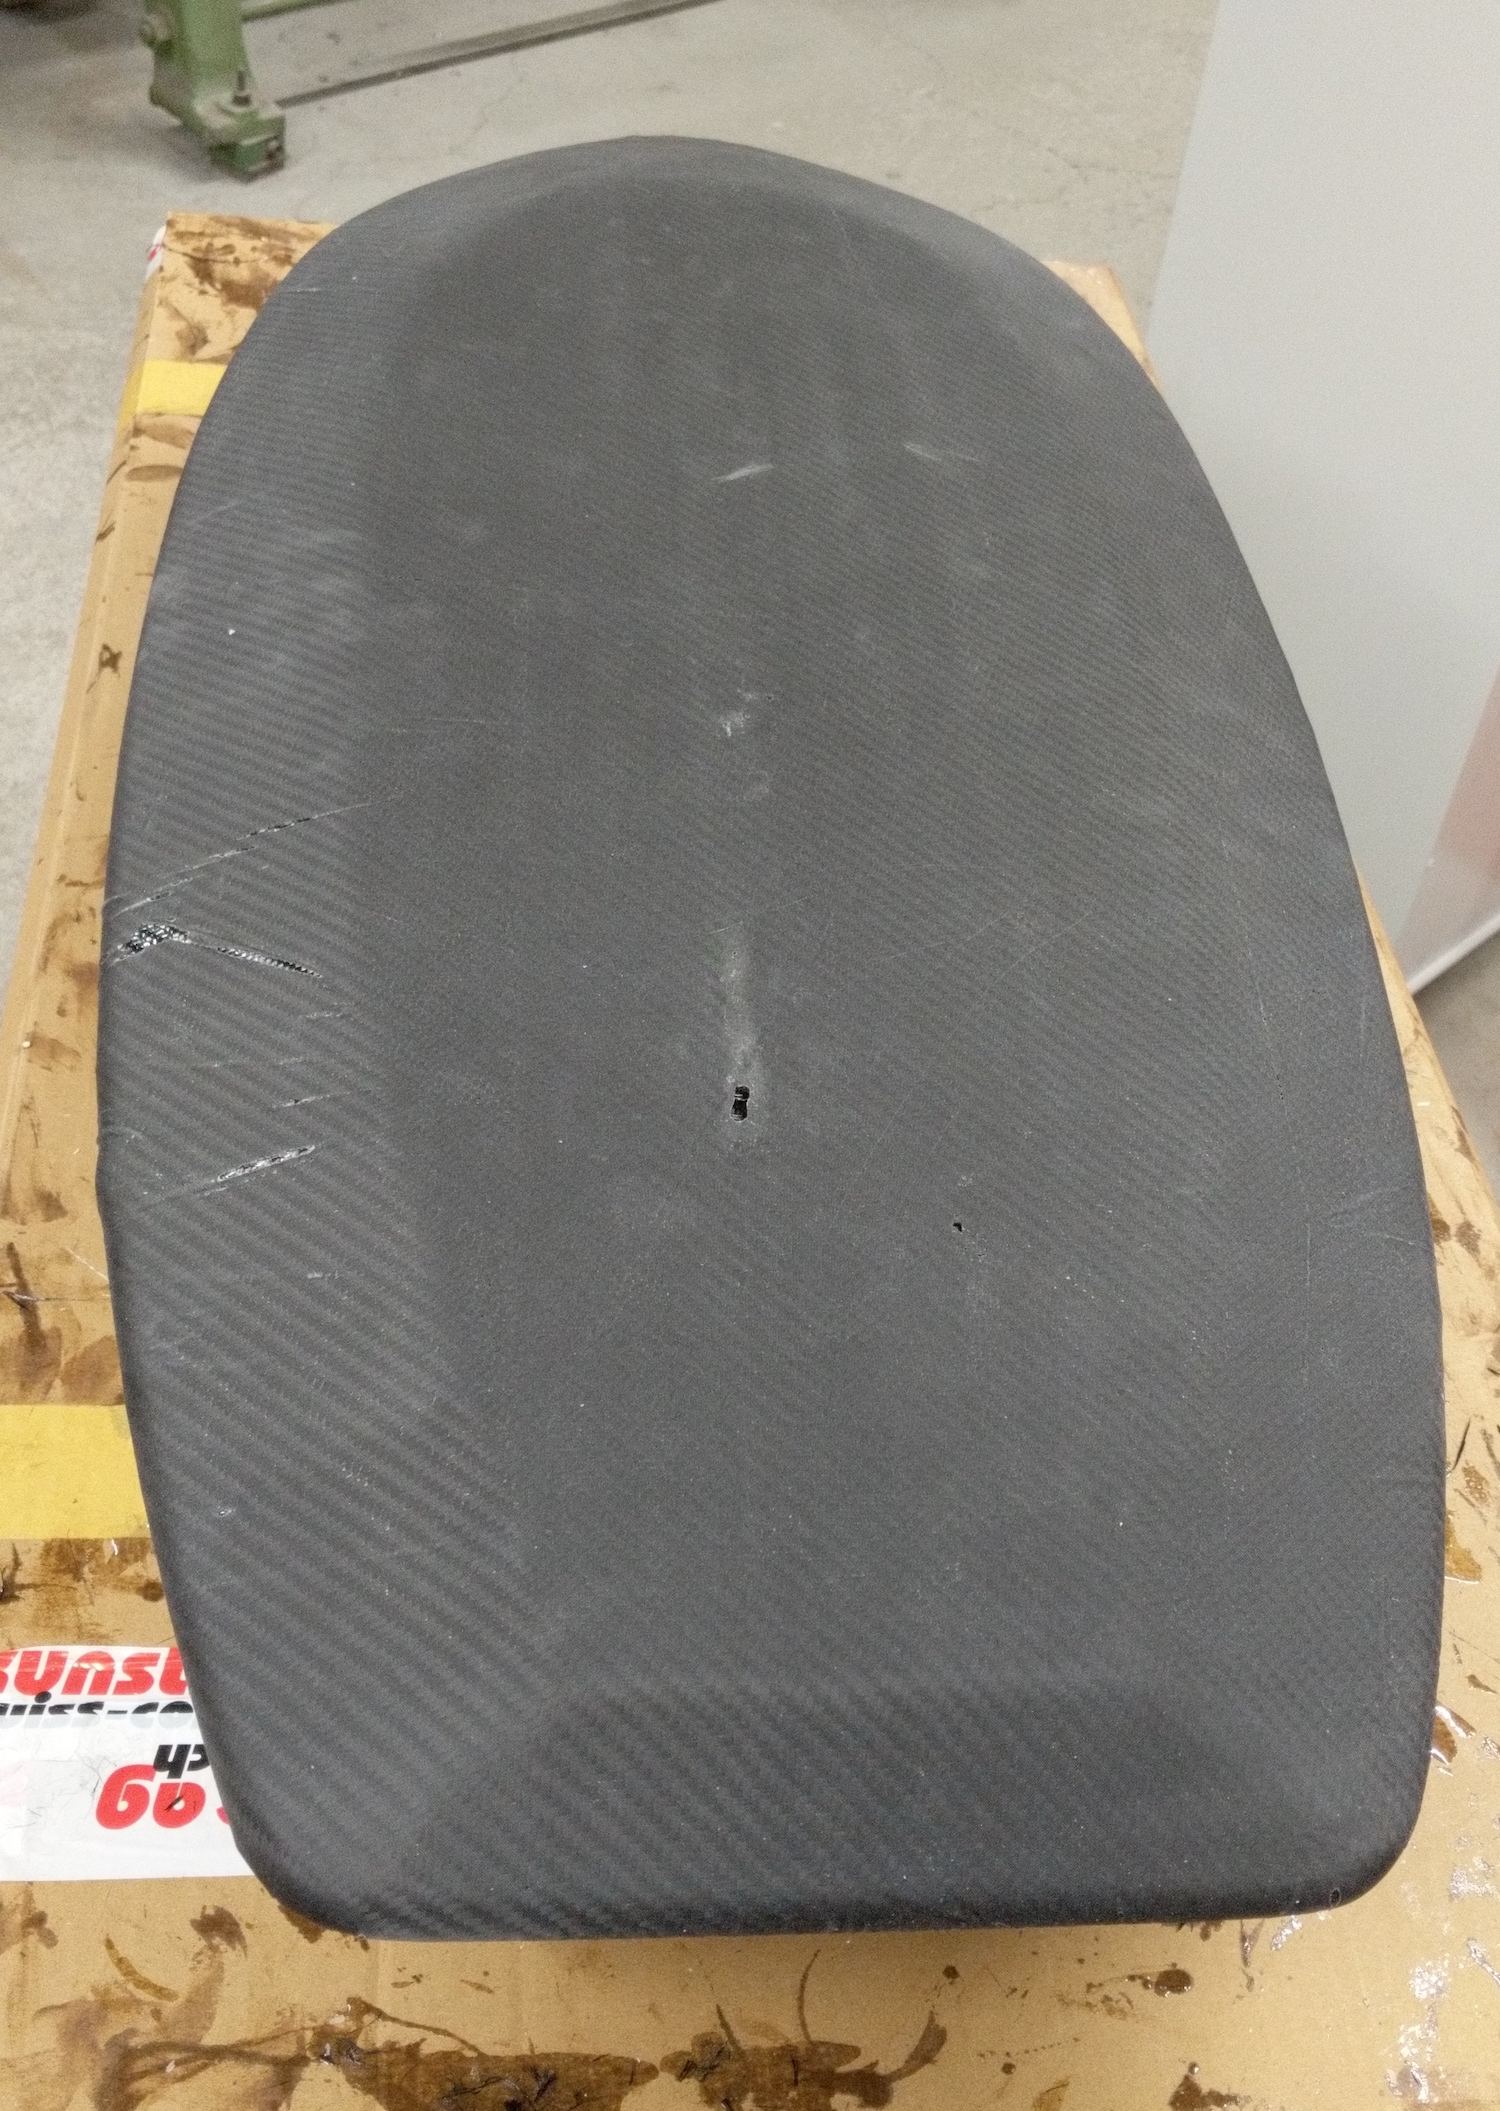
The core of the board was made of two 30 kg/m3 density EPS plates with a thickness of 20 mm (thanks Kal!). On top of that, a layer of 120 g/m2 glass and a 3 mm layer of Airex C70.75 for the deck. All of these parts were glued together with a 50:50 mixture of epoxy and microballons and cured in a vacuum bag. Unfortunately there are no images of this step left, which is why the pictures below show a similar build without vacuum which works just as well.
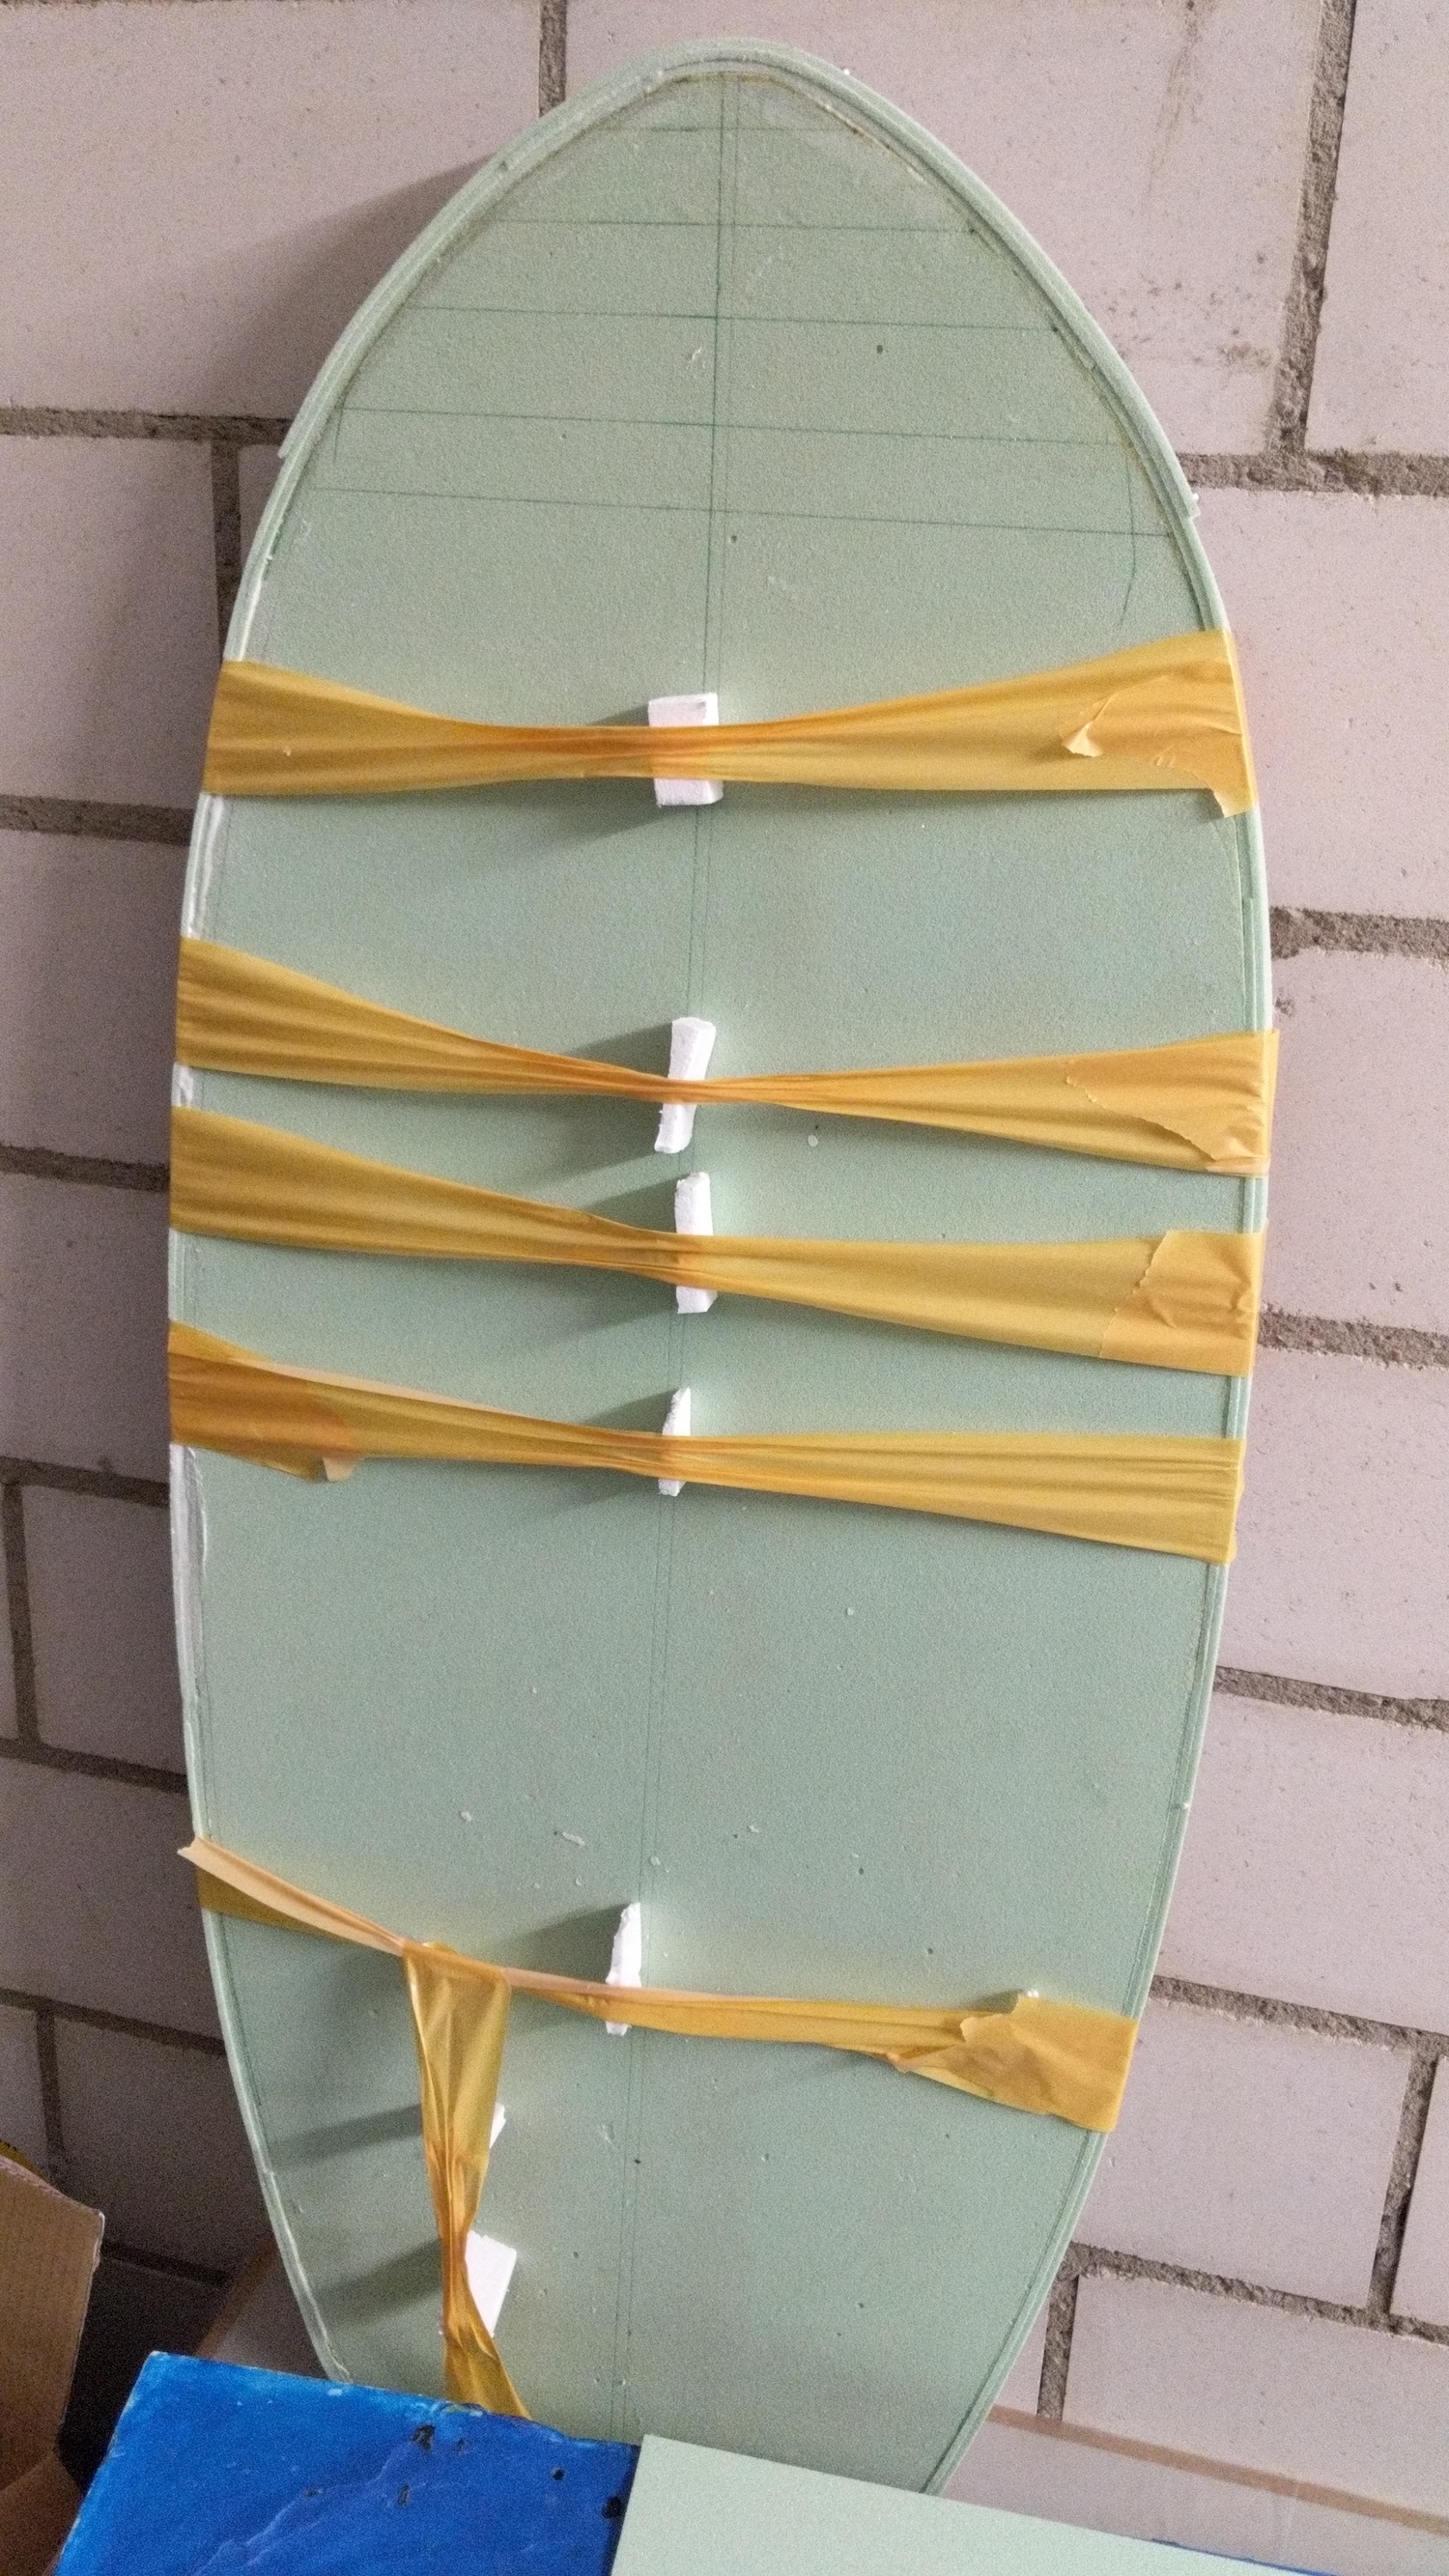
A lot of weight was needed to press the Airex onto the EPS. And this did not even come close to the pressure under vacuum (0.1 bar below atmosphere vacuum is equivalent to ~100 g/cm2 pressure - this would result in an equivalent of 500 kg for the 0.5 m x 1 m EPS sheet in the picture!). Thus vacuum will definitely clench the layers harder (probably) resulting in better adhesion but if you don't have a vacuum pump just make sure to add enough weight.
After the epoxy was cured, this was the result.
Step2 - Adding stringers
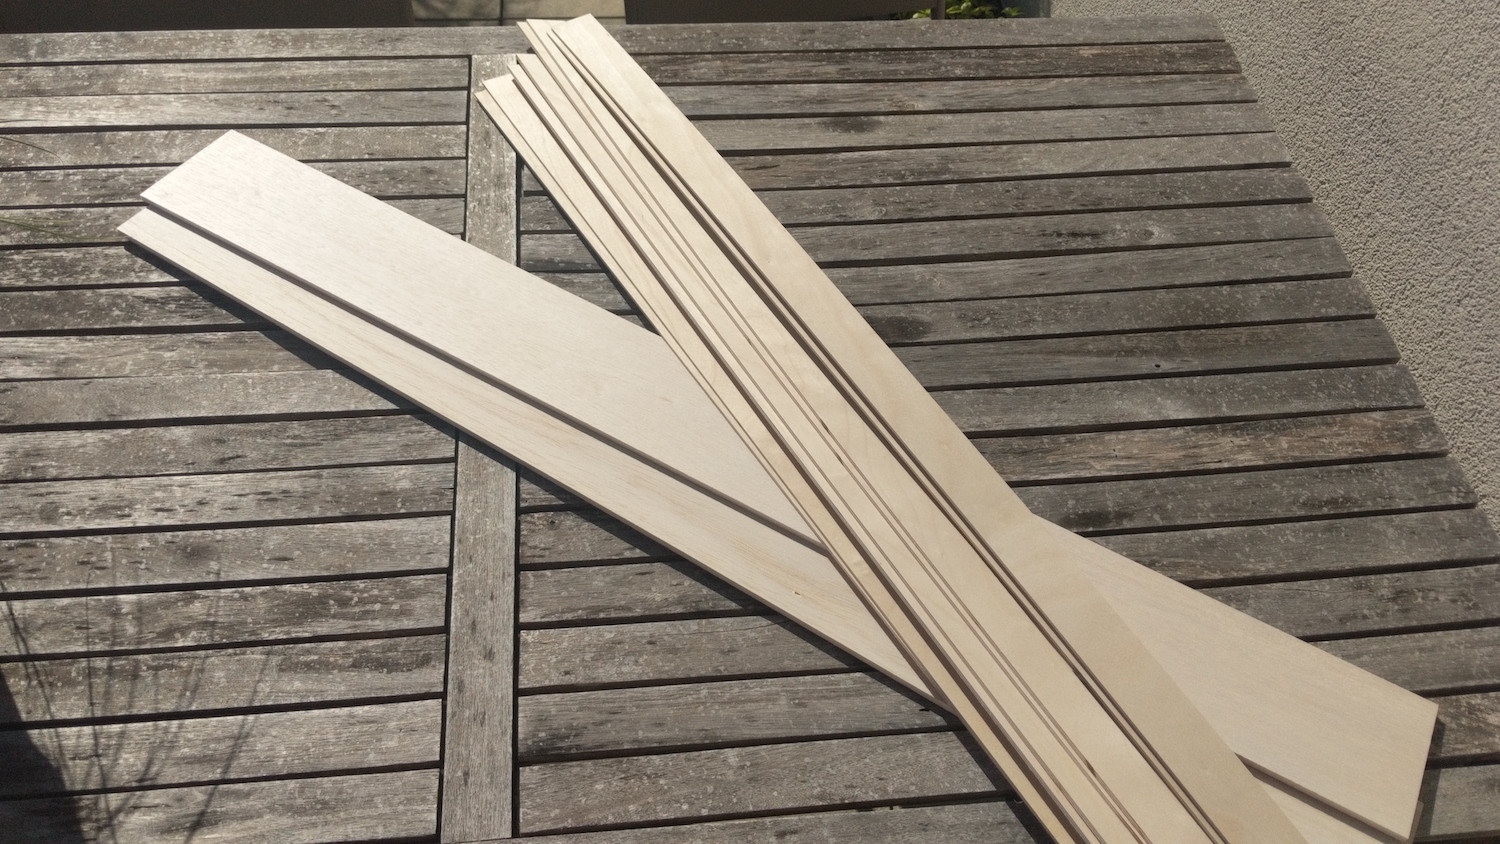
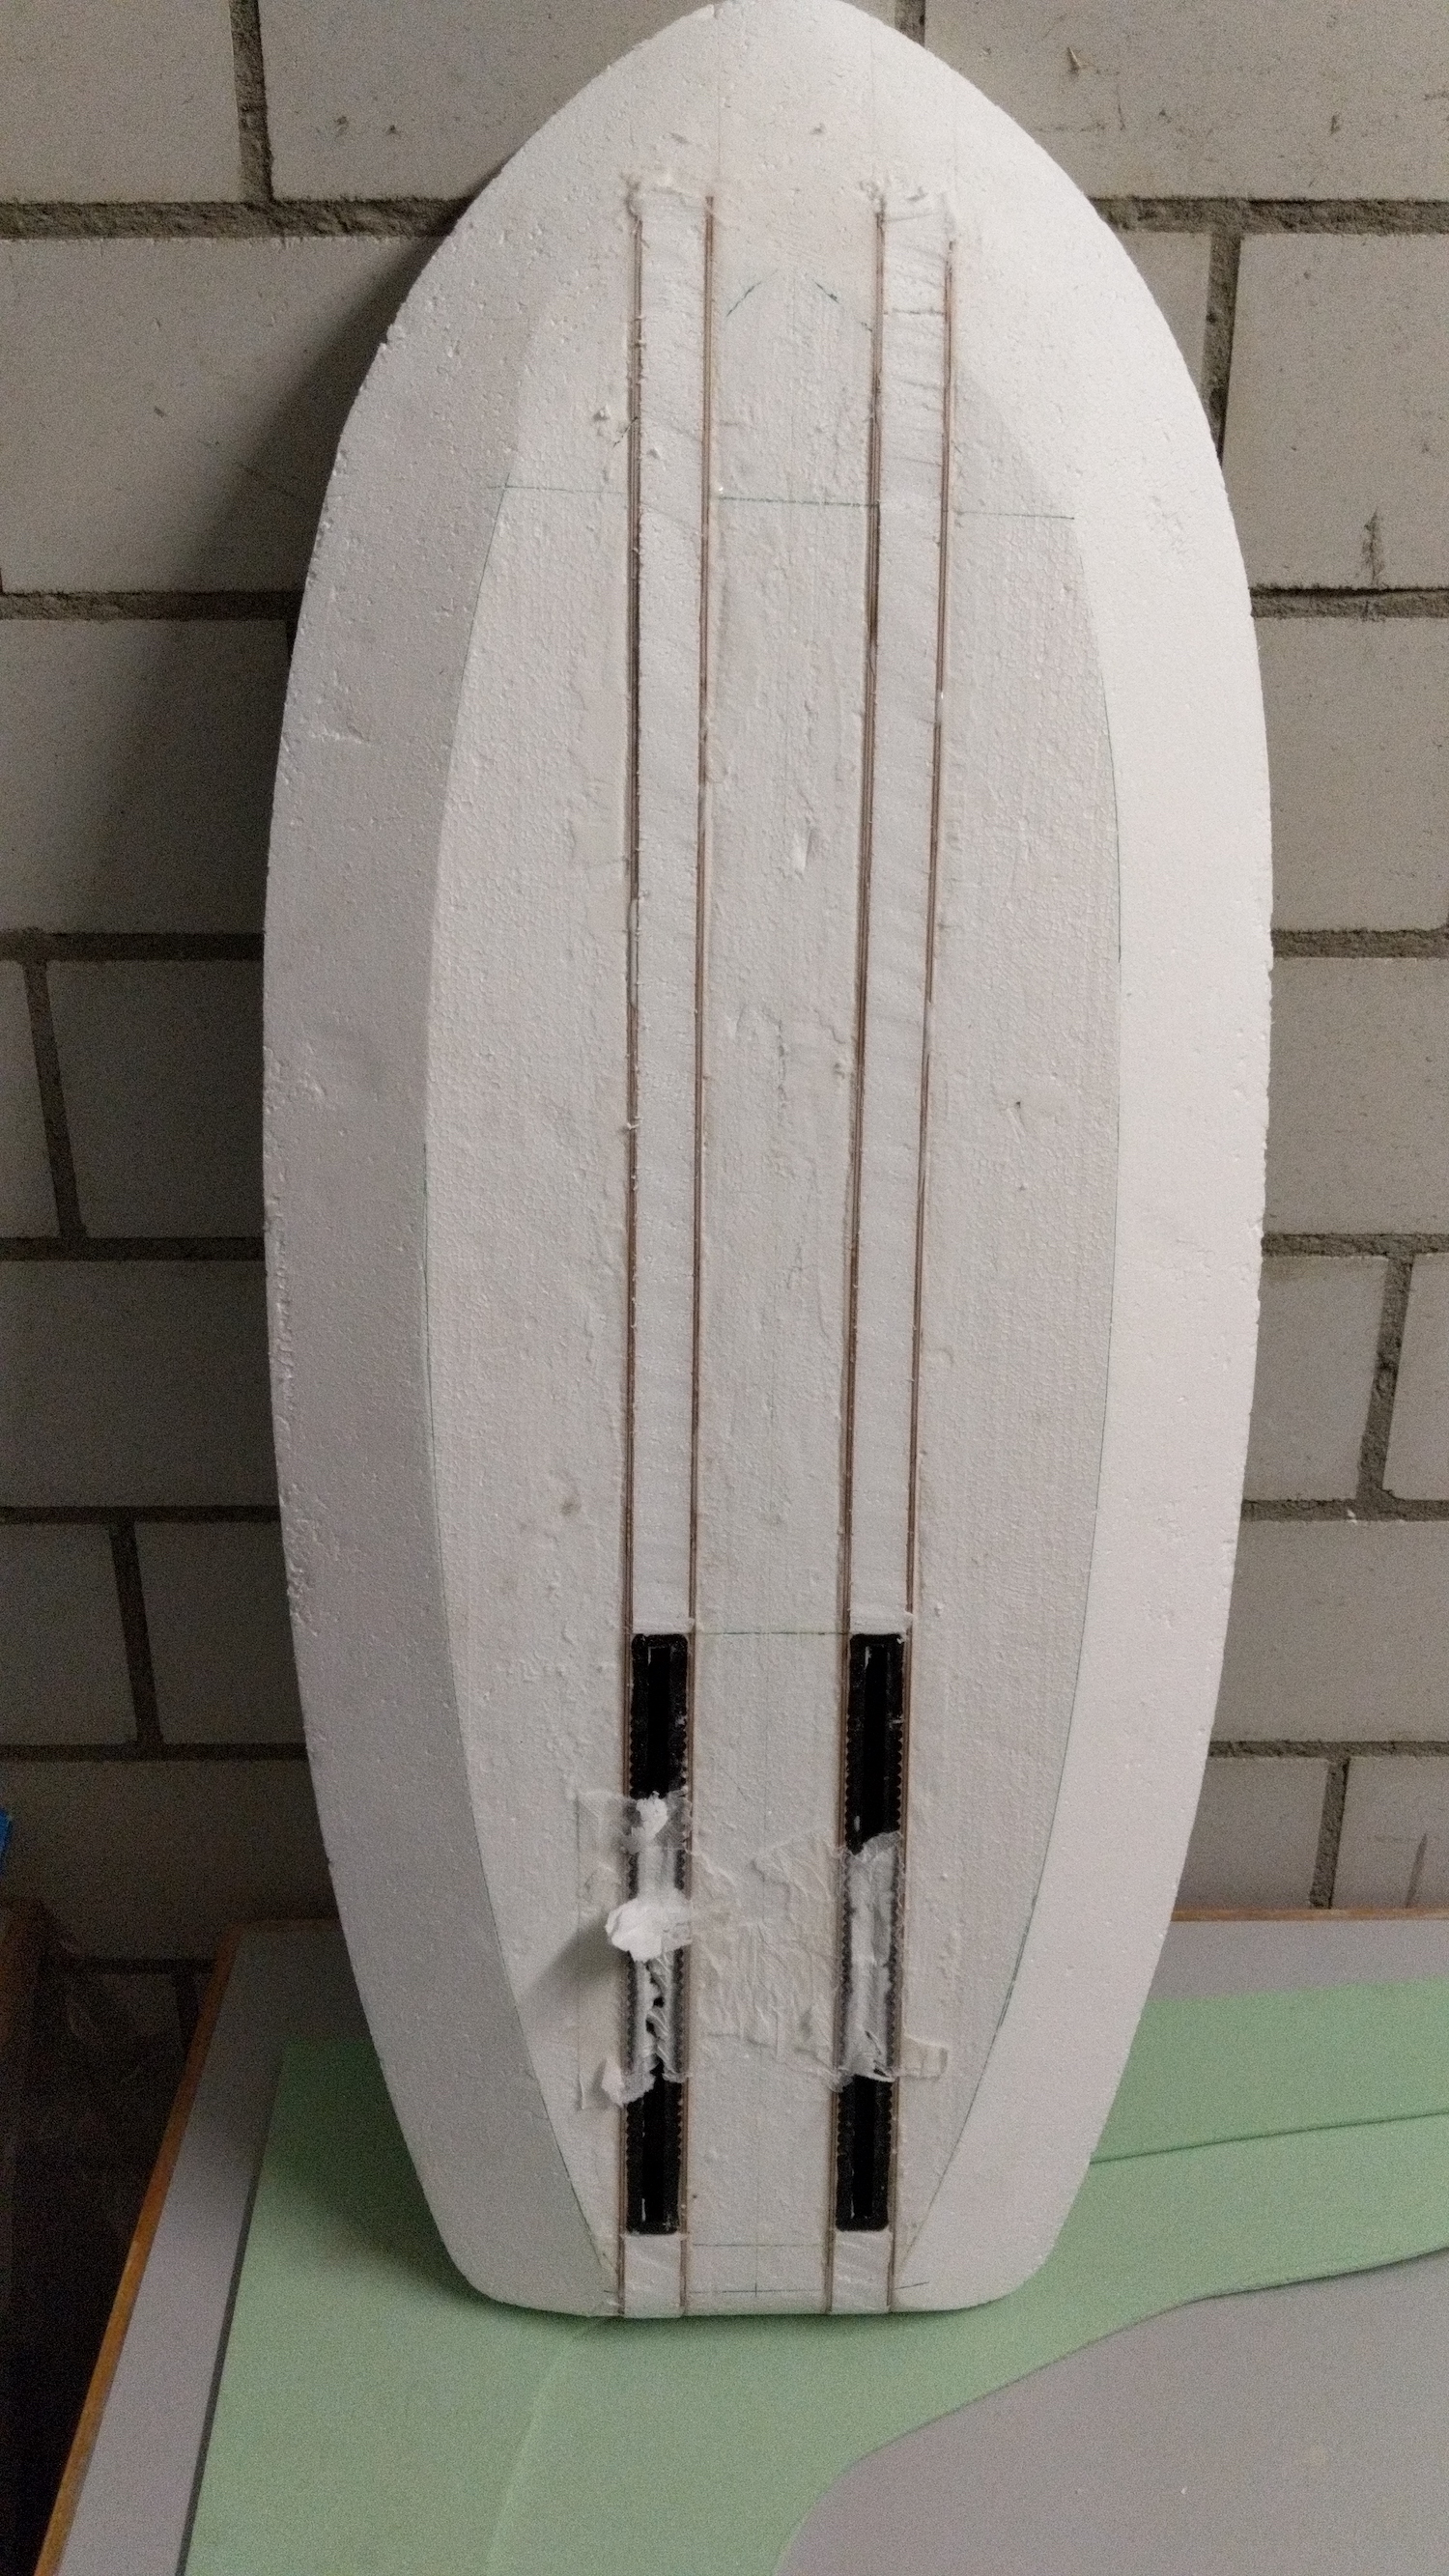
There are many ways to increase the bending strength of a board, wooden plywood stringers are one of them. They are dirt cheap (you can get them from e.g. balsa.ch in Switzerland), easy to process and extremely effective. The only downside is that they might soak water if you have a leak, but you can mitigate that risk by covering them in a thin layer of epoxy.
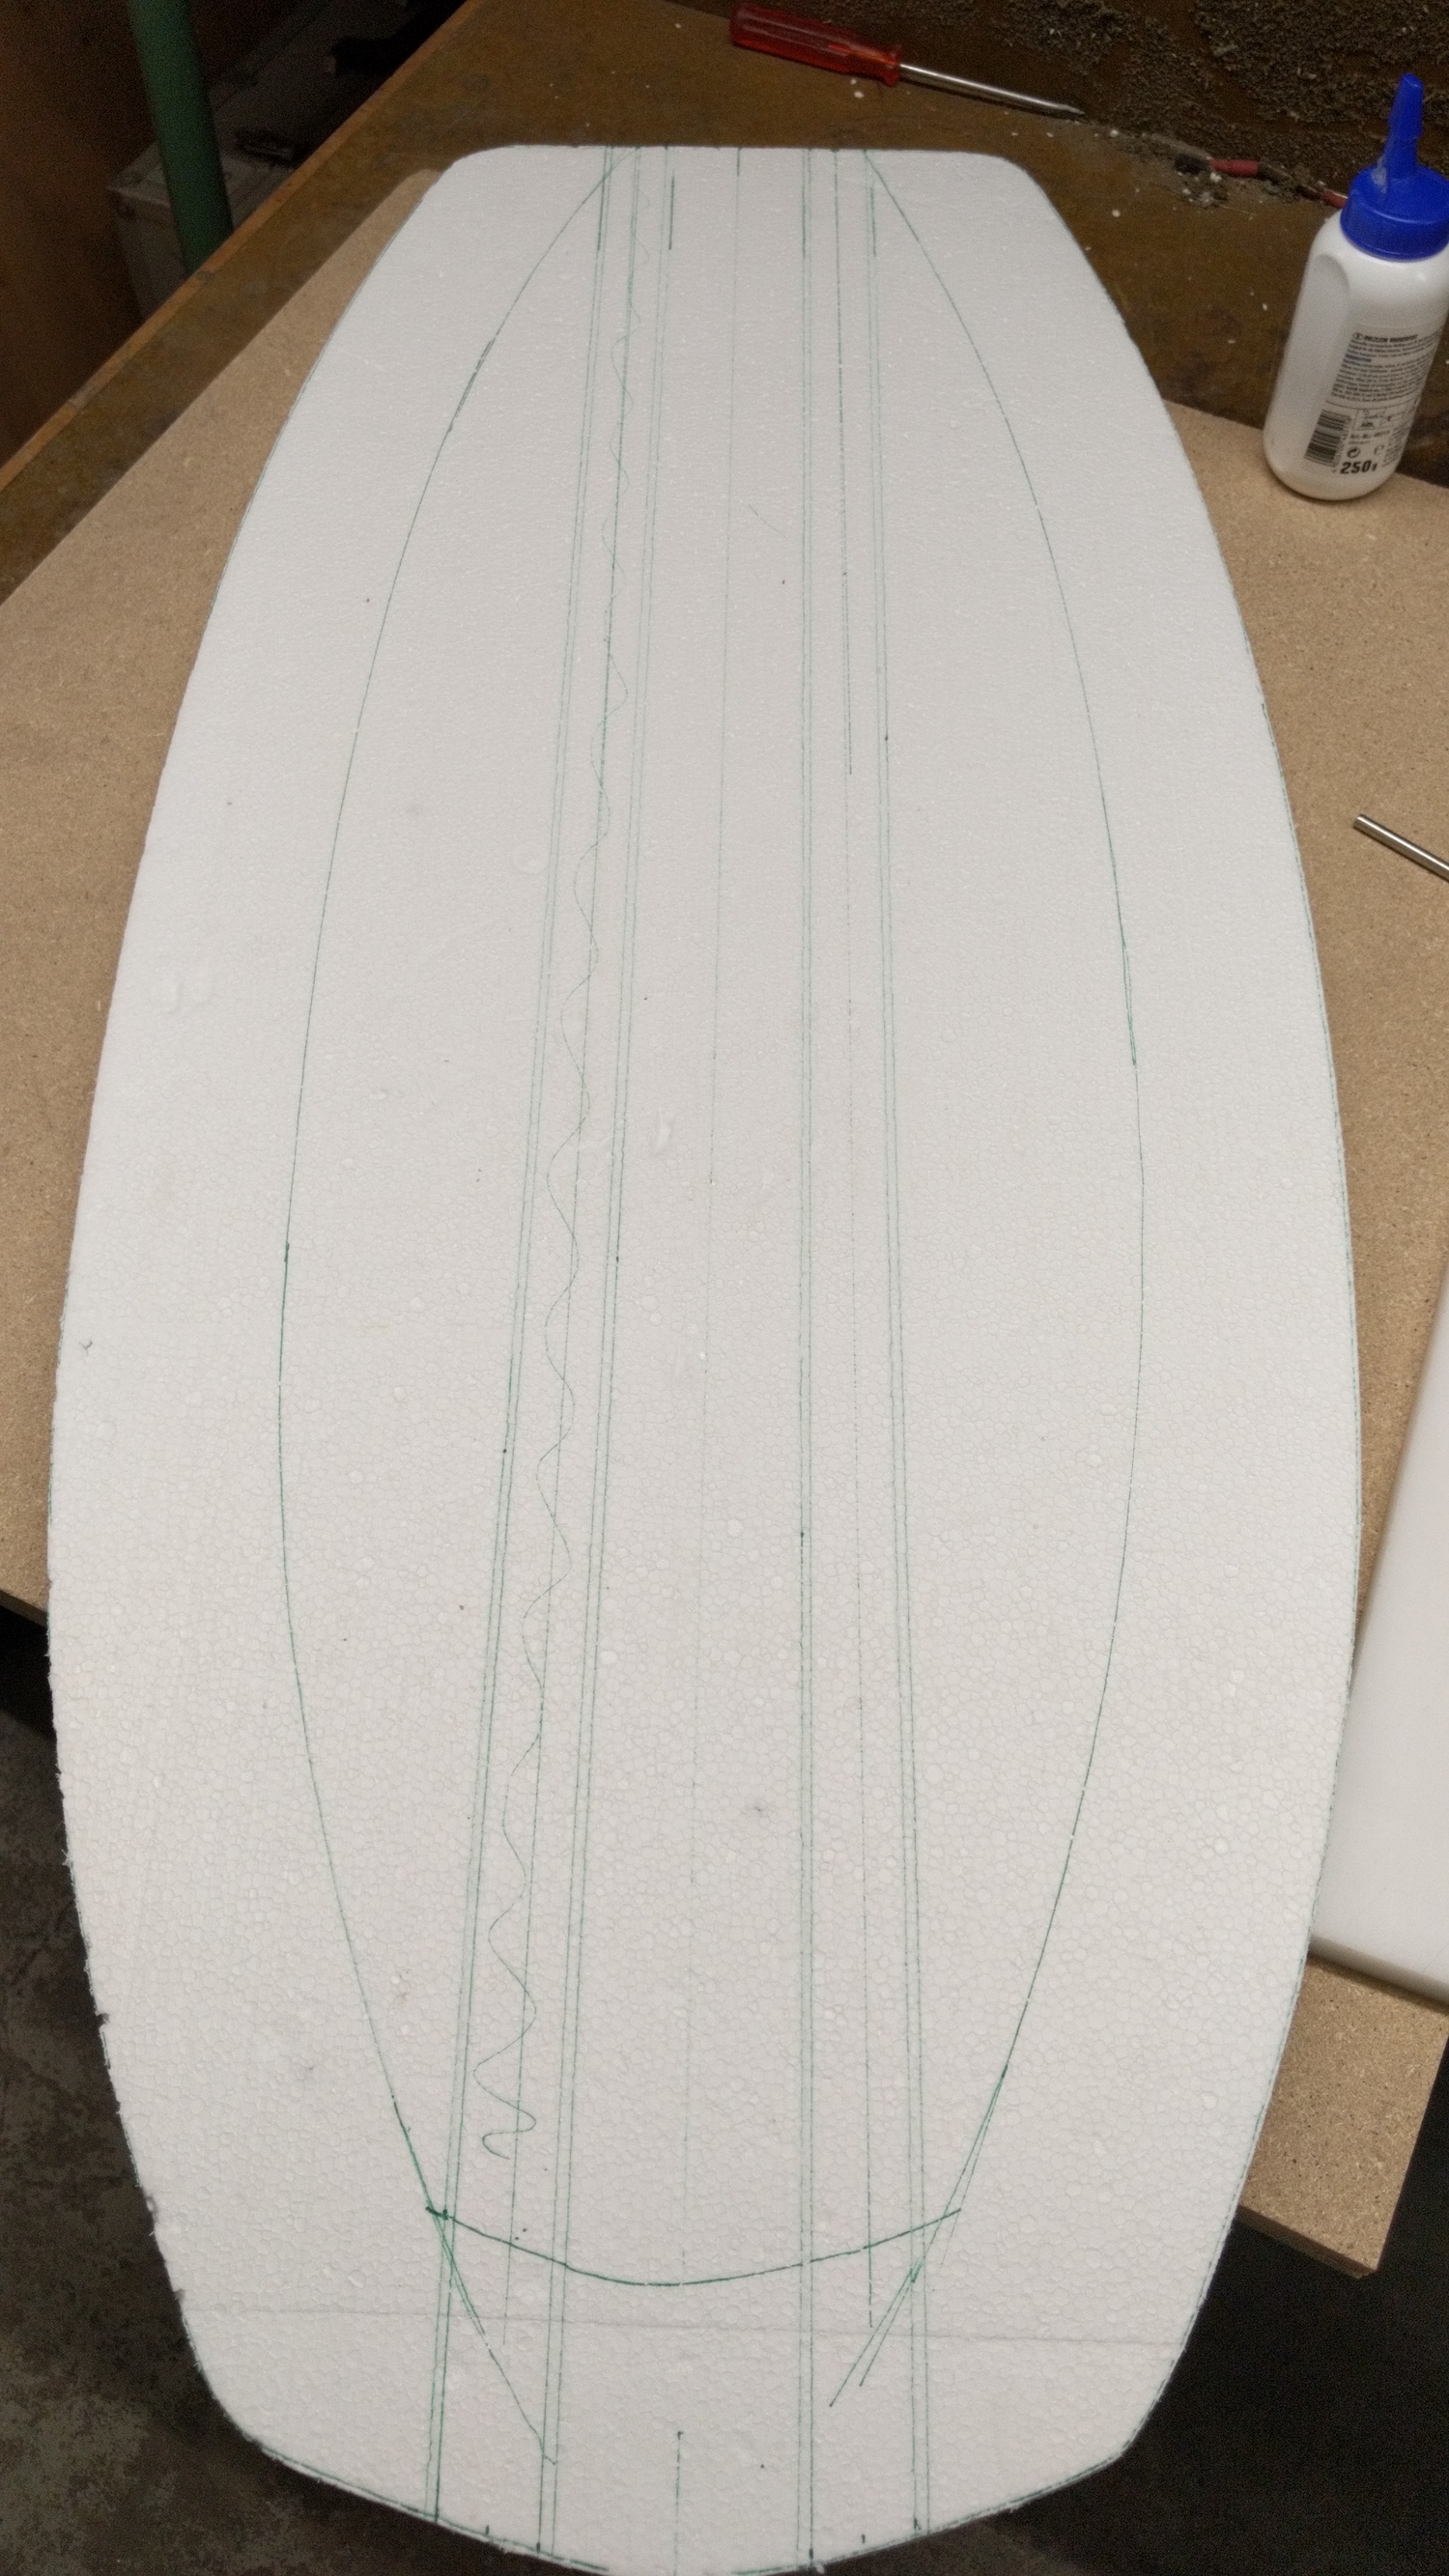
How to add stringers to the board is another controversial discussion. So far my approach is to cut two channels (without cutting into the glass layer) into the board, and glue a balsa-plywood stringer construction (2x 3 mm model aircraft plywood glued to a balsa bar) into this channel followed by cutting and sanding the stringers to the shape of the board. One downside is that the stringers are straight but the board isn't. Thus towards the nose the stringers will start to stand off the glass layer. I solve this by adding some airex stripes below. Alternatively the stringers could be sanded/CNC'd to the exact shape of the board.

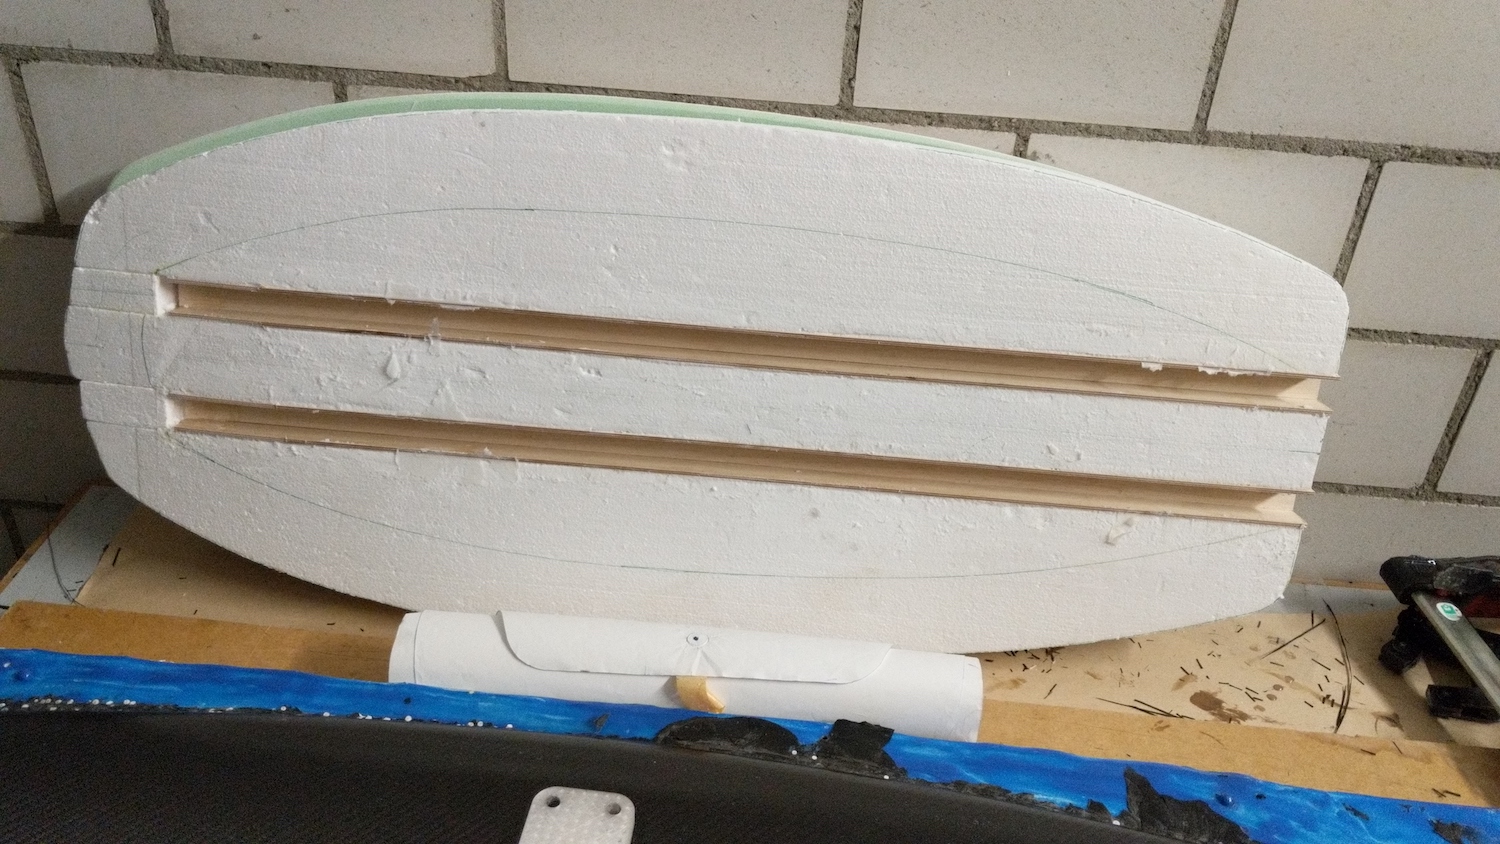
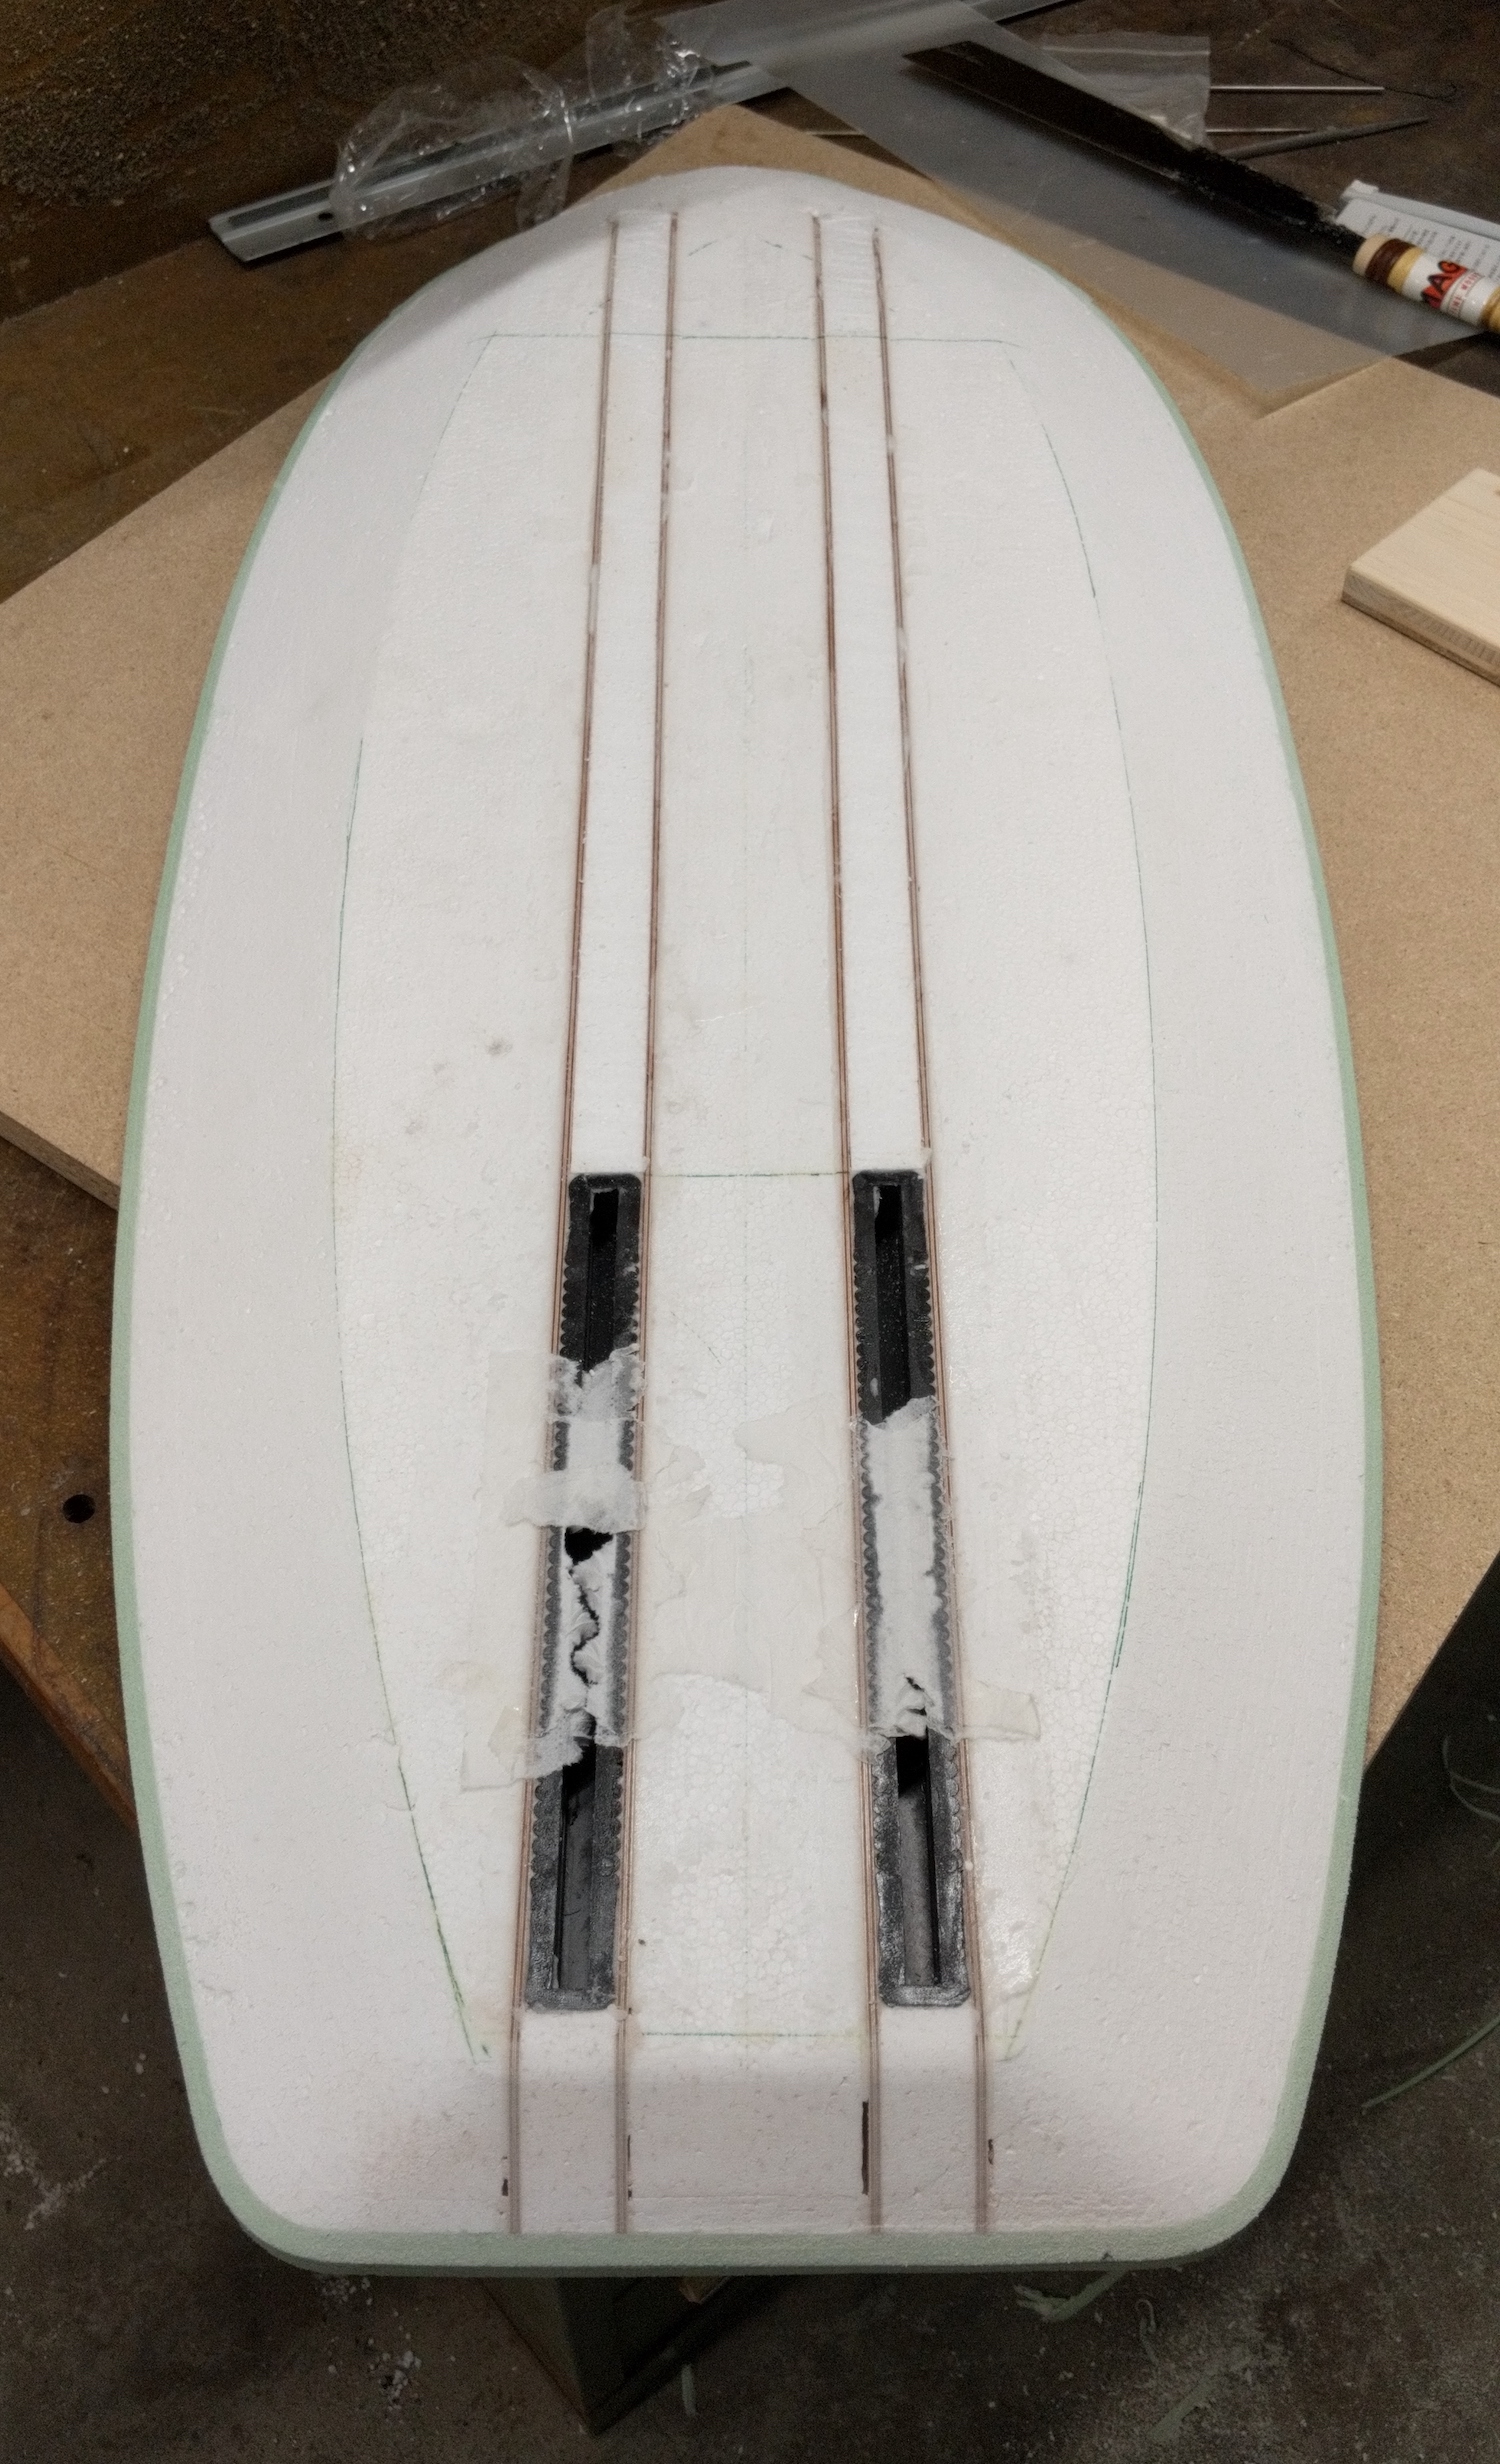
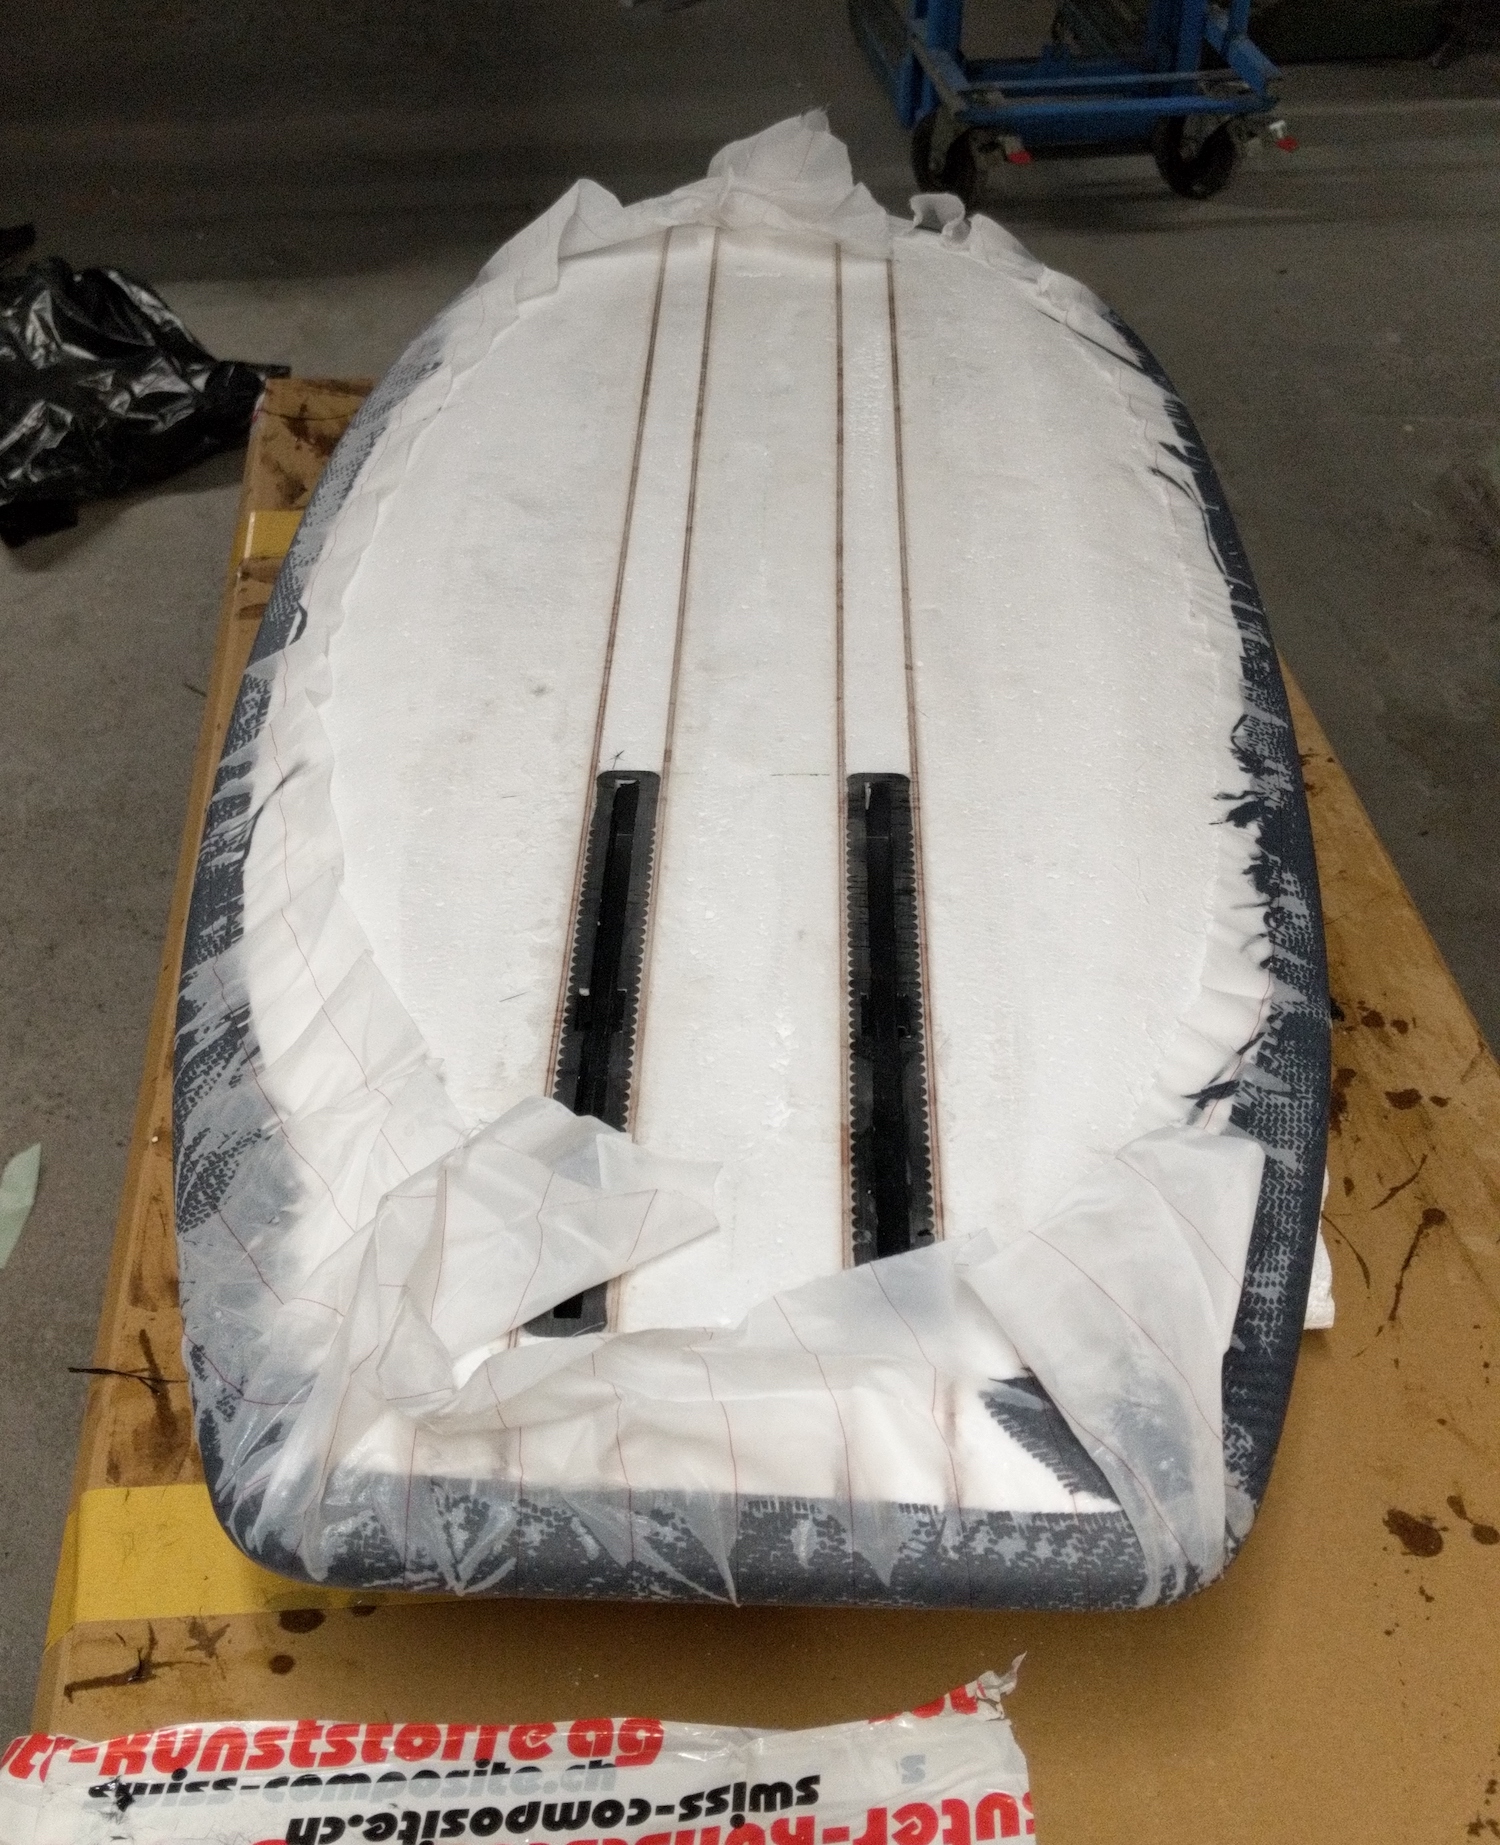
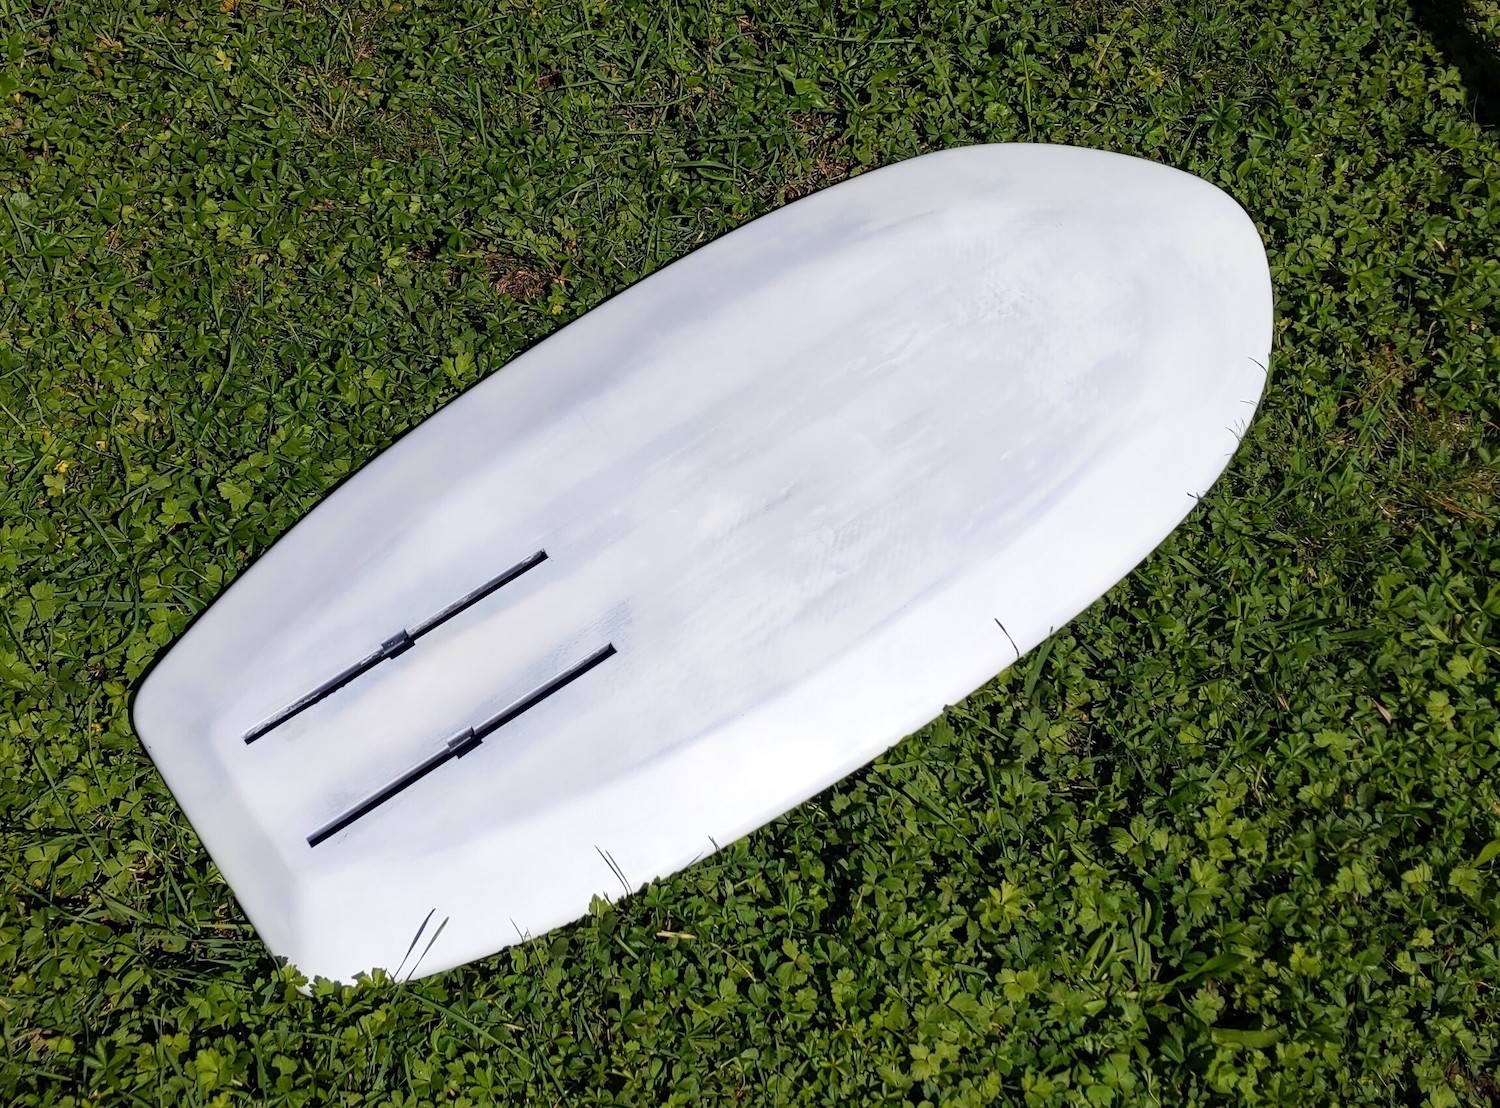
In a next step the foil boxes glued into the rails again with epoxy+microballons and the void between the rails is filled with the cutout material.
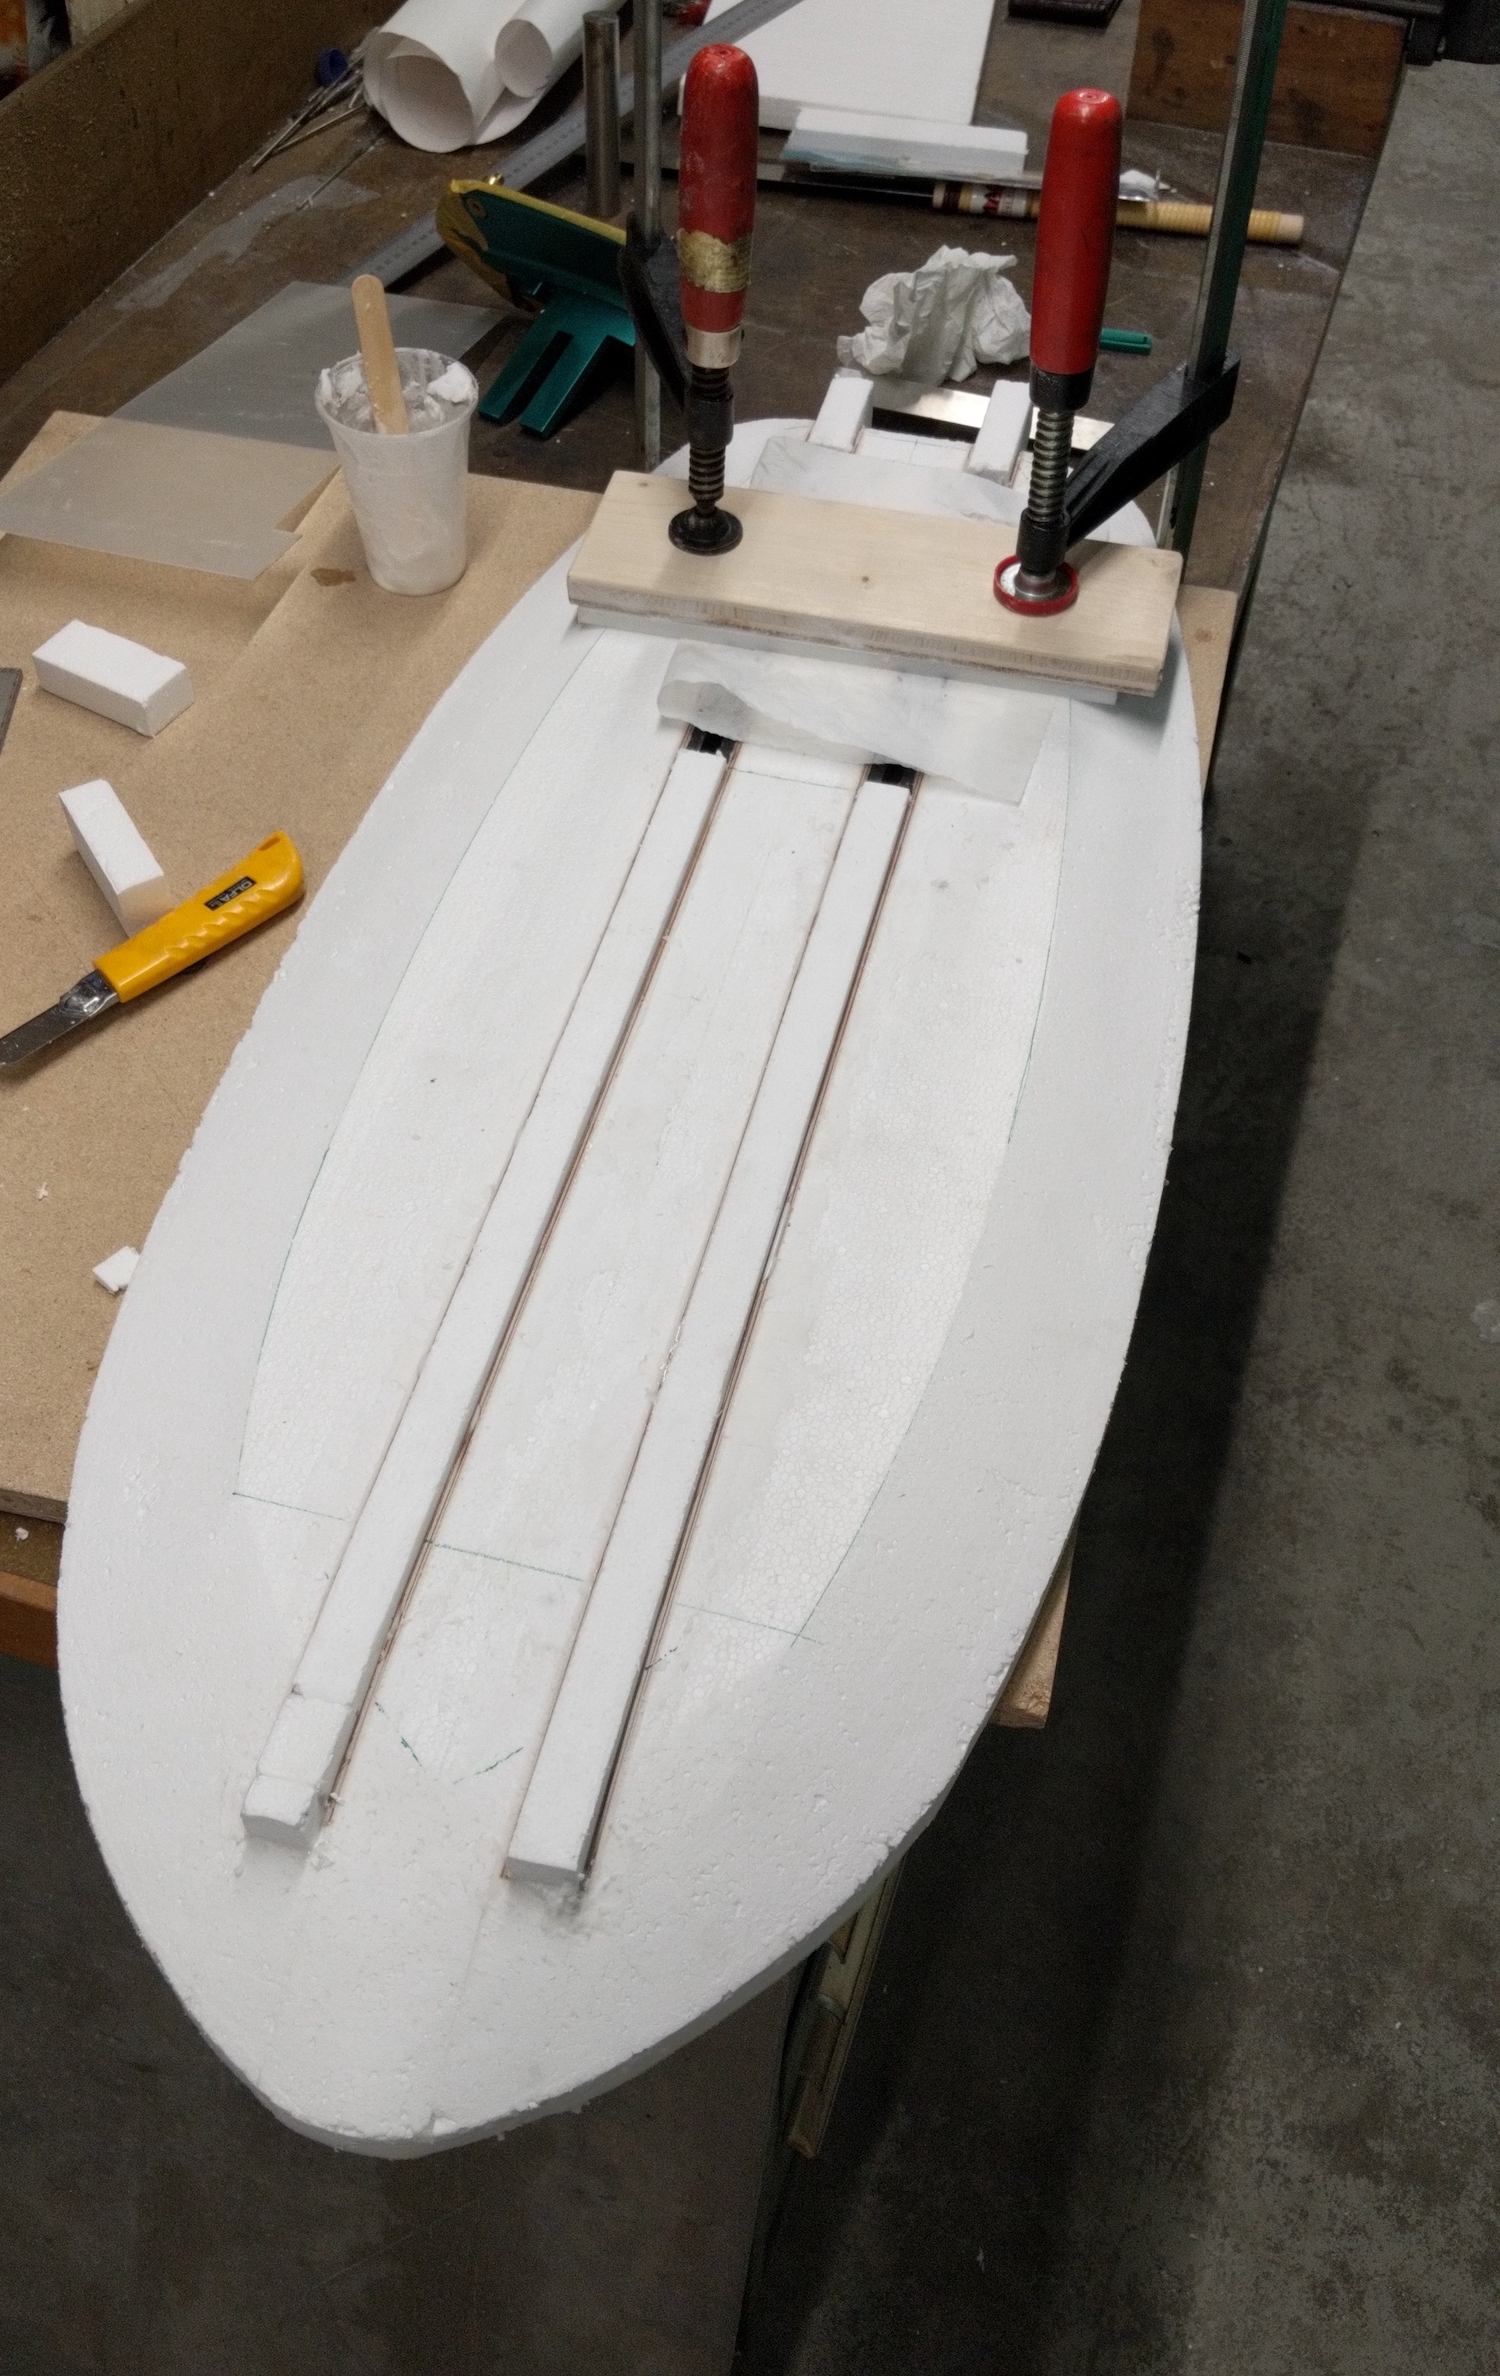
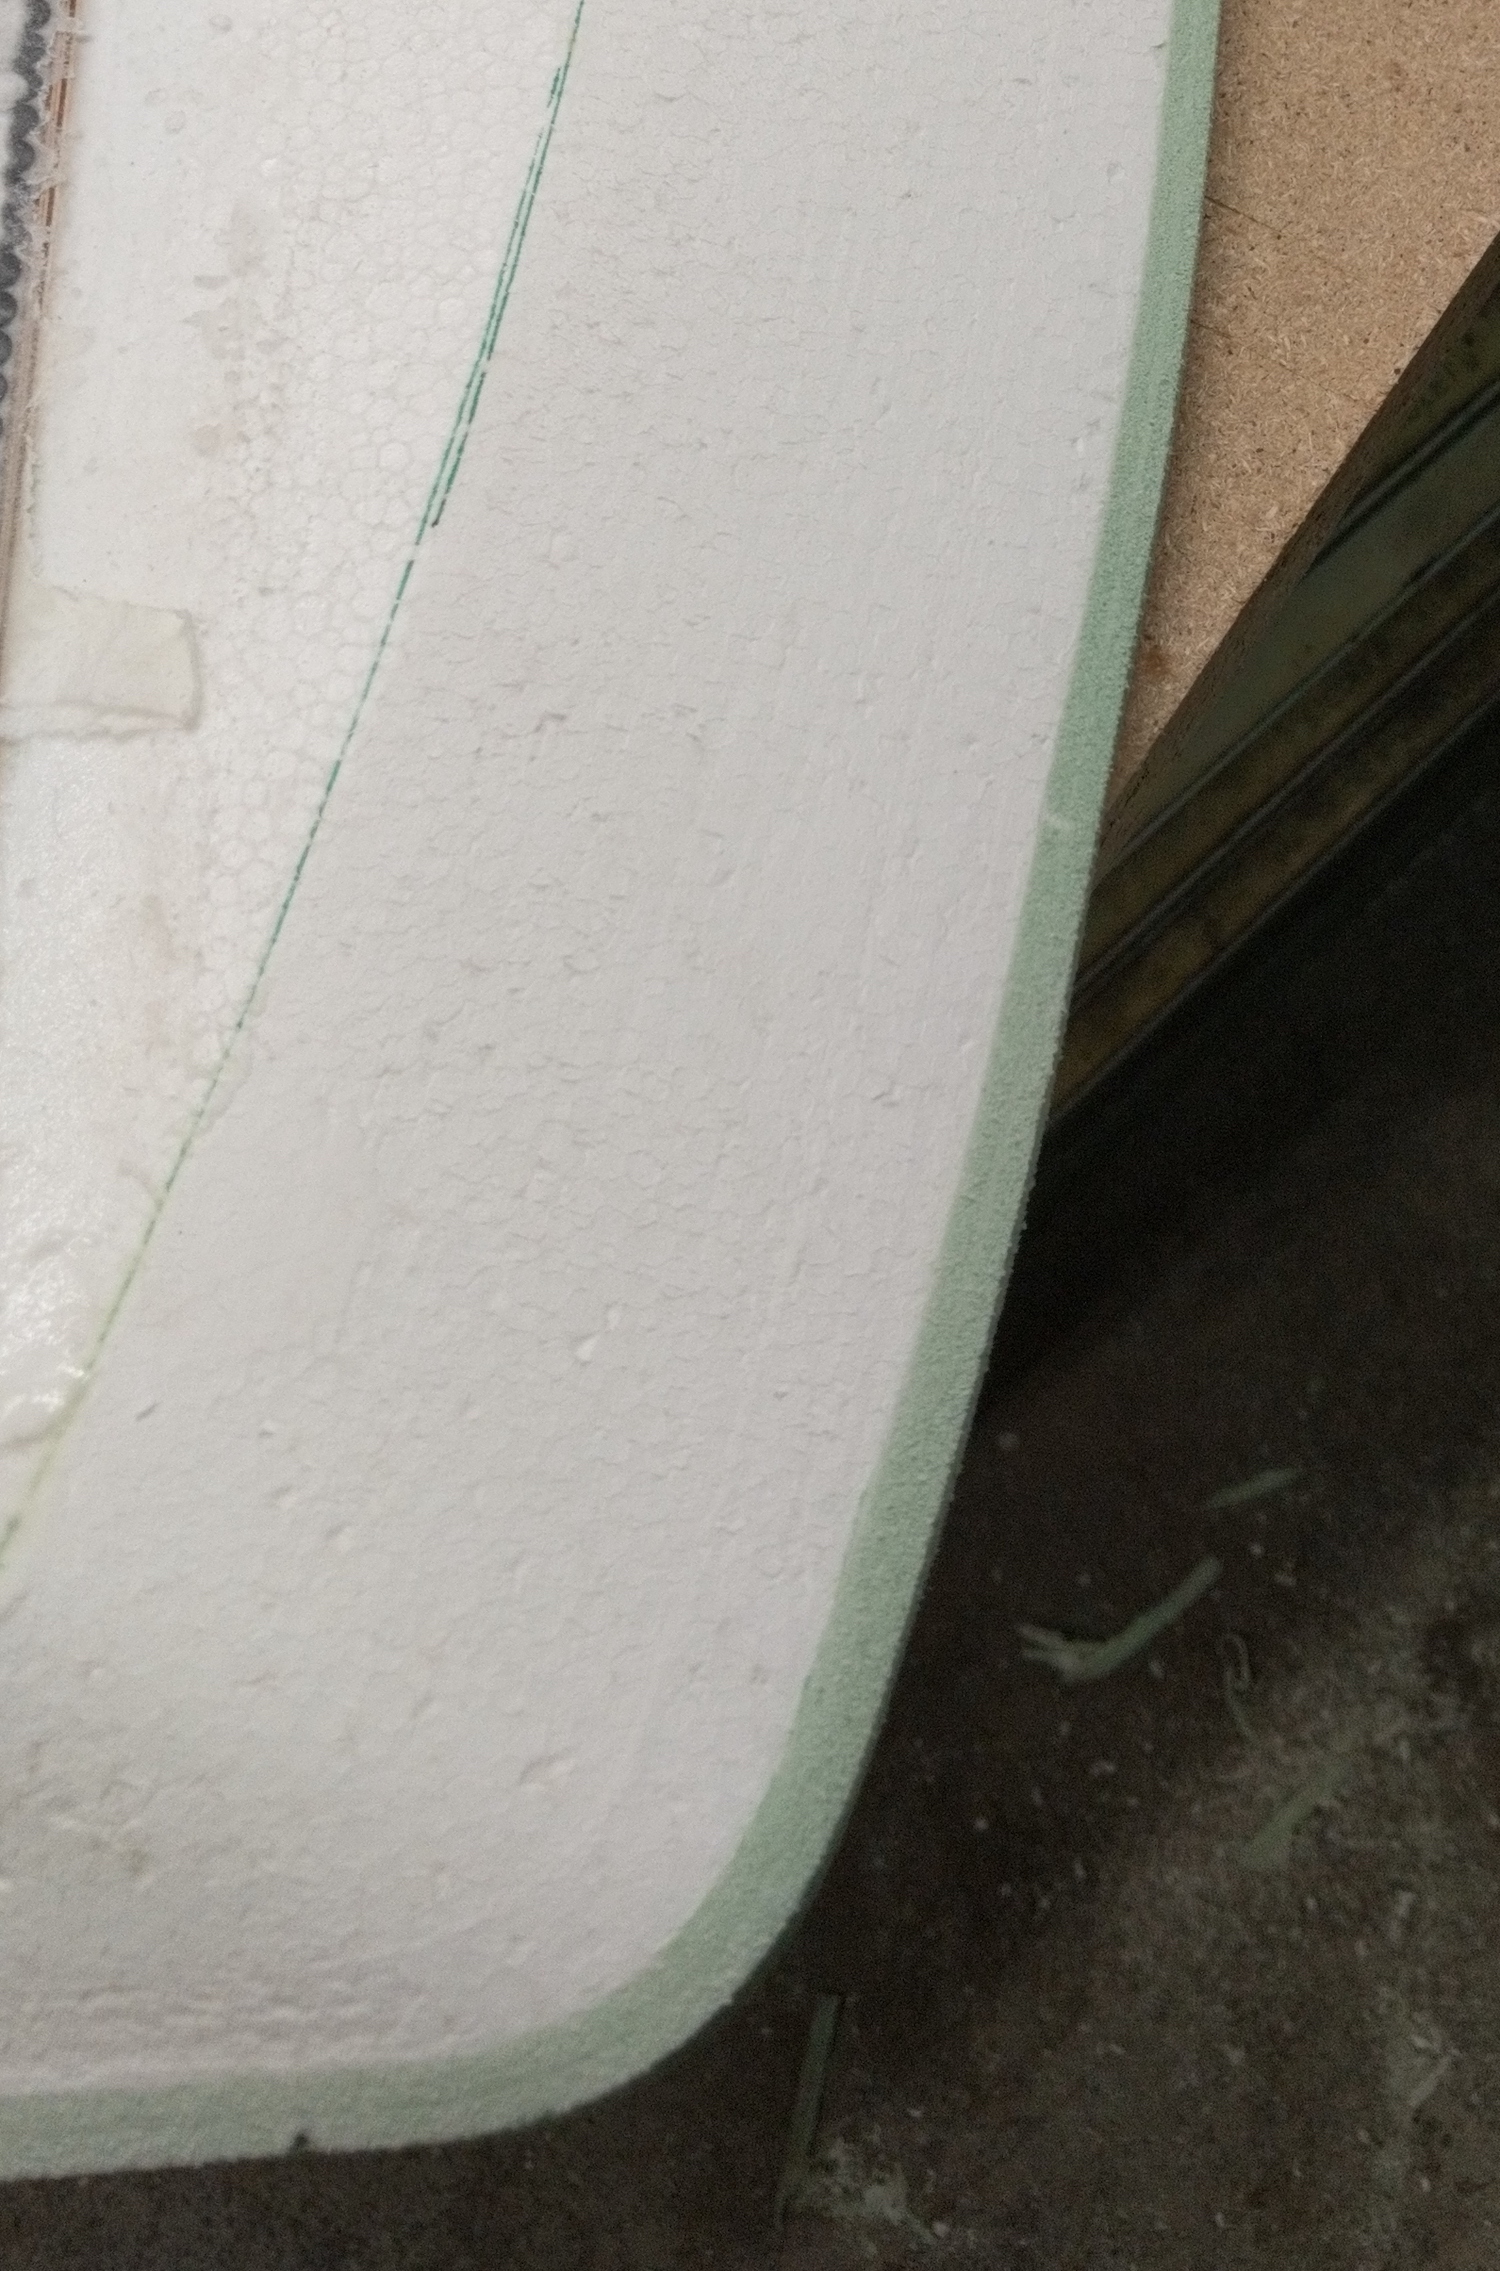
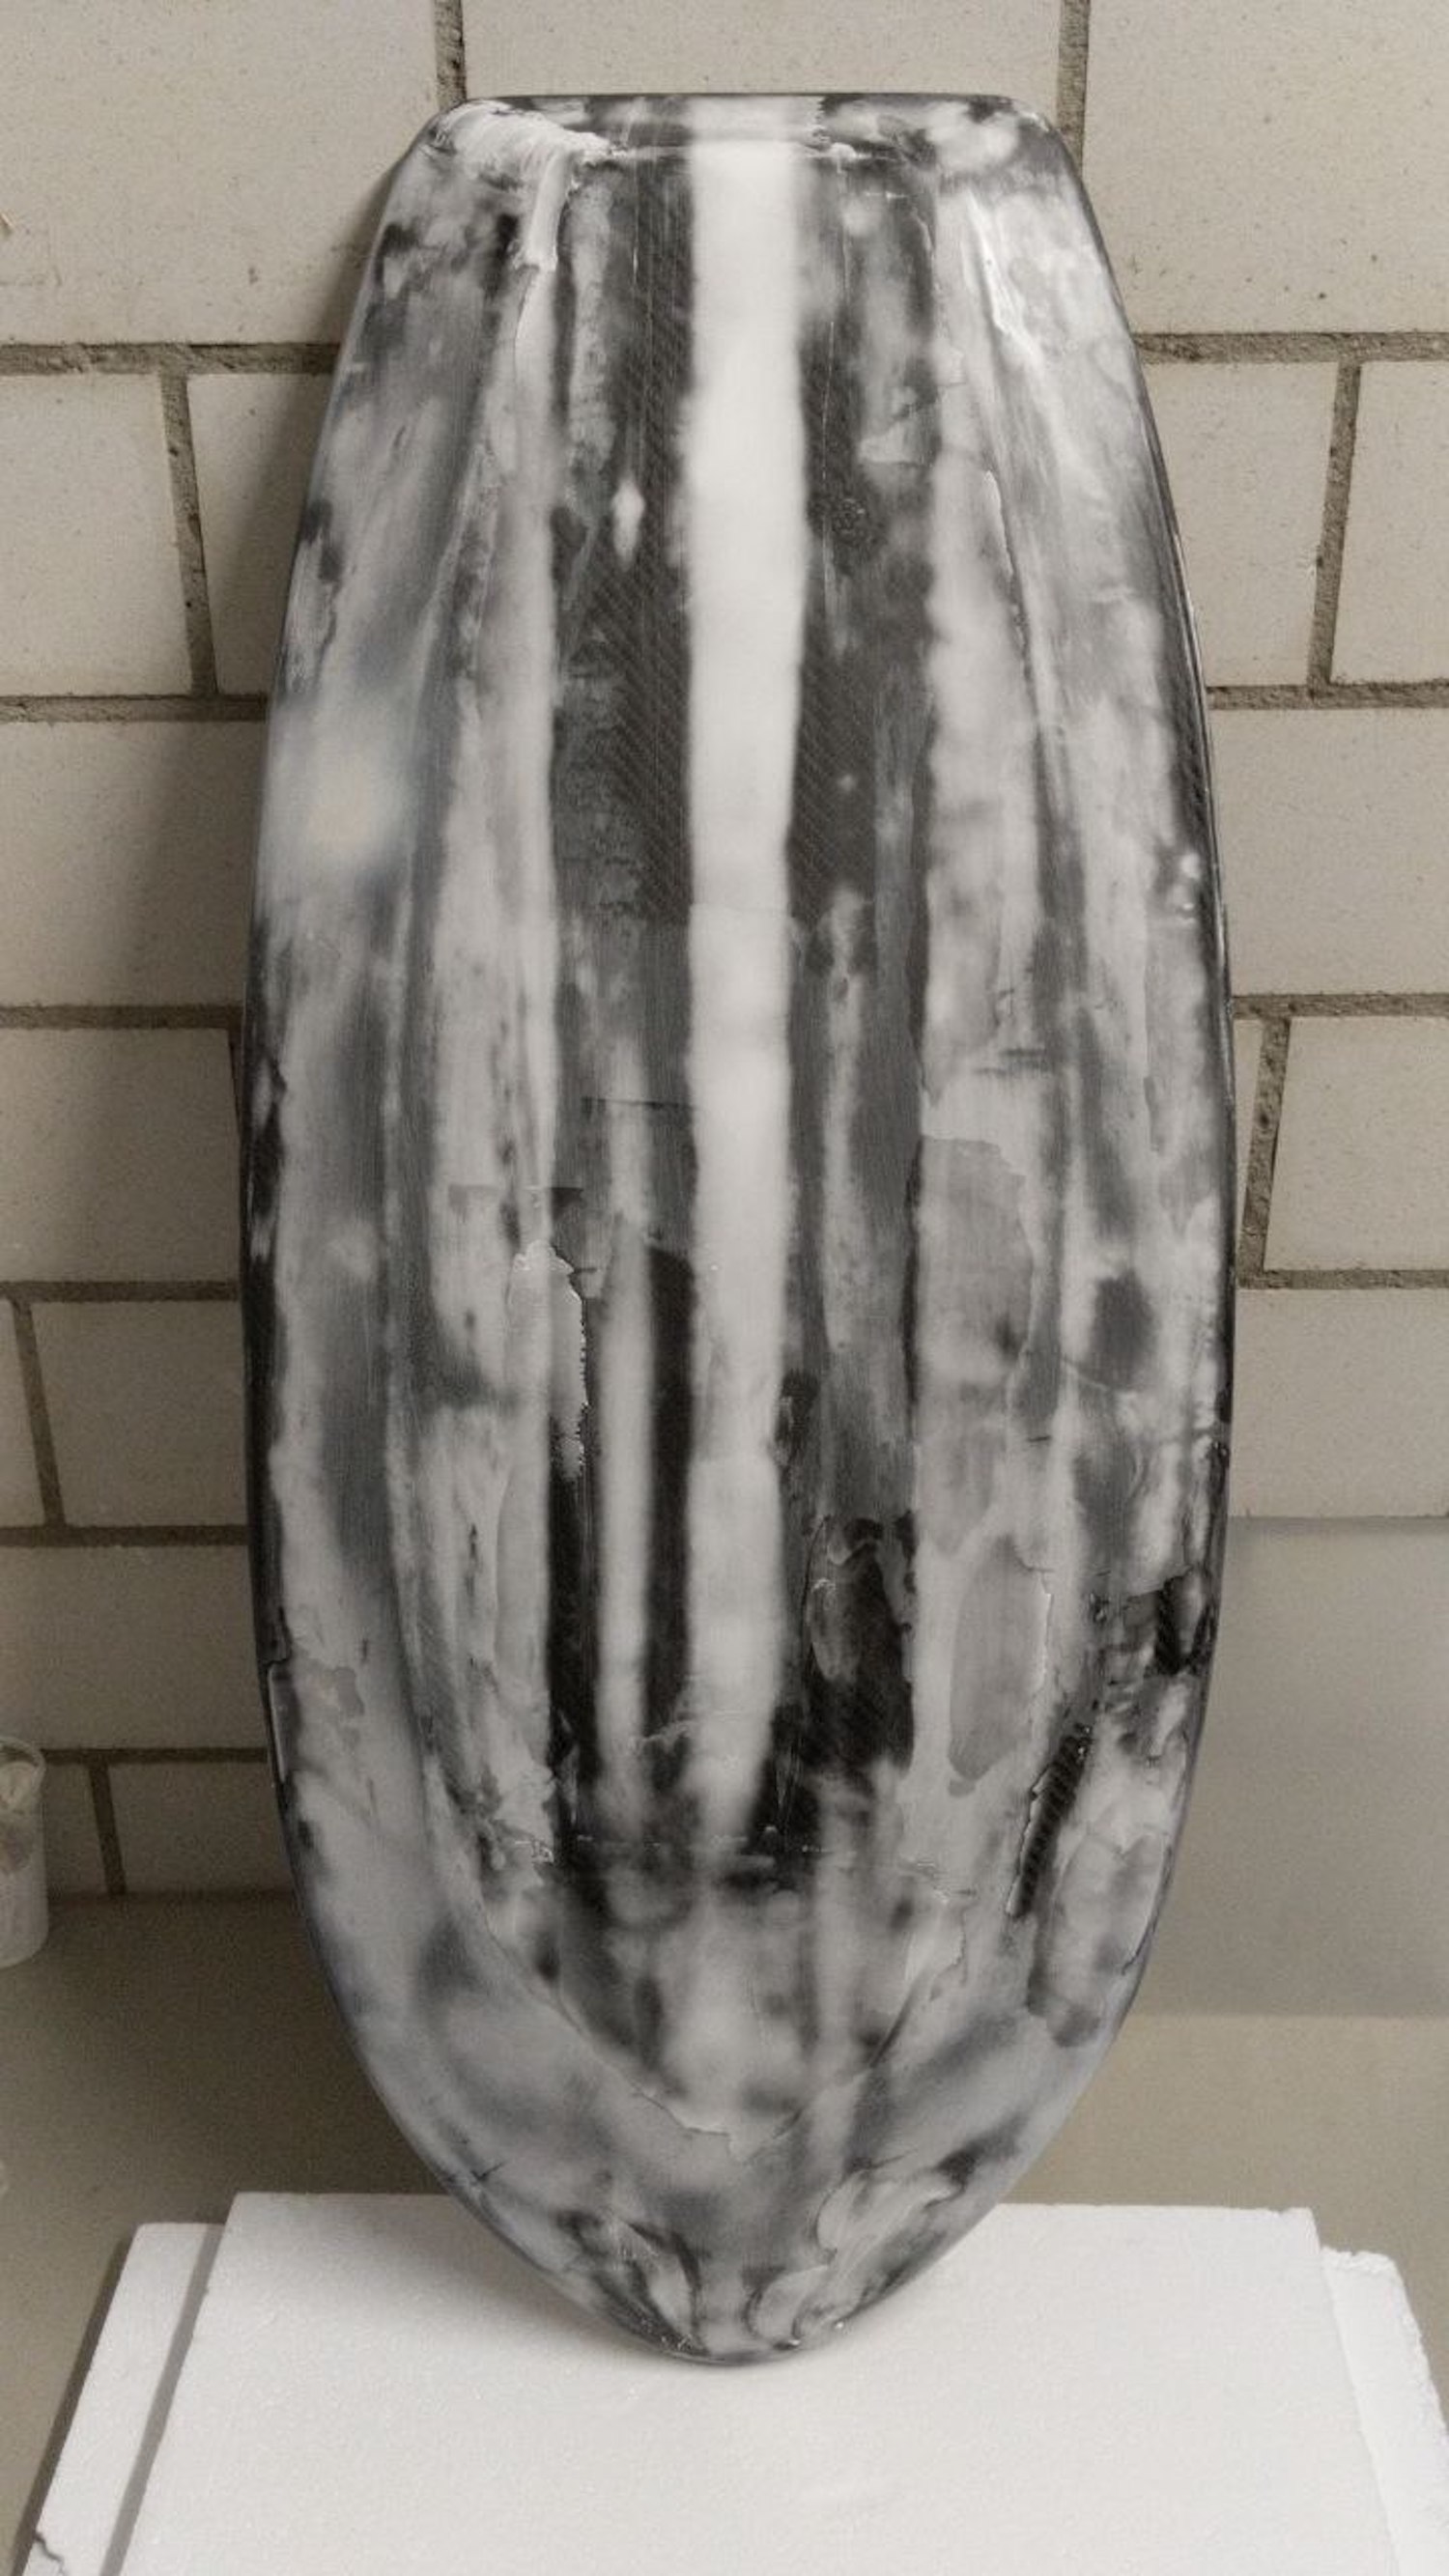
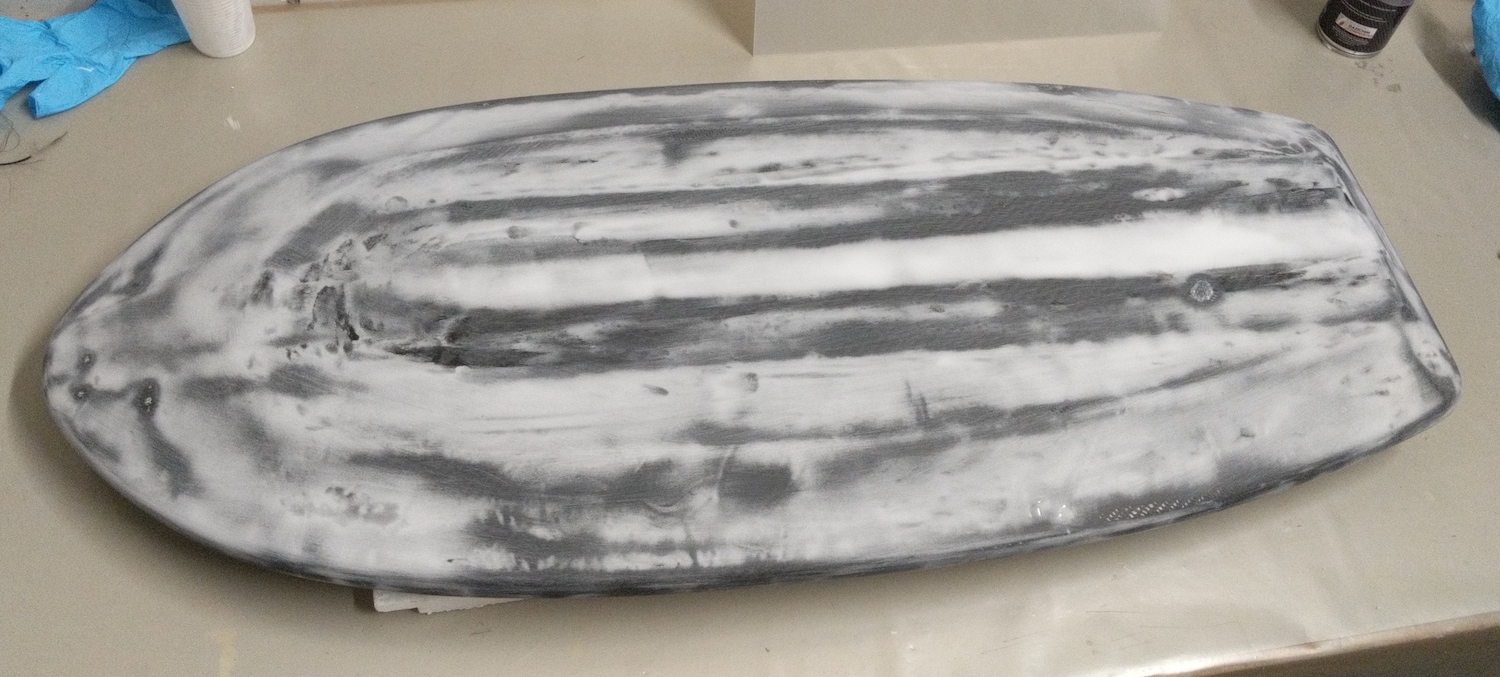
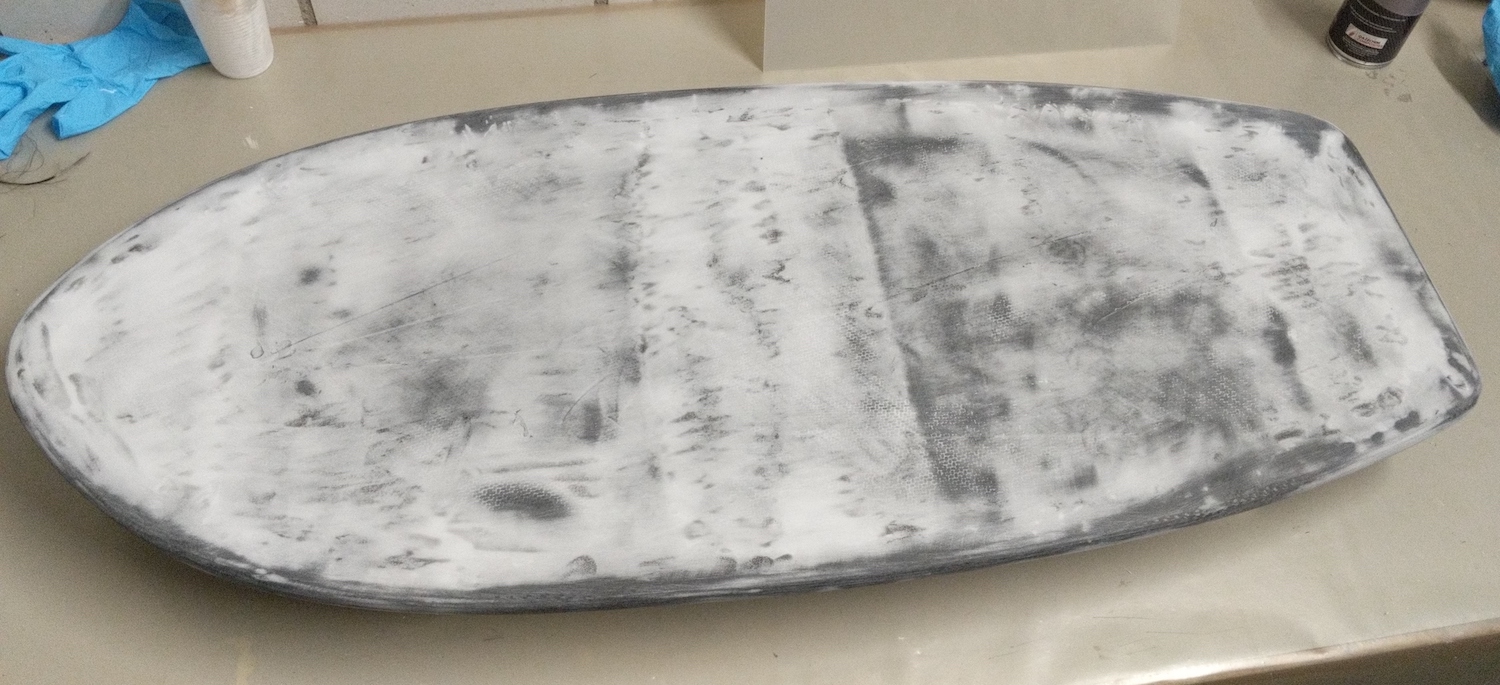
Step 3 - Sand/Cut everything to shape
A cutter/a sharp kitchen knife and rough sanding paper works pretty well for this step. Part of this job was already done in the previous step (compare the board before the foil boxes glued and during).
Step 4 - Optional: Airex rails
Pumpfoil boards quite regularly hit something with the rails. This is where an Airex reinforcement, which significantly reduces the chance of pinching through to the water soaking EPS core comes in handy. As before, the Airex rails were glued to the board with a 50:50 mixture of epoxy and microballons.
More sanding..
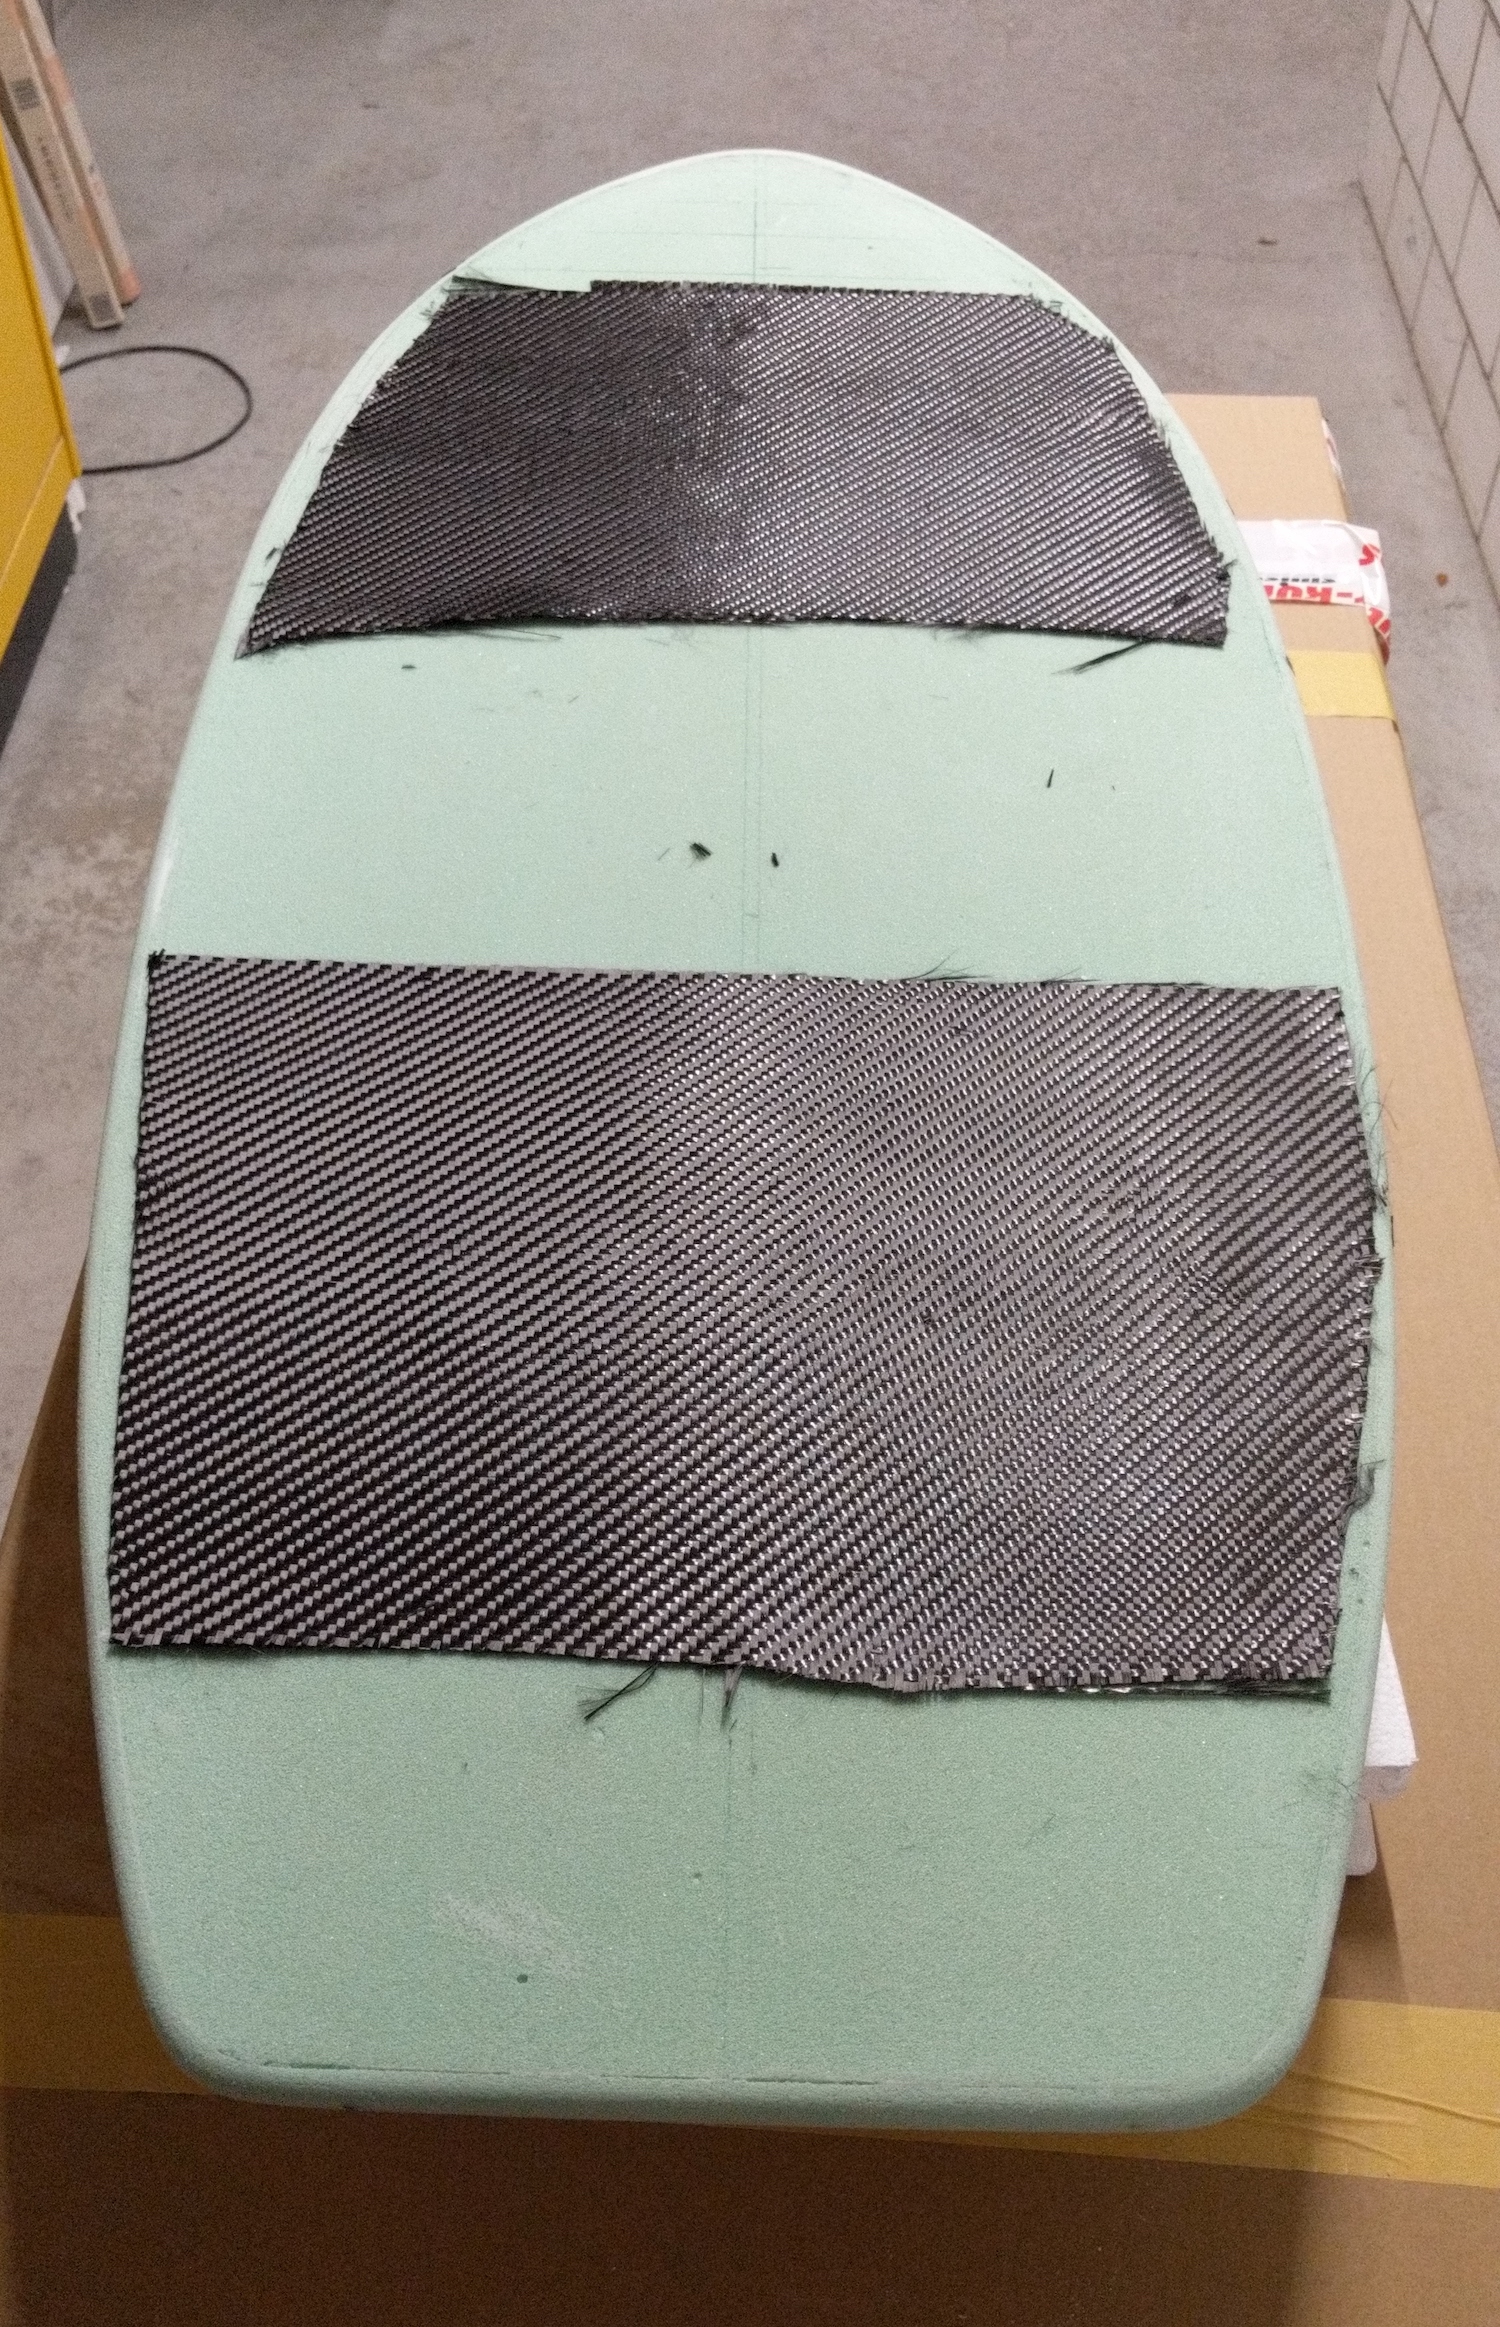
Step 5 - Laminating the top layer
Both the top and the bottom layer were laminated without vacuum. The weight saving of 100-200 grams for this size of board is just not worth it to go to the troubles of vacuum bagging in my opinion.
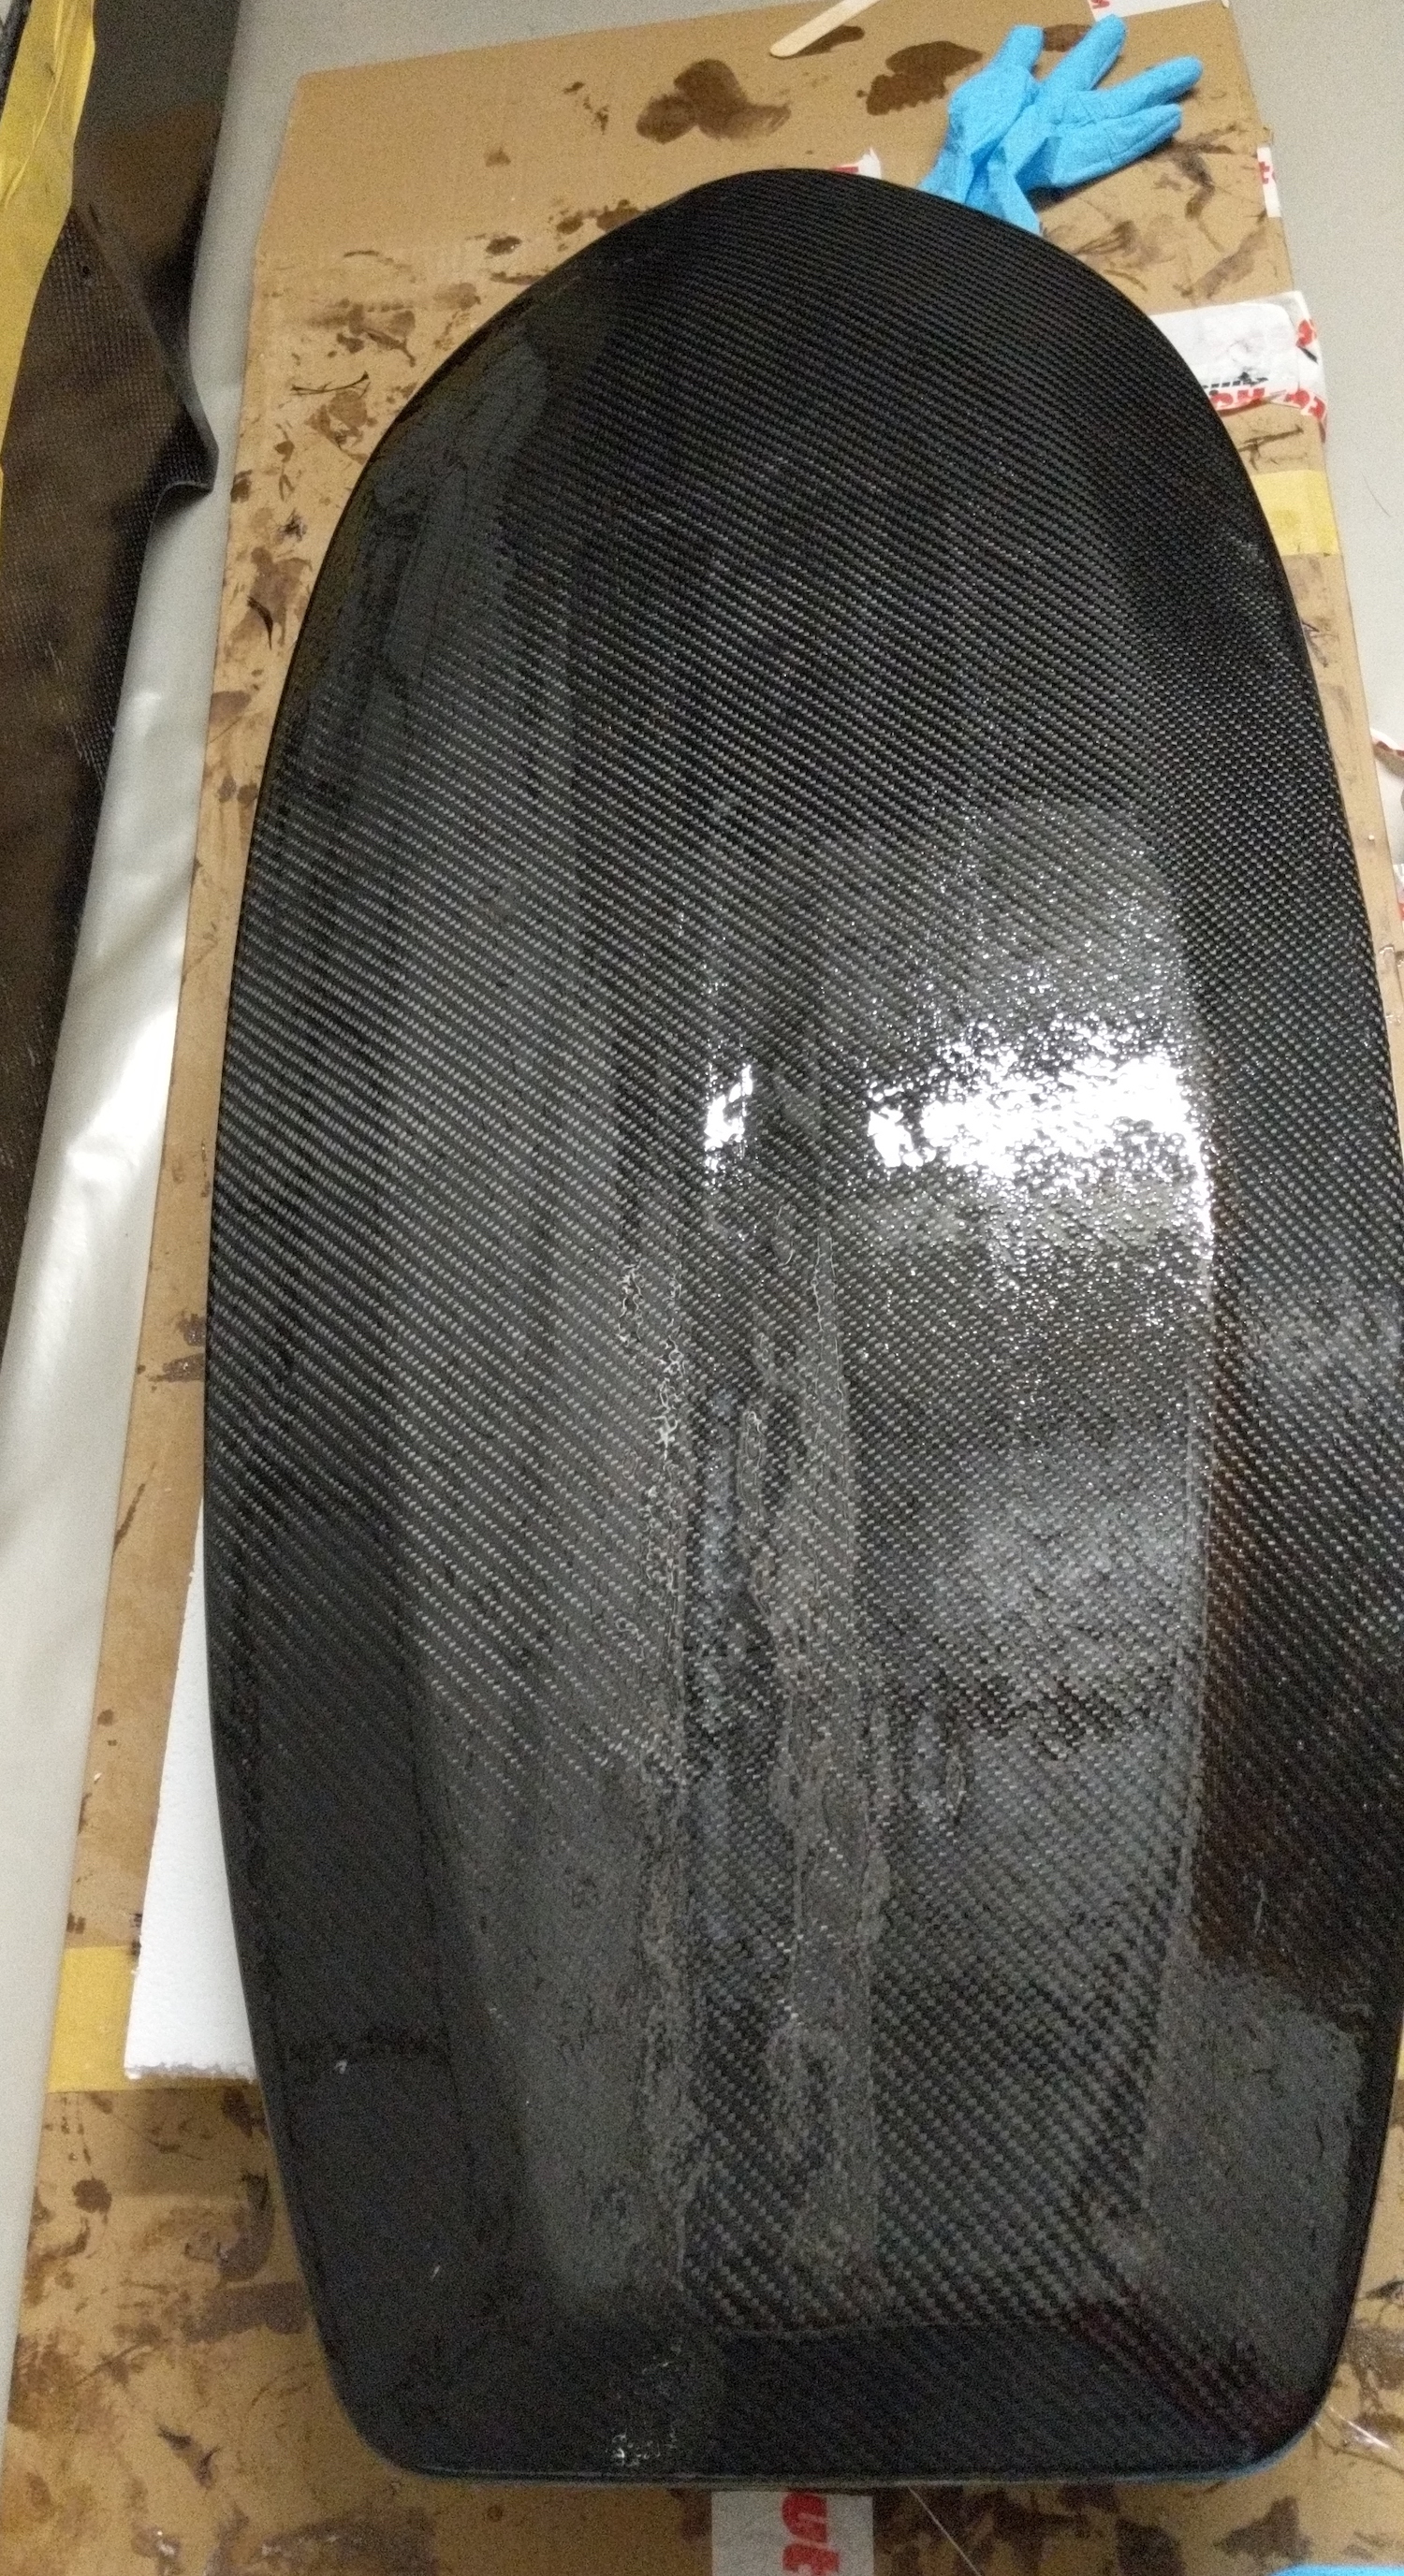
Since the Airex is very pressure resistant, only one layer of 180 g/m2 carbon with some reinforcements of the same cloth for the standing areas was used. I can highly recommend the UV-resistant 'Sicomin Surf Clear EVO - Medium' epoxy for laminating boards. The viscosity of this epoxy reduces within about 15 minutes to honey-like which makes it very easy to wrap the carbon around the edges (doing that for top and bottom layers results in twice the amount of layers at the edges forming a nice 'frame' around the board which is really needed for impact resistance and board strength).
The whitish layer in the next 3 pics below is peel off tissue that as the name suggests is peeled off once the epoxy has cured. This gives a nicely structured surface for the hot coat.
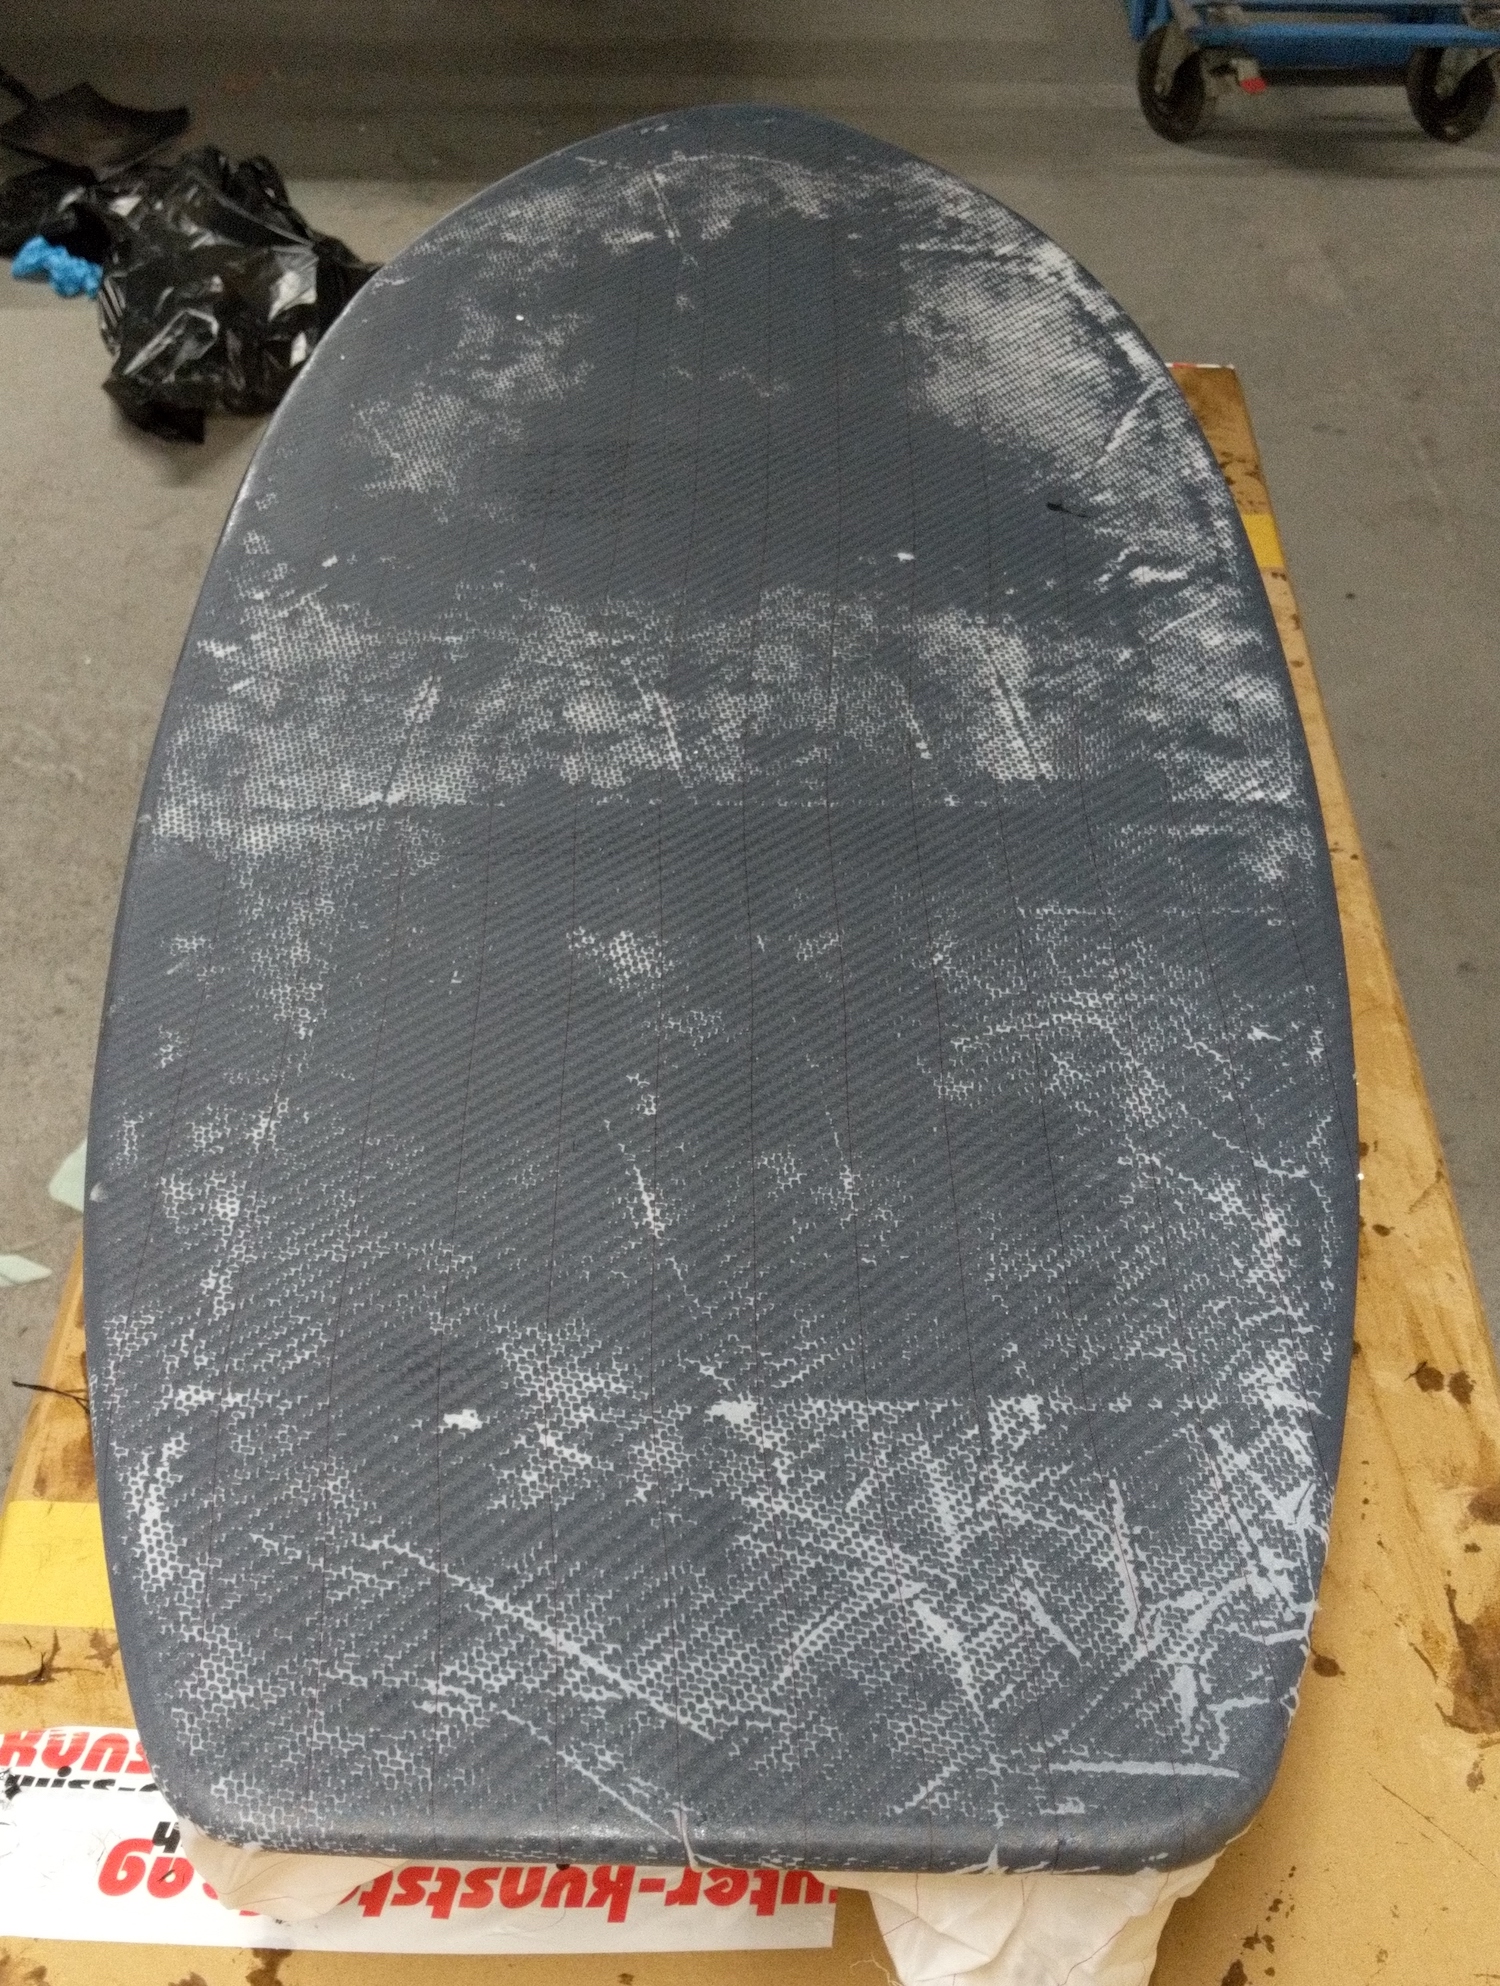
Surface after the peel off layer was removed.
Step 6 - Laminate bottom layer
Why laminating the top layer first? This is personal preference with the reasoning that most of the excess cloth from this last step will have to be sanded off the deck. Since most of the deck is covered by the grip pads, this is less work compared to the 'naked' bottom layer.
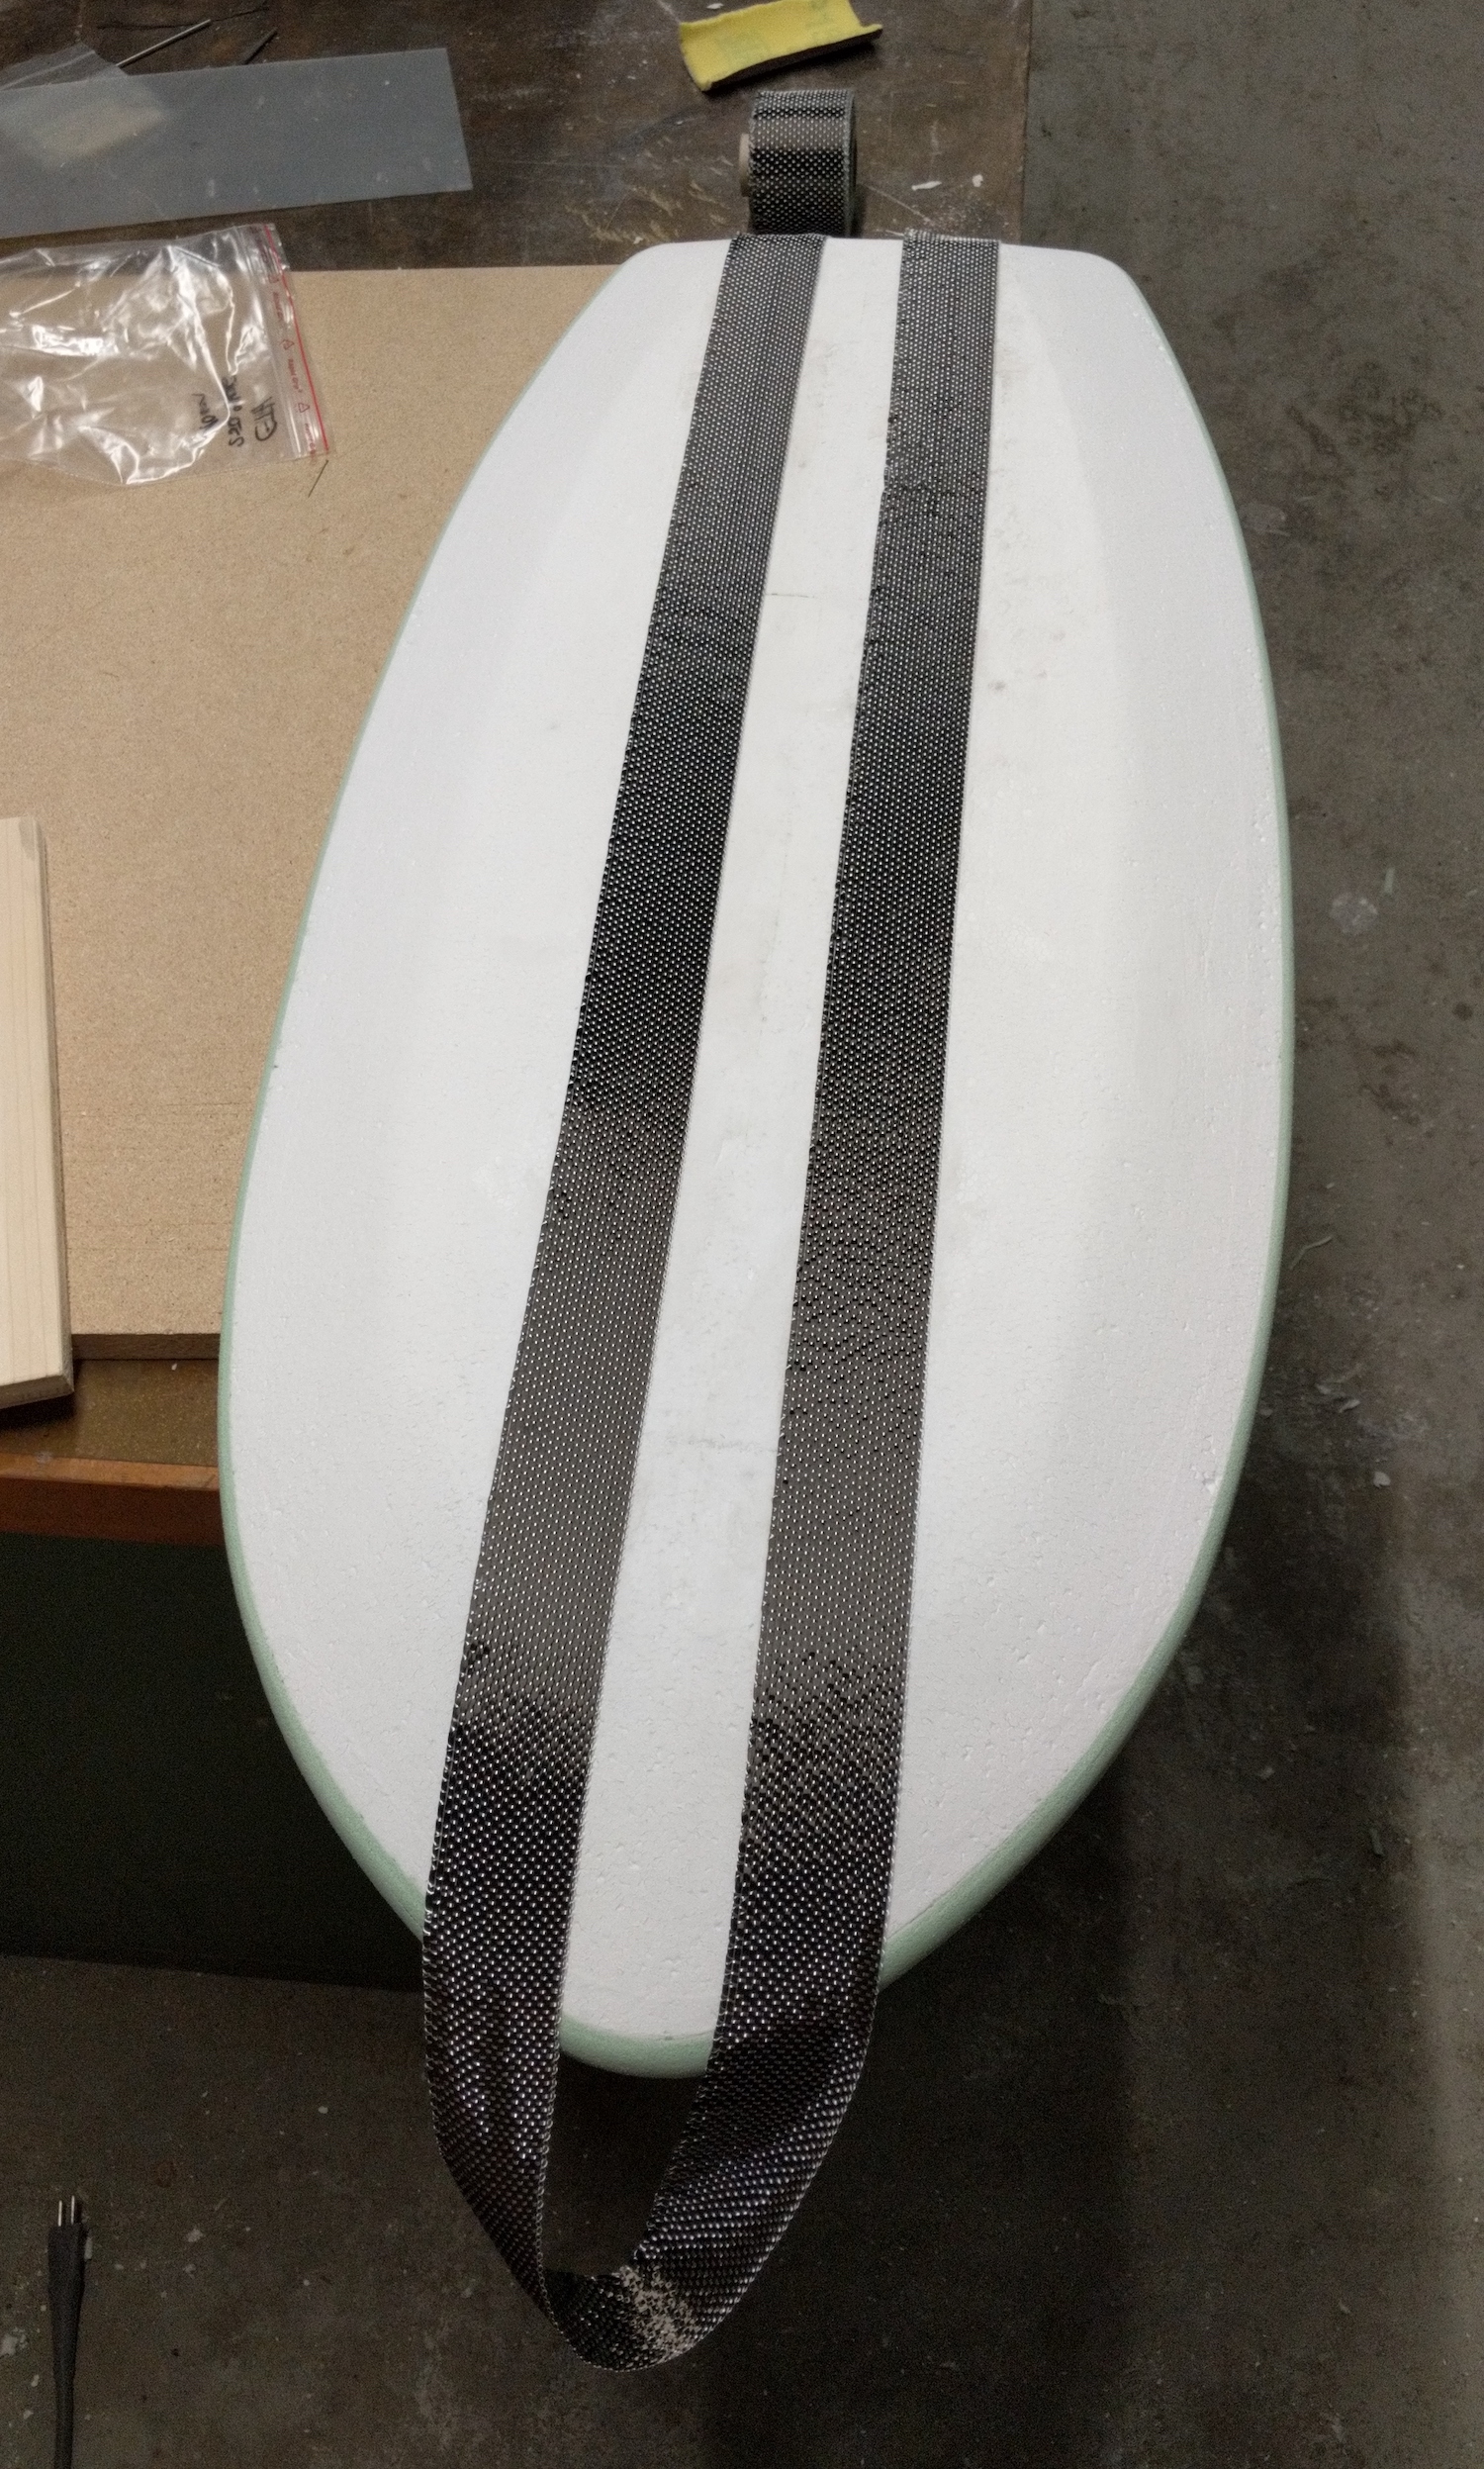
After sanding back any excess epoxy/cloth from the previous step the bottom layer was laminated with an 80 g/m2 glass and a 180 g/m2 carbon layer. Along the rails I added a 200 g/m2 carbon ribbon for increased strength as the first layer.
Step 7 - Hot coating
Again, sanding until the board has no protruding spots - without sanding into the carbon layers, as this would sacrifice the strength of the outer shell. Then, the hot coat is prepared. For hot coating (the process of adding a thin coating layer of epoxy over the carbon layers in this case to provide a smooth final surface) the board is fully covered with epoxy that is afterward sanded back. The epoxy for the hot coat can be colored, transparent or white depending on the design goal. For this build, I used epoxy+microballons mixed to a honey-like viscosity and applied with a trowel.
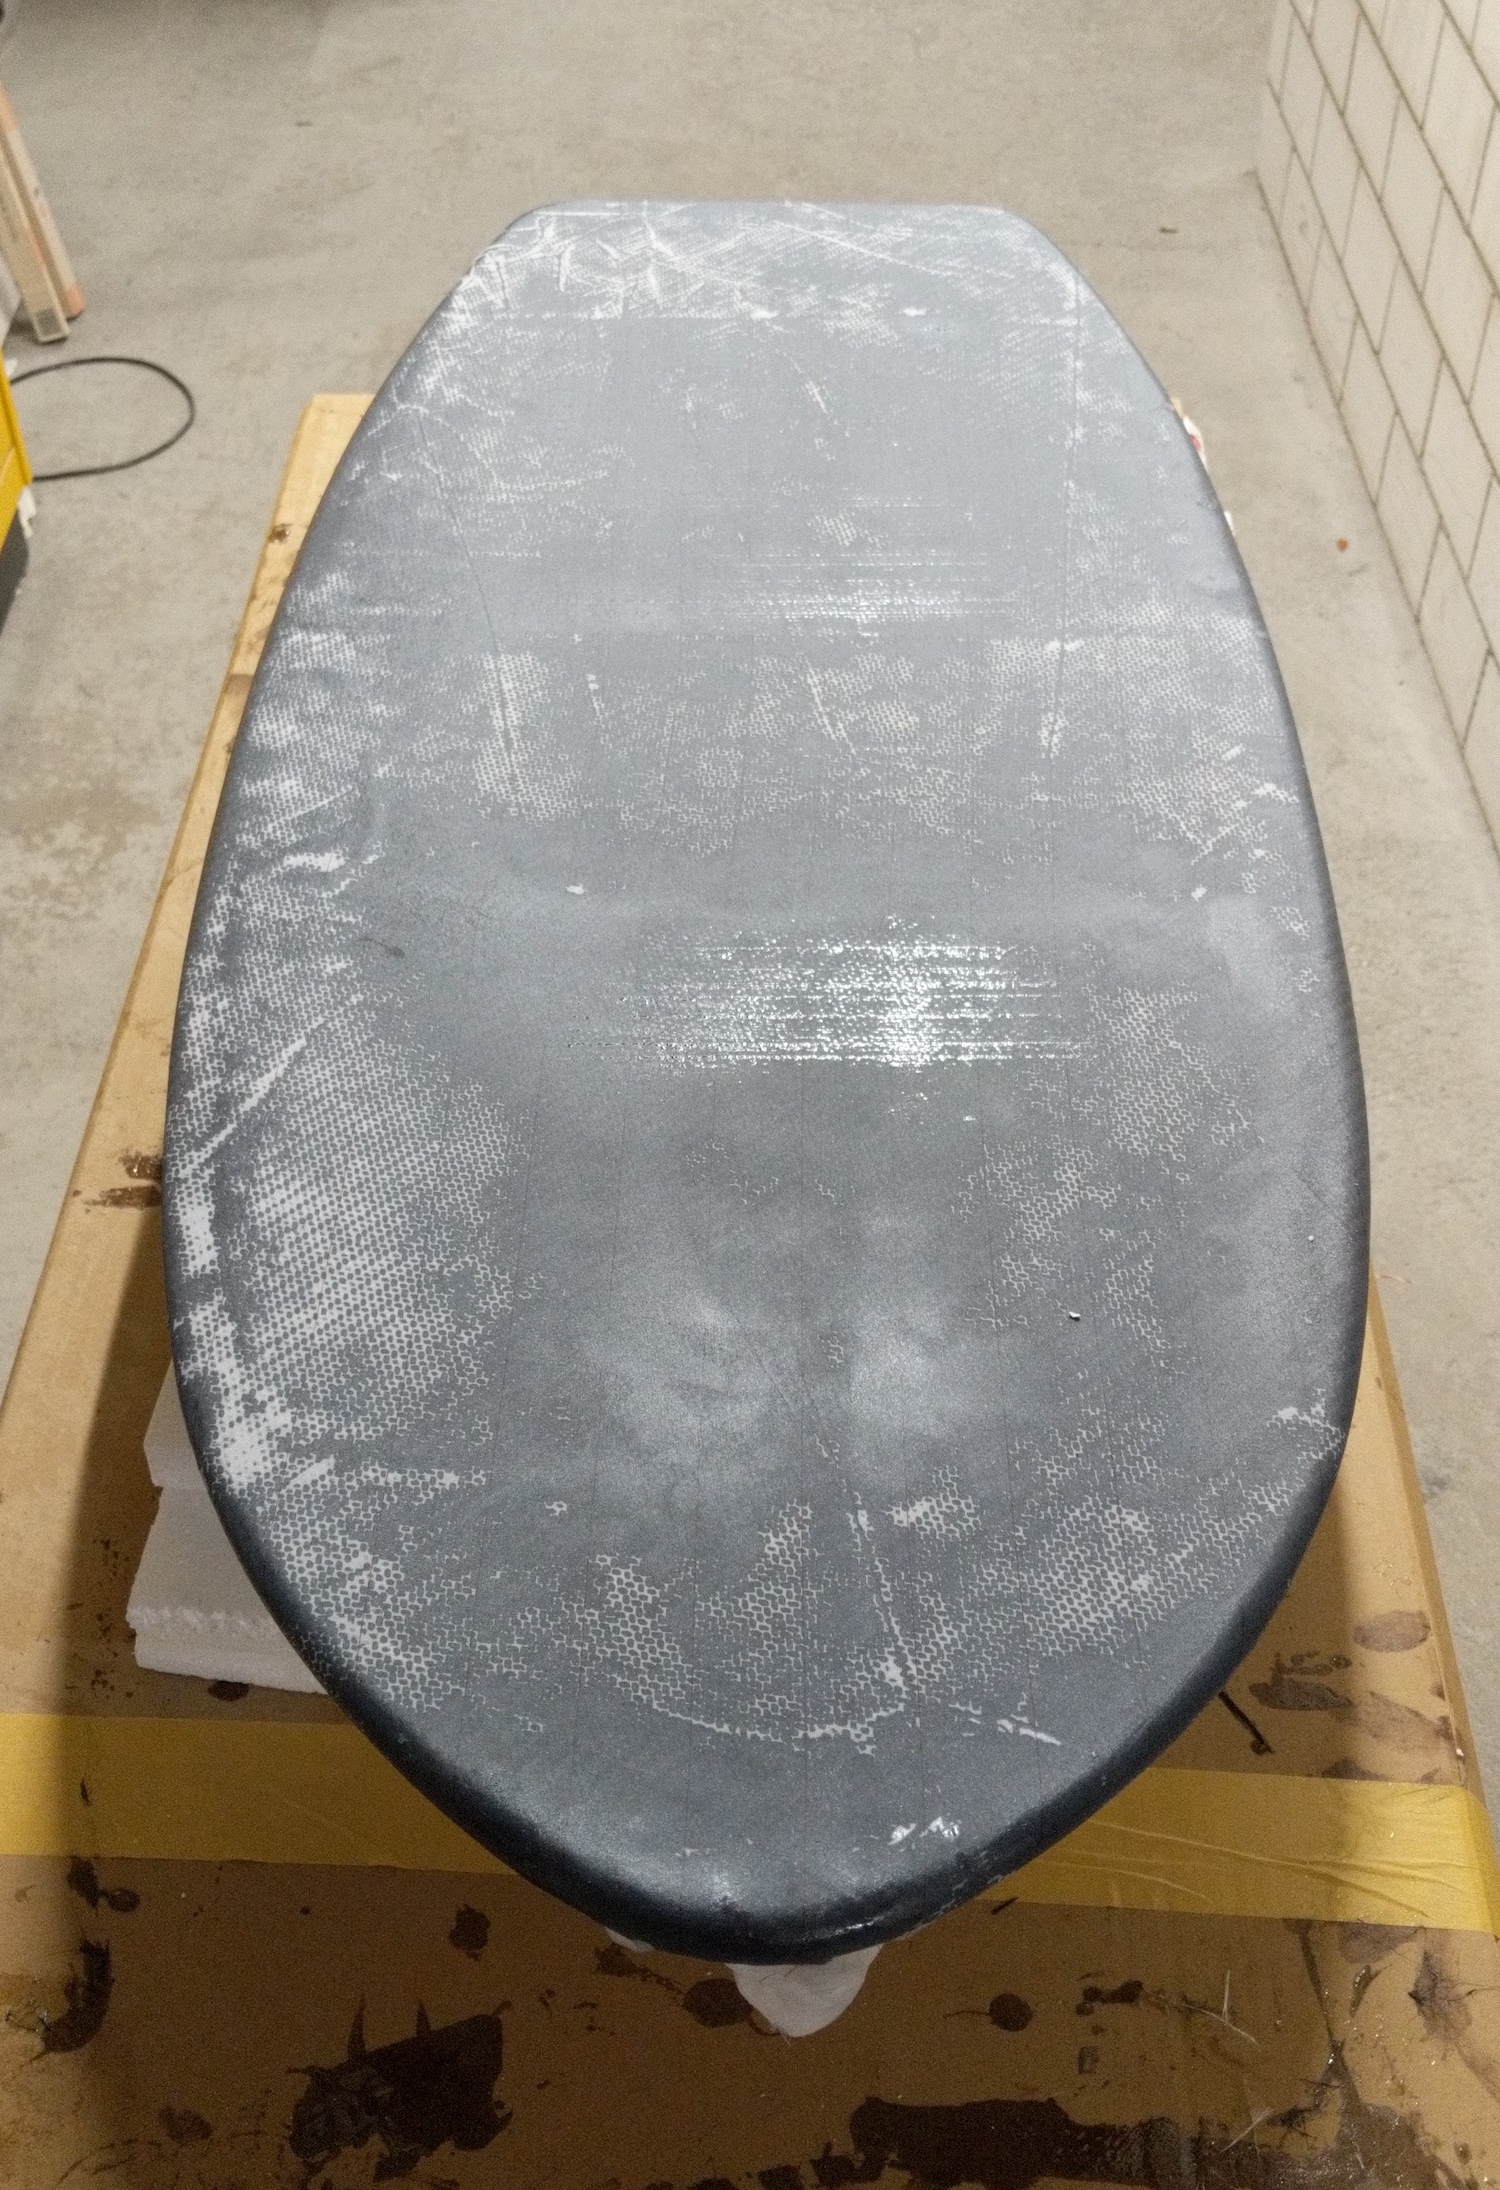
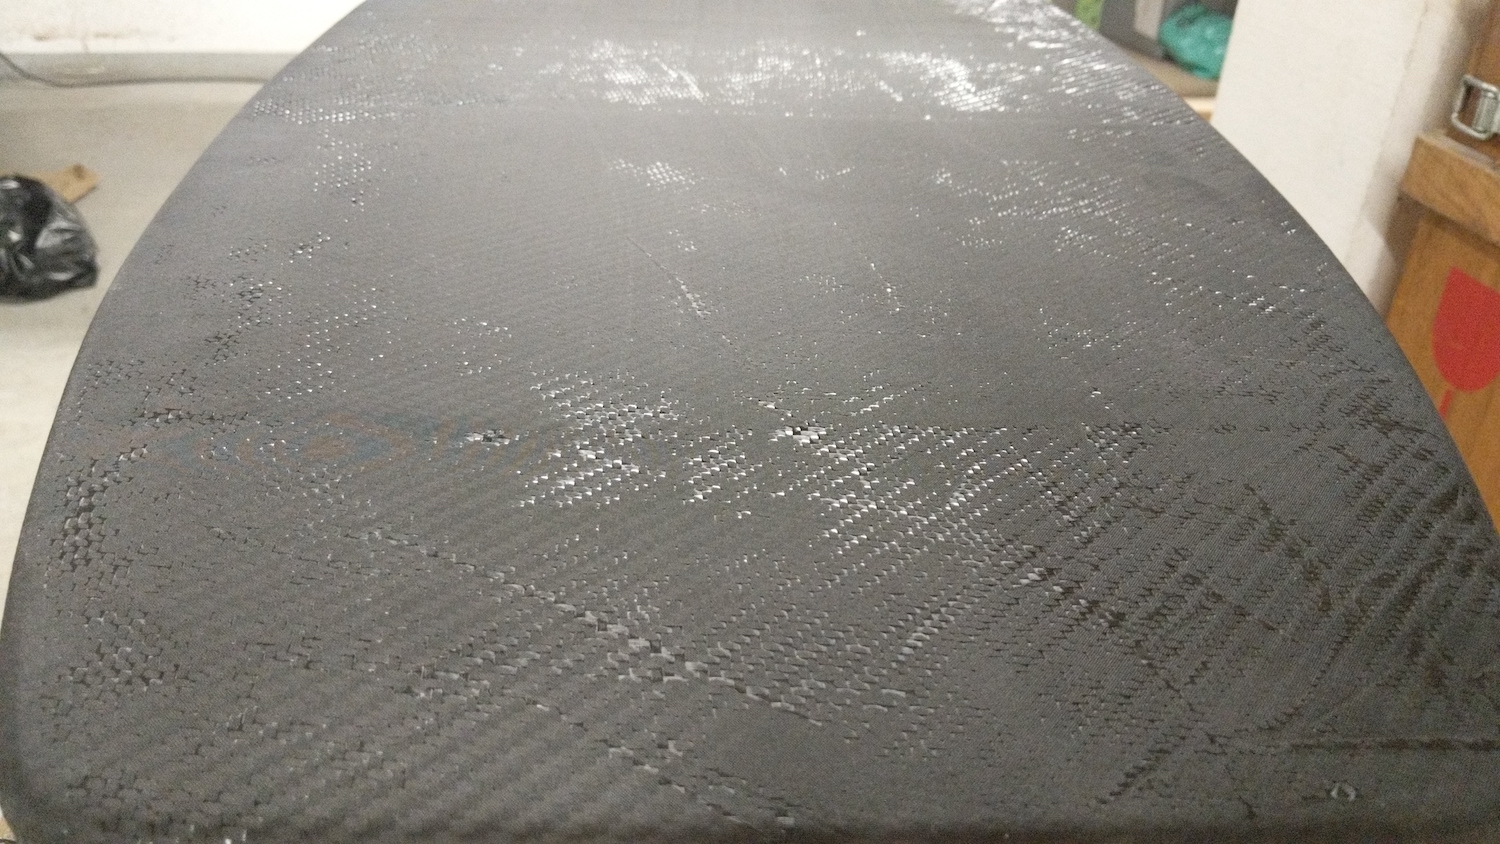
After hot coating
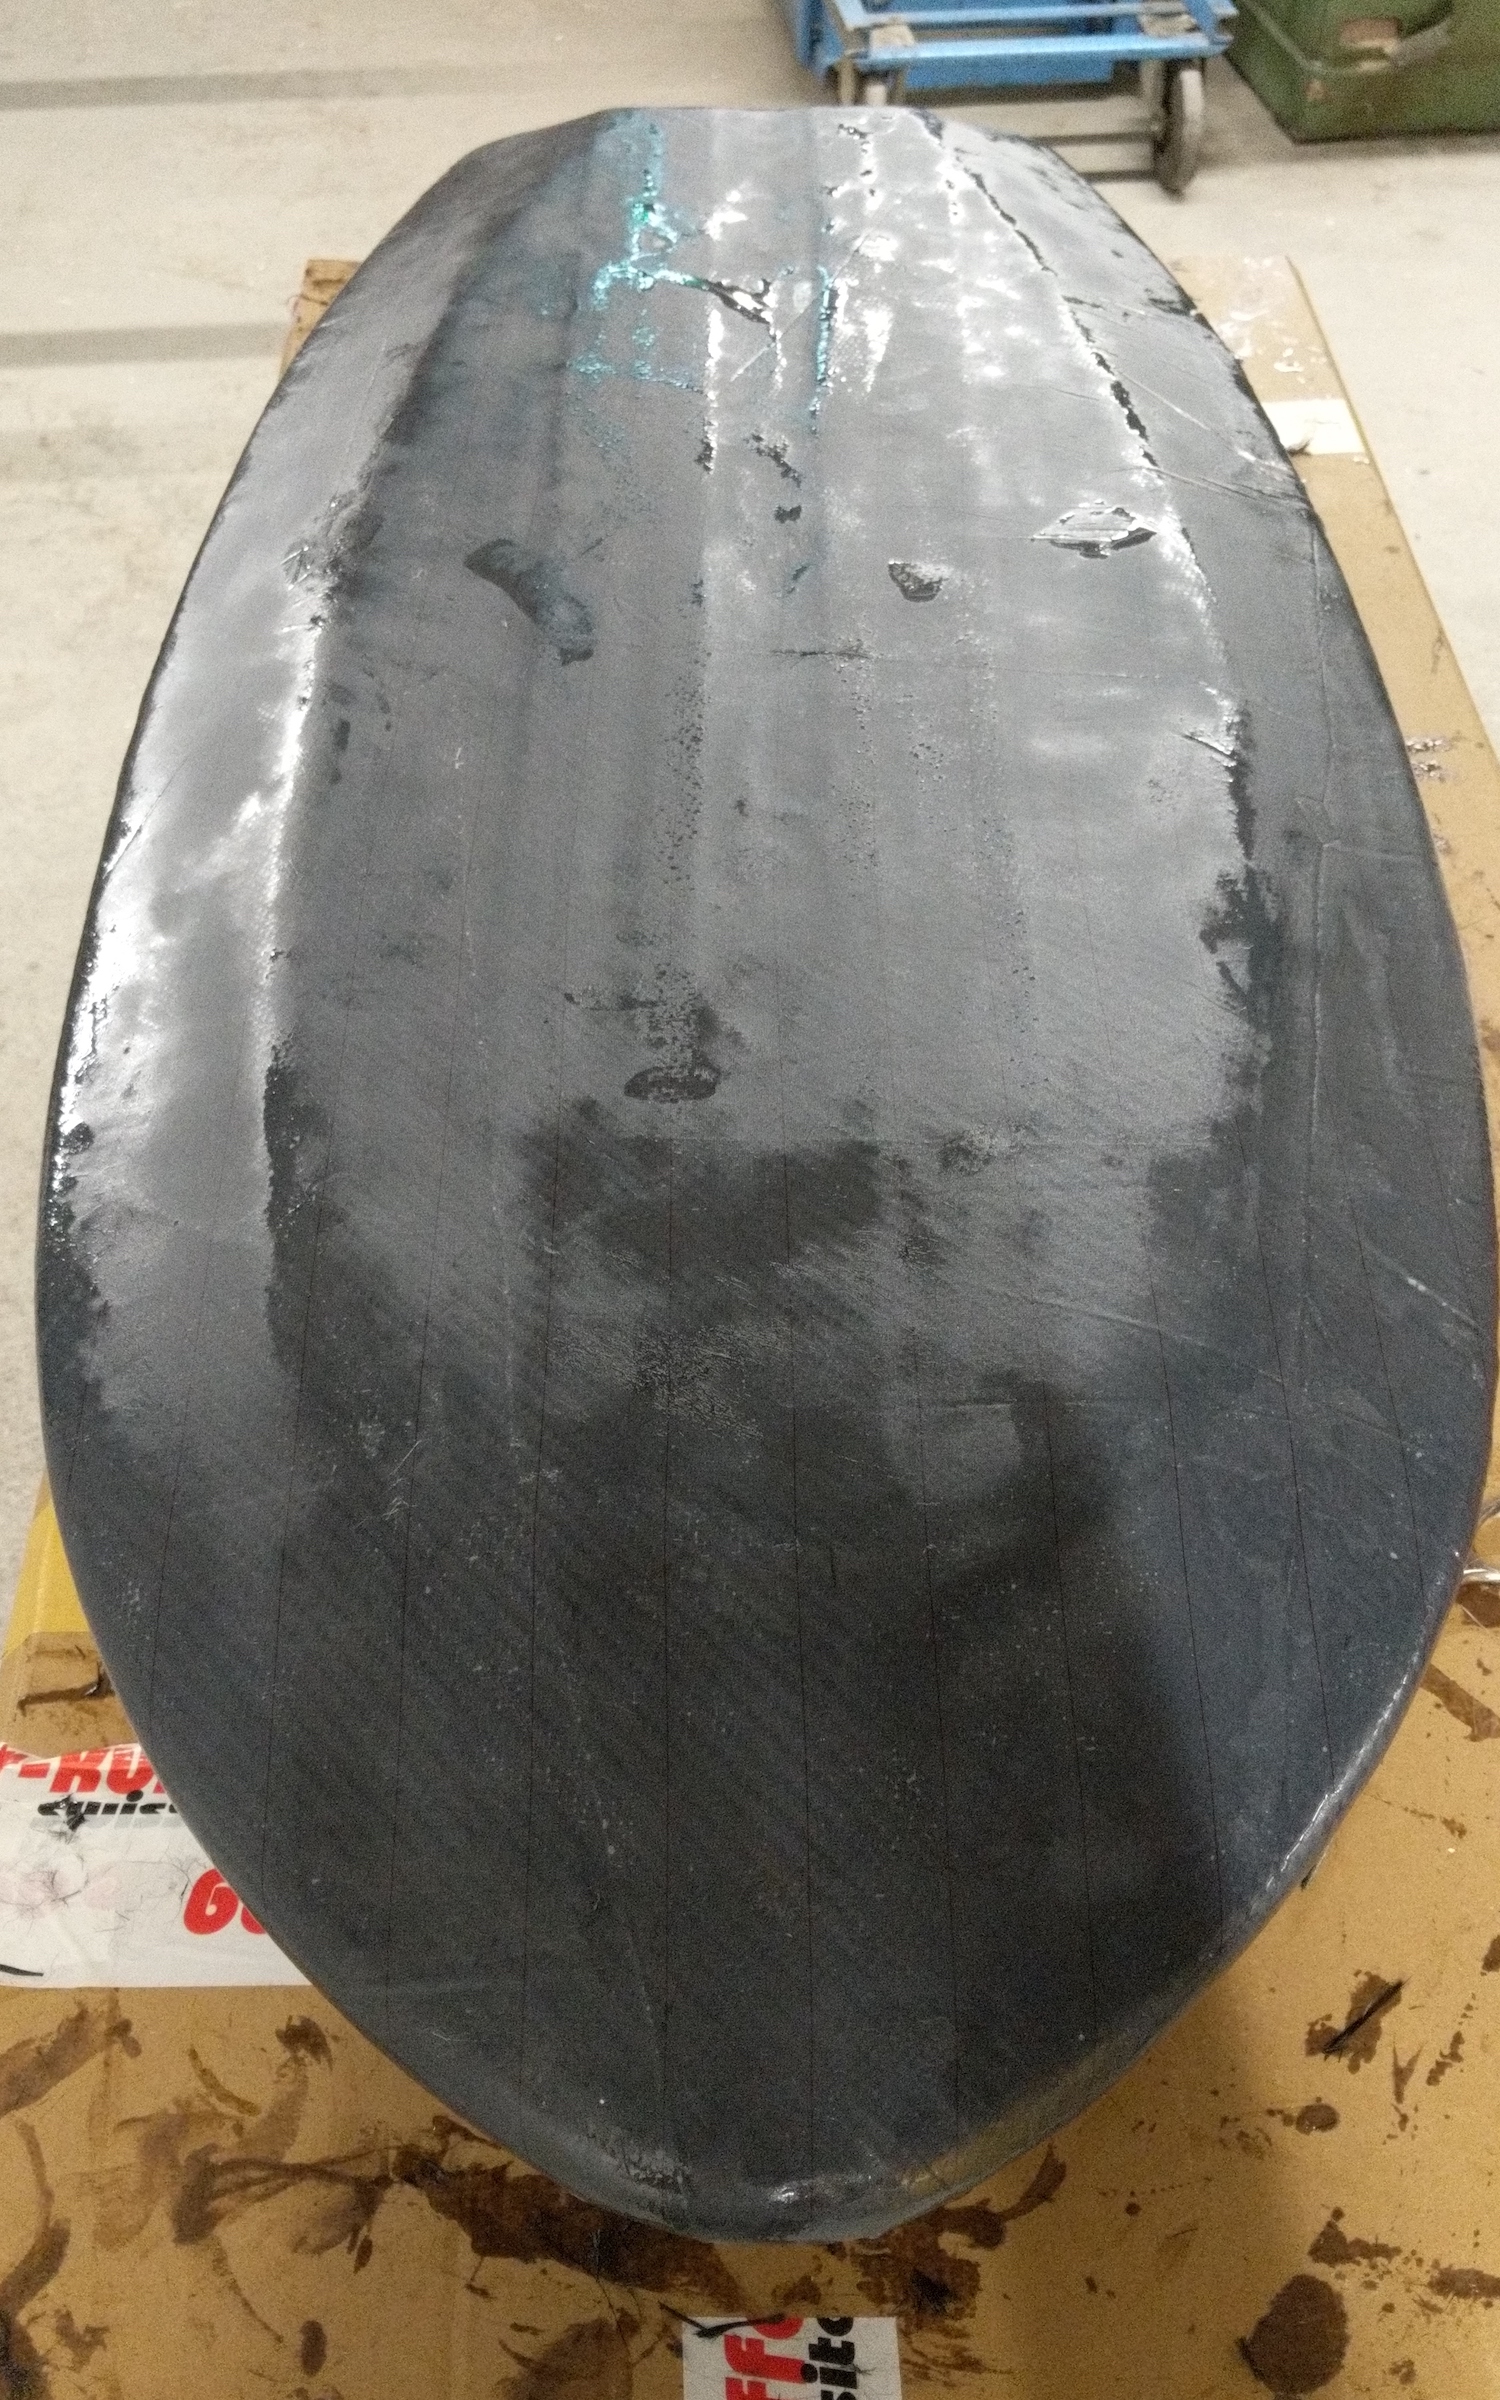
Bottom and top side after sanding
Step 8 - More sanding and finish
Sanding, sanding and more sanding.. The paint job is just a thin layer of white paint from the do-it-yourself market. The stickers were applied with decal paper and a layer of transparent spray coat. For the grip pads, I can recommend AliExpress. The ones that can be bought there are exactly the sames as the ones sold for 5x the price in some places here in the EU.
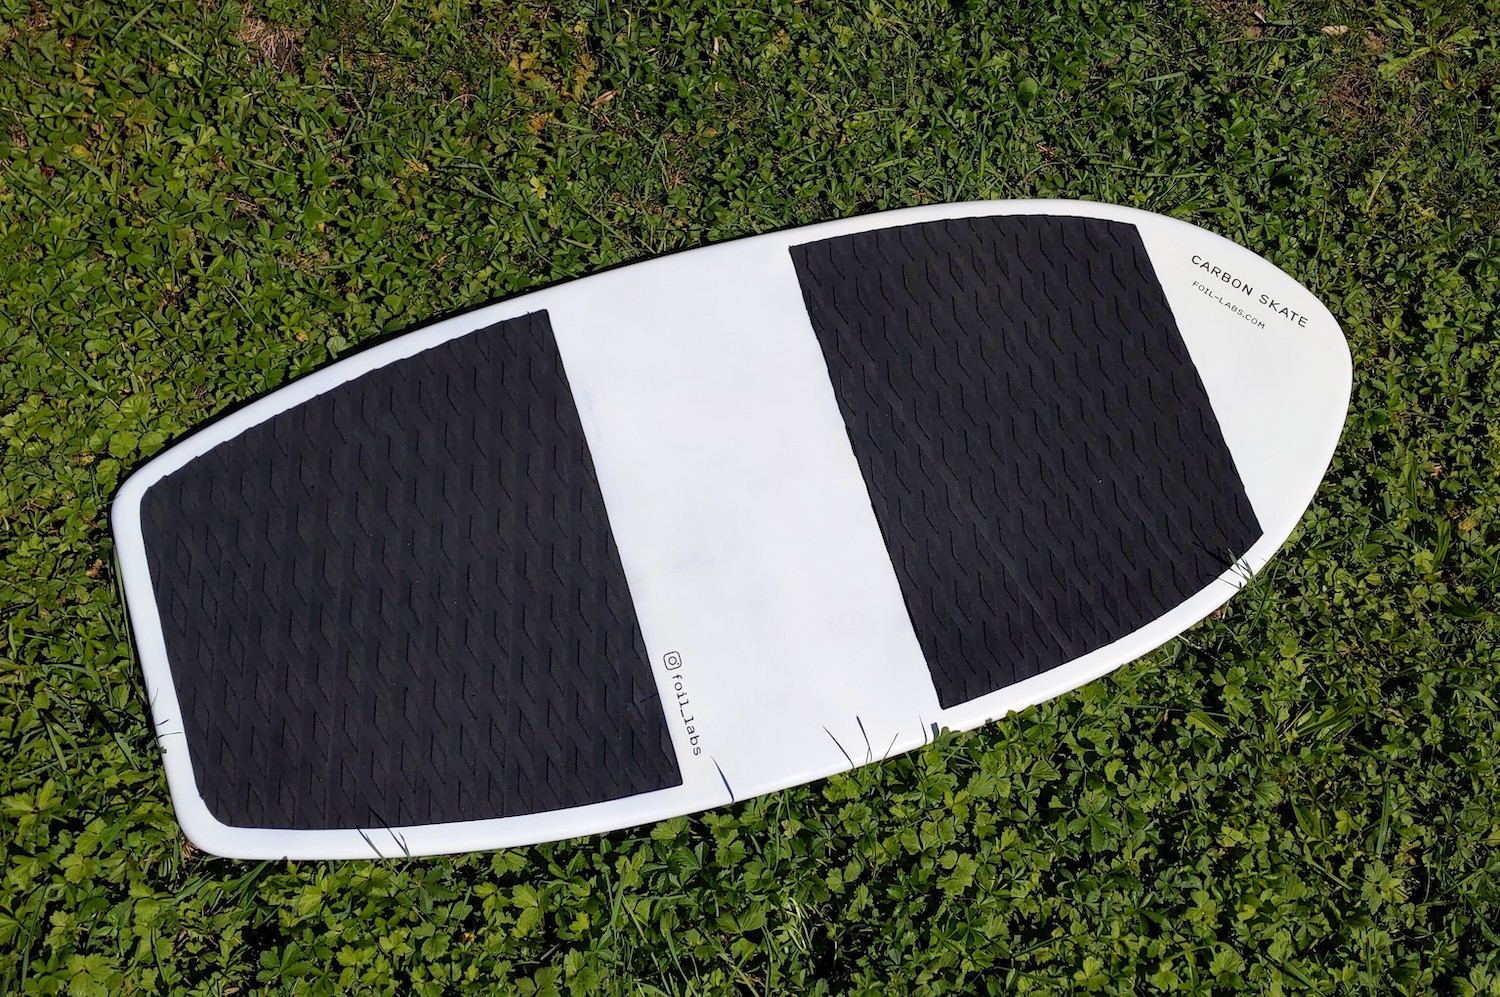
At the time of writing, I have been using the board for about a year without any issues, so the build is tested and solid. The spray-painted board came out to be 2130g heavy.
Happy building!