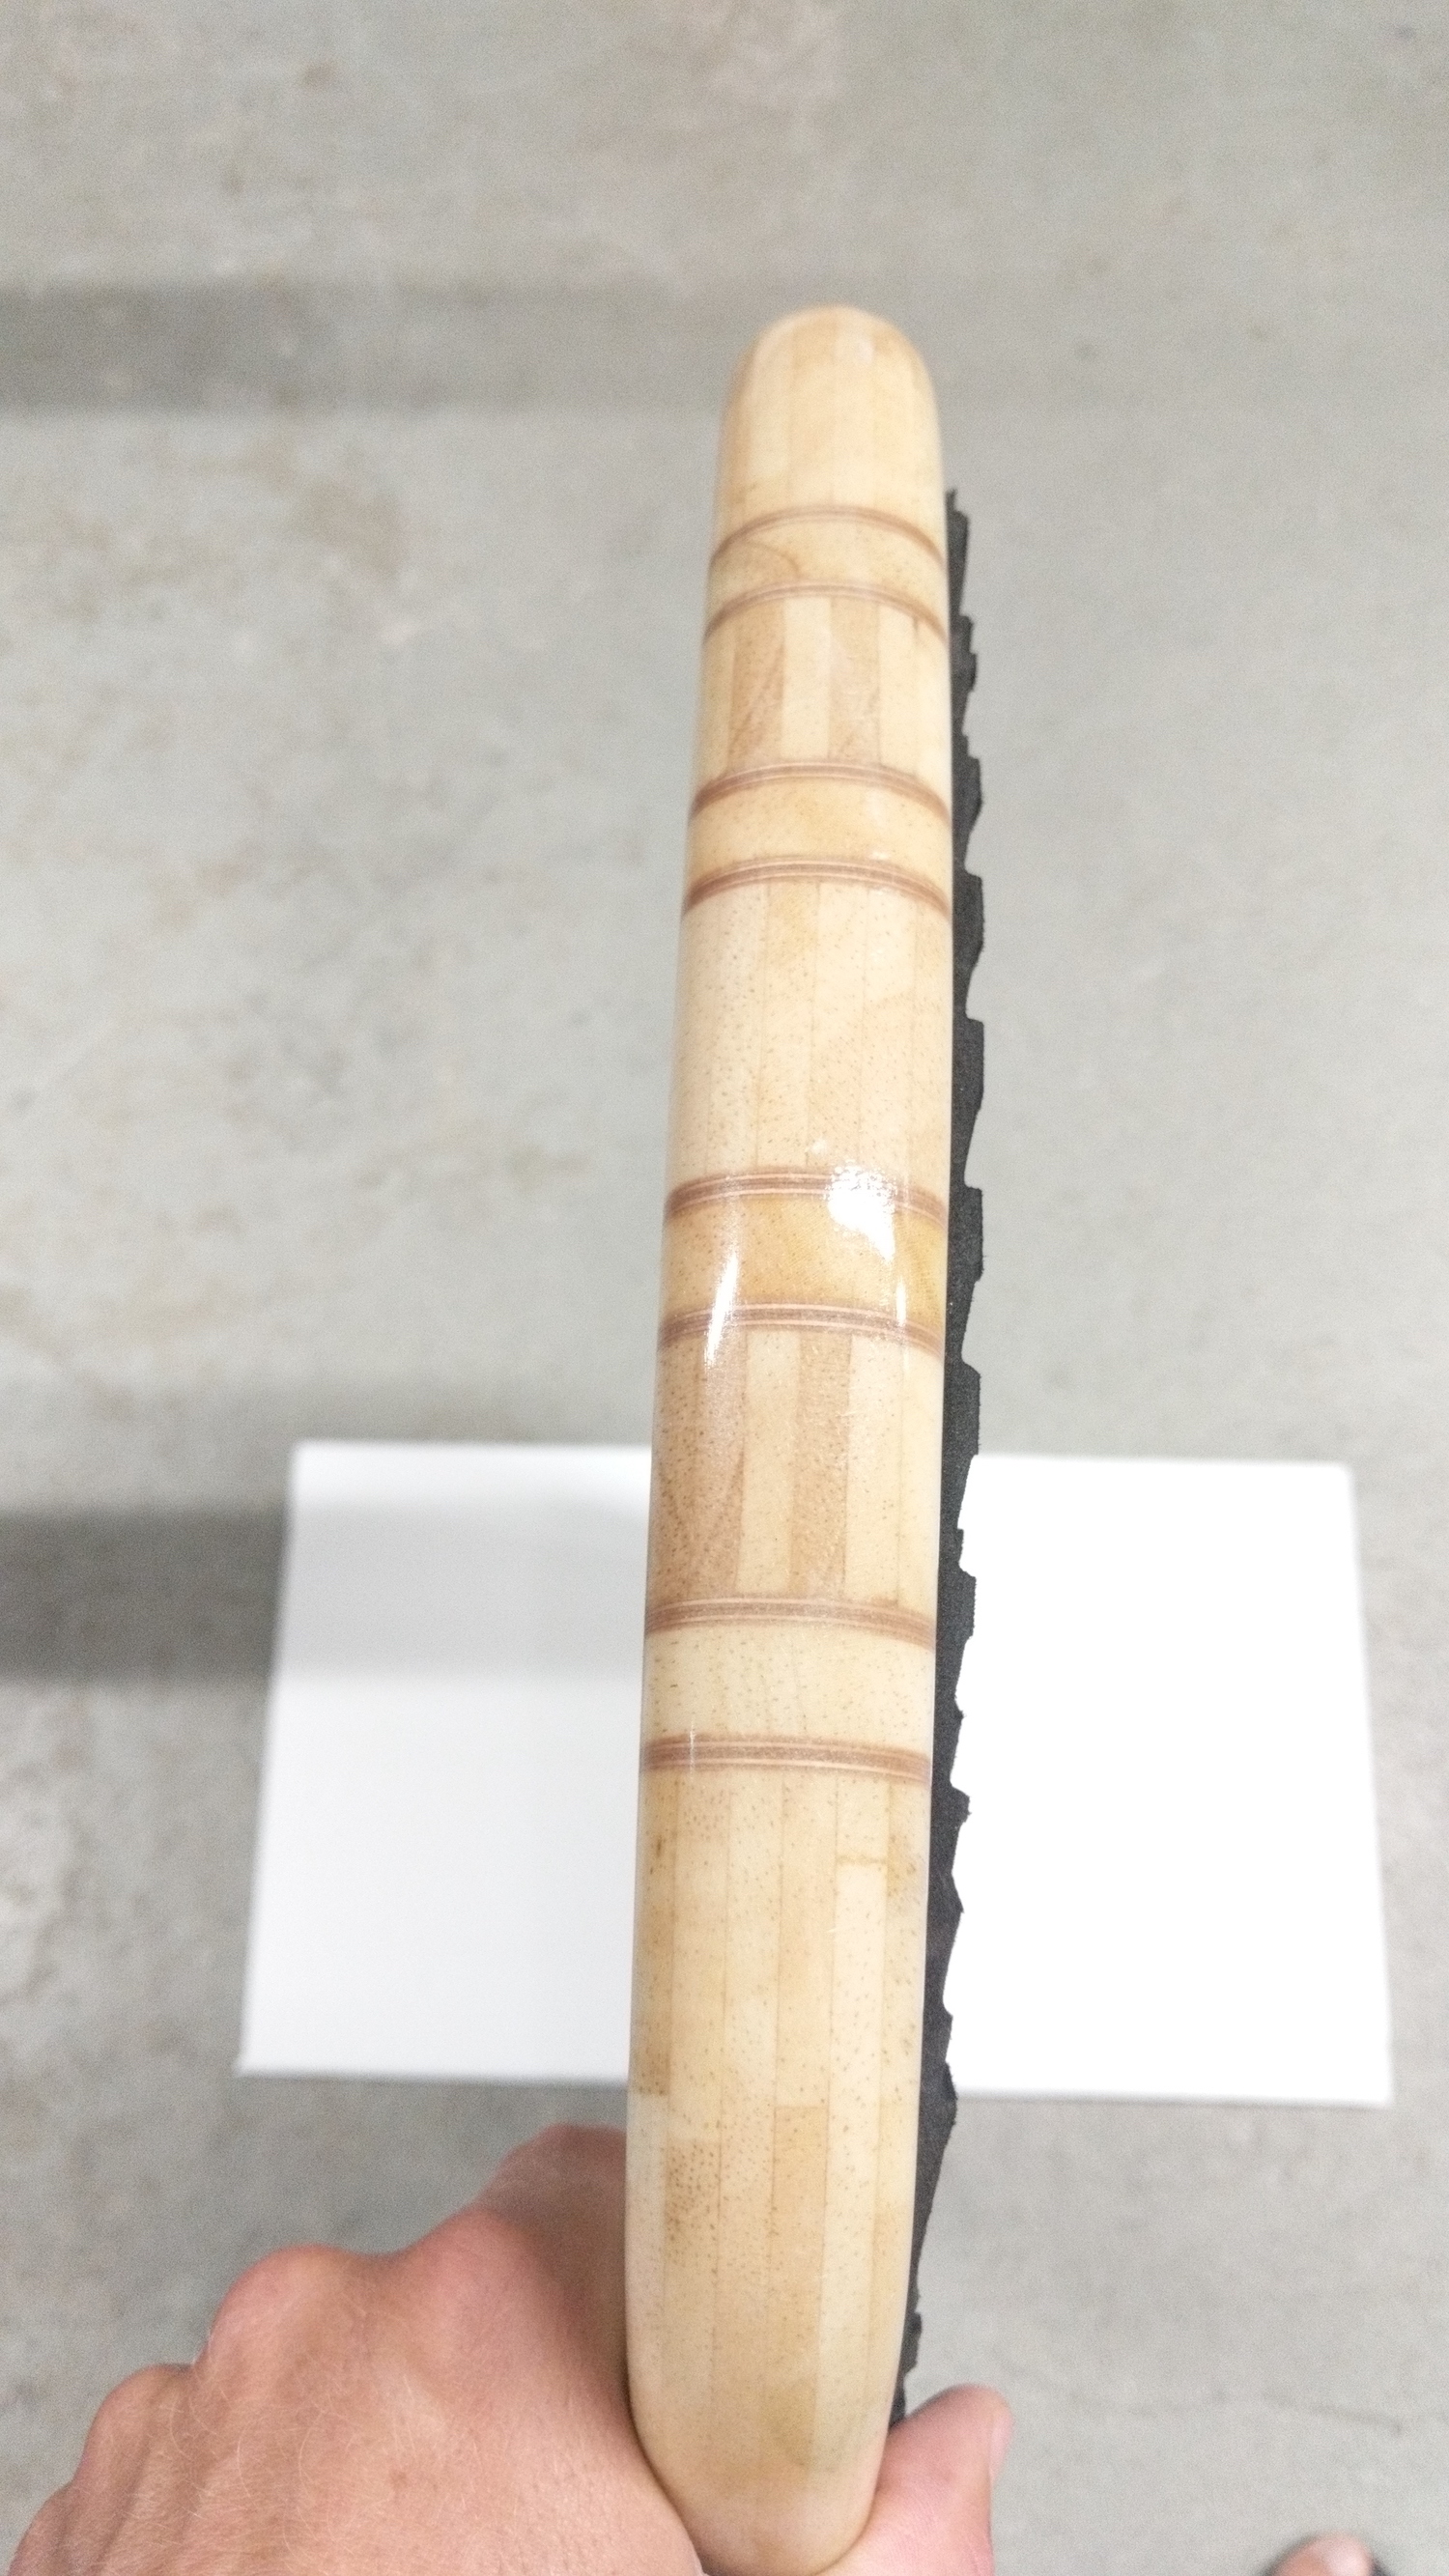
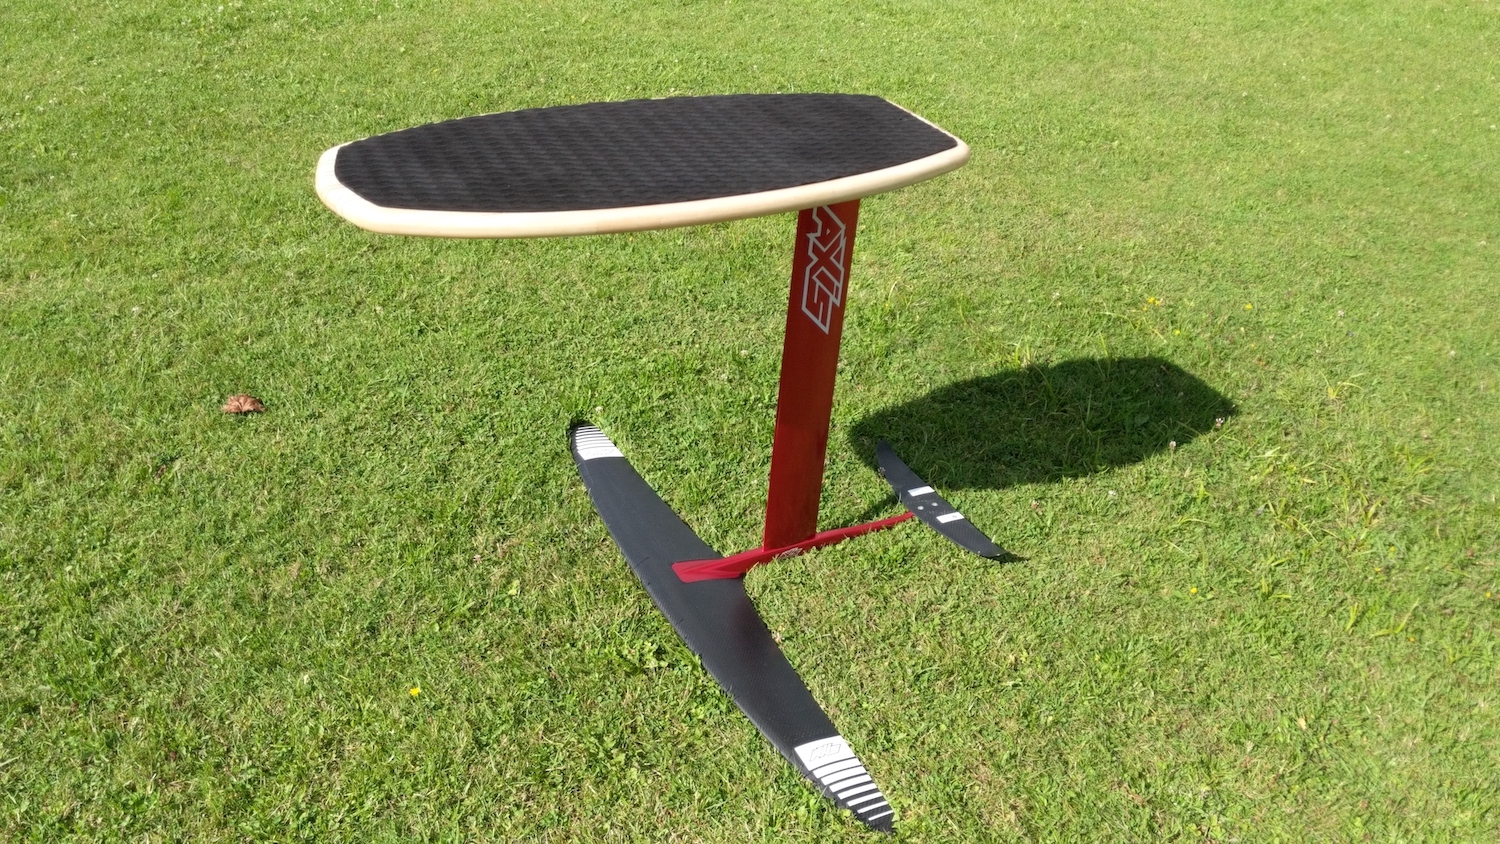
After seeing a friend's Balsa surfboard I was immediately hooked and had to build my own for pumping. The first sketch outlined a small and flat (no rocker) pumping board that I could easily transport with public transport or put in a travel bag without loosing too much space..
This was the first pencil sketch of the board (Sperrholz = plywood, Styro = 30 kg/m3 EPS foam):
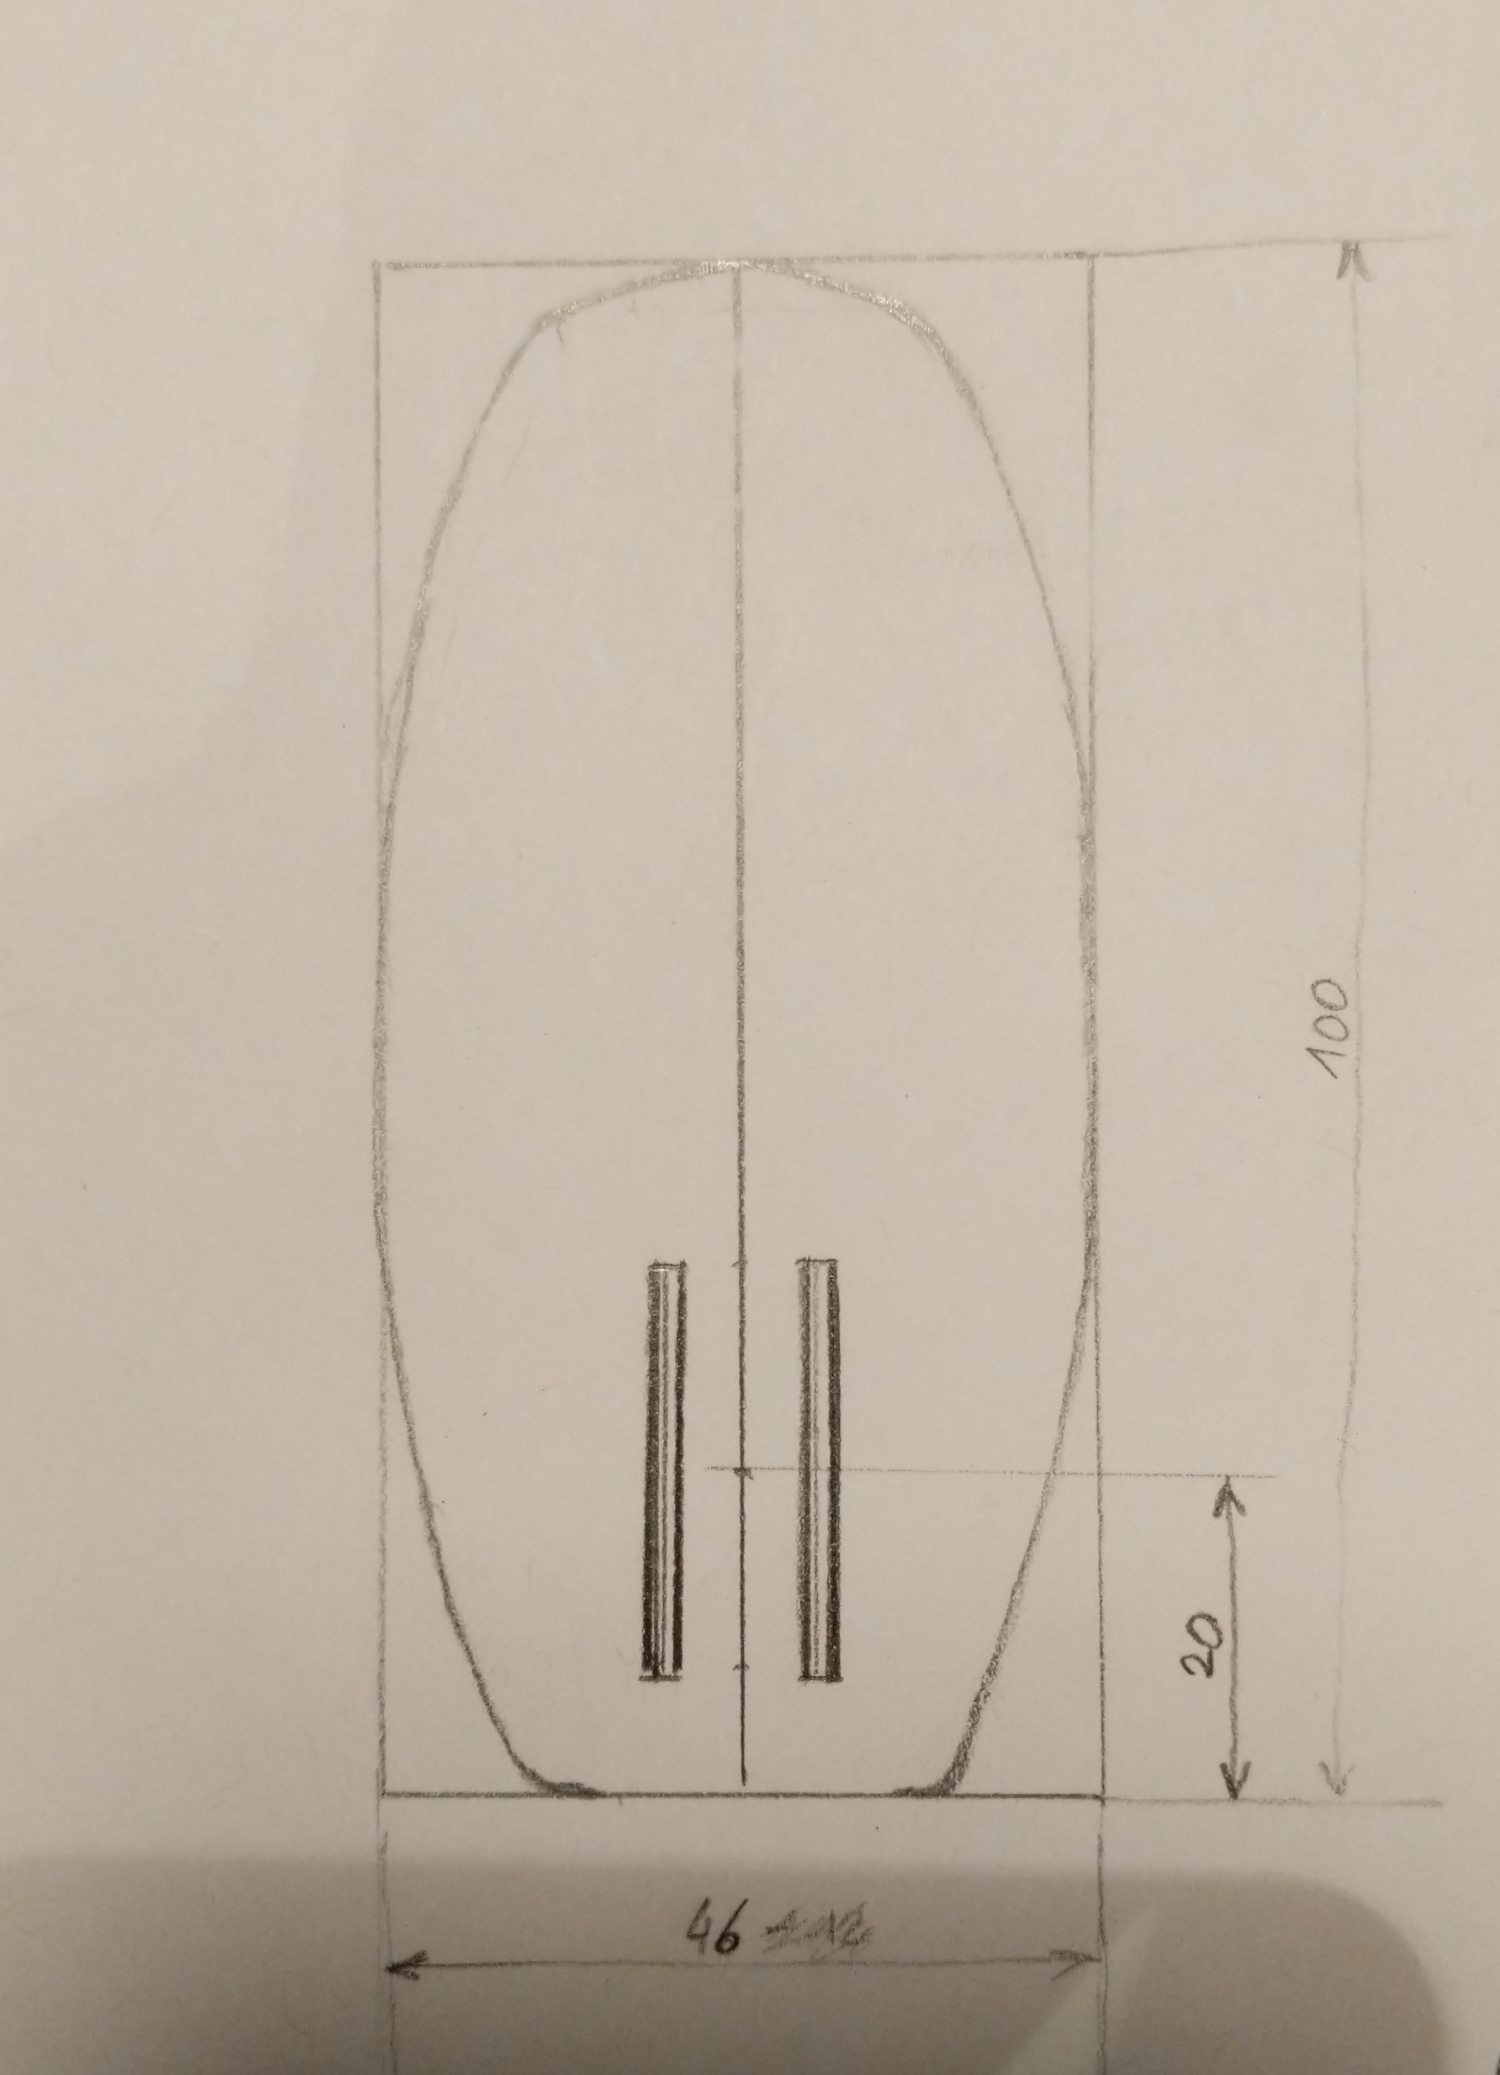
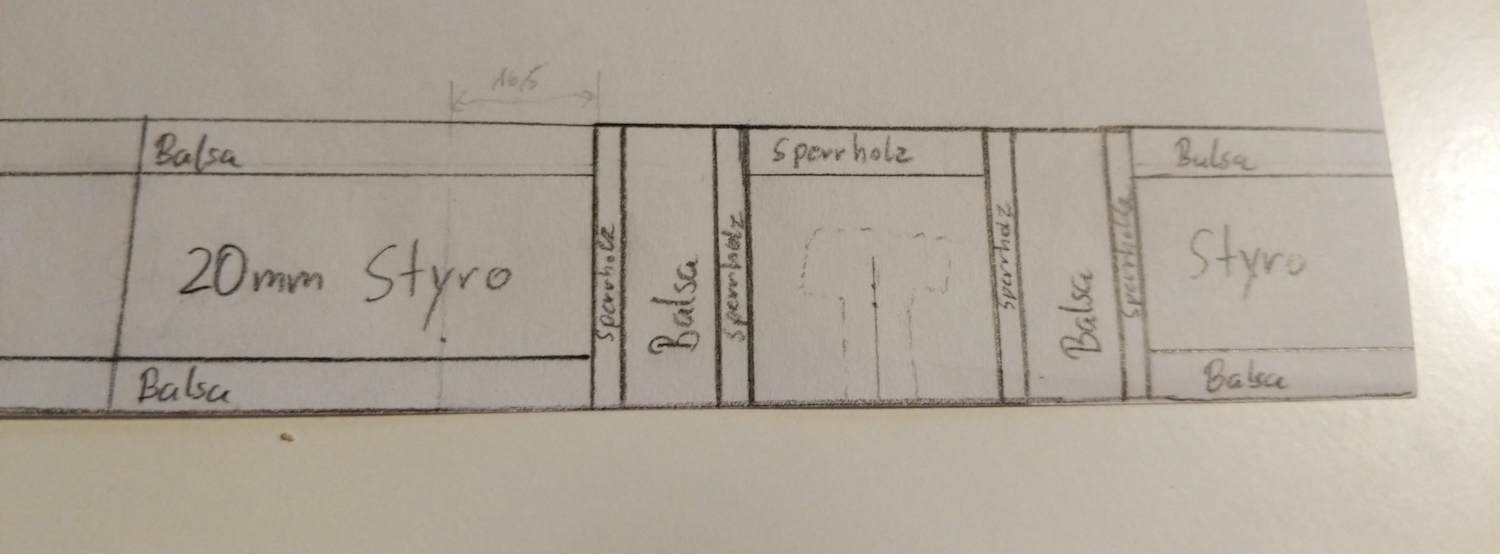
To aid in building I decided to digitize it and make a PDF out of it that could be printed.

The PDF of the sketch can be downloaded here if printed on a 55x110cm paper the scale is 1:1.
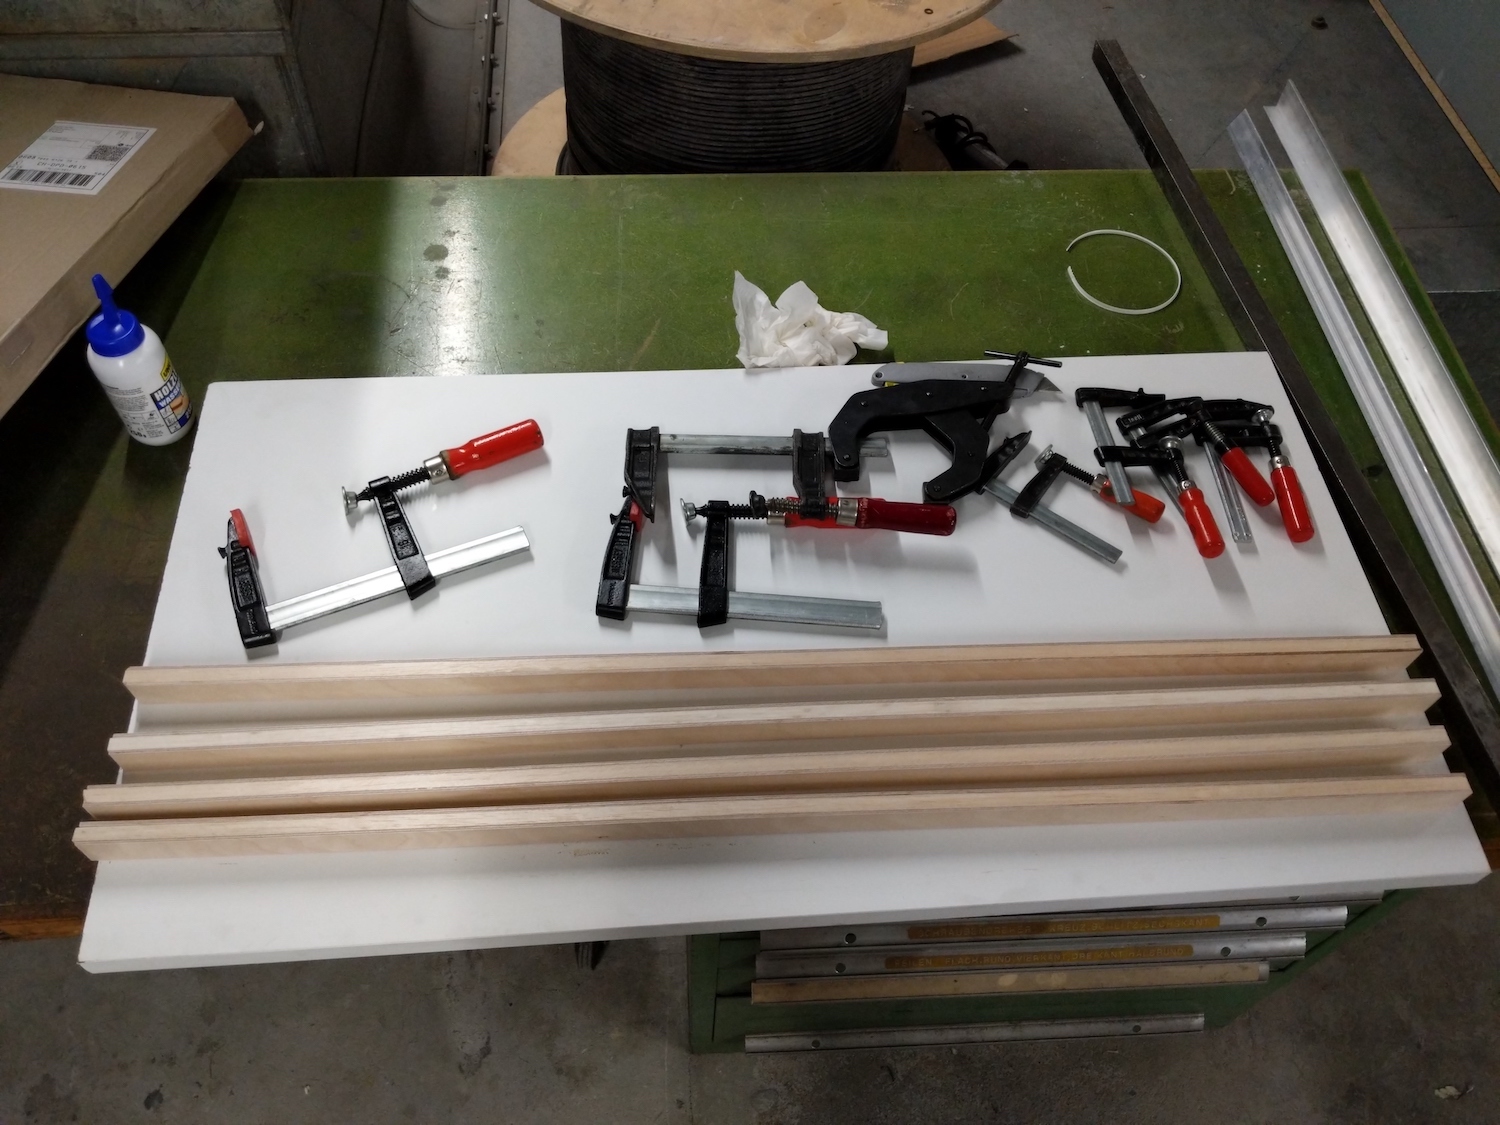
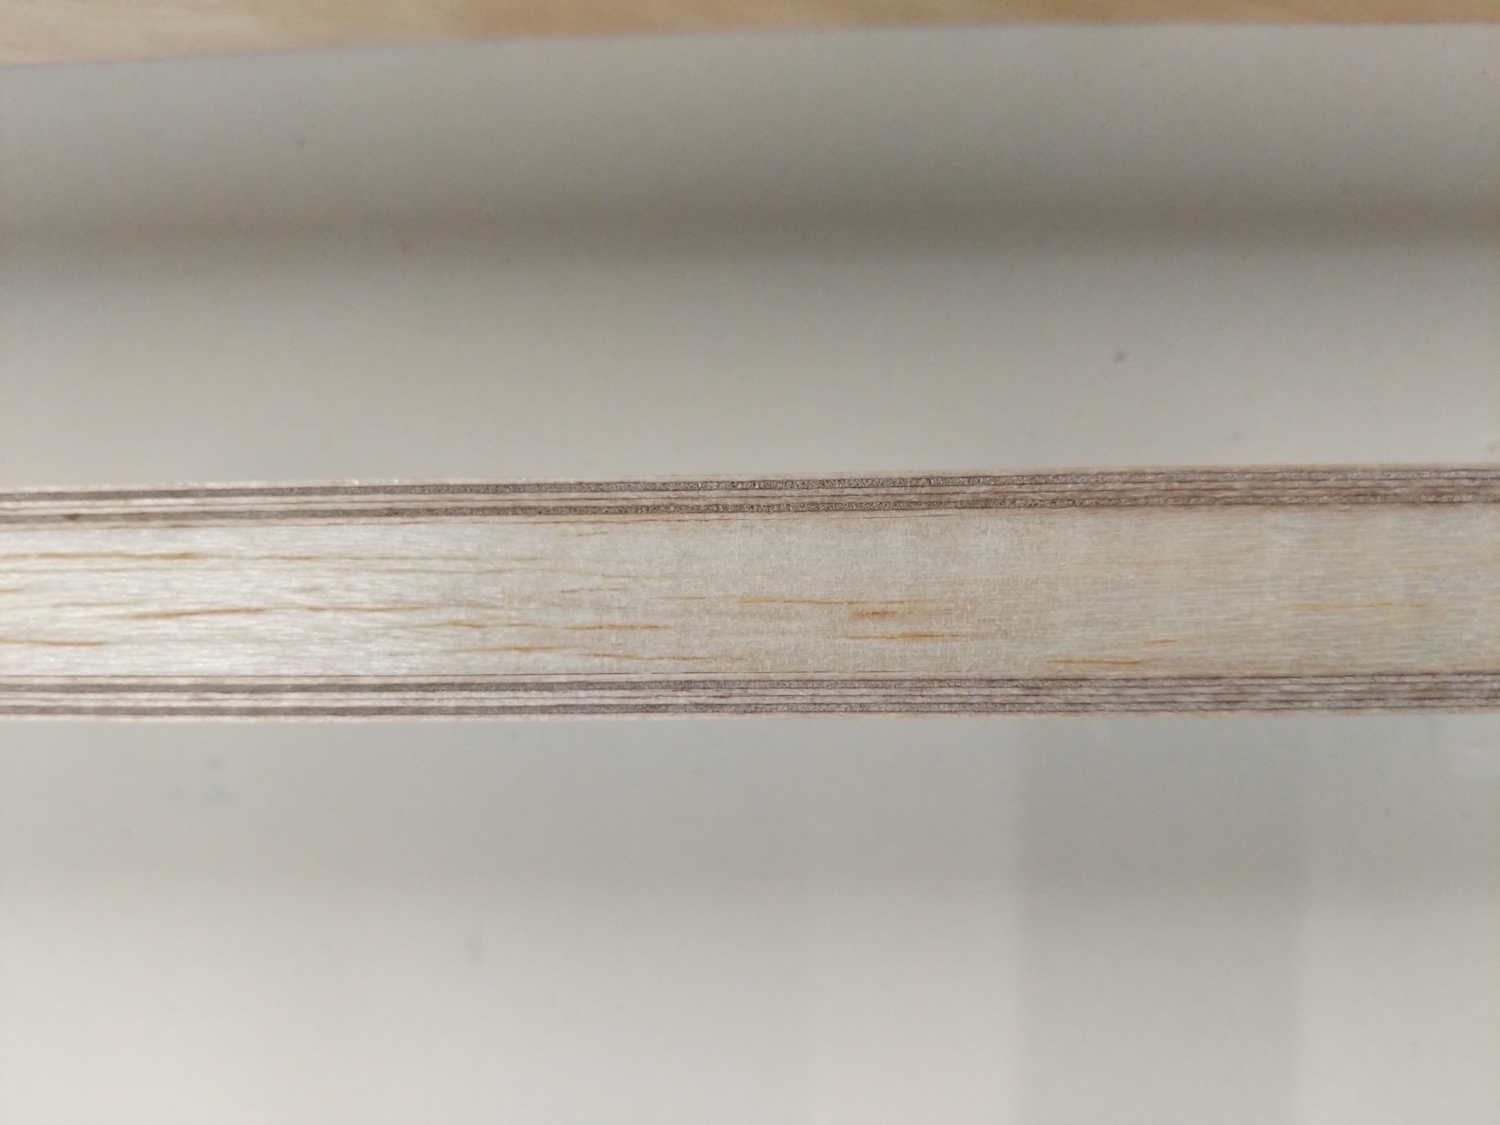
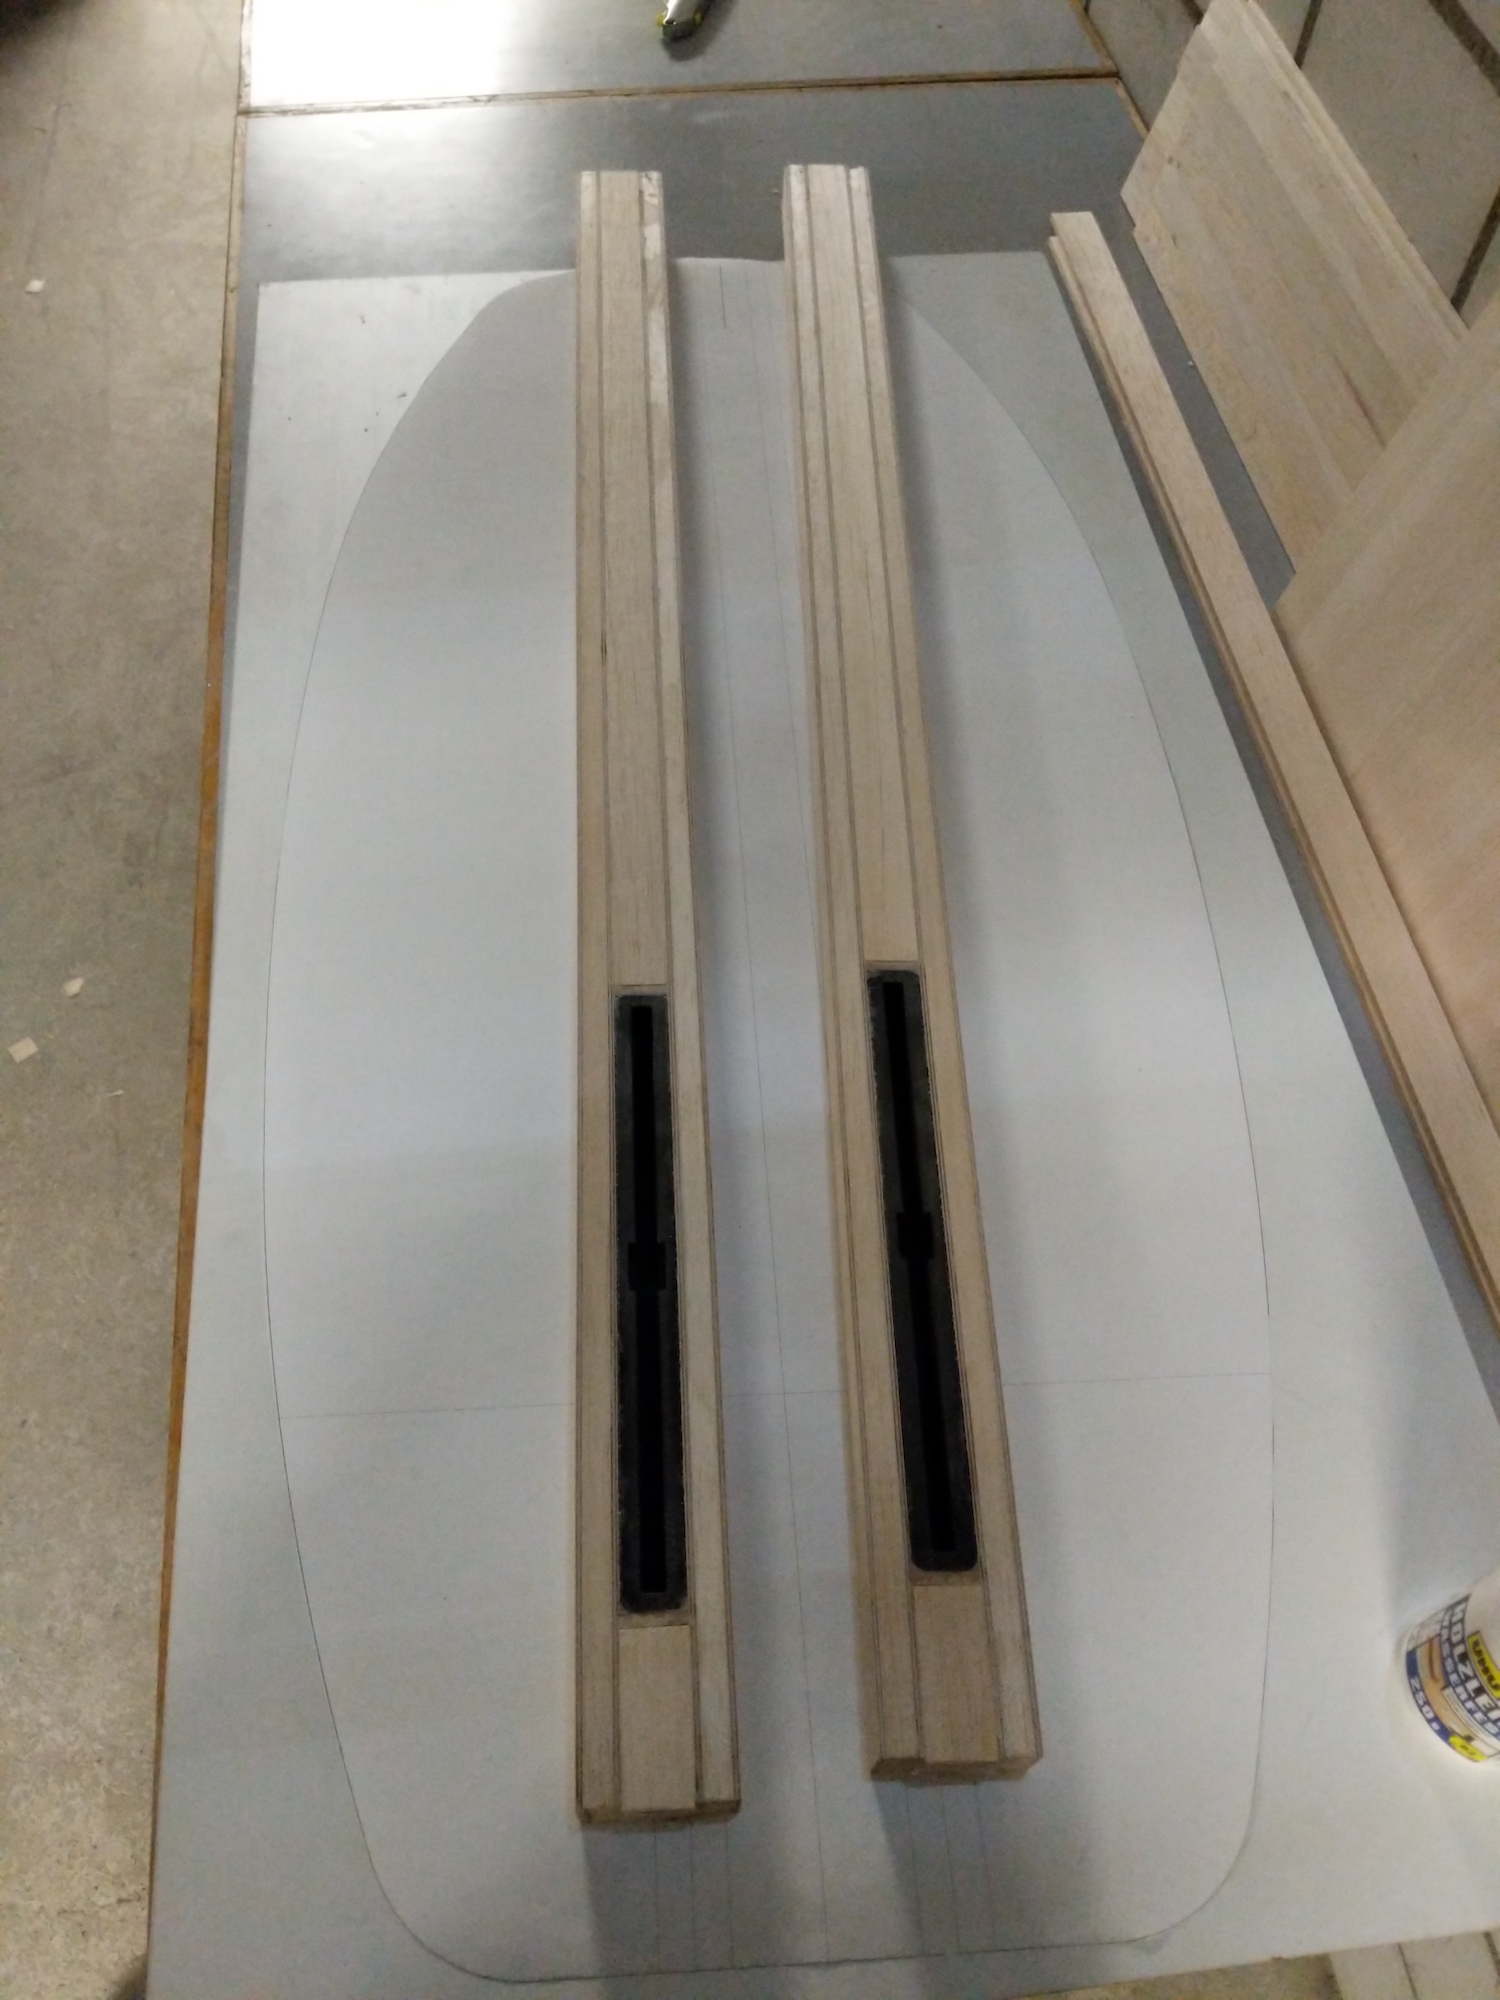
After ordering a bunch of wood from balsa.ch and the fin-boxes from Alibaba Express I started to make the stringers for the board. Those consisted of a 10x30 mm balsa bar with a 3 mm layer of plywood on each side. The stringers are meant to be the main mean of load distribution between the foil and the rider.

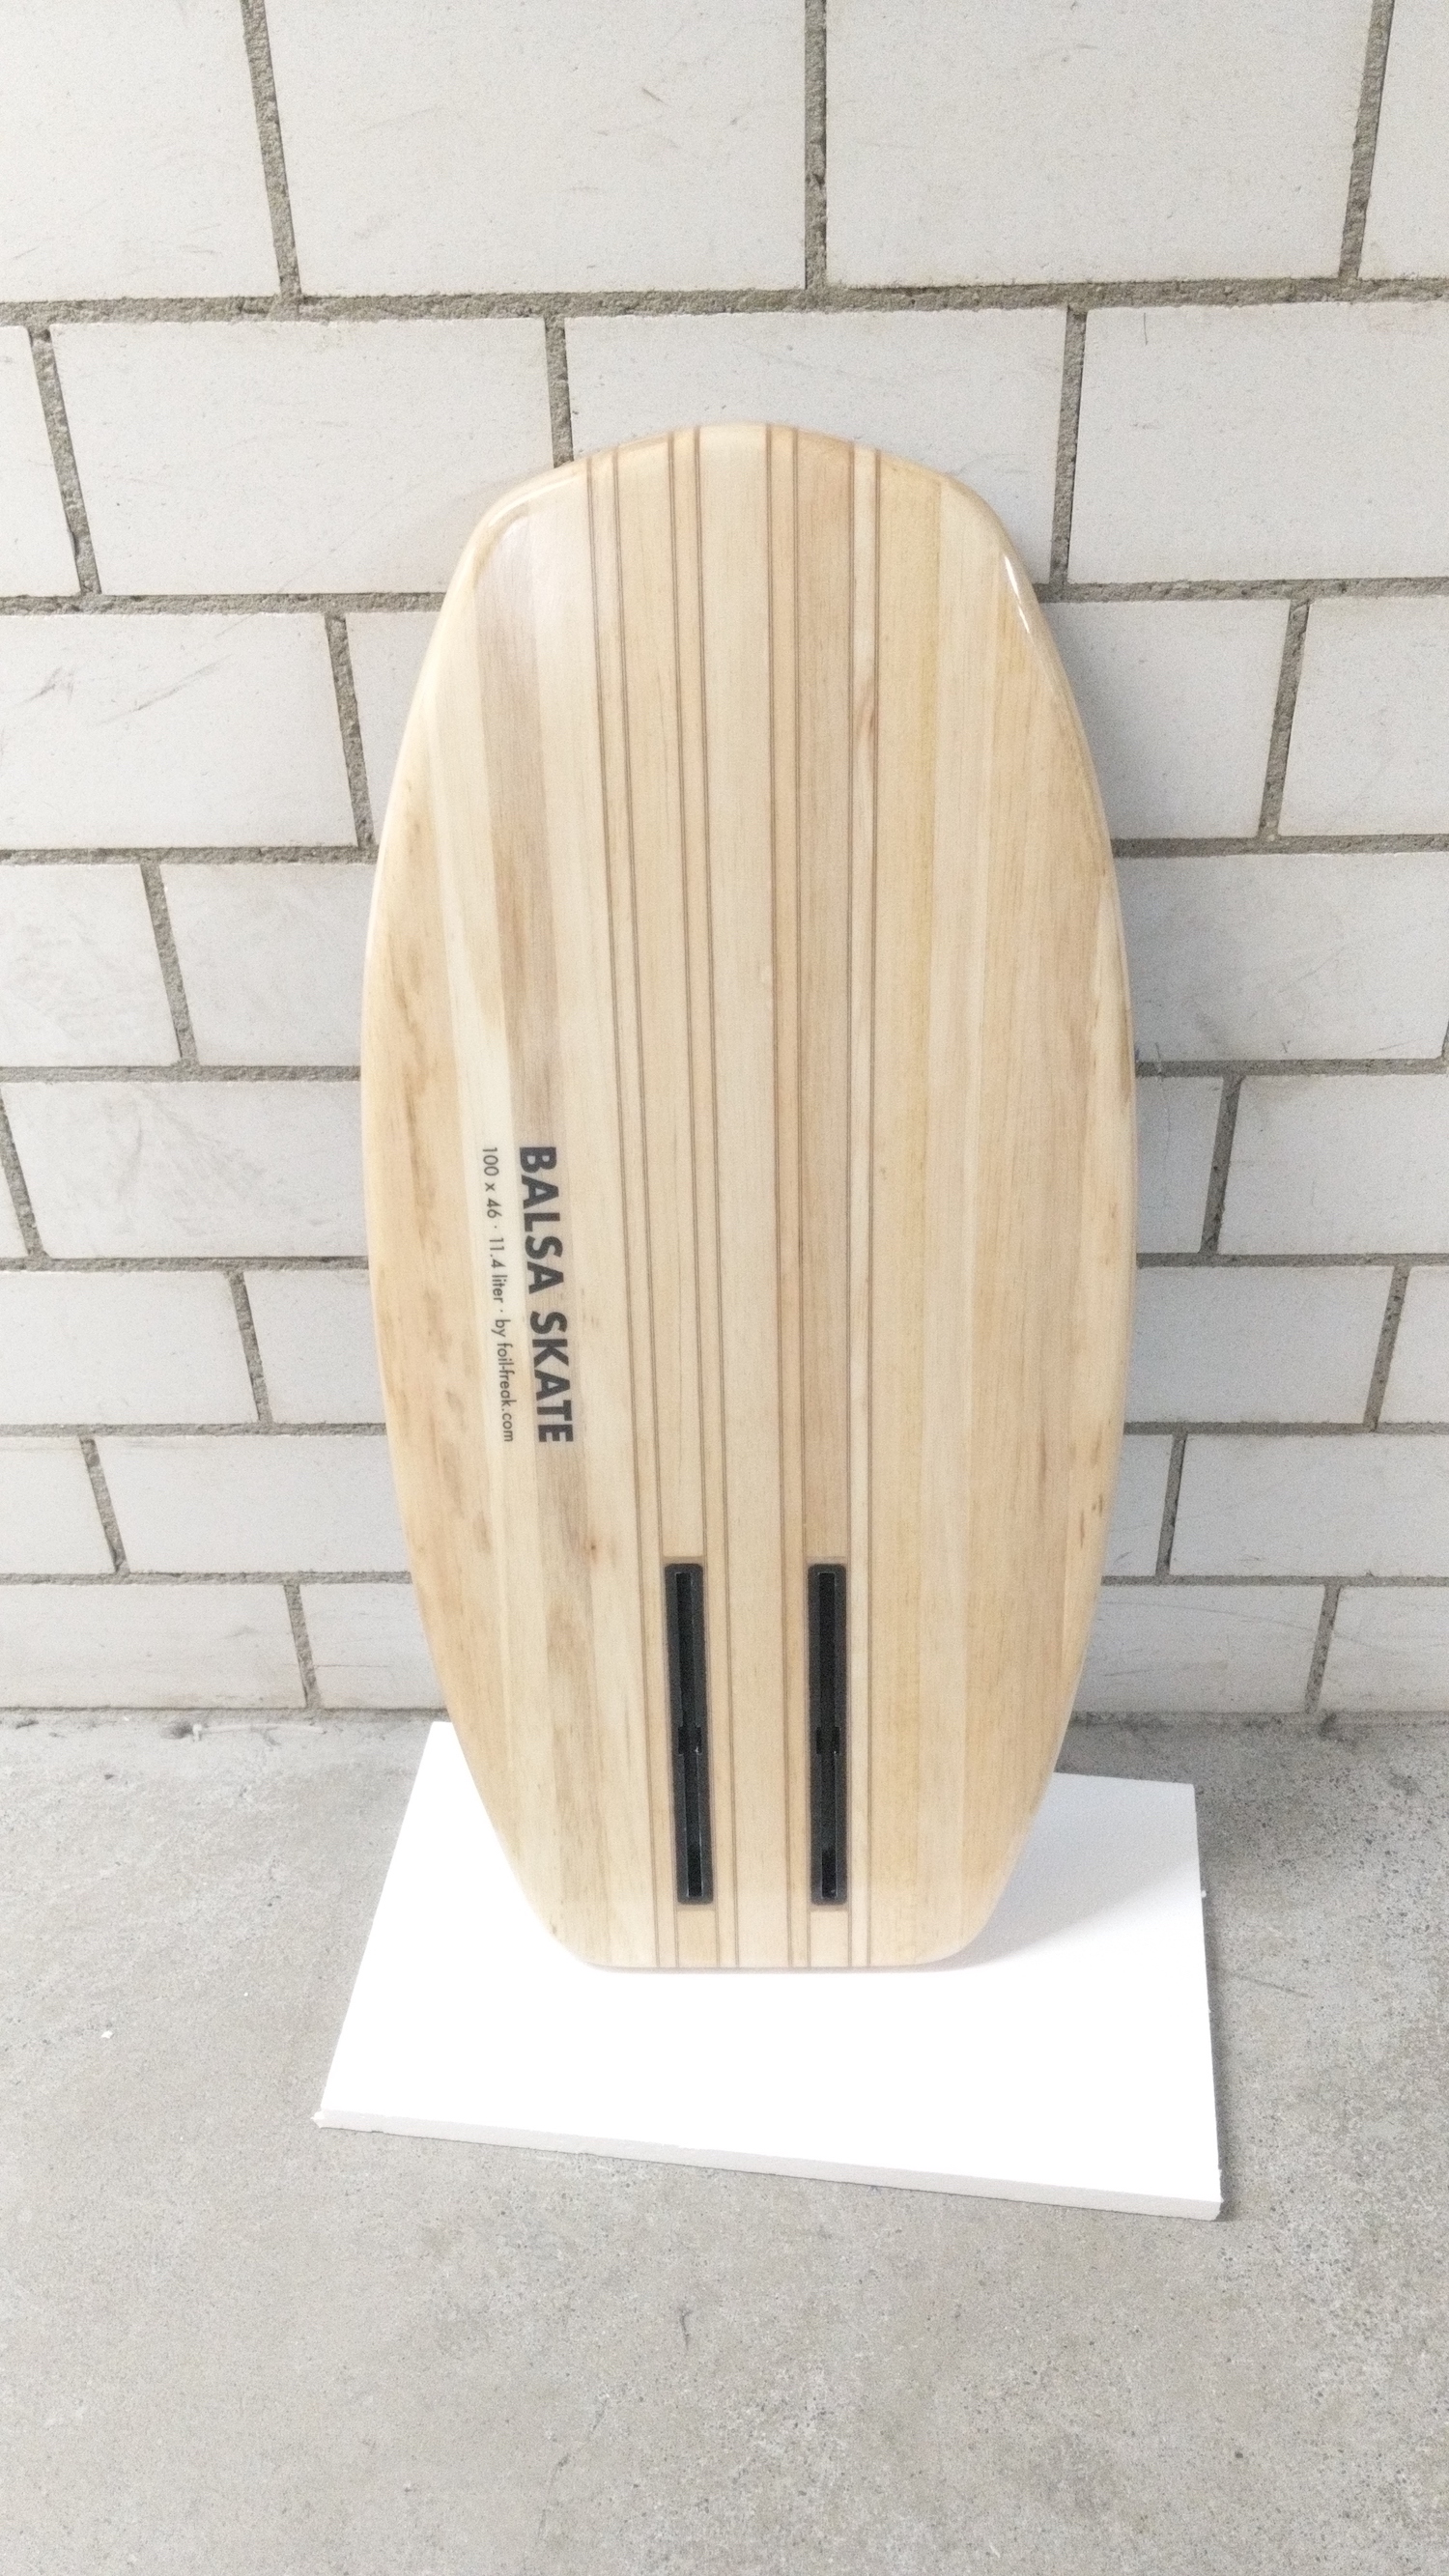
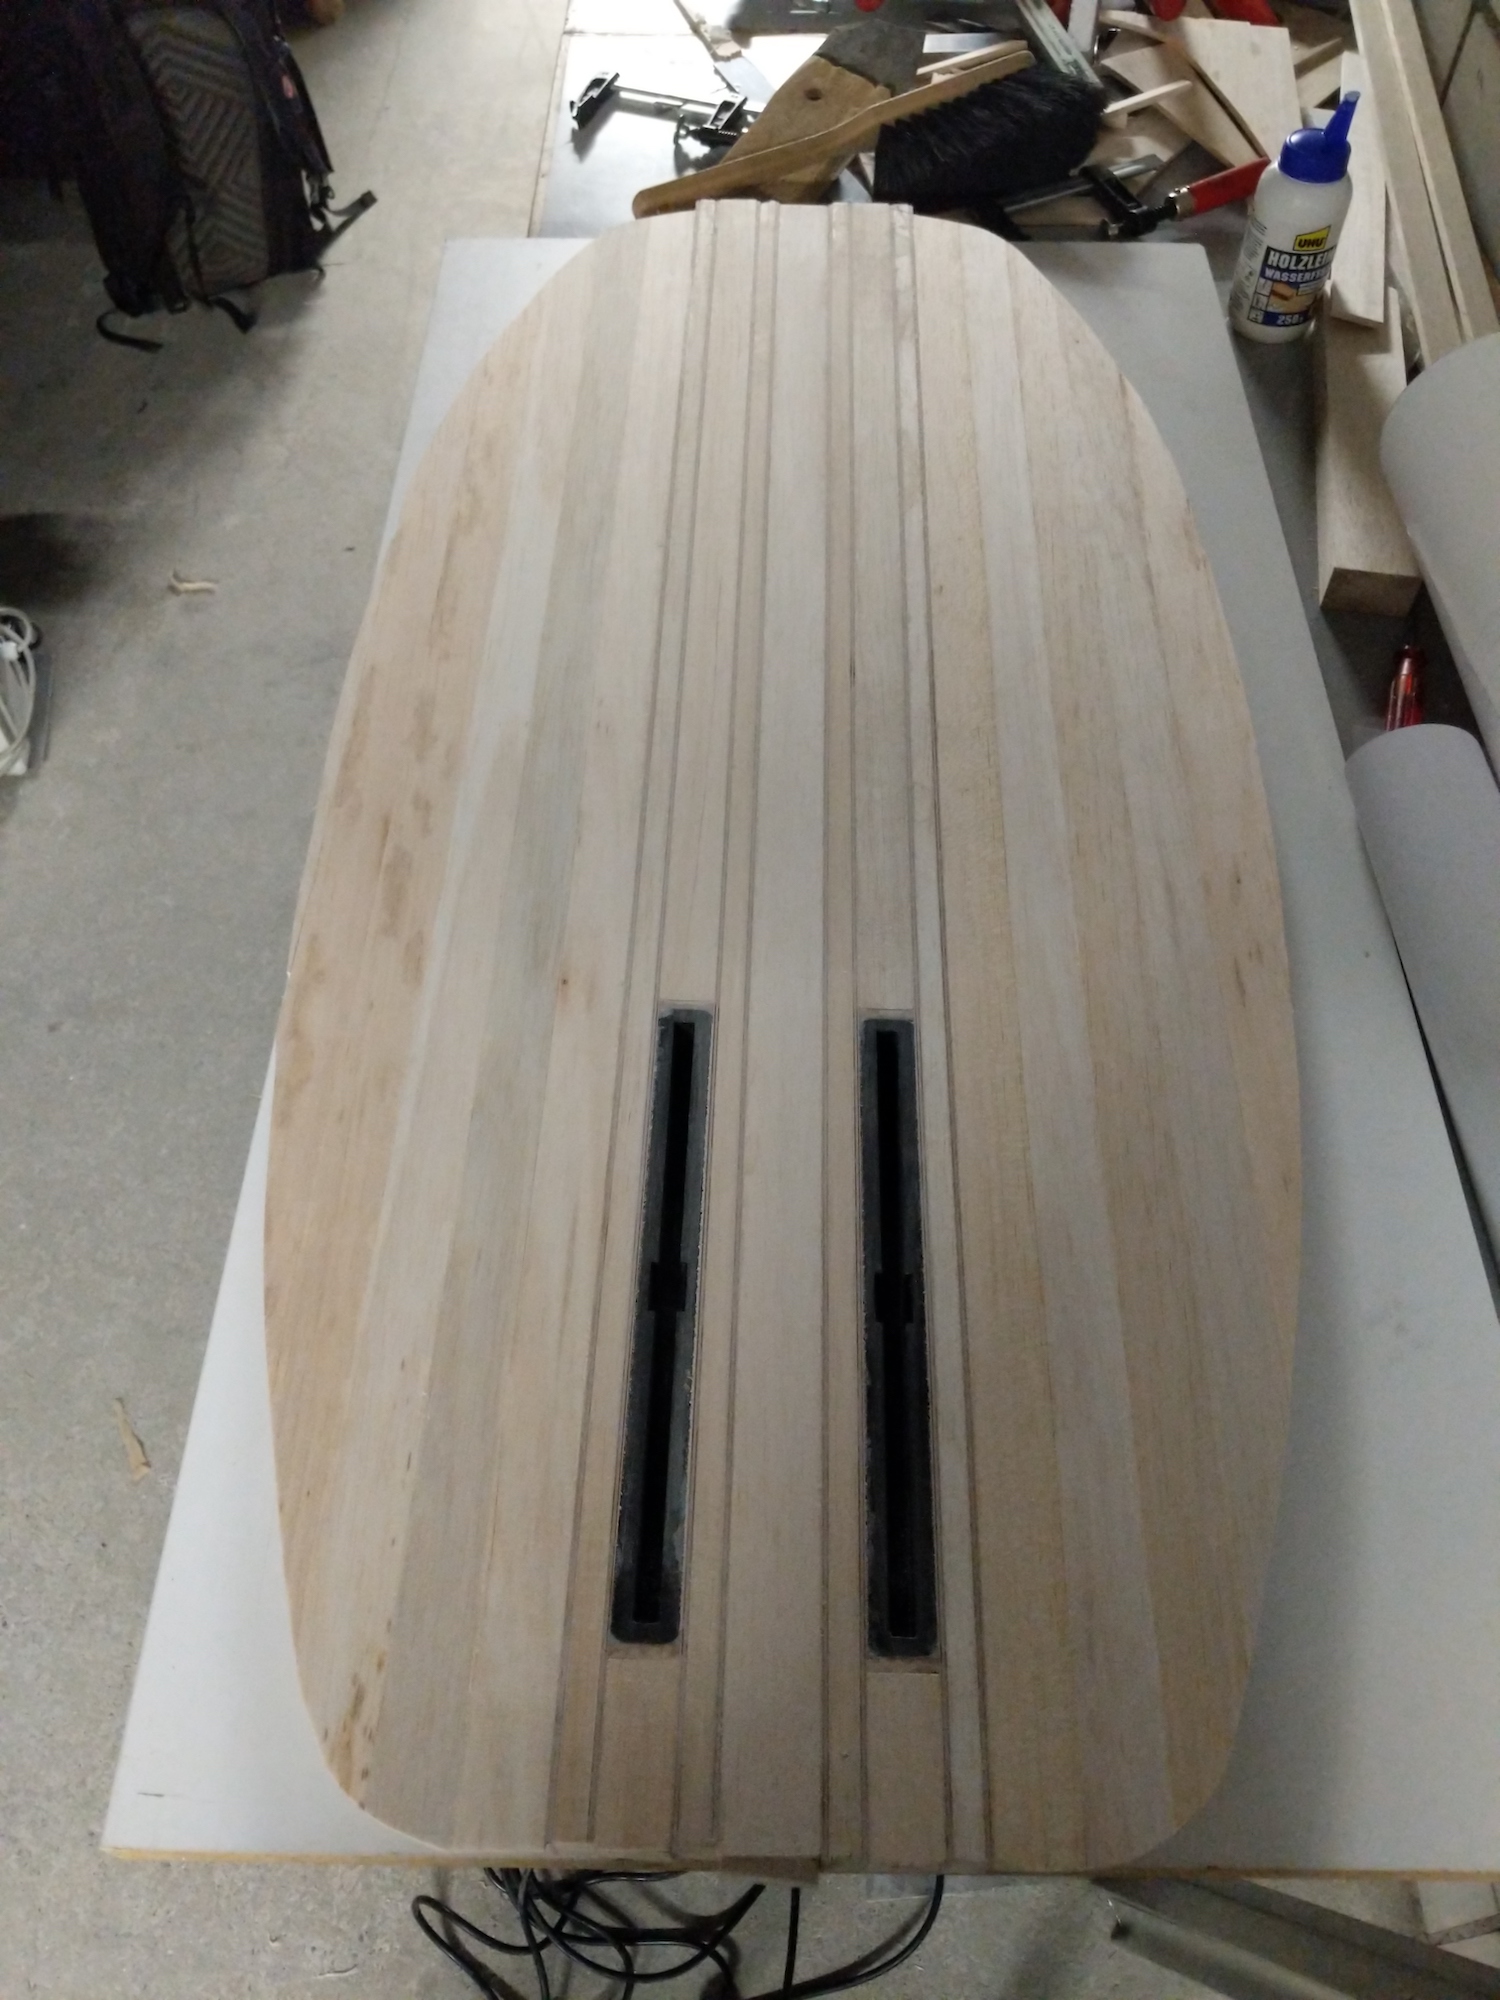
The foil boxes were mounted in between the stringers supported by another 5mm plywood plate from above
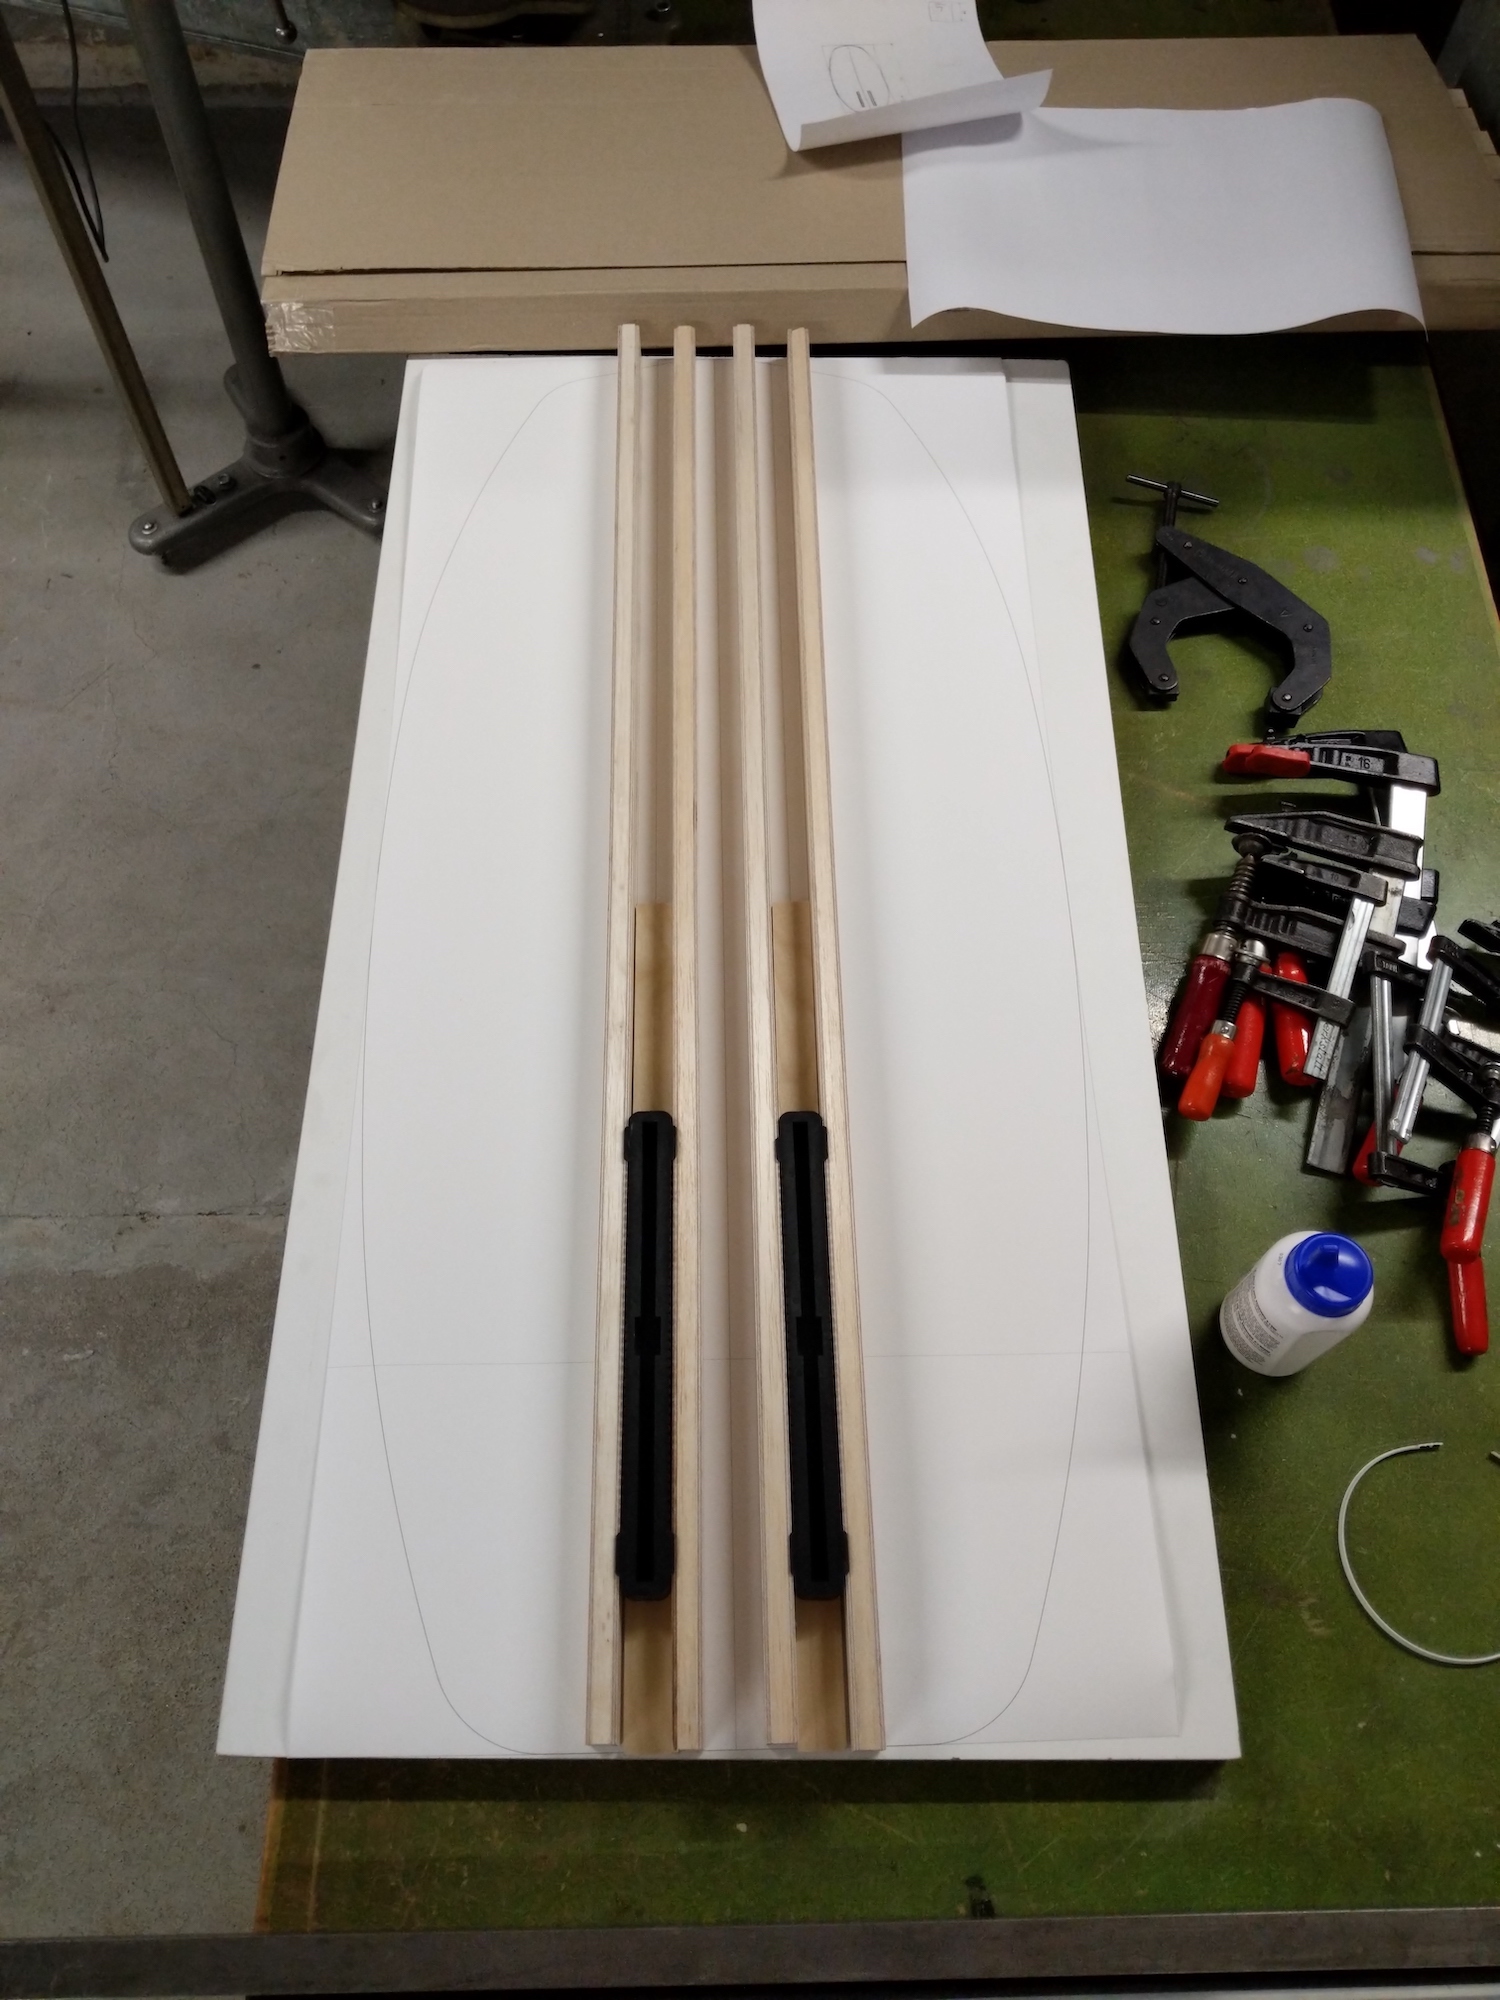
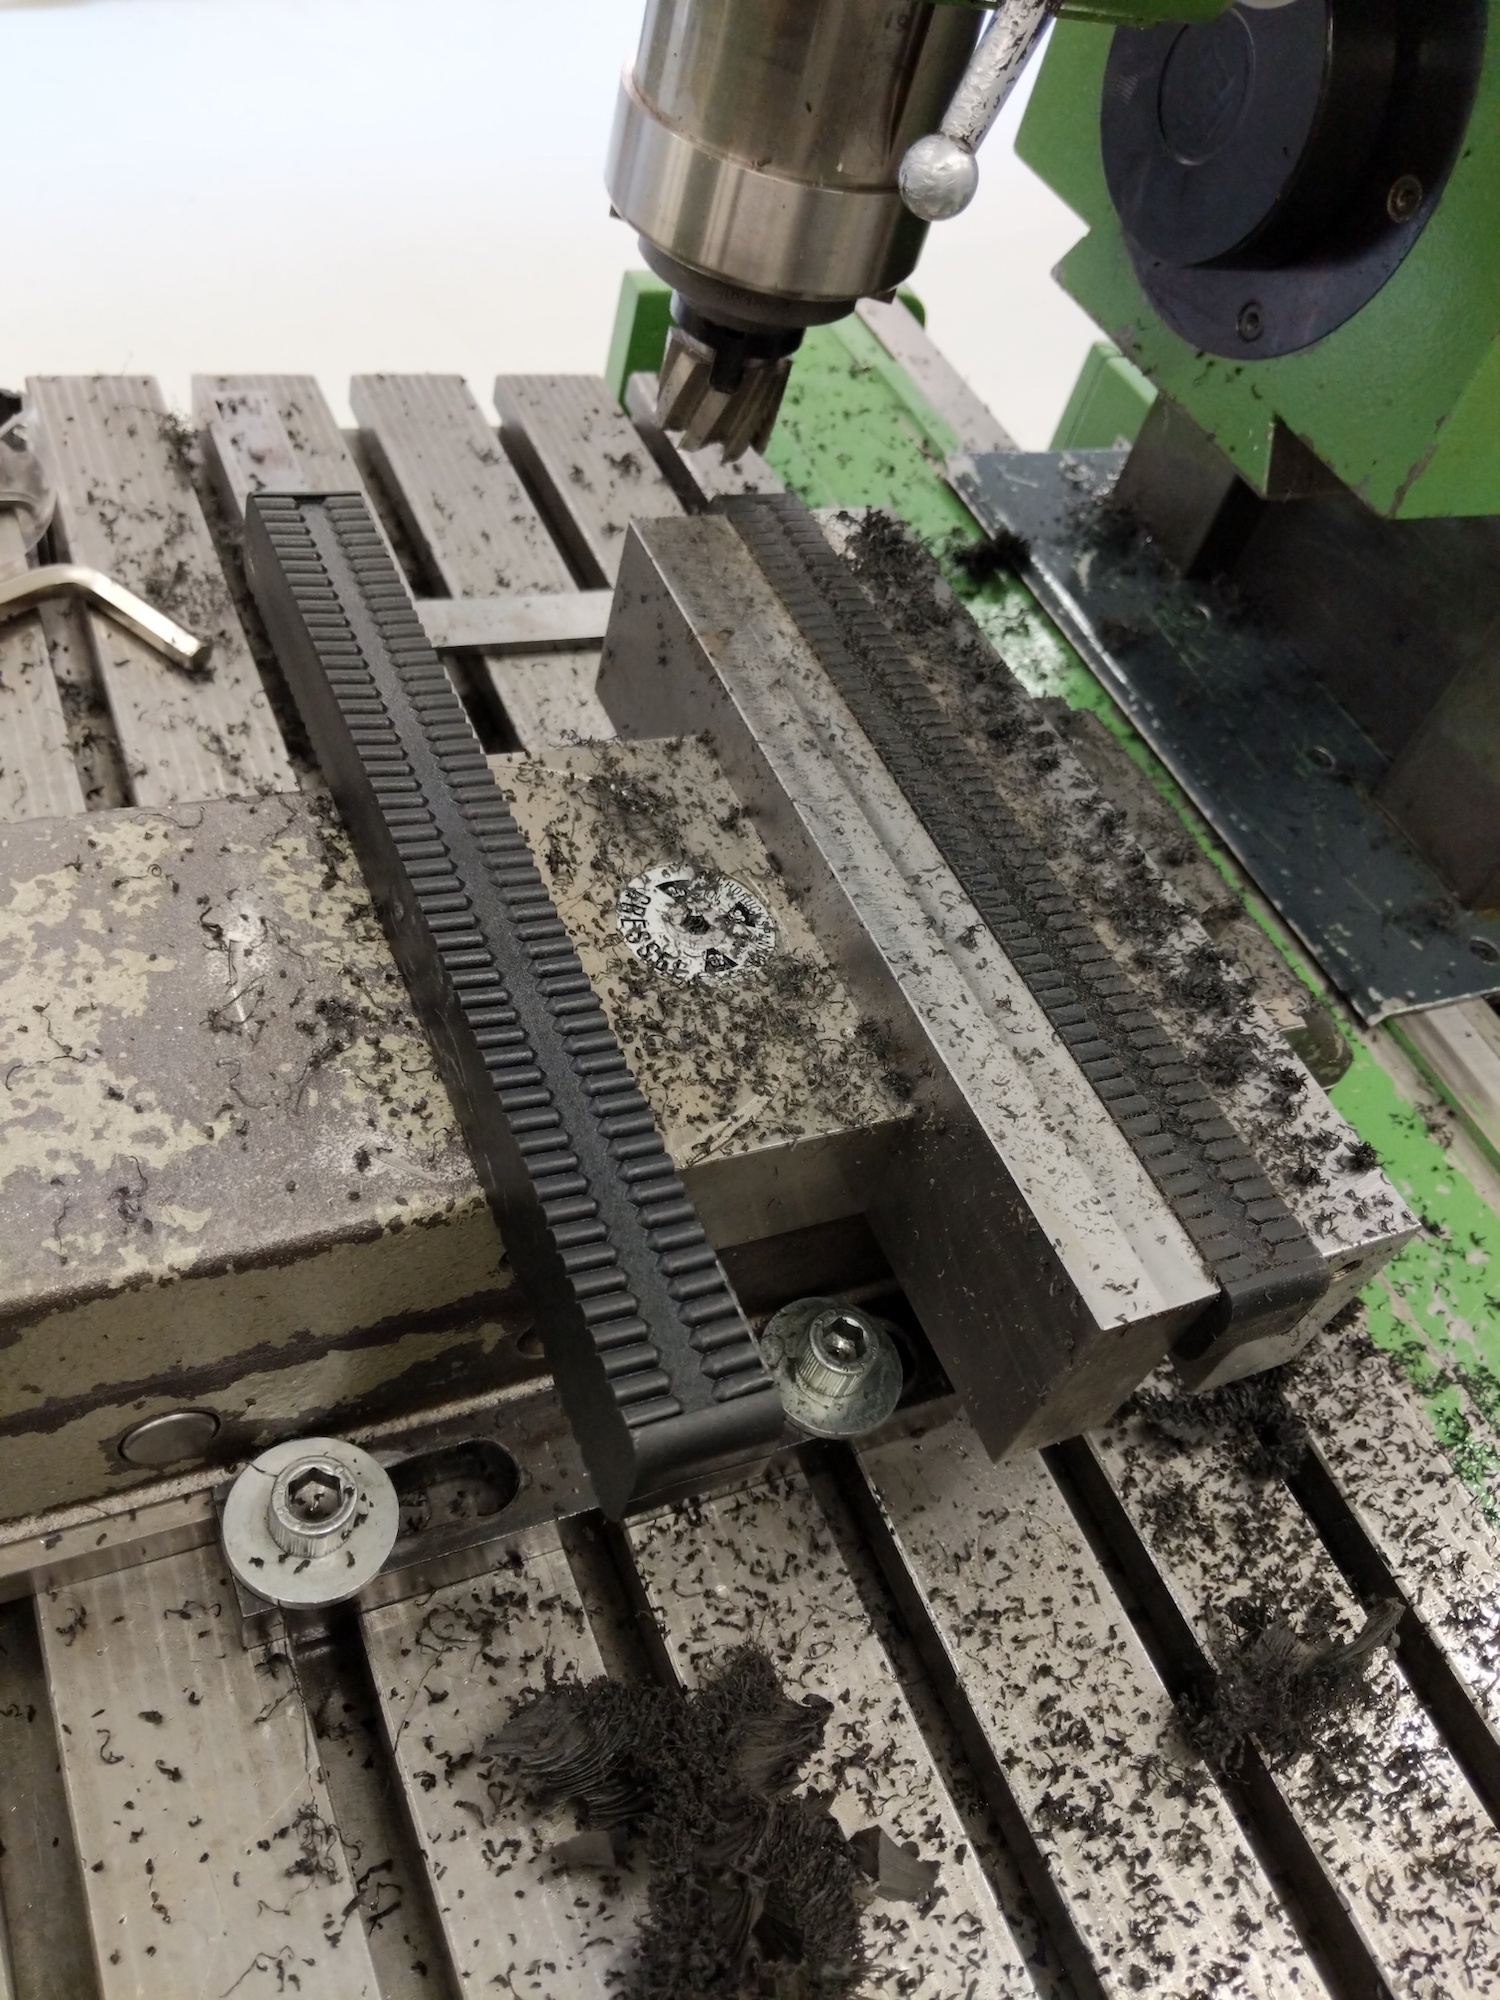
The fin boxes had a lot of excess material that didn't really aid strength. So I did some milling to make them slimmer. This saved a total of 20g per foil box and resulted in a much nicer fit between the stringers with less voids.
The fin boxes were glued into the rails with a mixture of epoxy and microballons the proper distance between the boxes was determined with an Axis 19mm Aluminum Foil Mast Base.
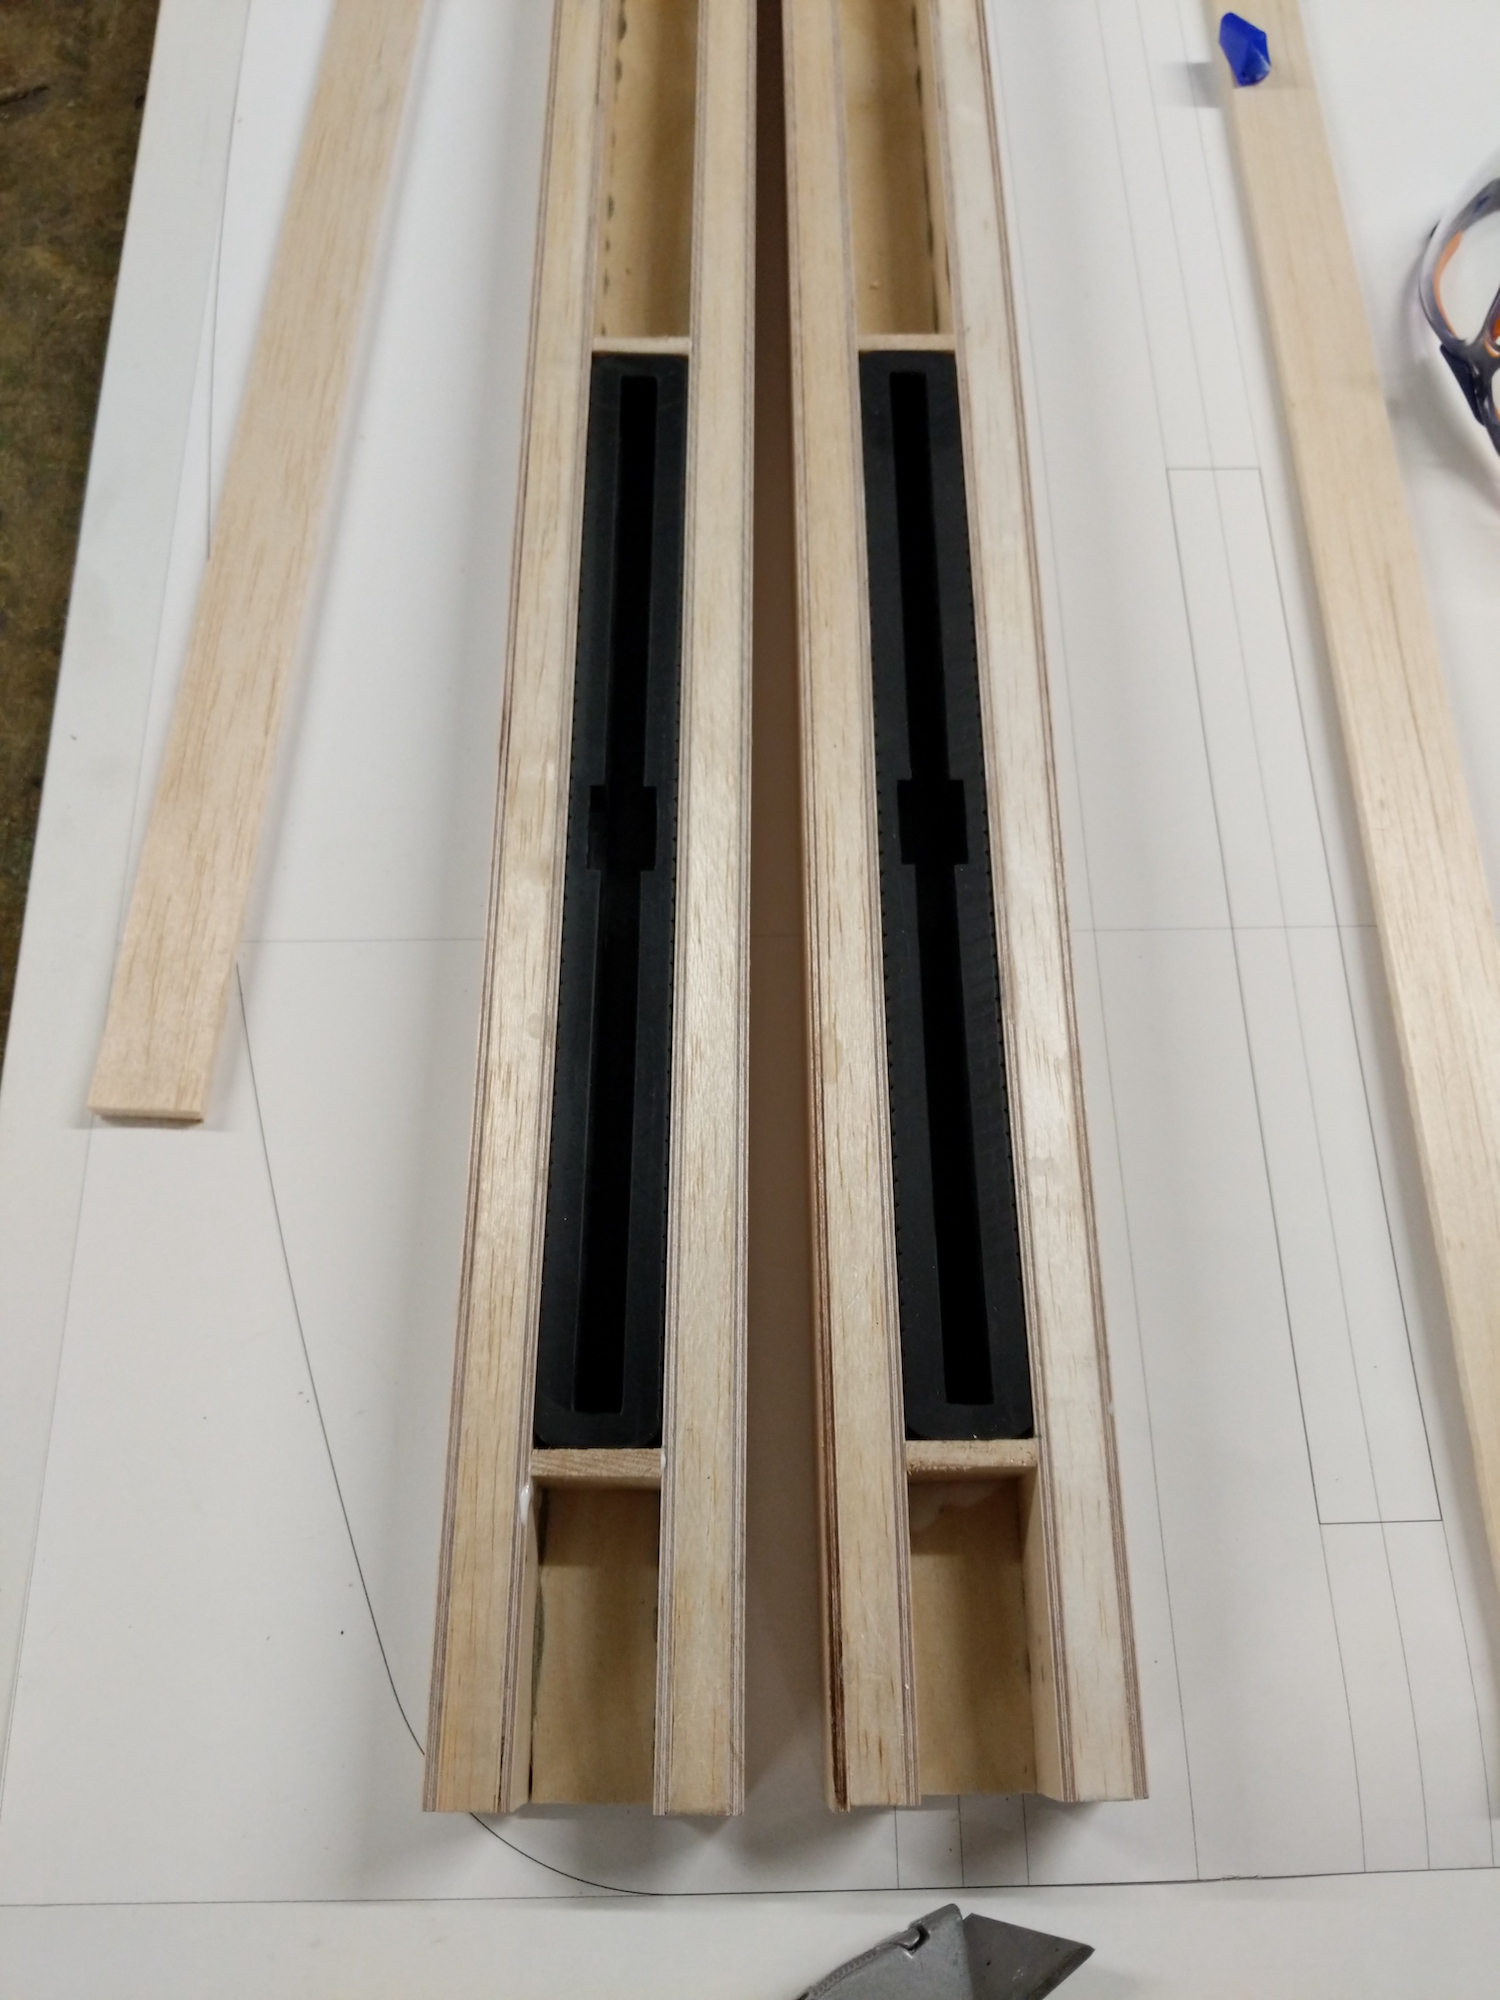

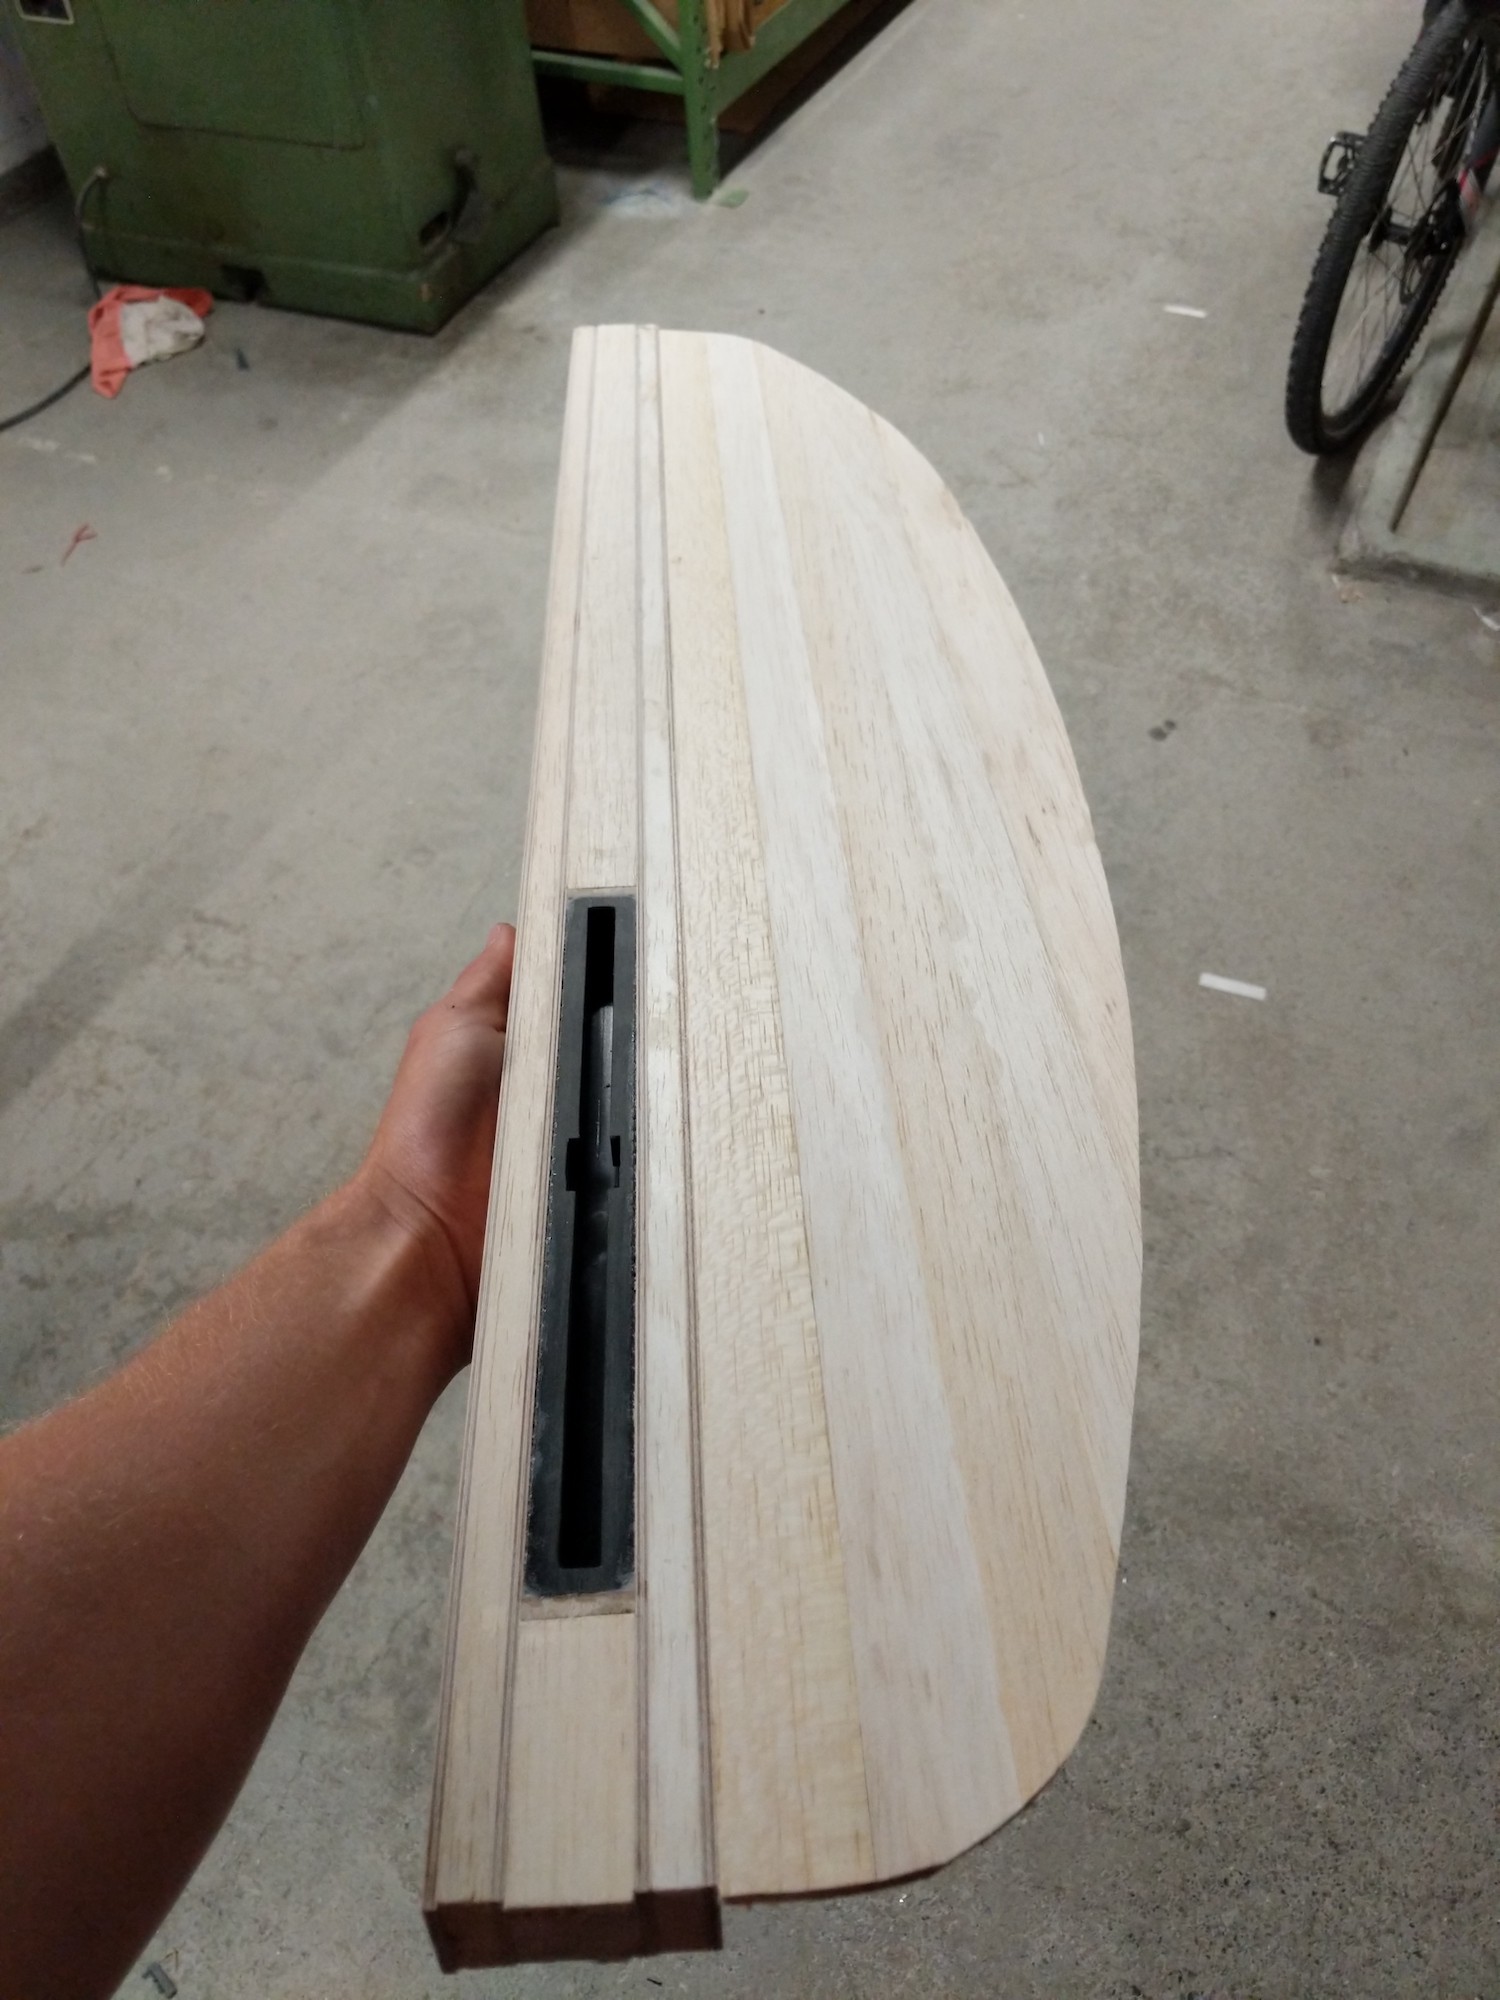
After terminating the end of the stringers with blocks of balsa wood the stringers were filled with 15 kg/m3 EPS foam and closed from both sides with balsa bars.
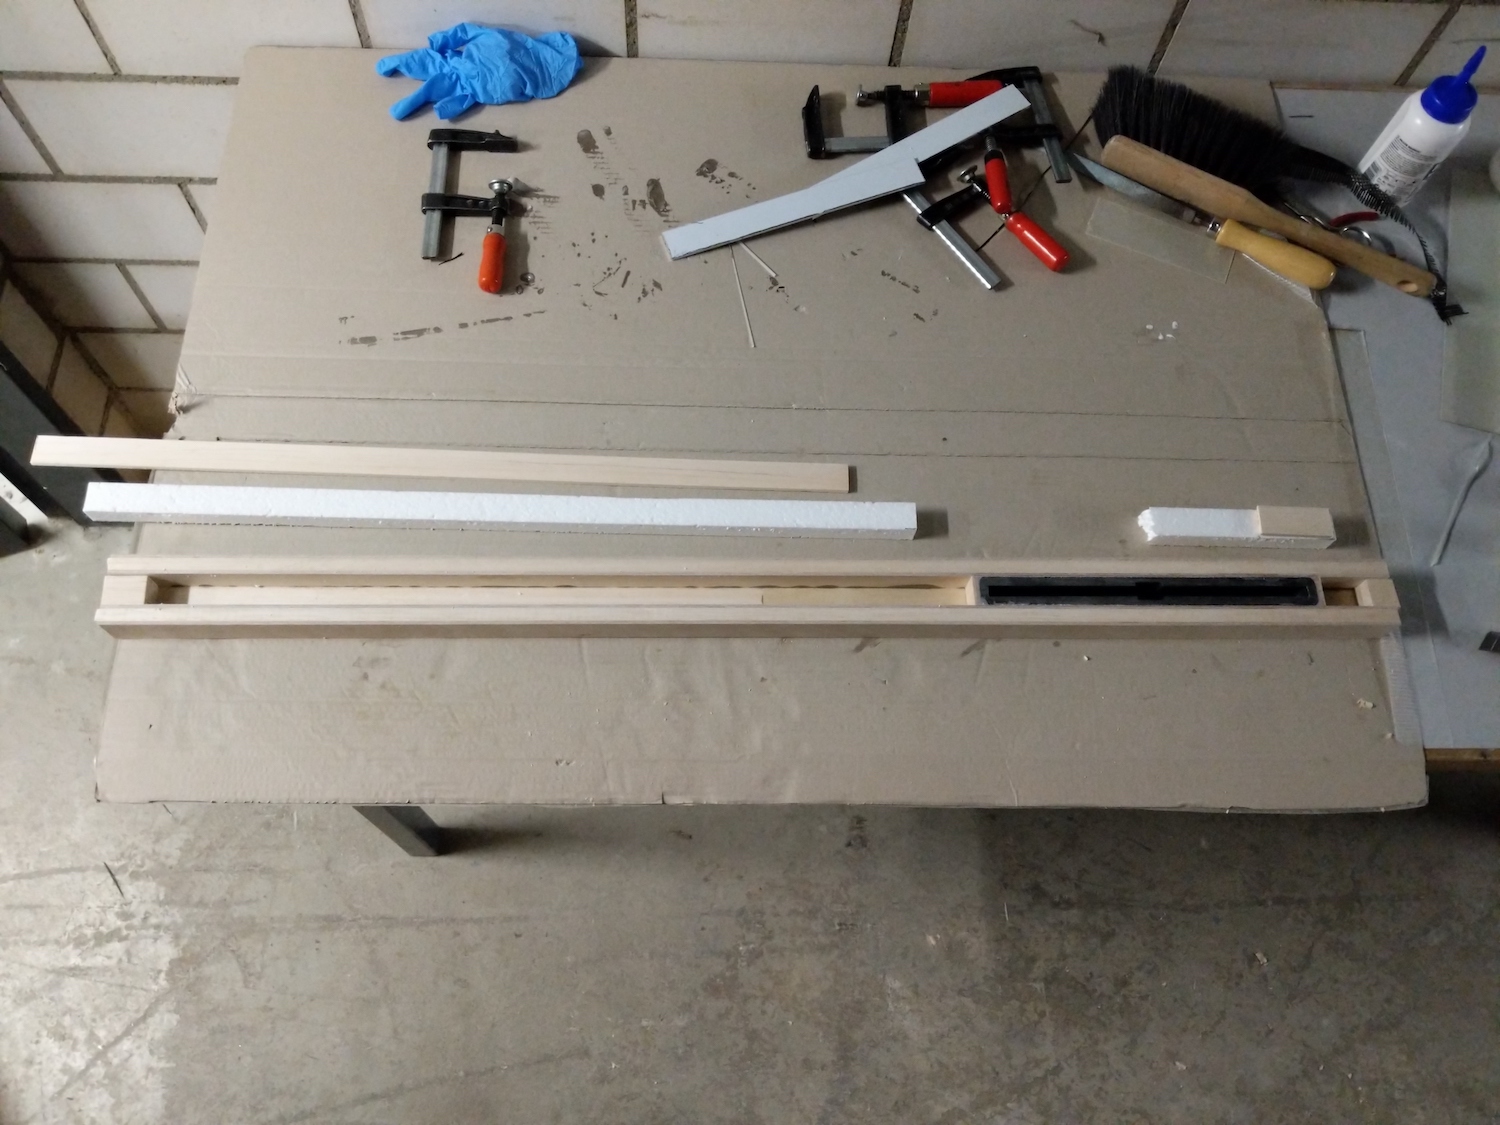
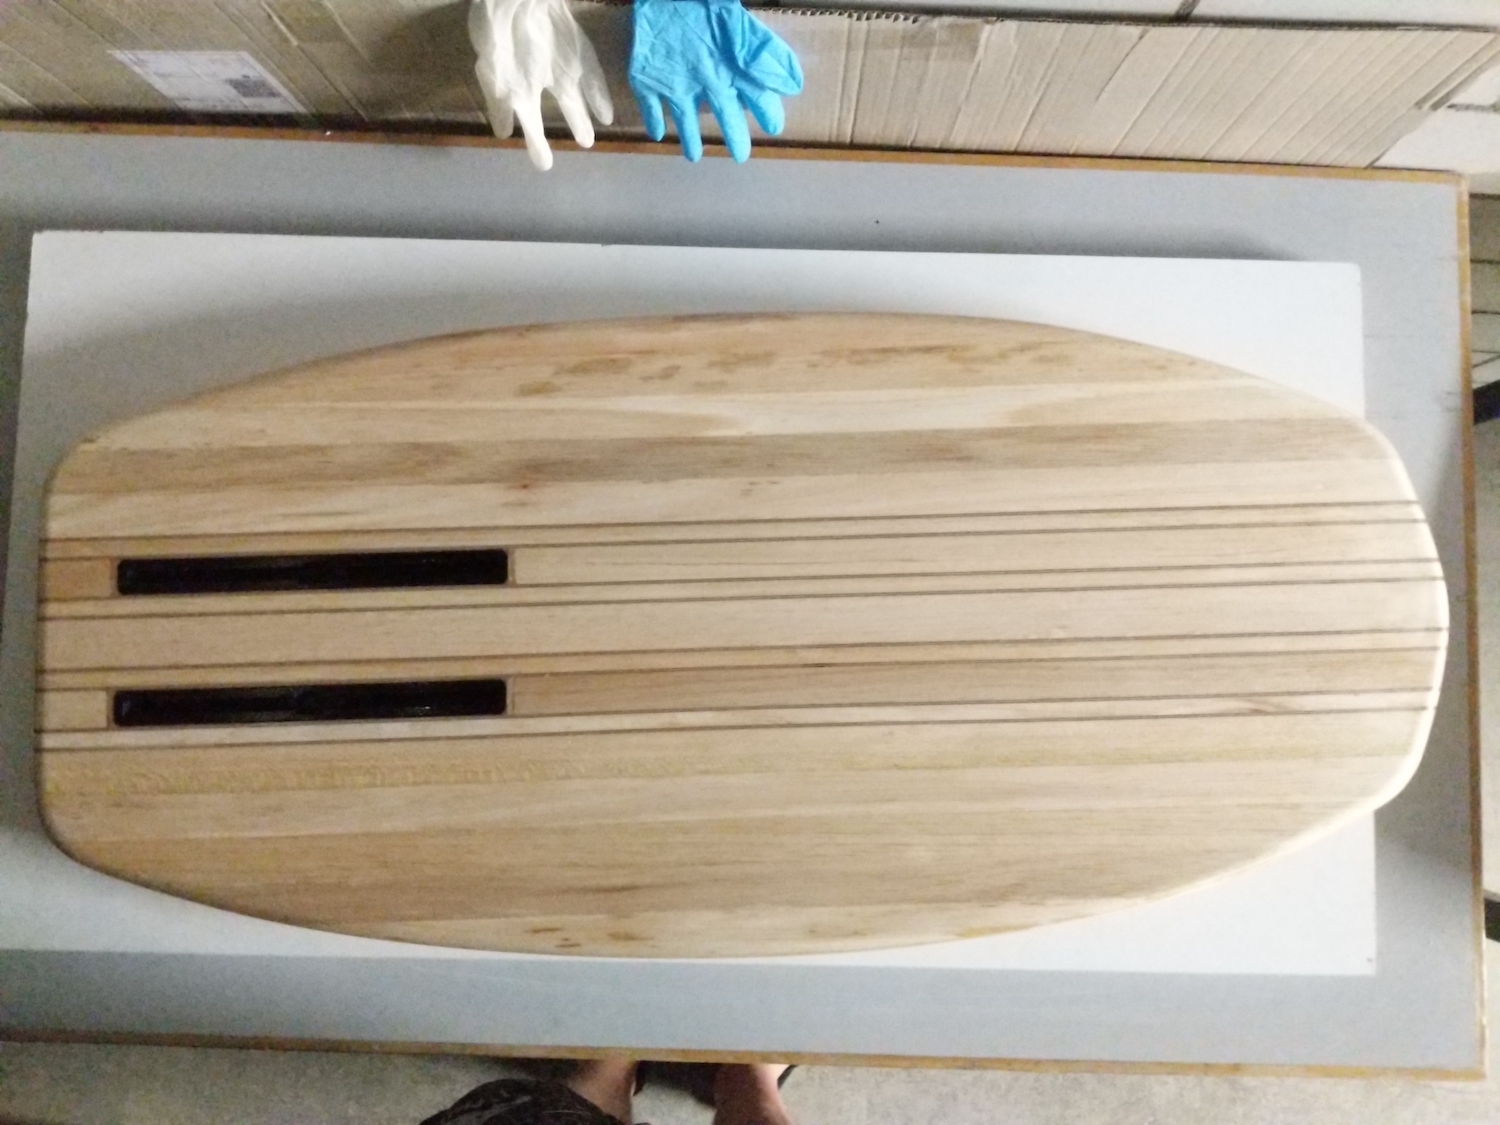
The finished stringers looked like this
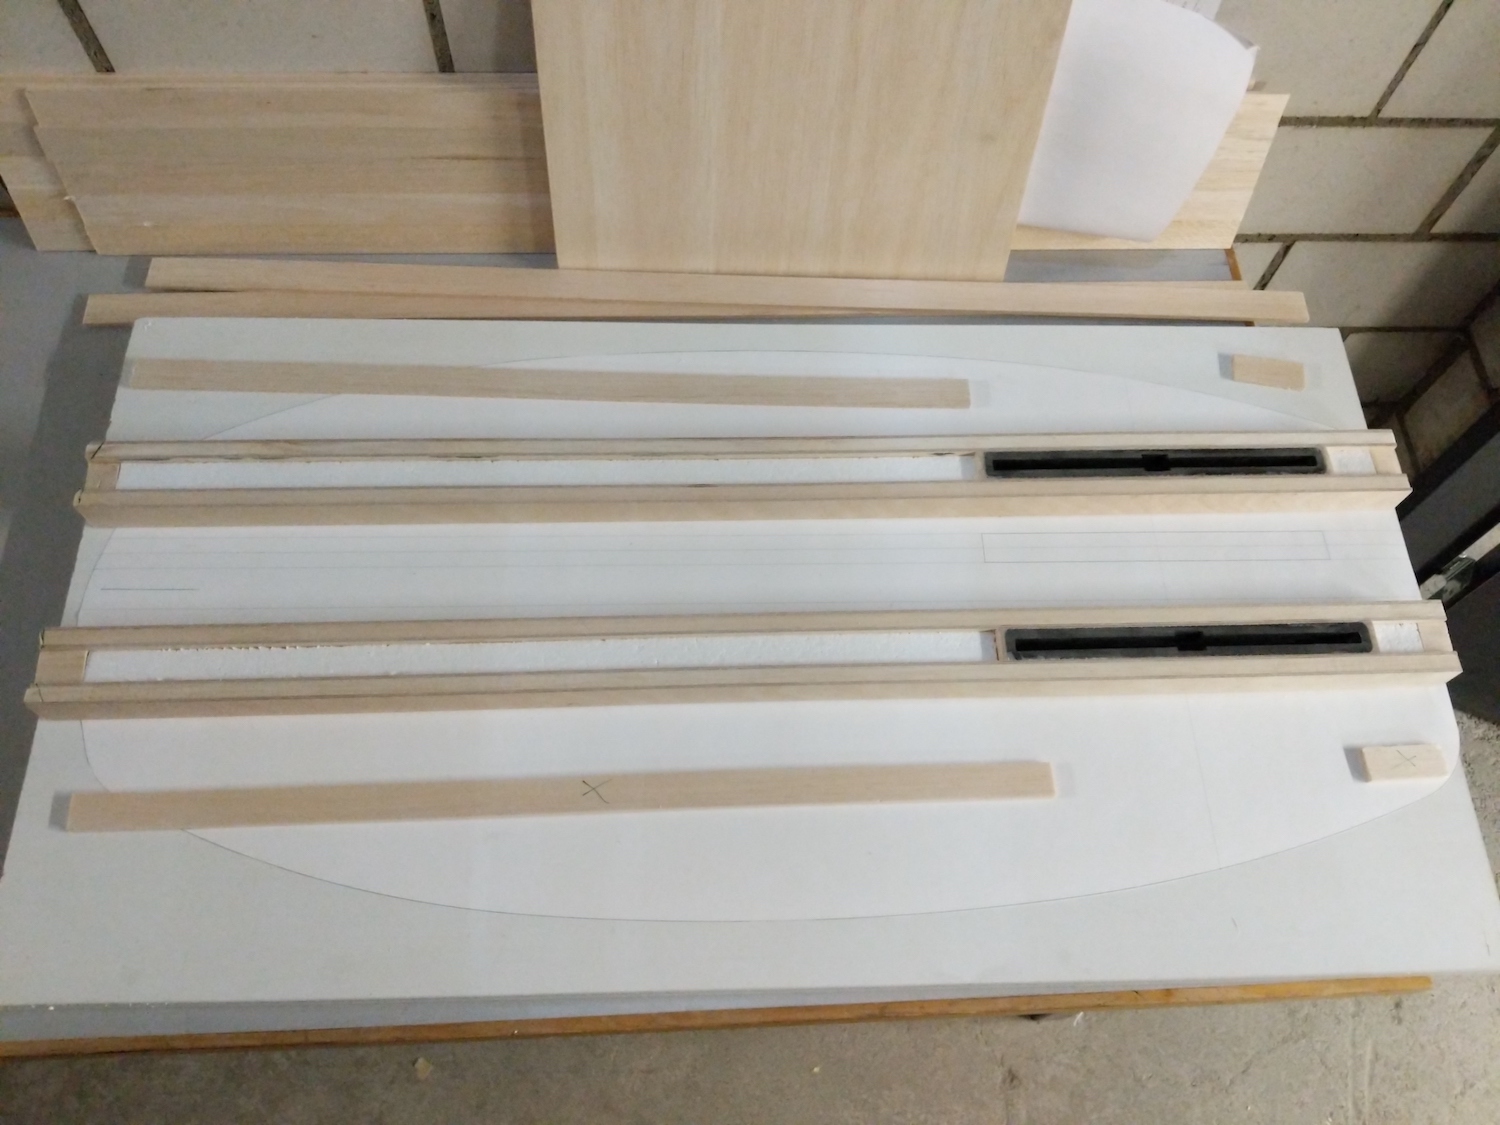
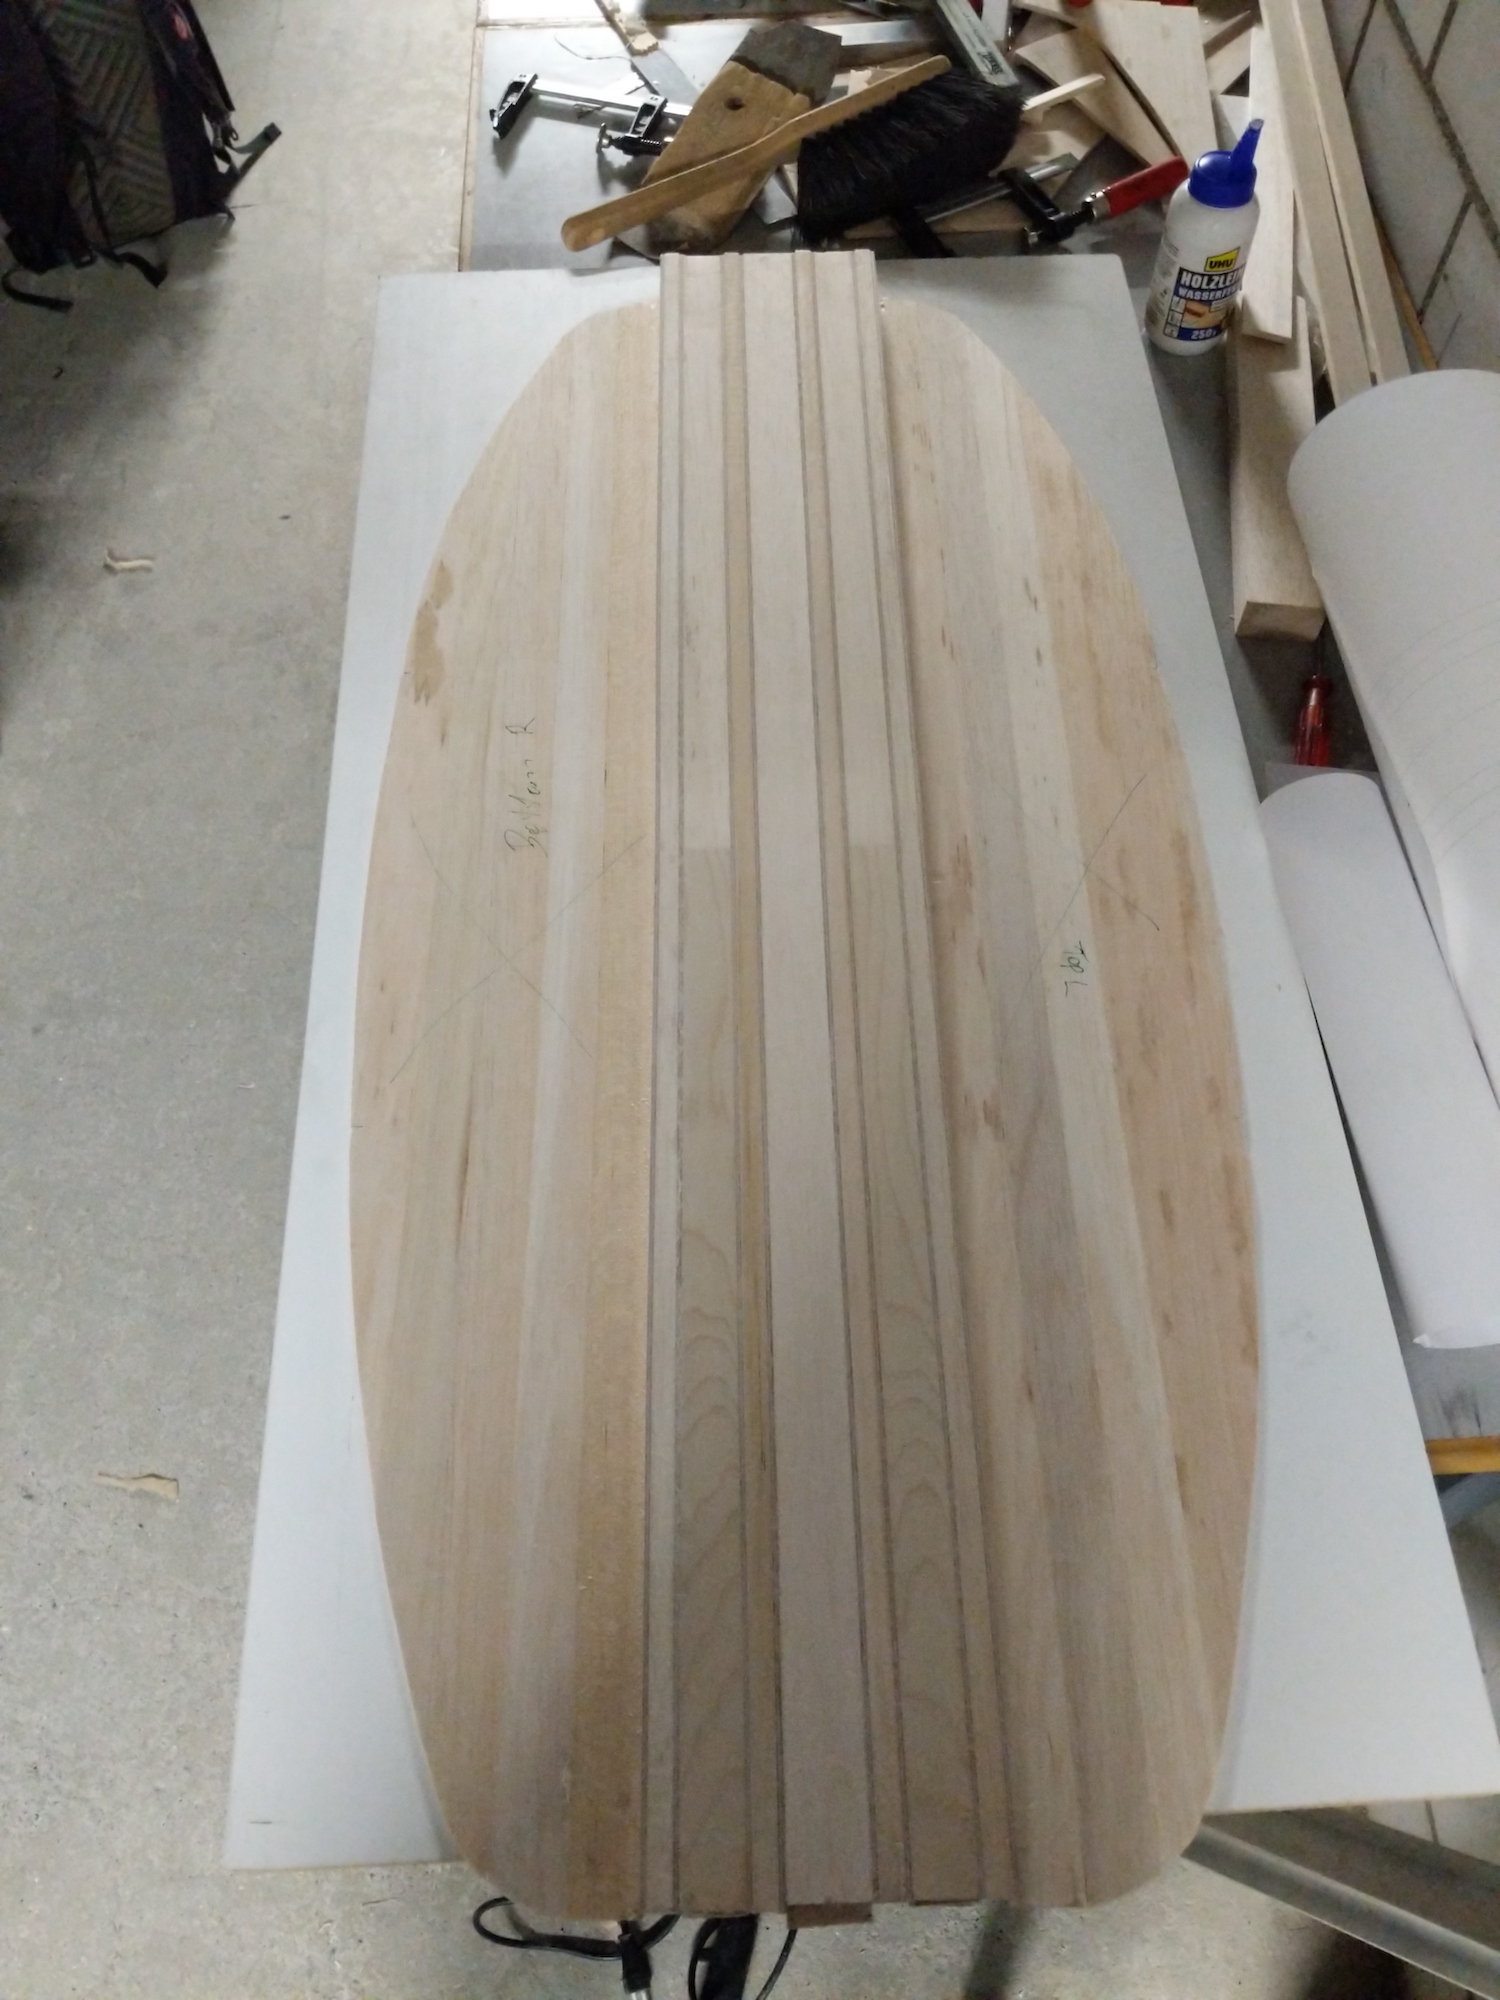
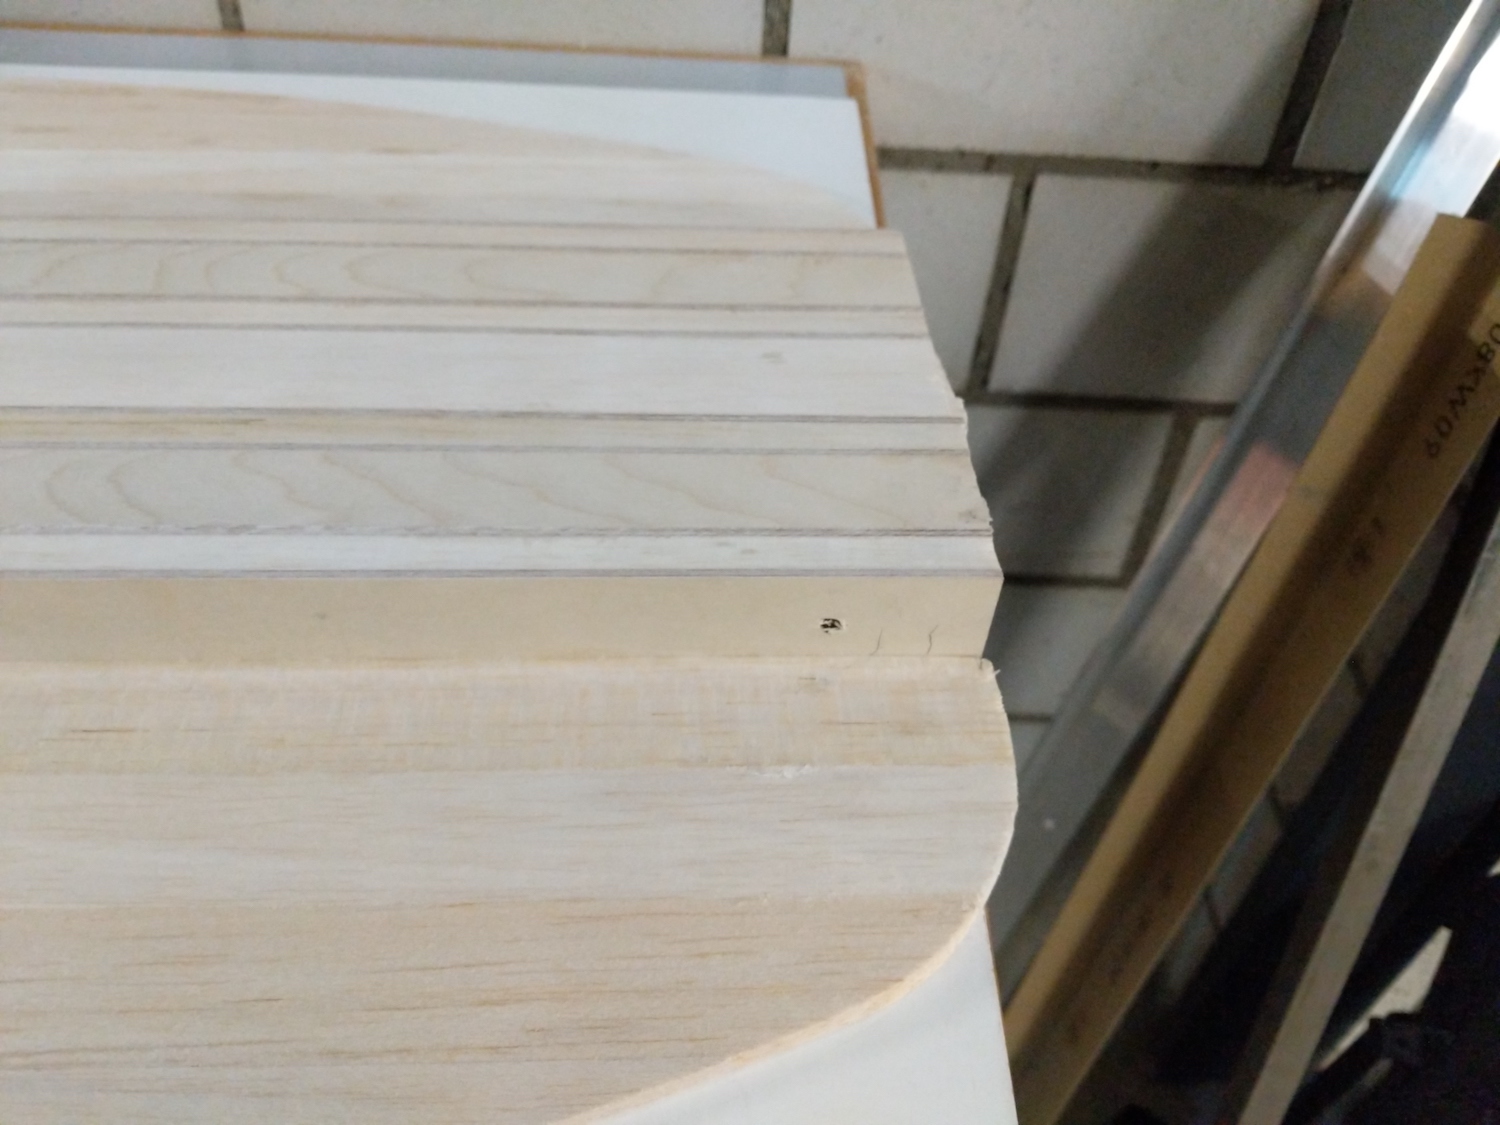
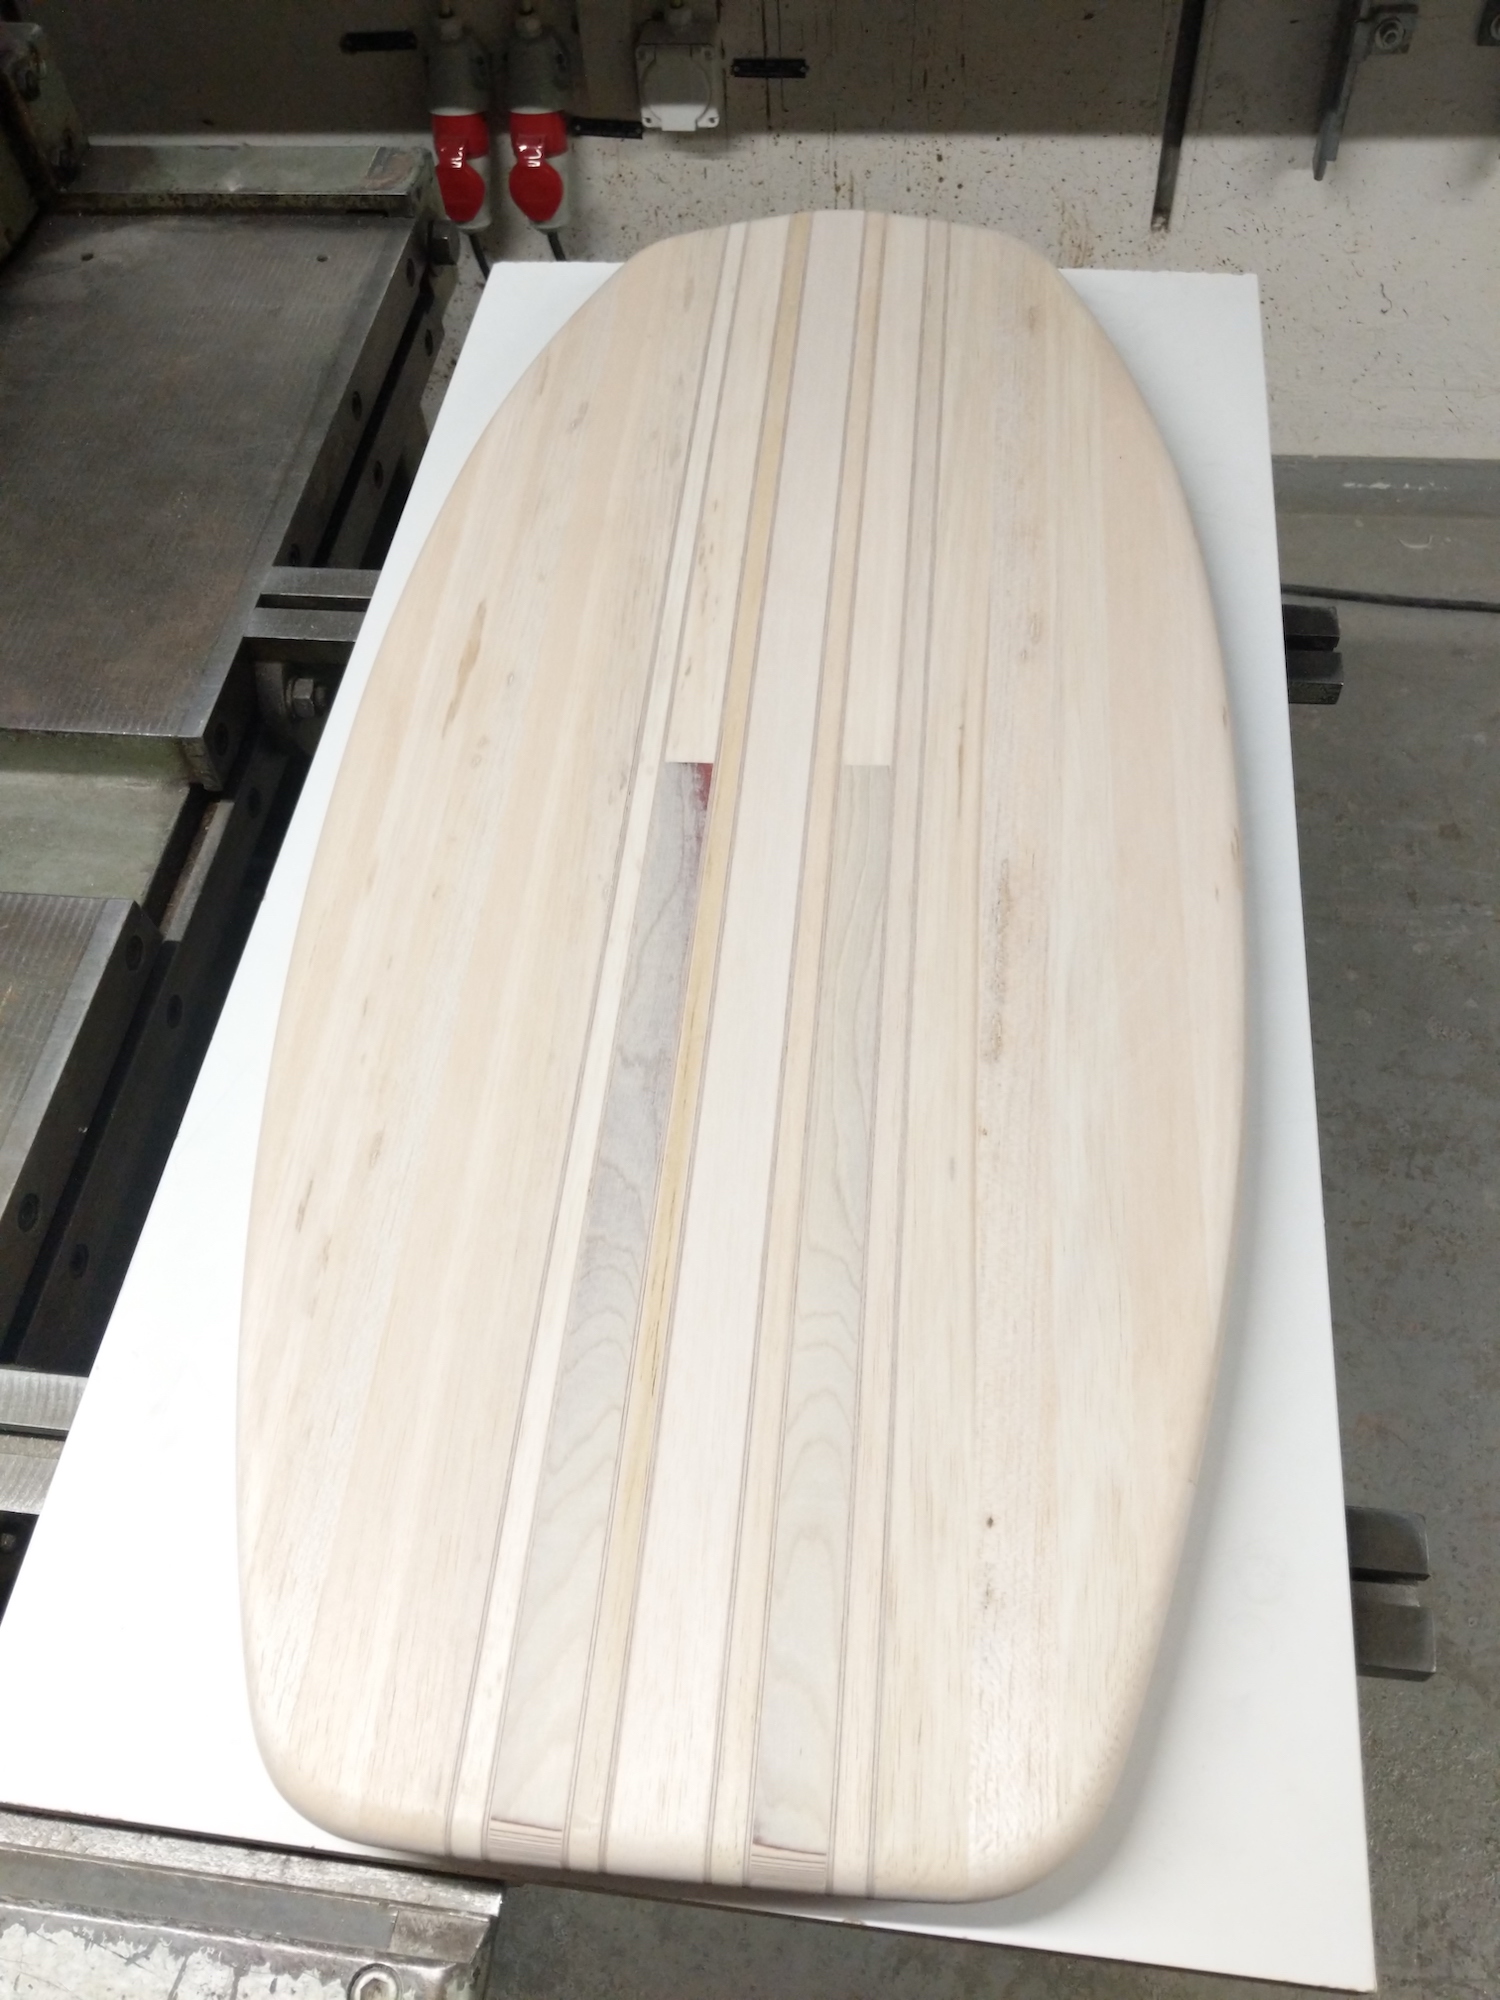
Next the decks were prepared by gluing the small balsa bars together
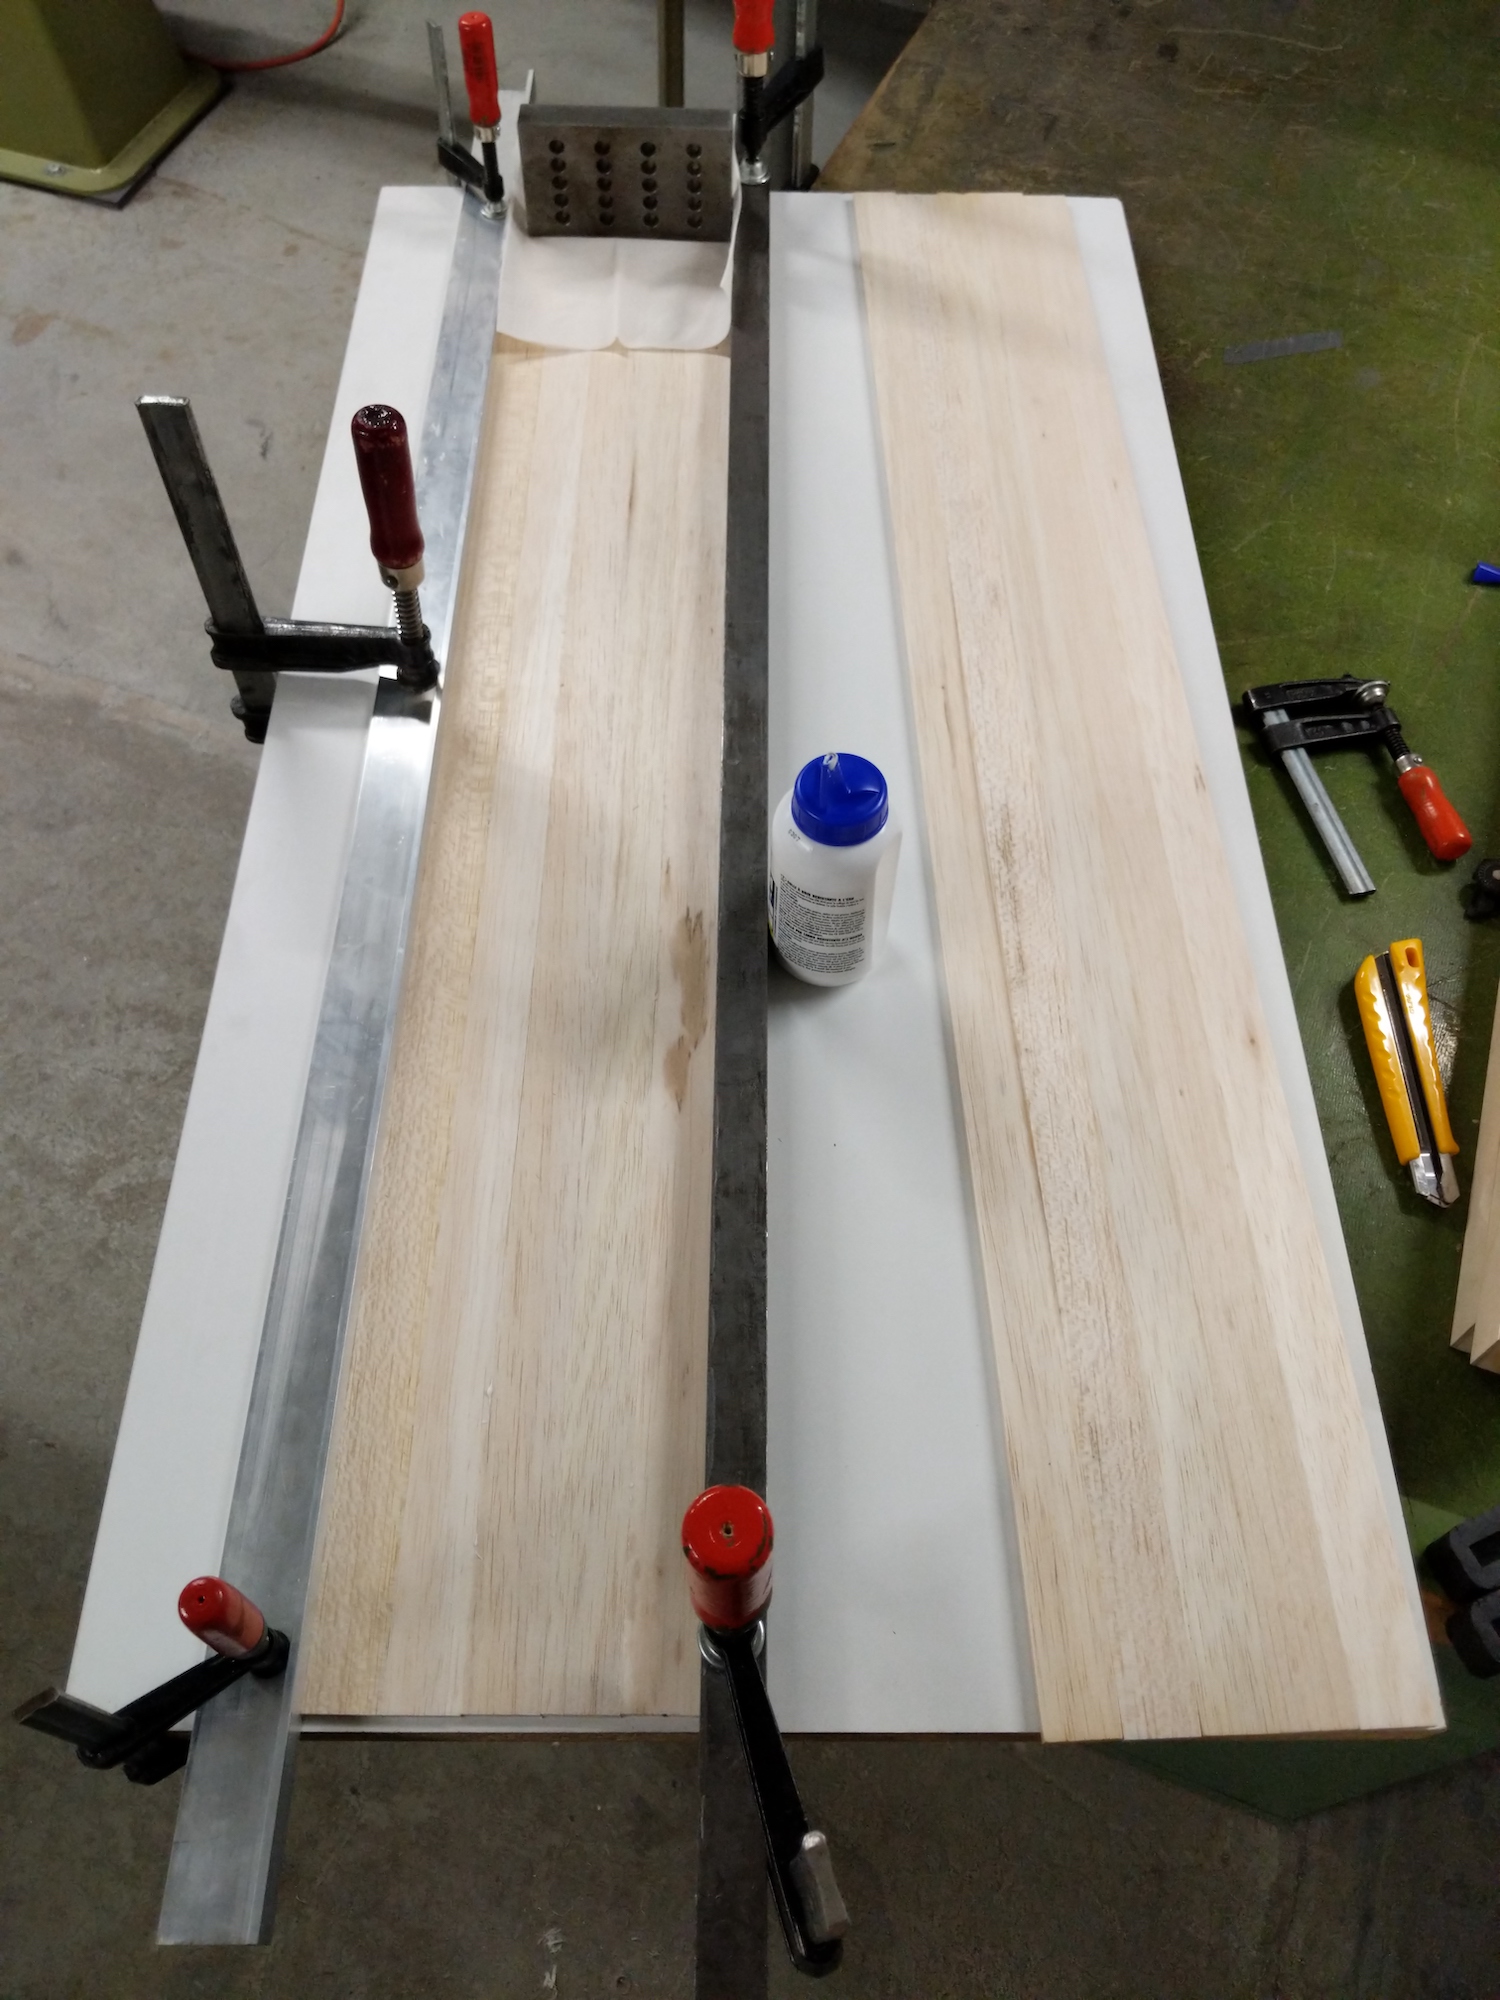
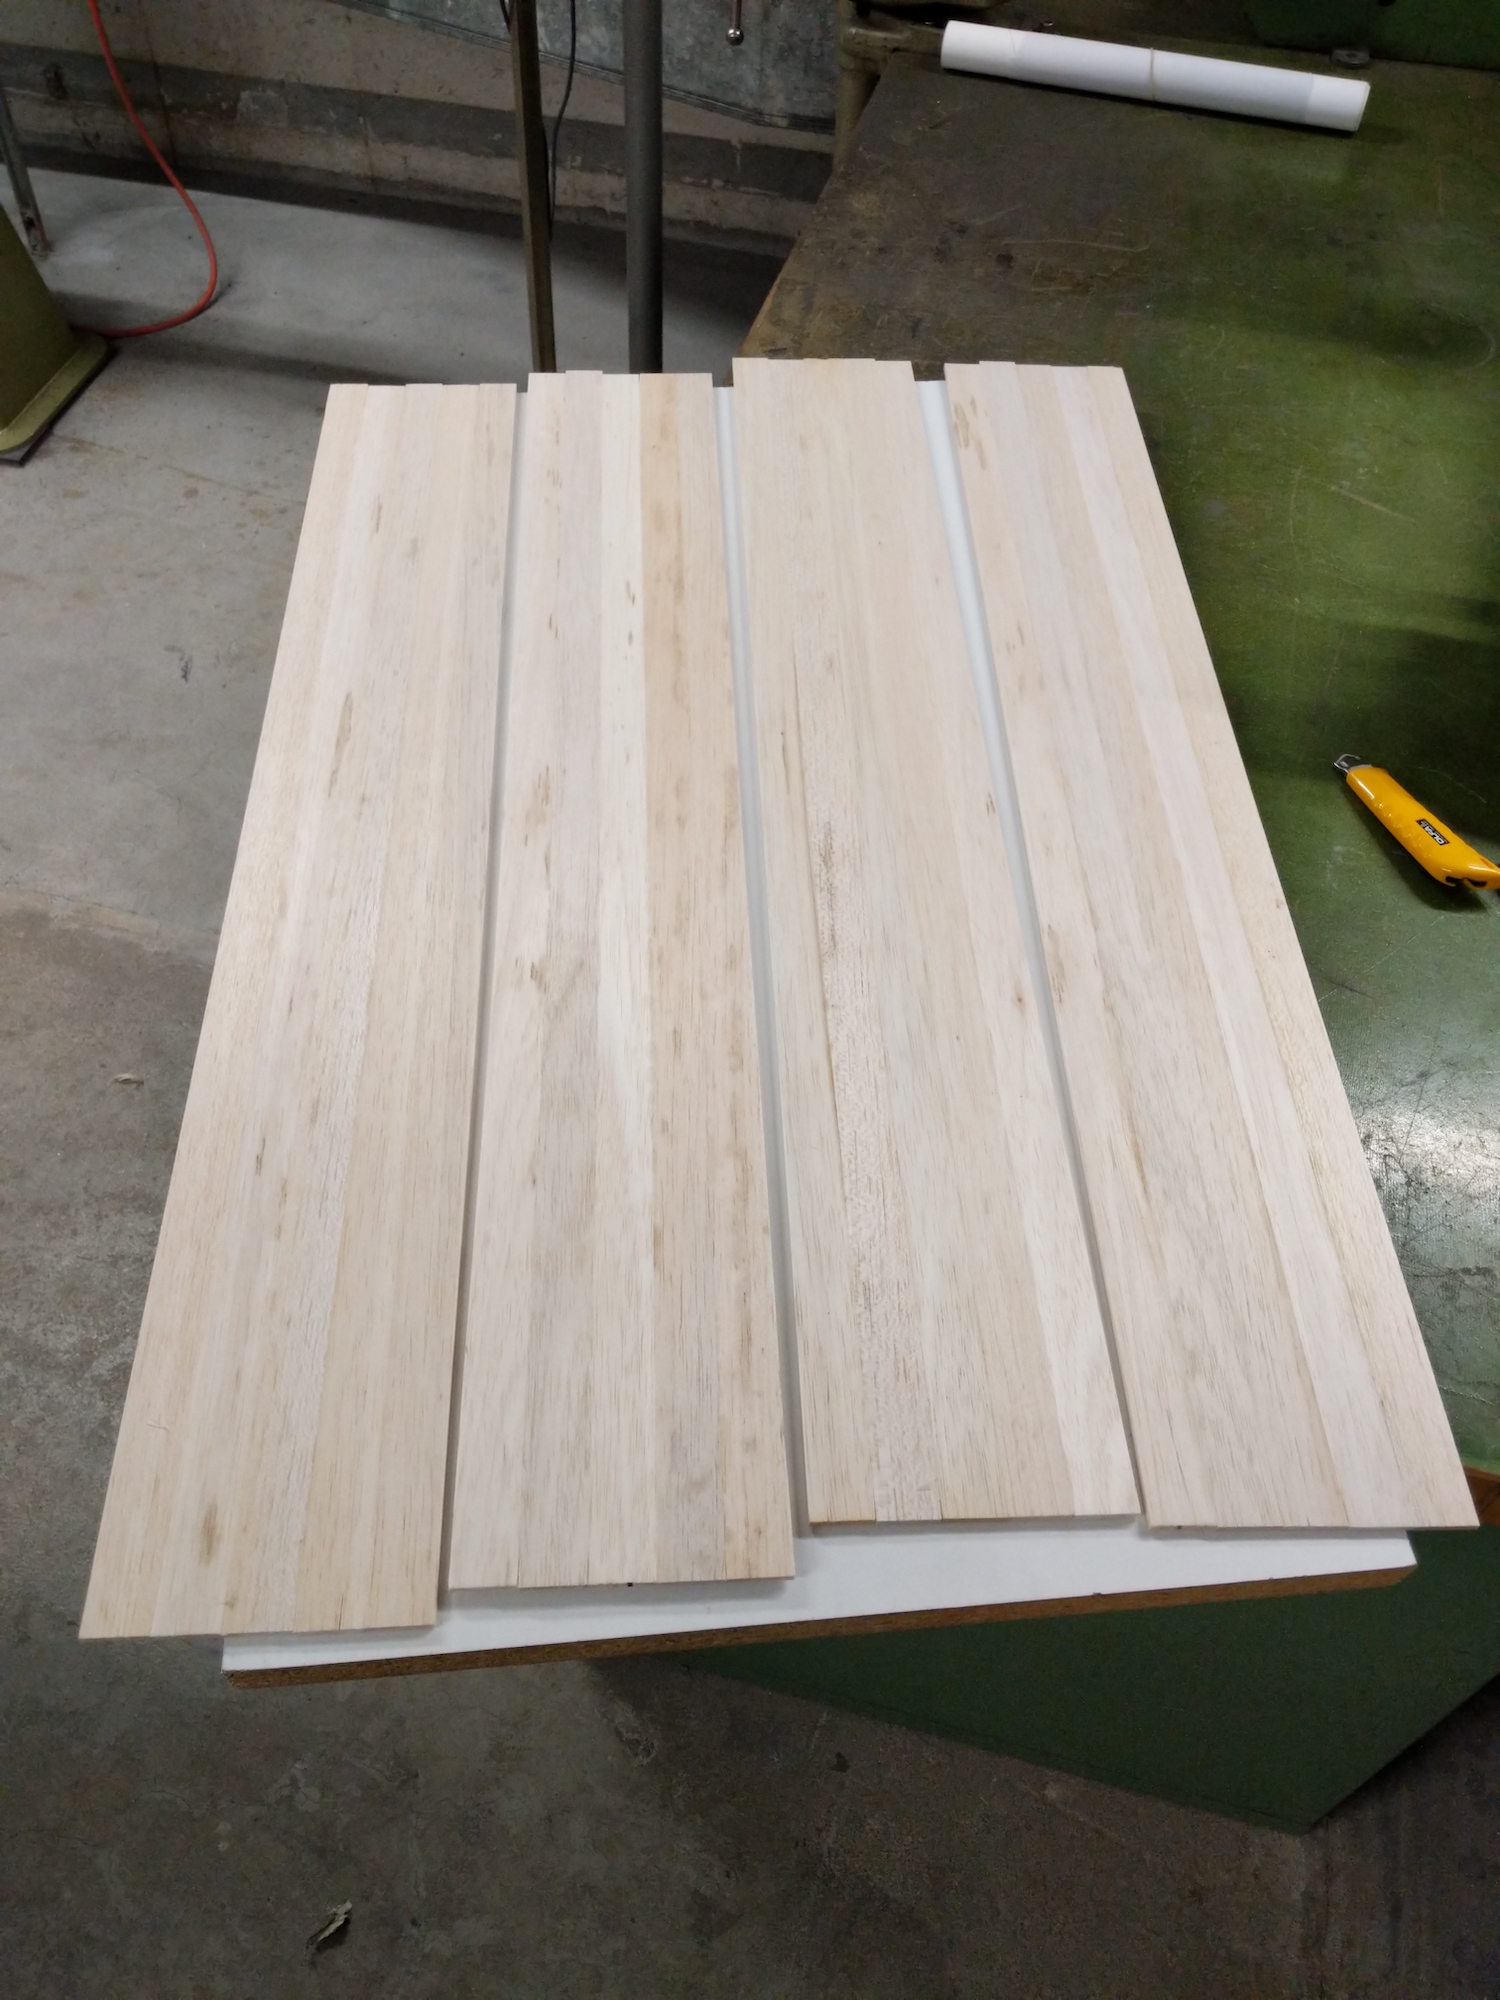
After the plates for the deck were finished they were glued to the stringers and trimmed according to the outline in the PDF plus maybe 5mm.


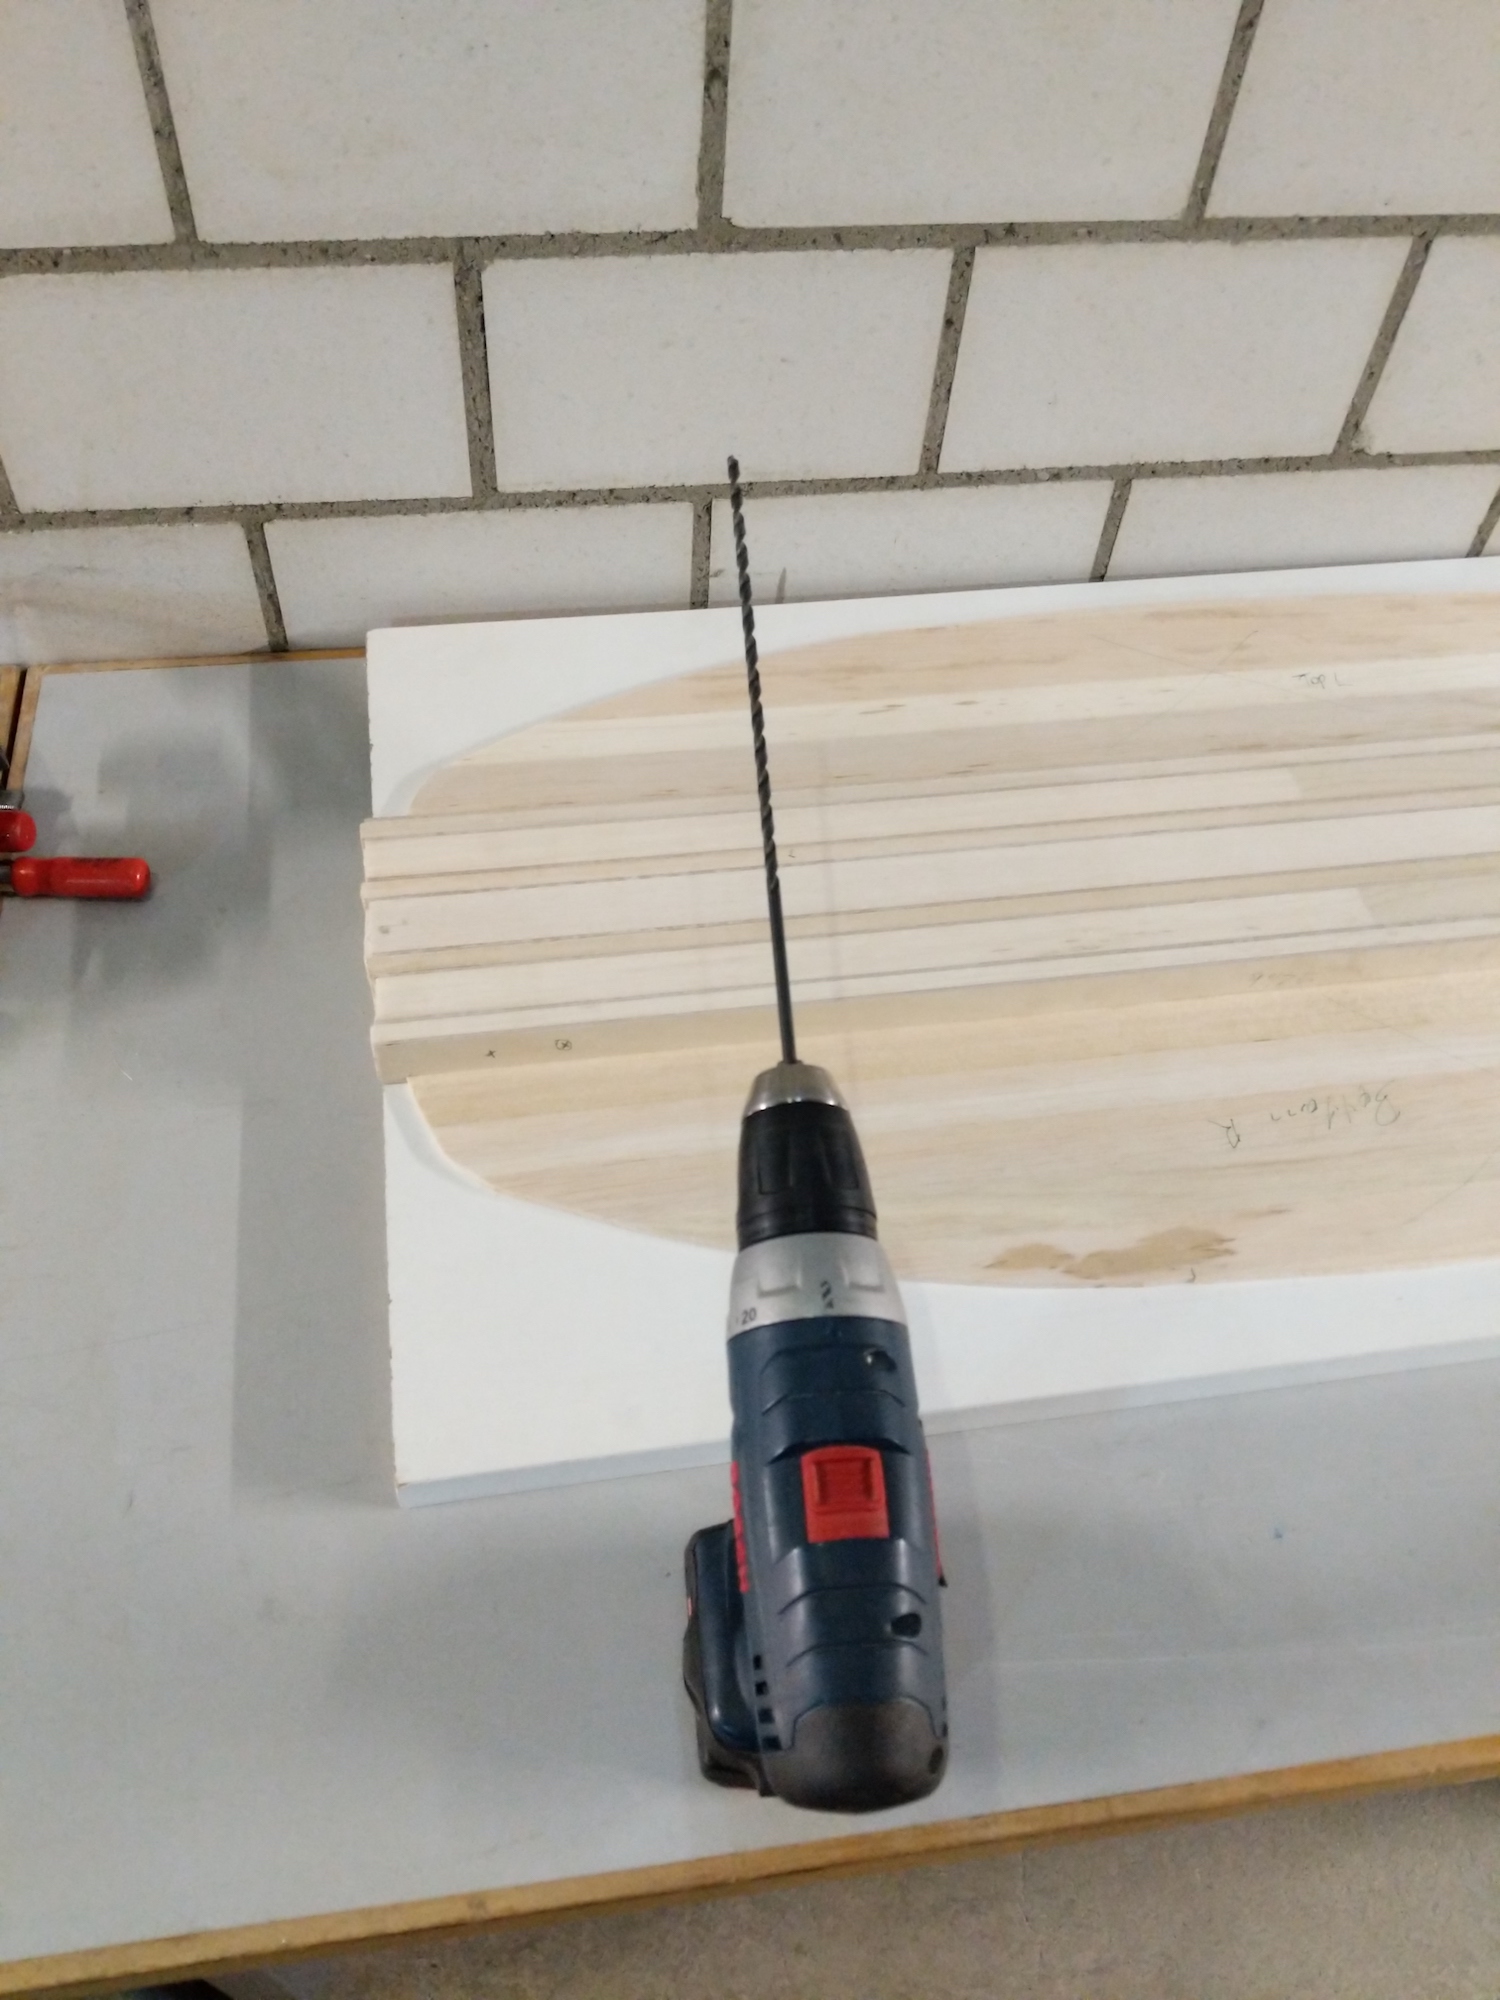
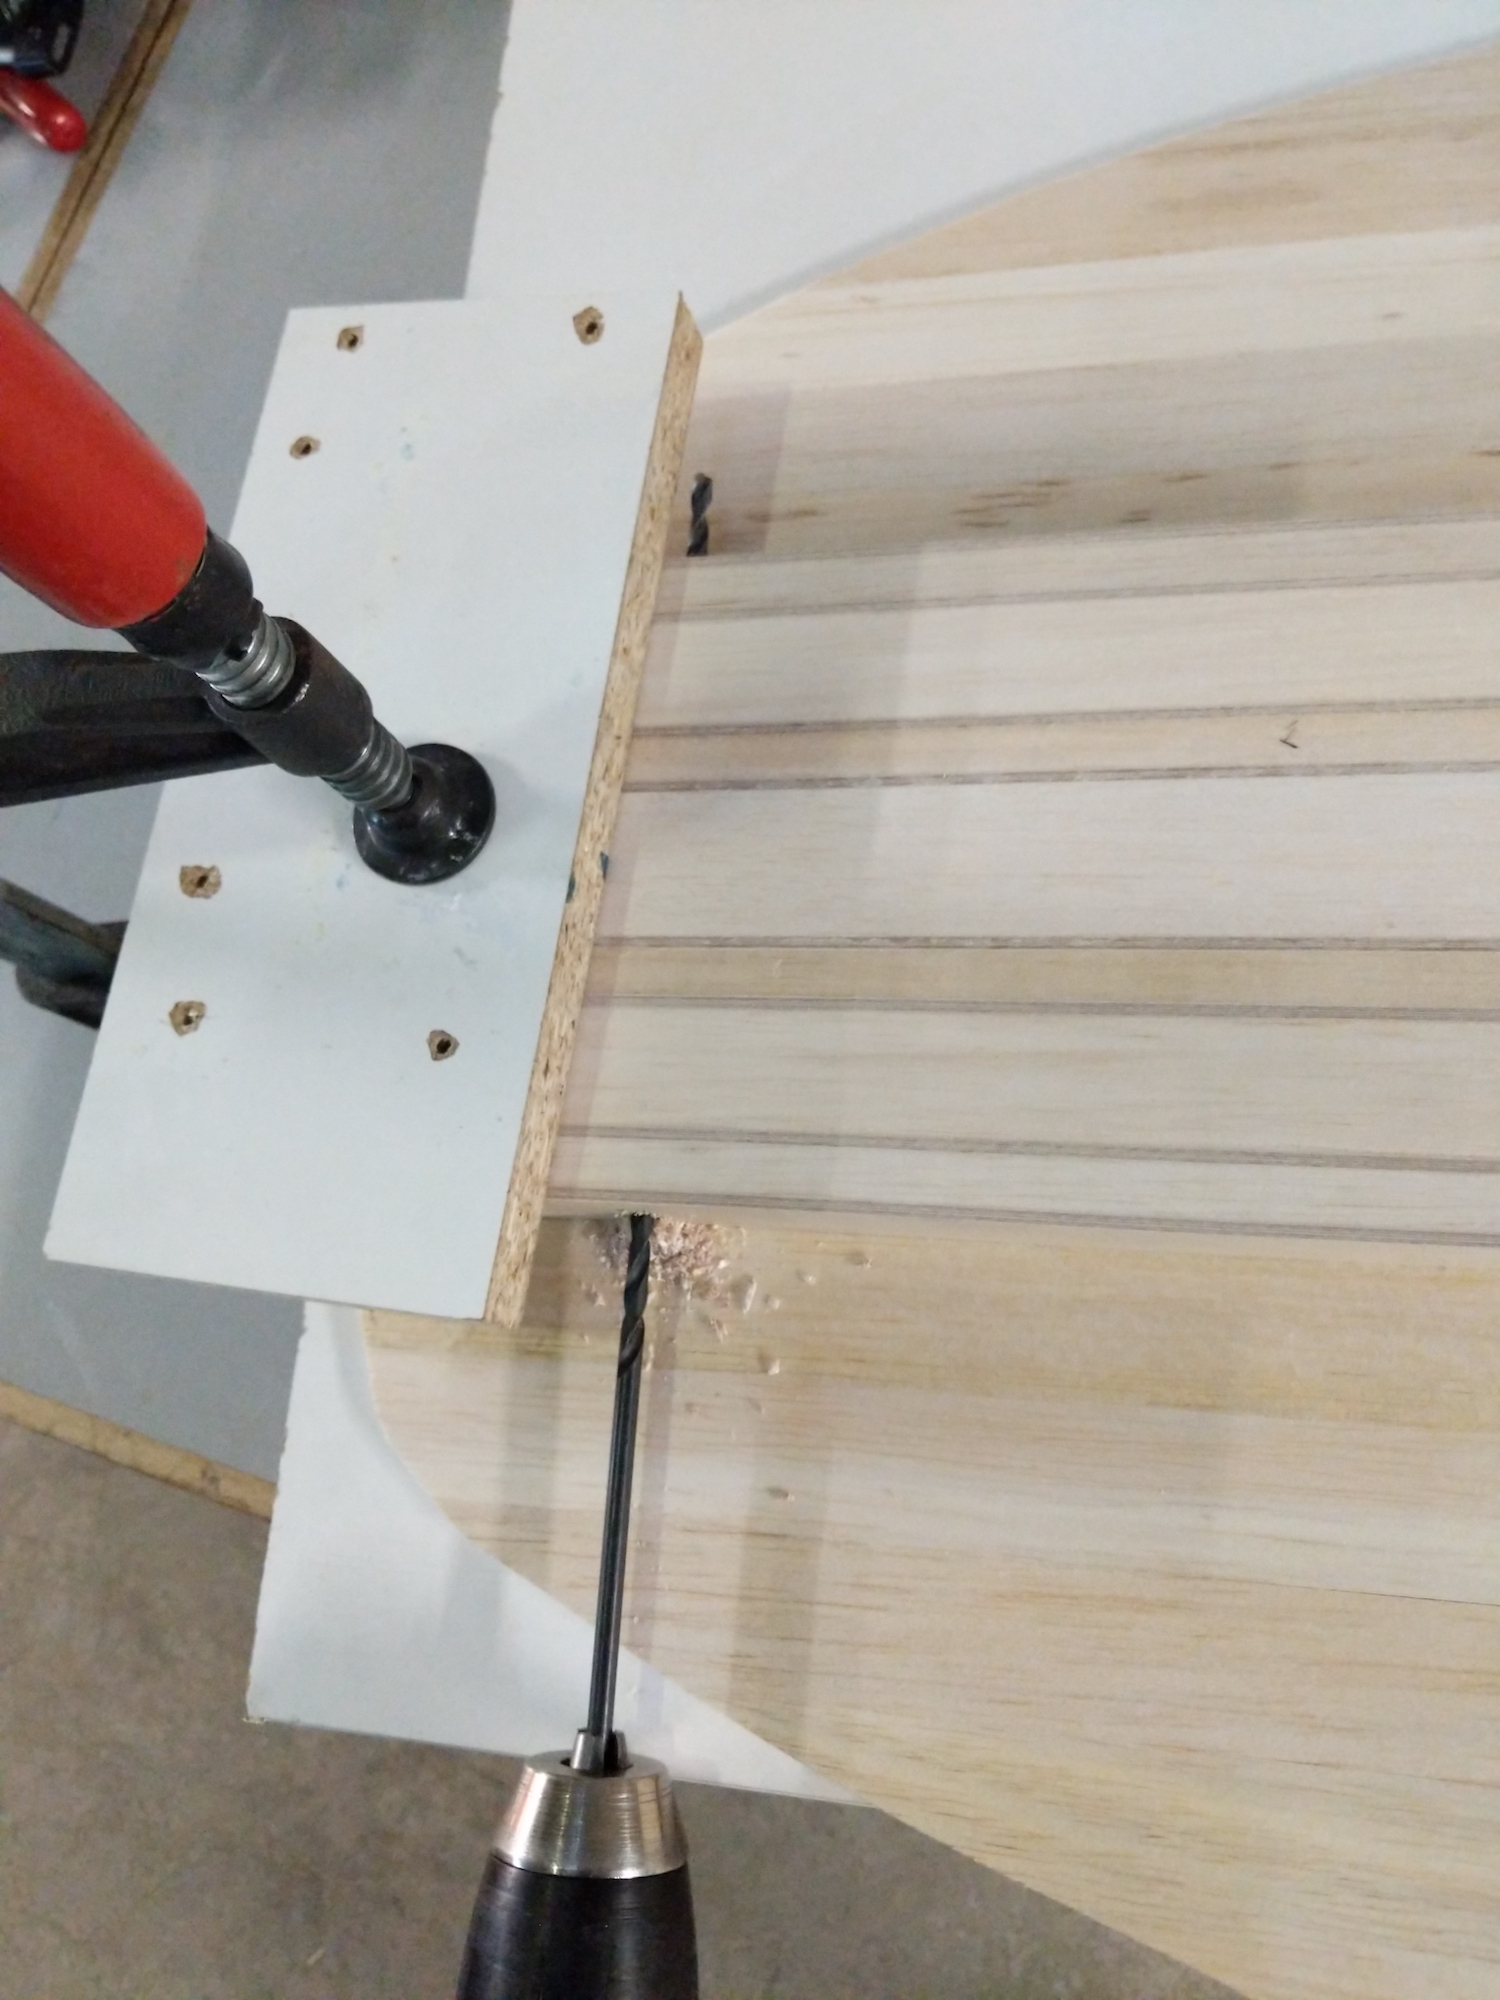
To vent all hollow (EPS filled) chambers with the other chambers of the board I drilled two through-holes with a diameter of 6mm.
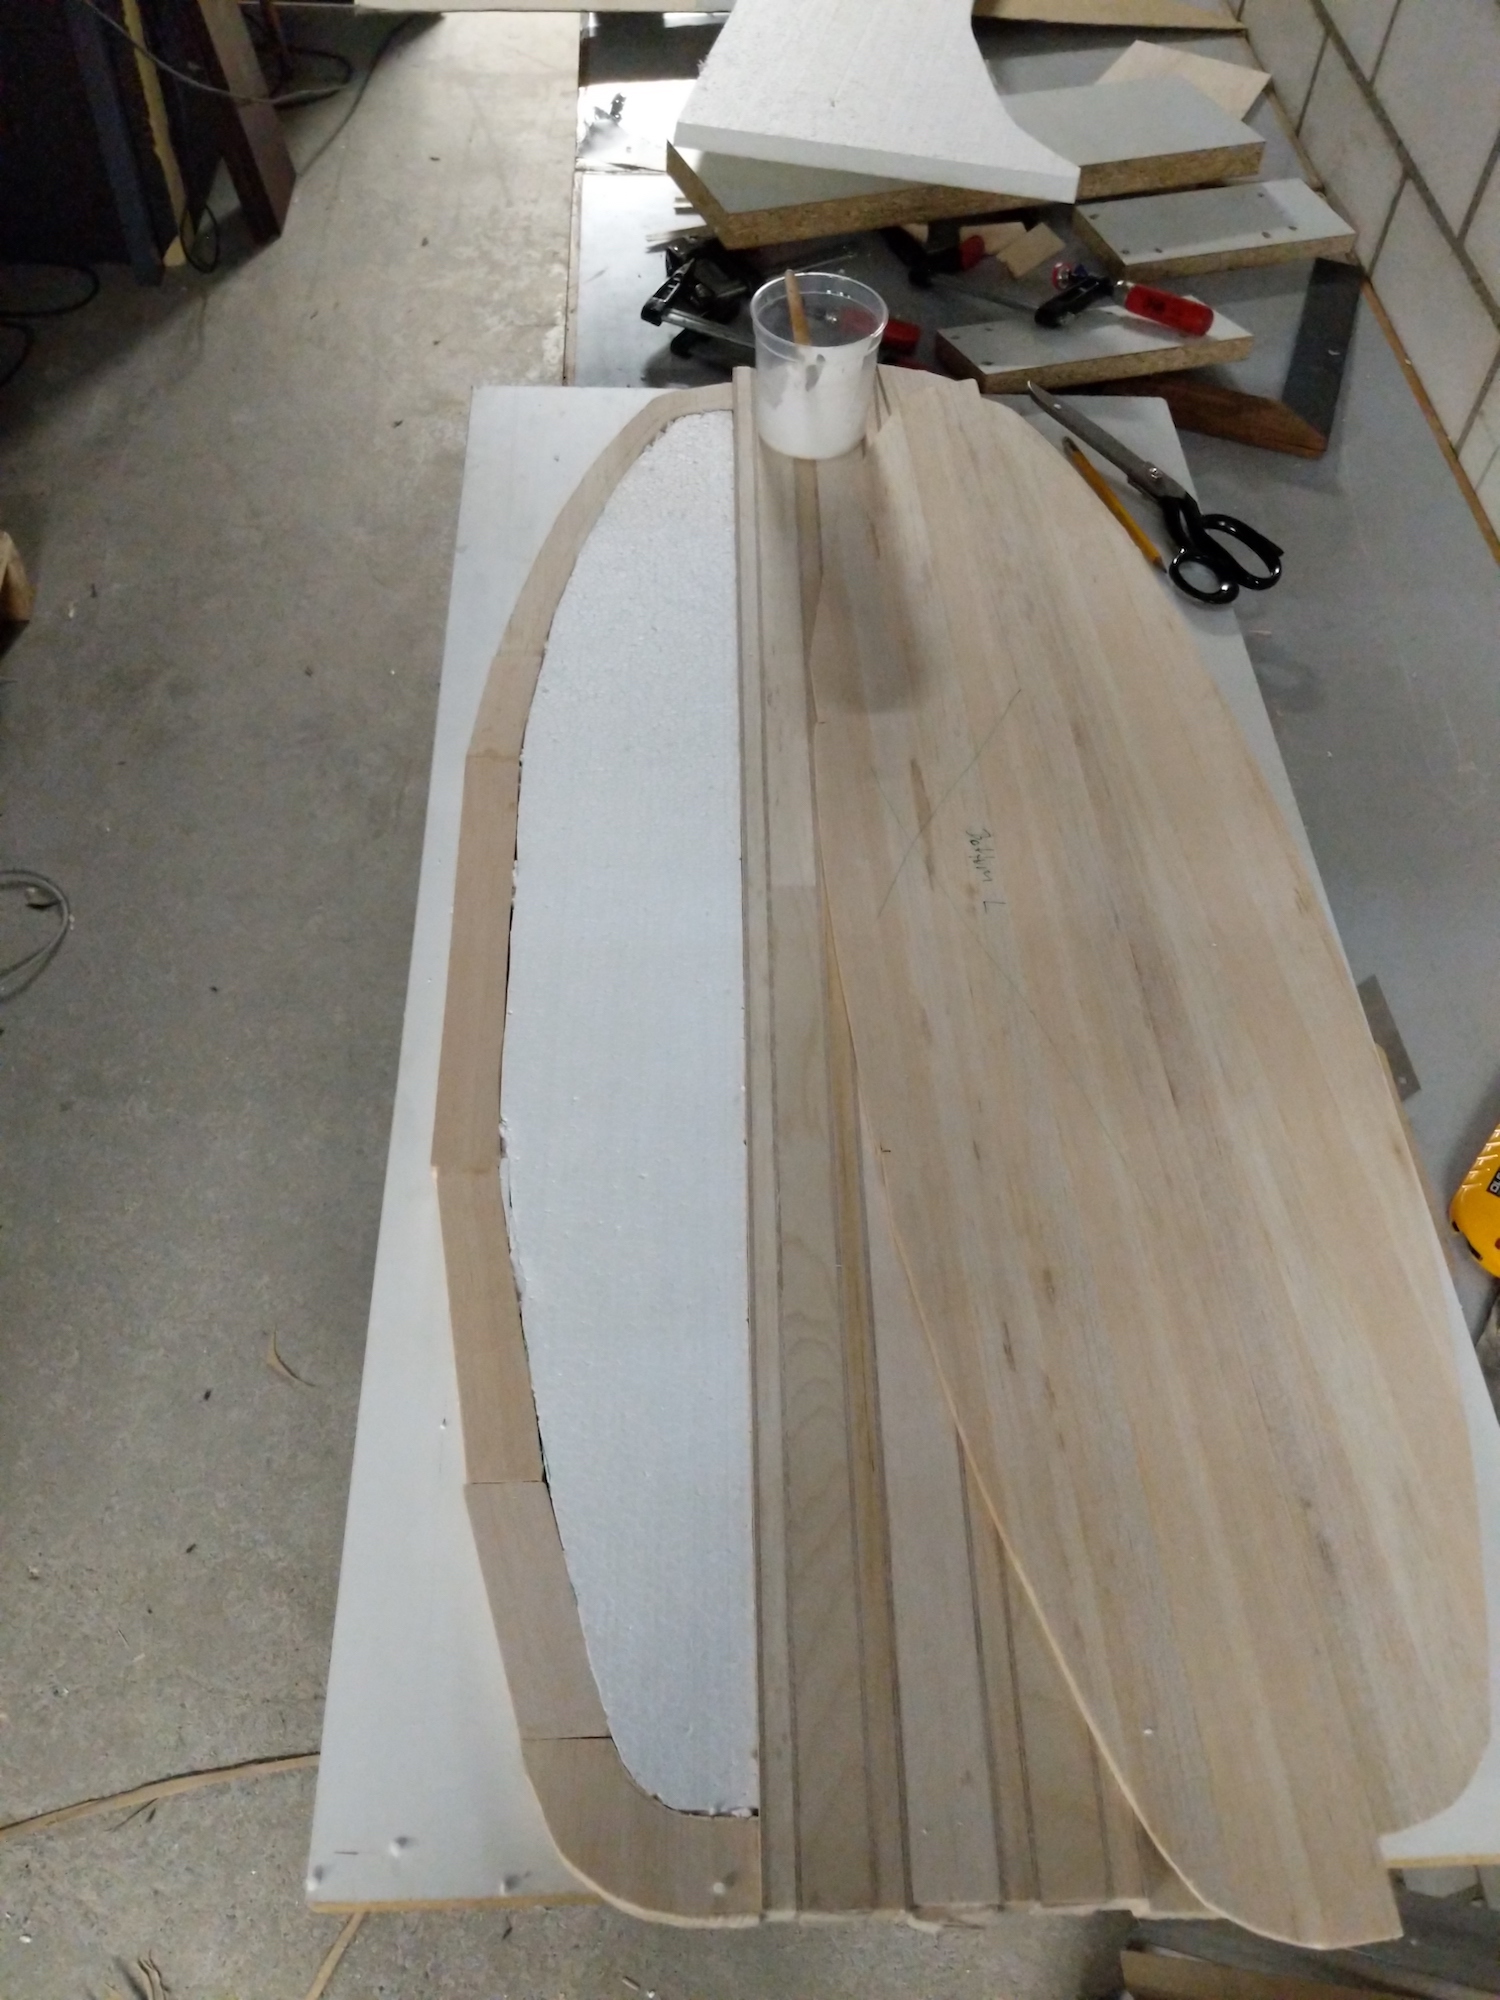
Next the rails were formed from balsa clippings and lots of glue.
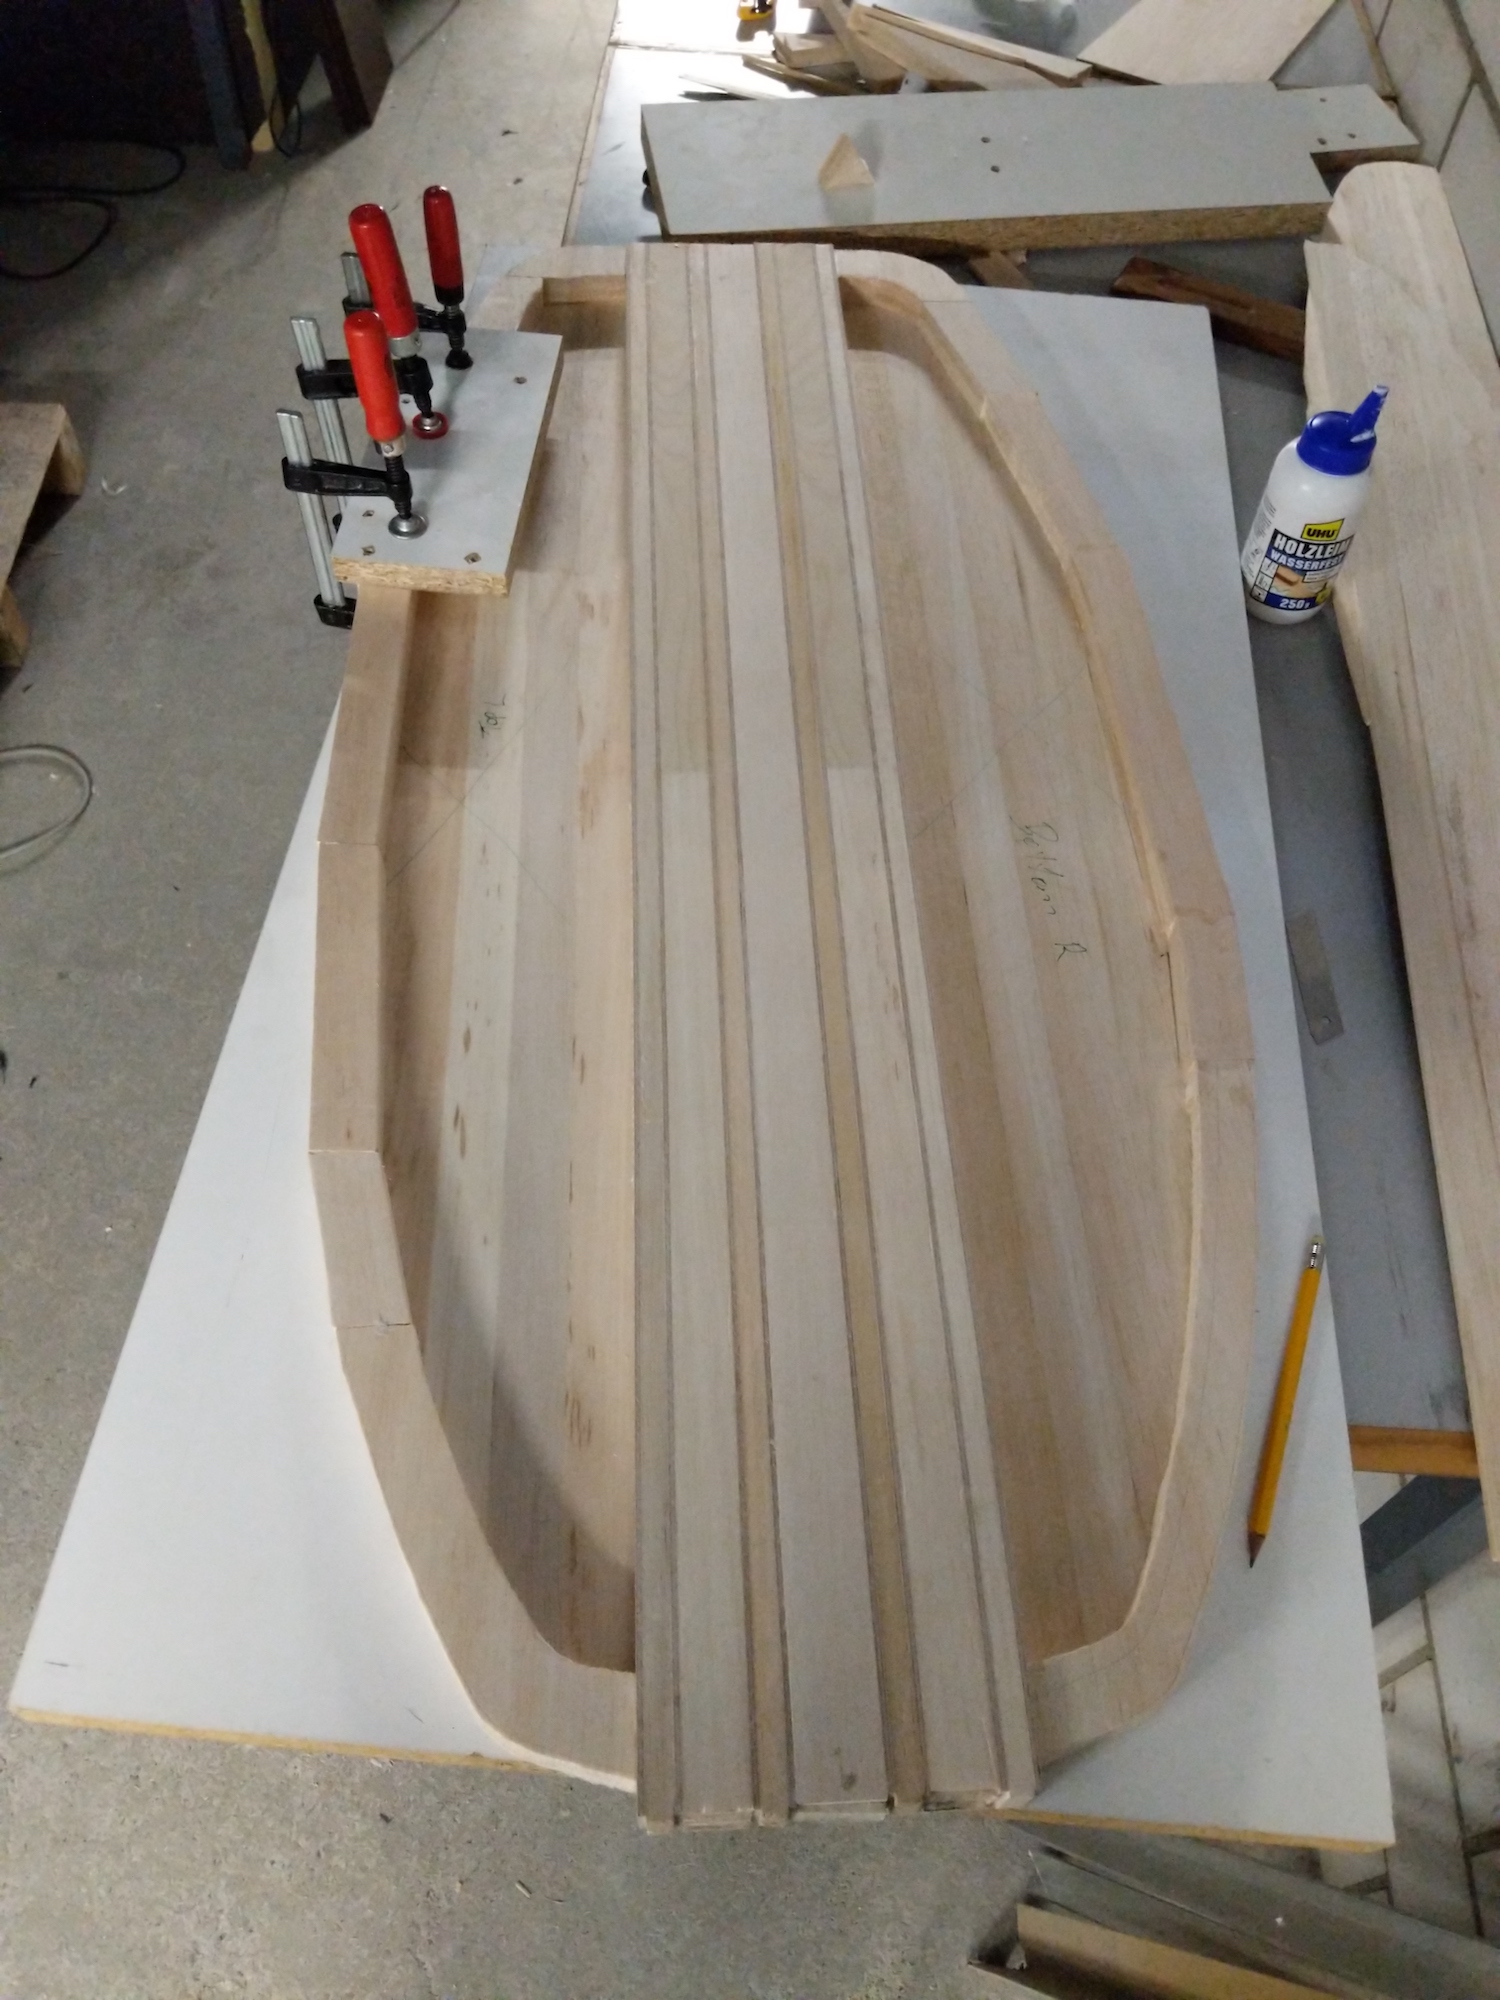
The so formed void was filled with EPS foam. One of the biggest screw-ups of this build was that I didn't glue the EPS to the balsa on the deck and the bottom. Only a little sun/temperature was enough to inflate the board like a balloon :/ I later drilled some holes in the deck (below the pad) and injected a mixture of microballons and epoxy which fixed this issue.
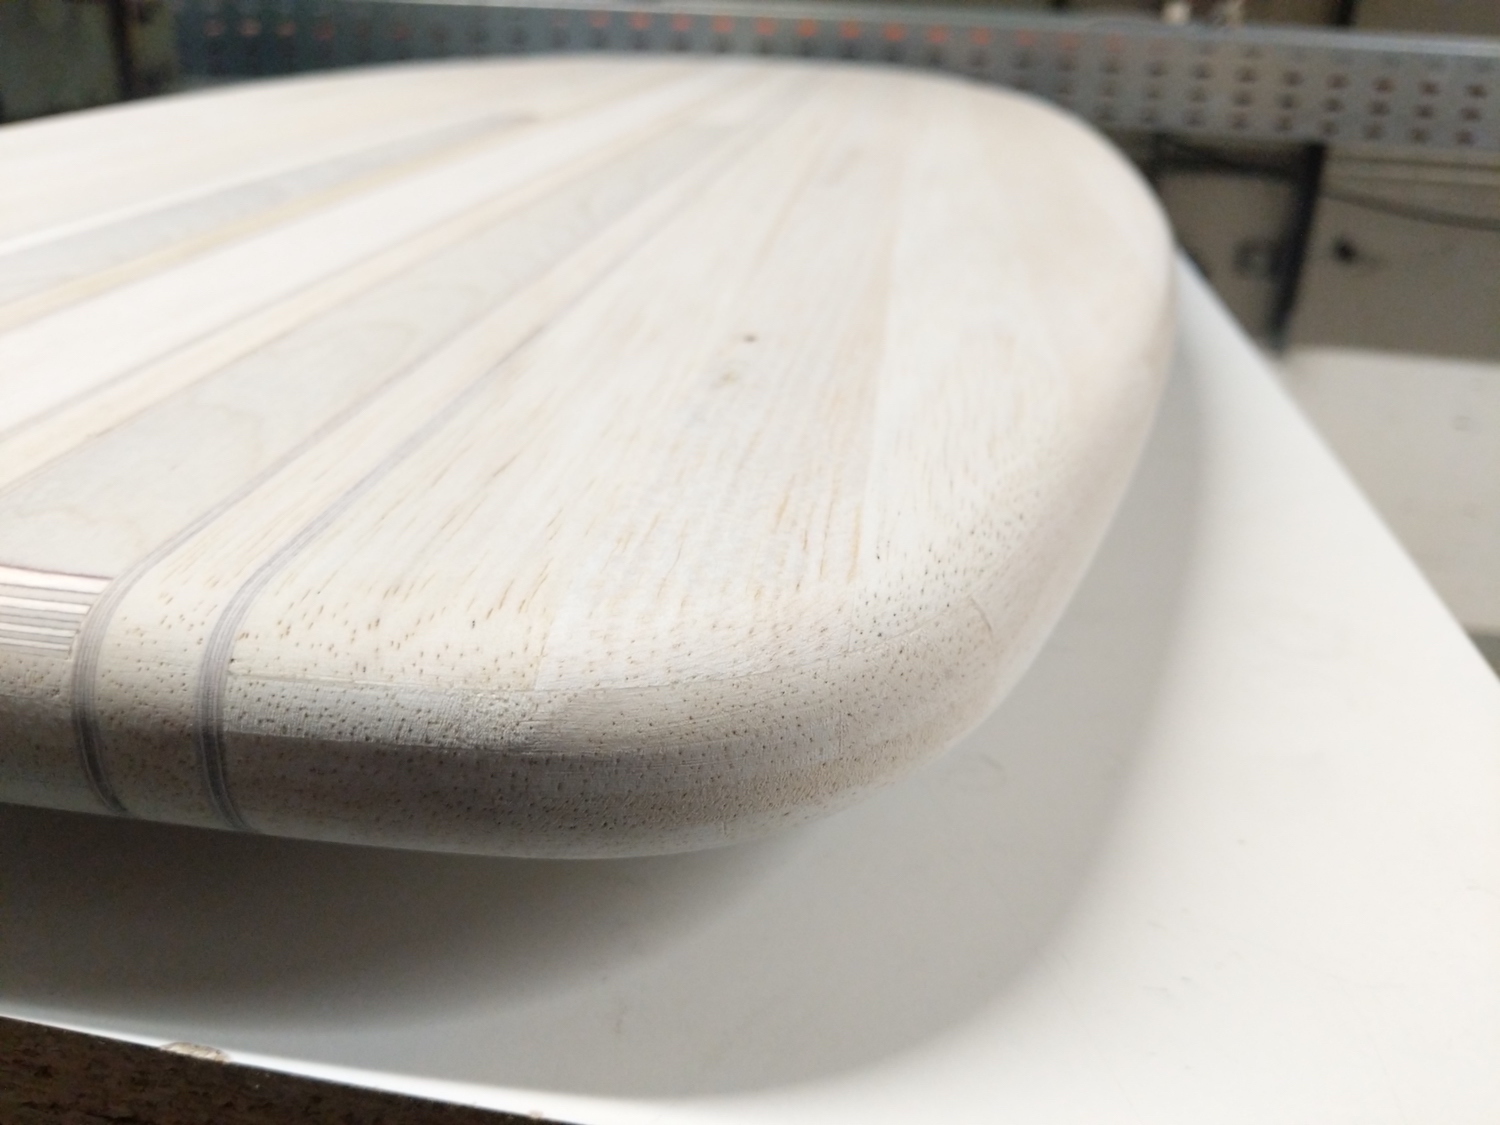
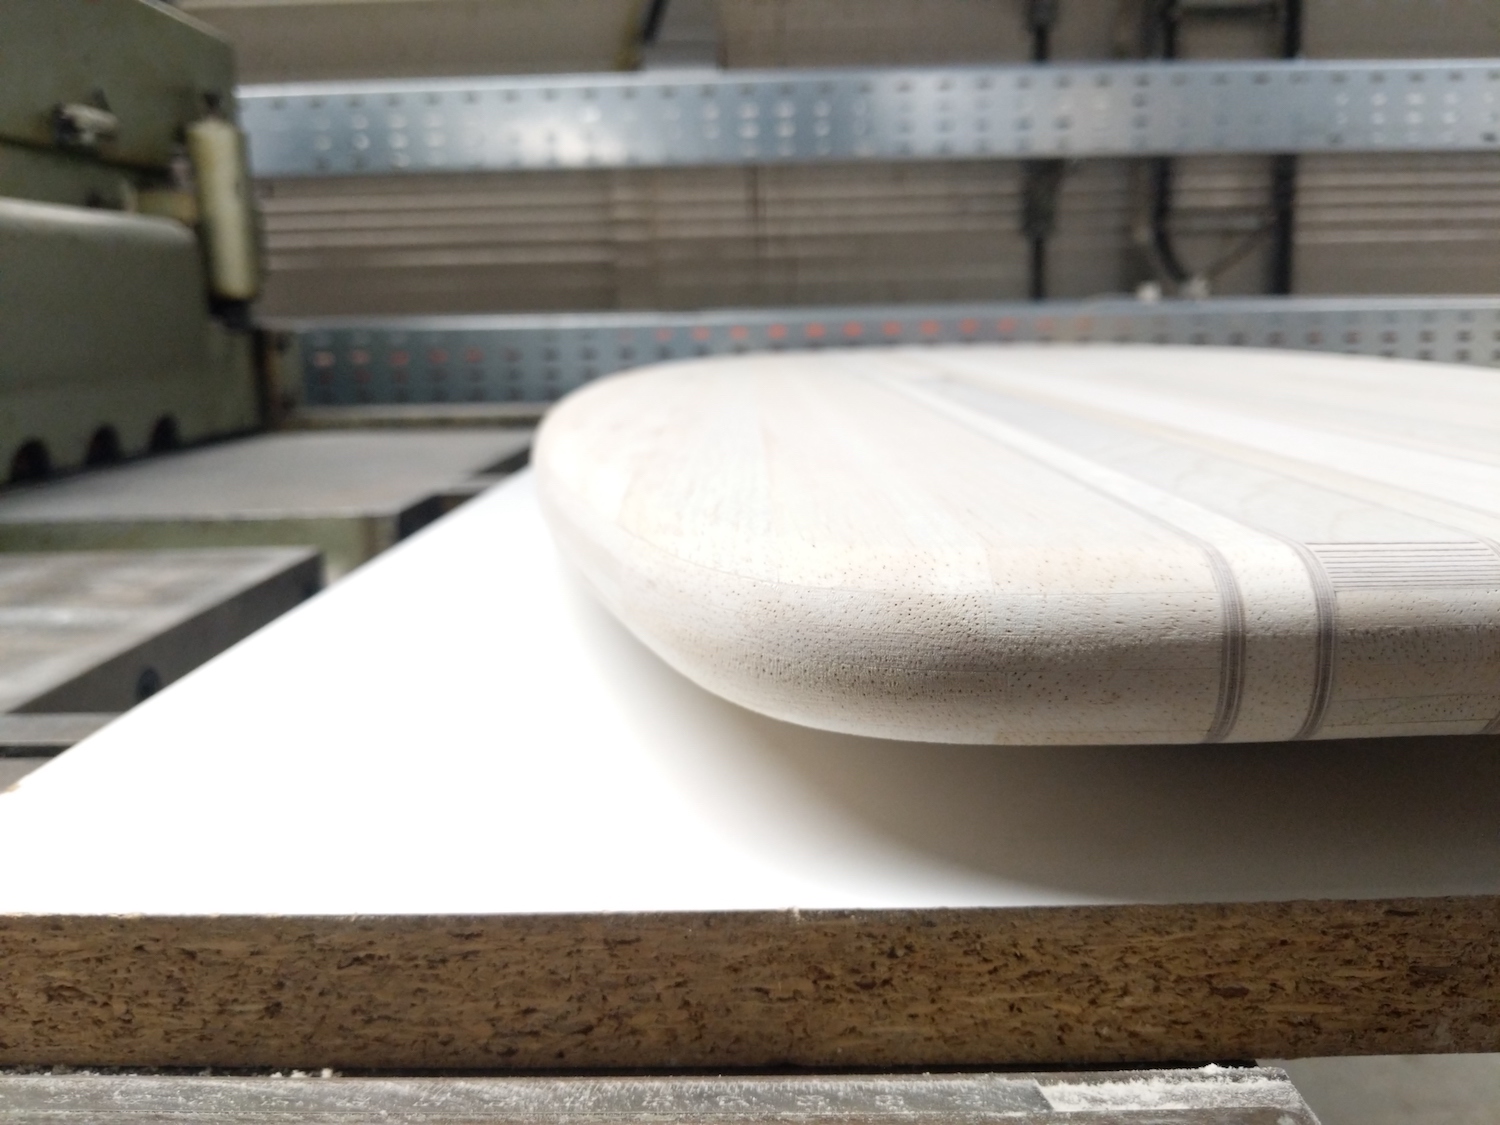
Again with the help of the PDF printout the board was sanded to size and shape. I learnt that balsa dust is extremely aggressive stuff and it's best to wear a mask when sanding it..
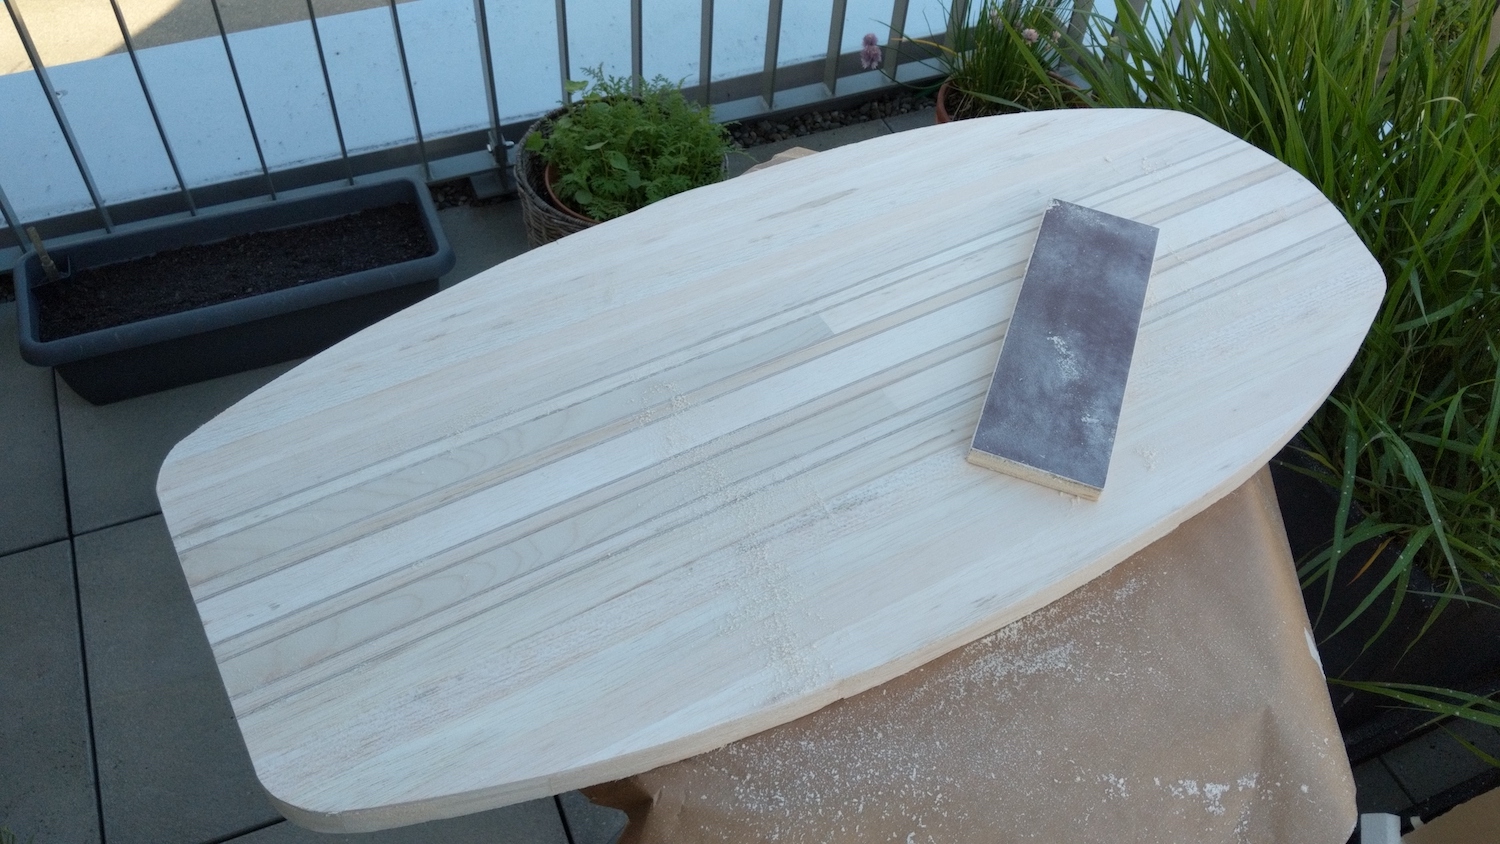
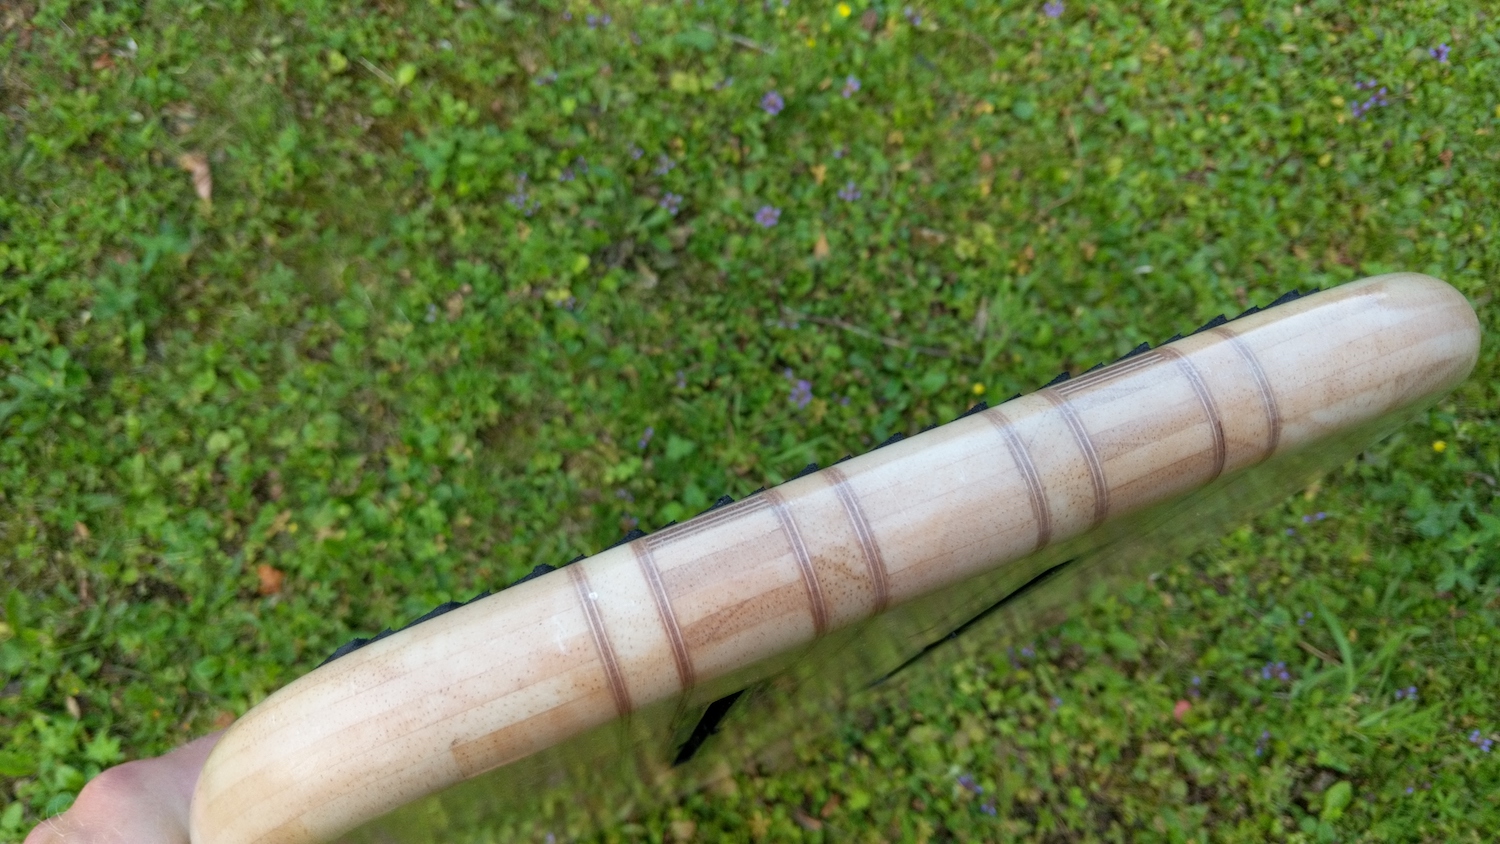
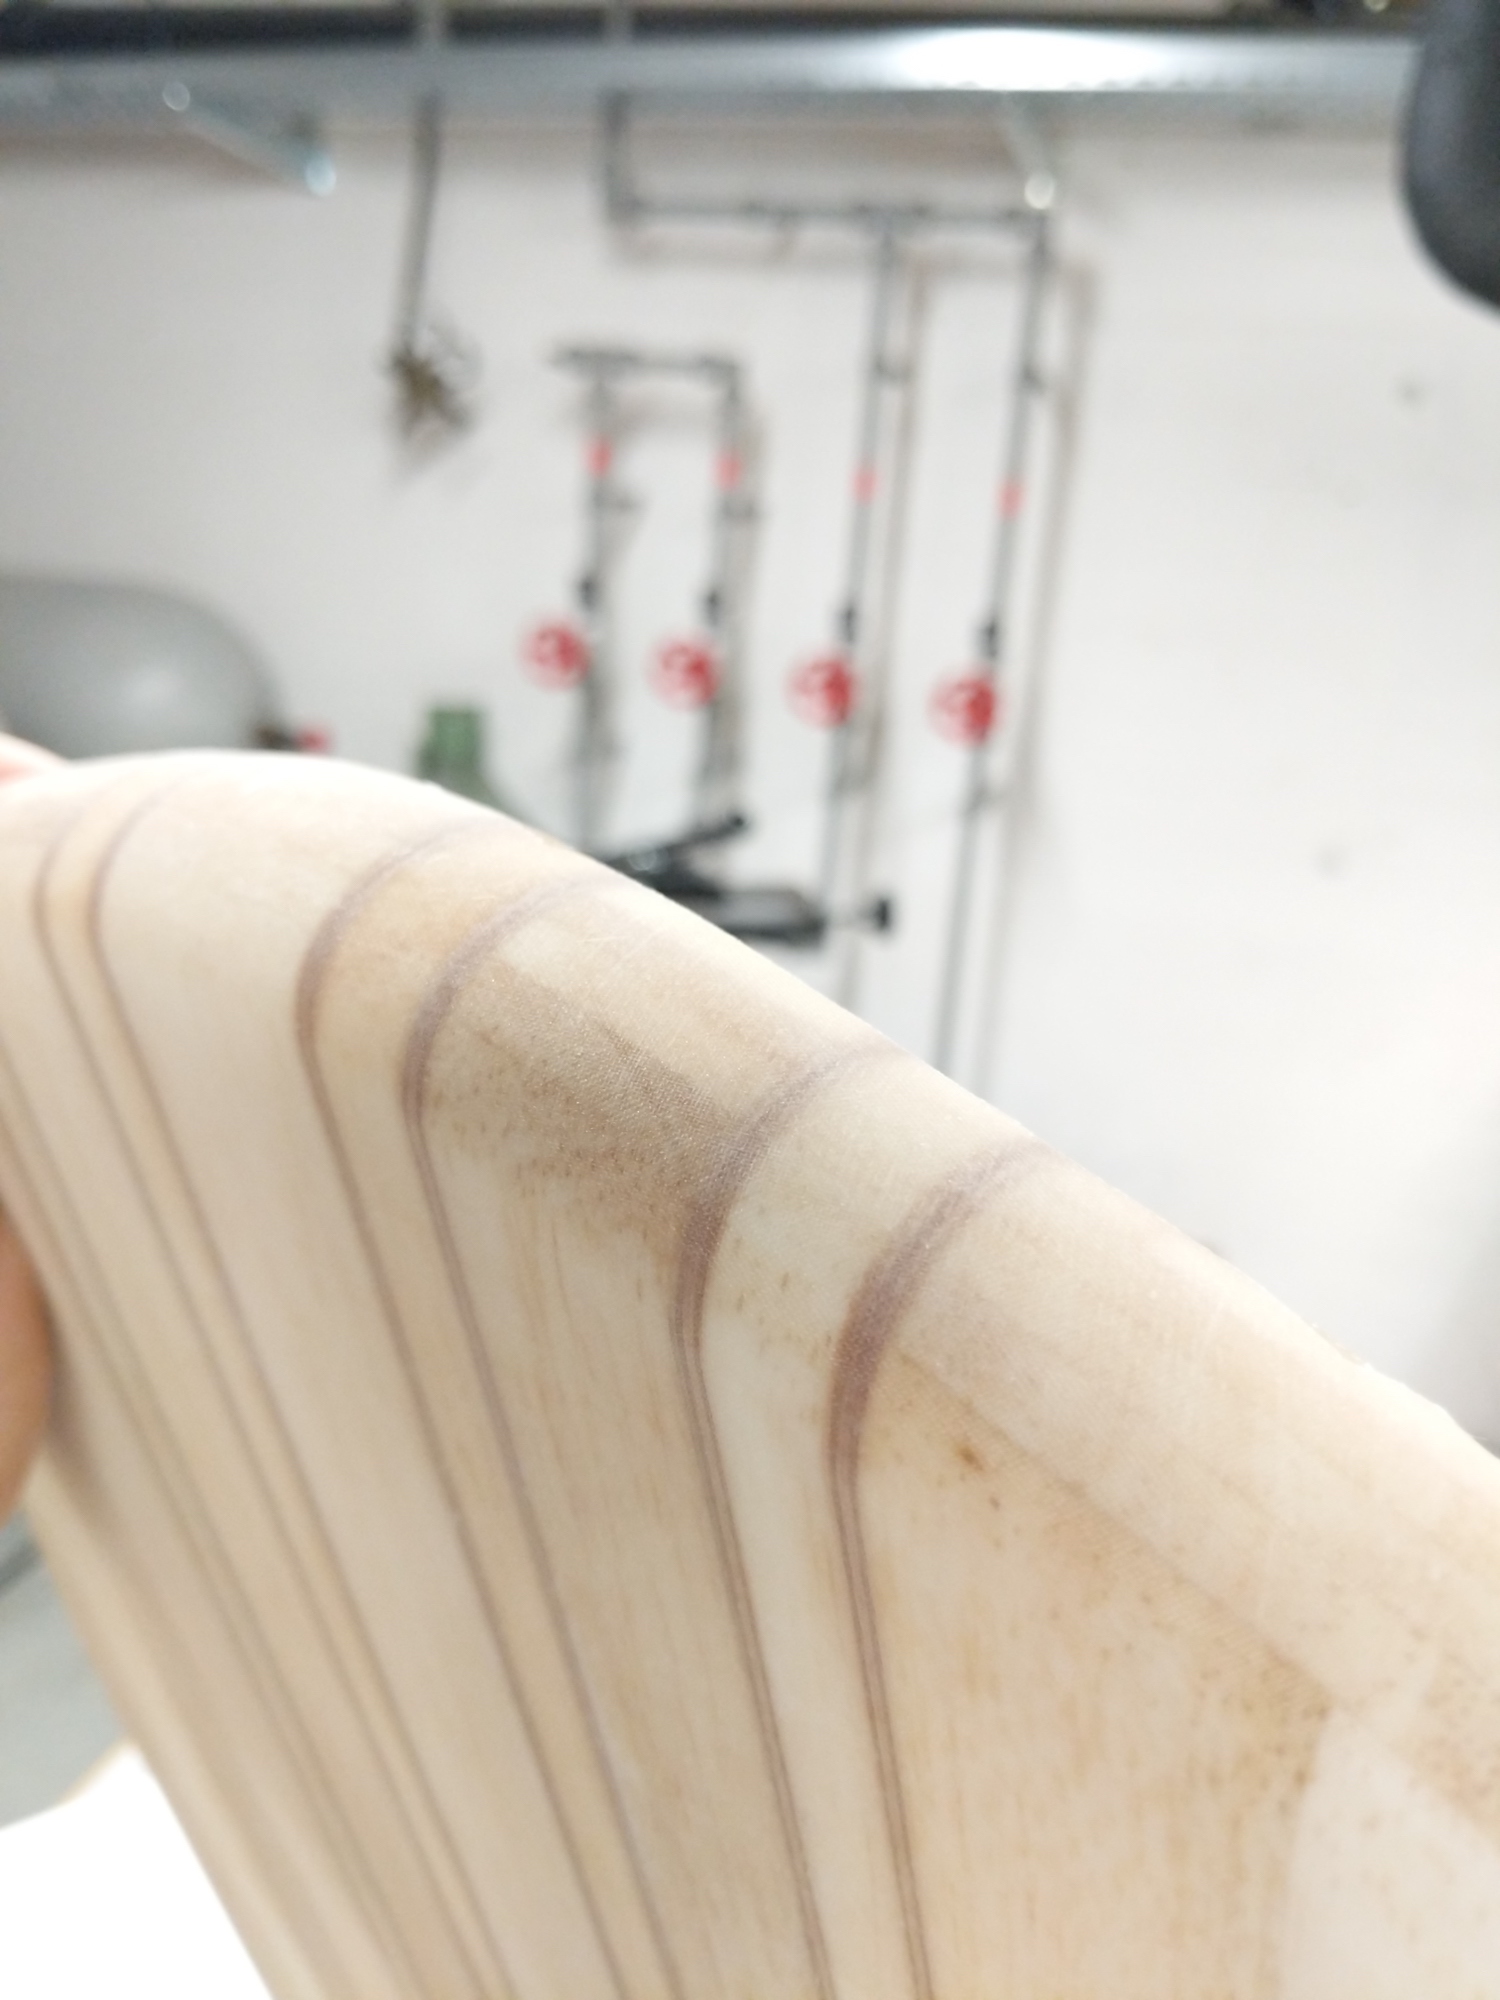
For sanding the rails I used half a pipe with sanding paper glued into it, that allowed to sand the radius quite decently as shown in these pictures
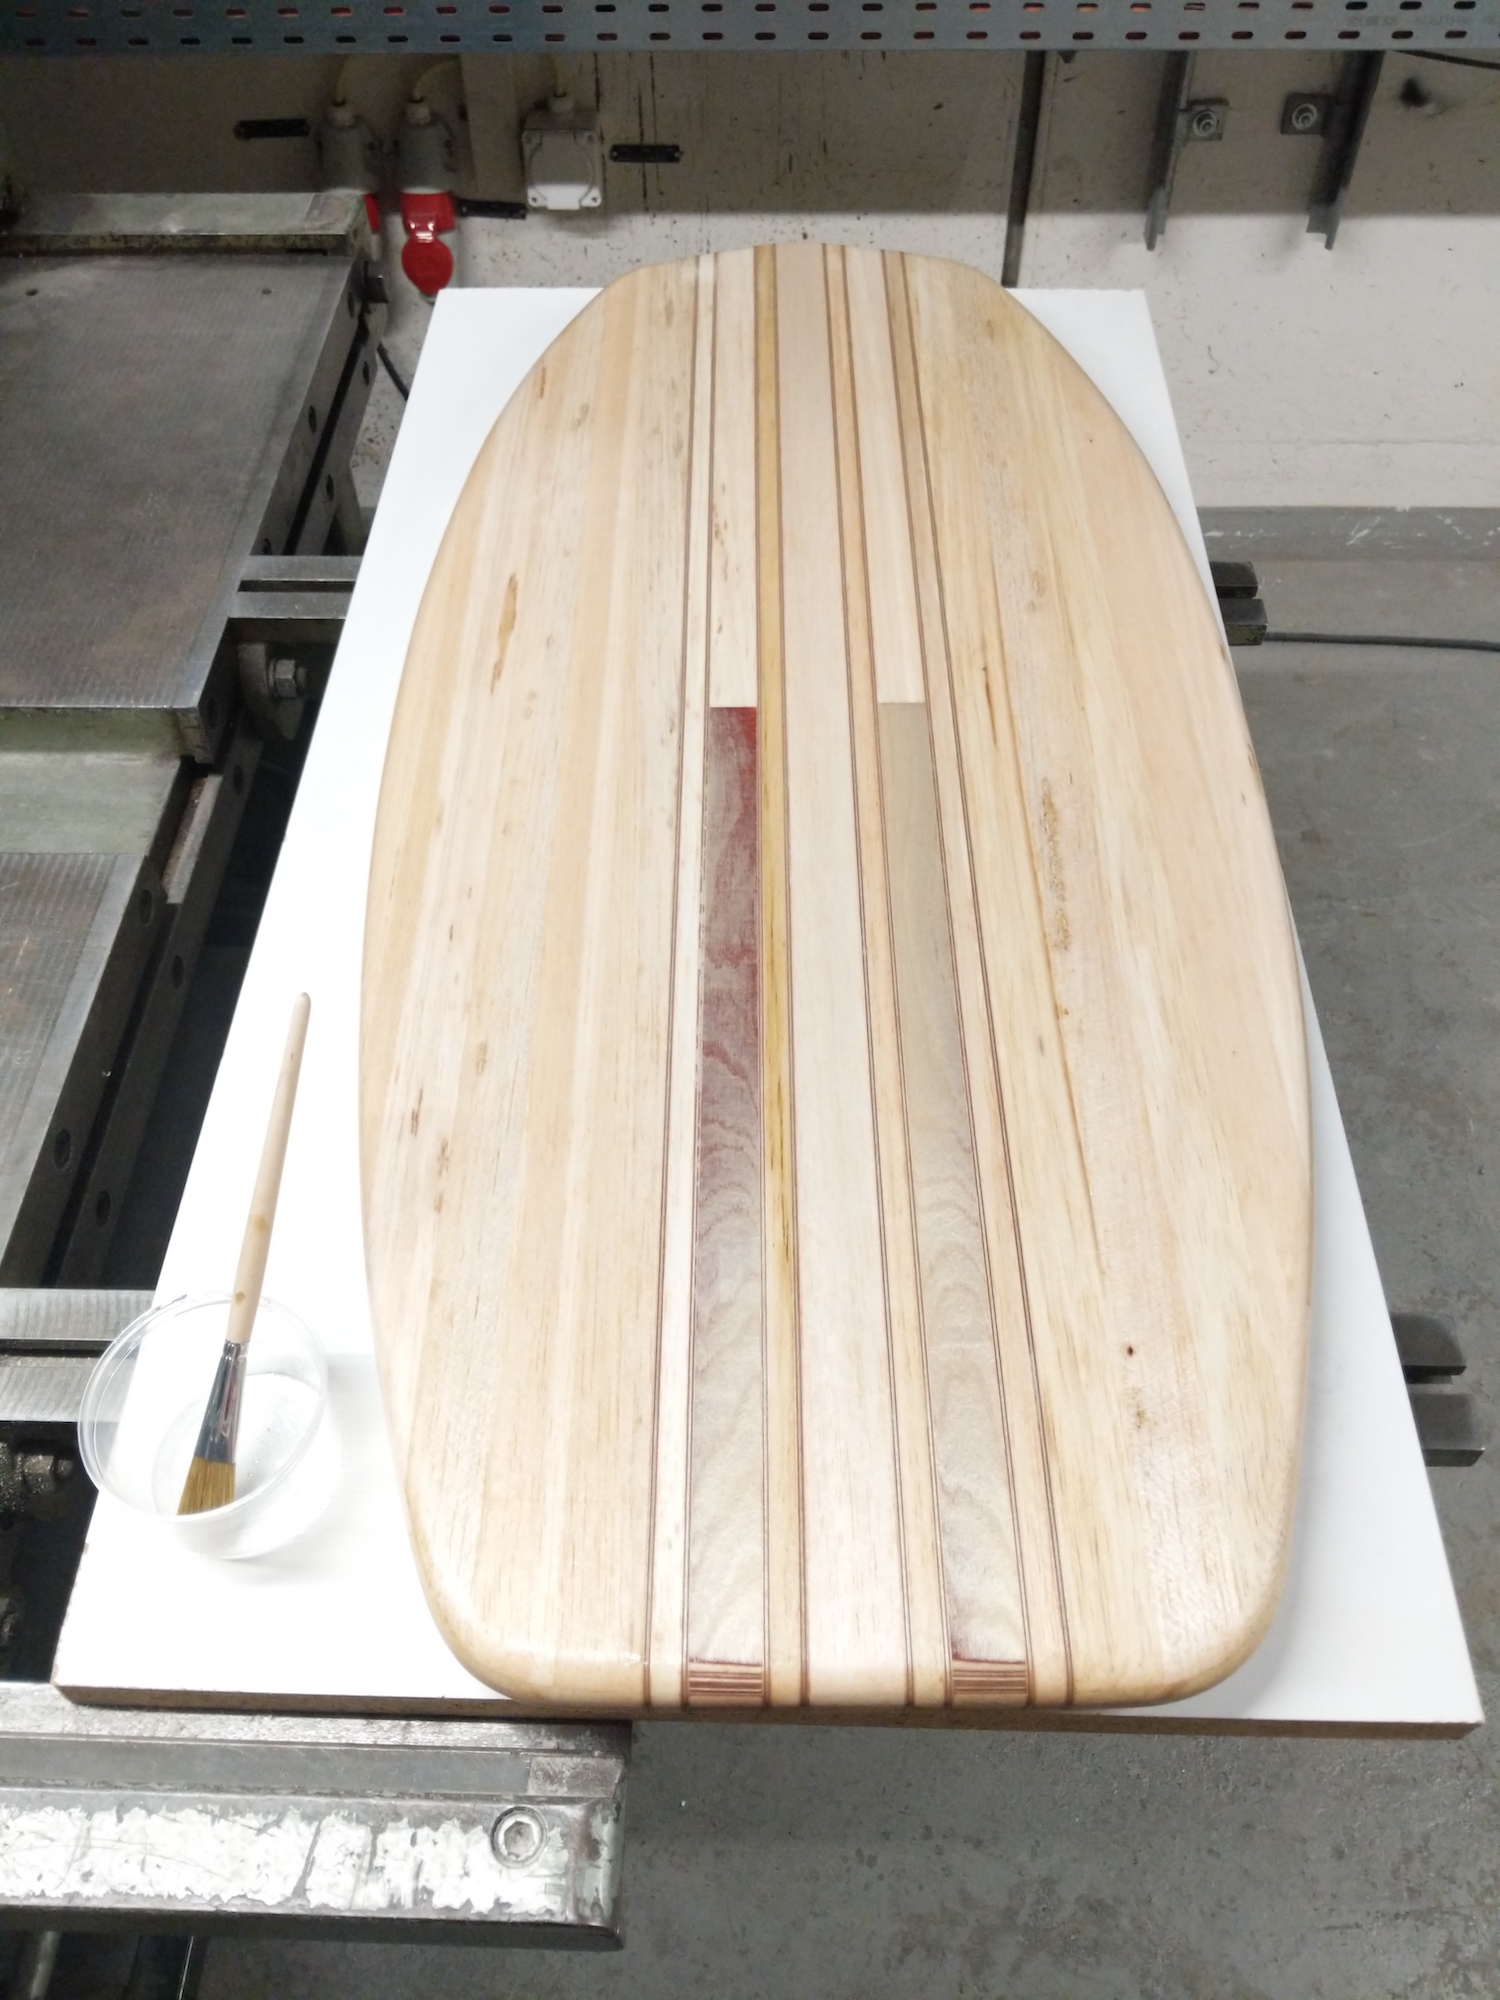
To improve the adhesion of the glass to the balsa several people online as well as offline recommend to add a thin layer of epoxy that is completely cured before doing the actual lamination
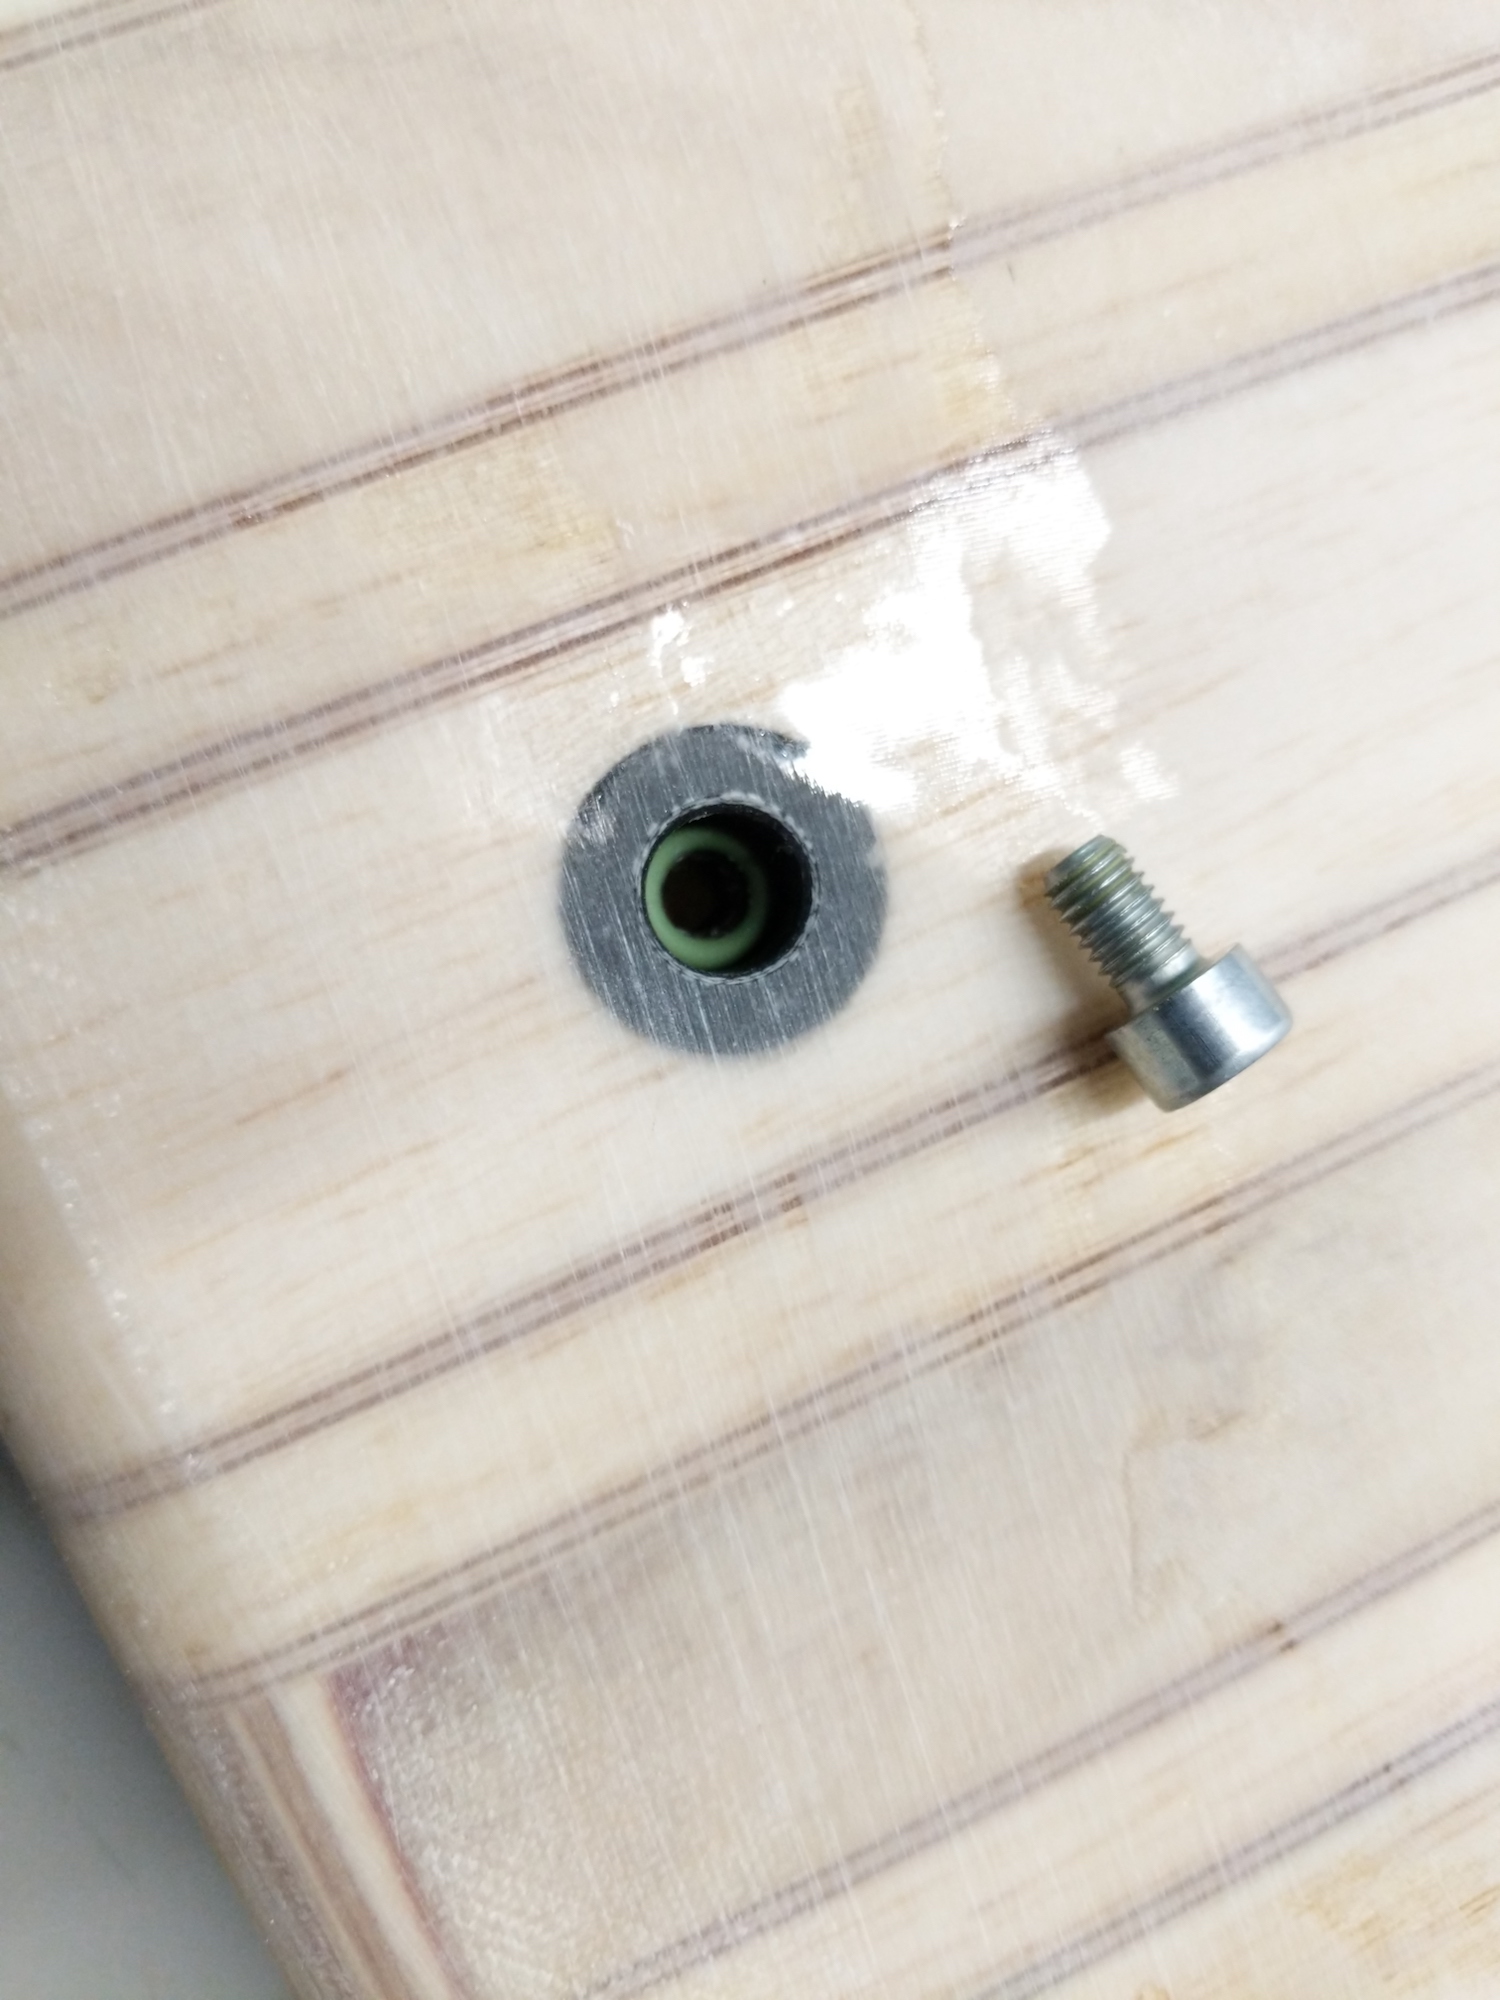
Another step before laminating the board was to add a vent plug. Because most of the vent plugs that are sold are extremely ugly and unnecessary large I made my own by drilling a counterbored hole into a piece of epoxy strengthened with carbon chips that was made from waste epoxy in a small plastic pipe.
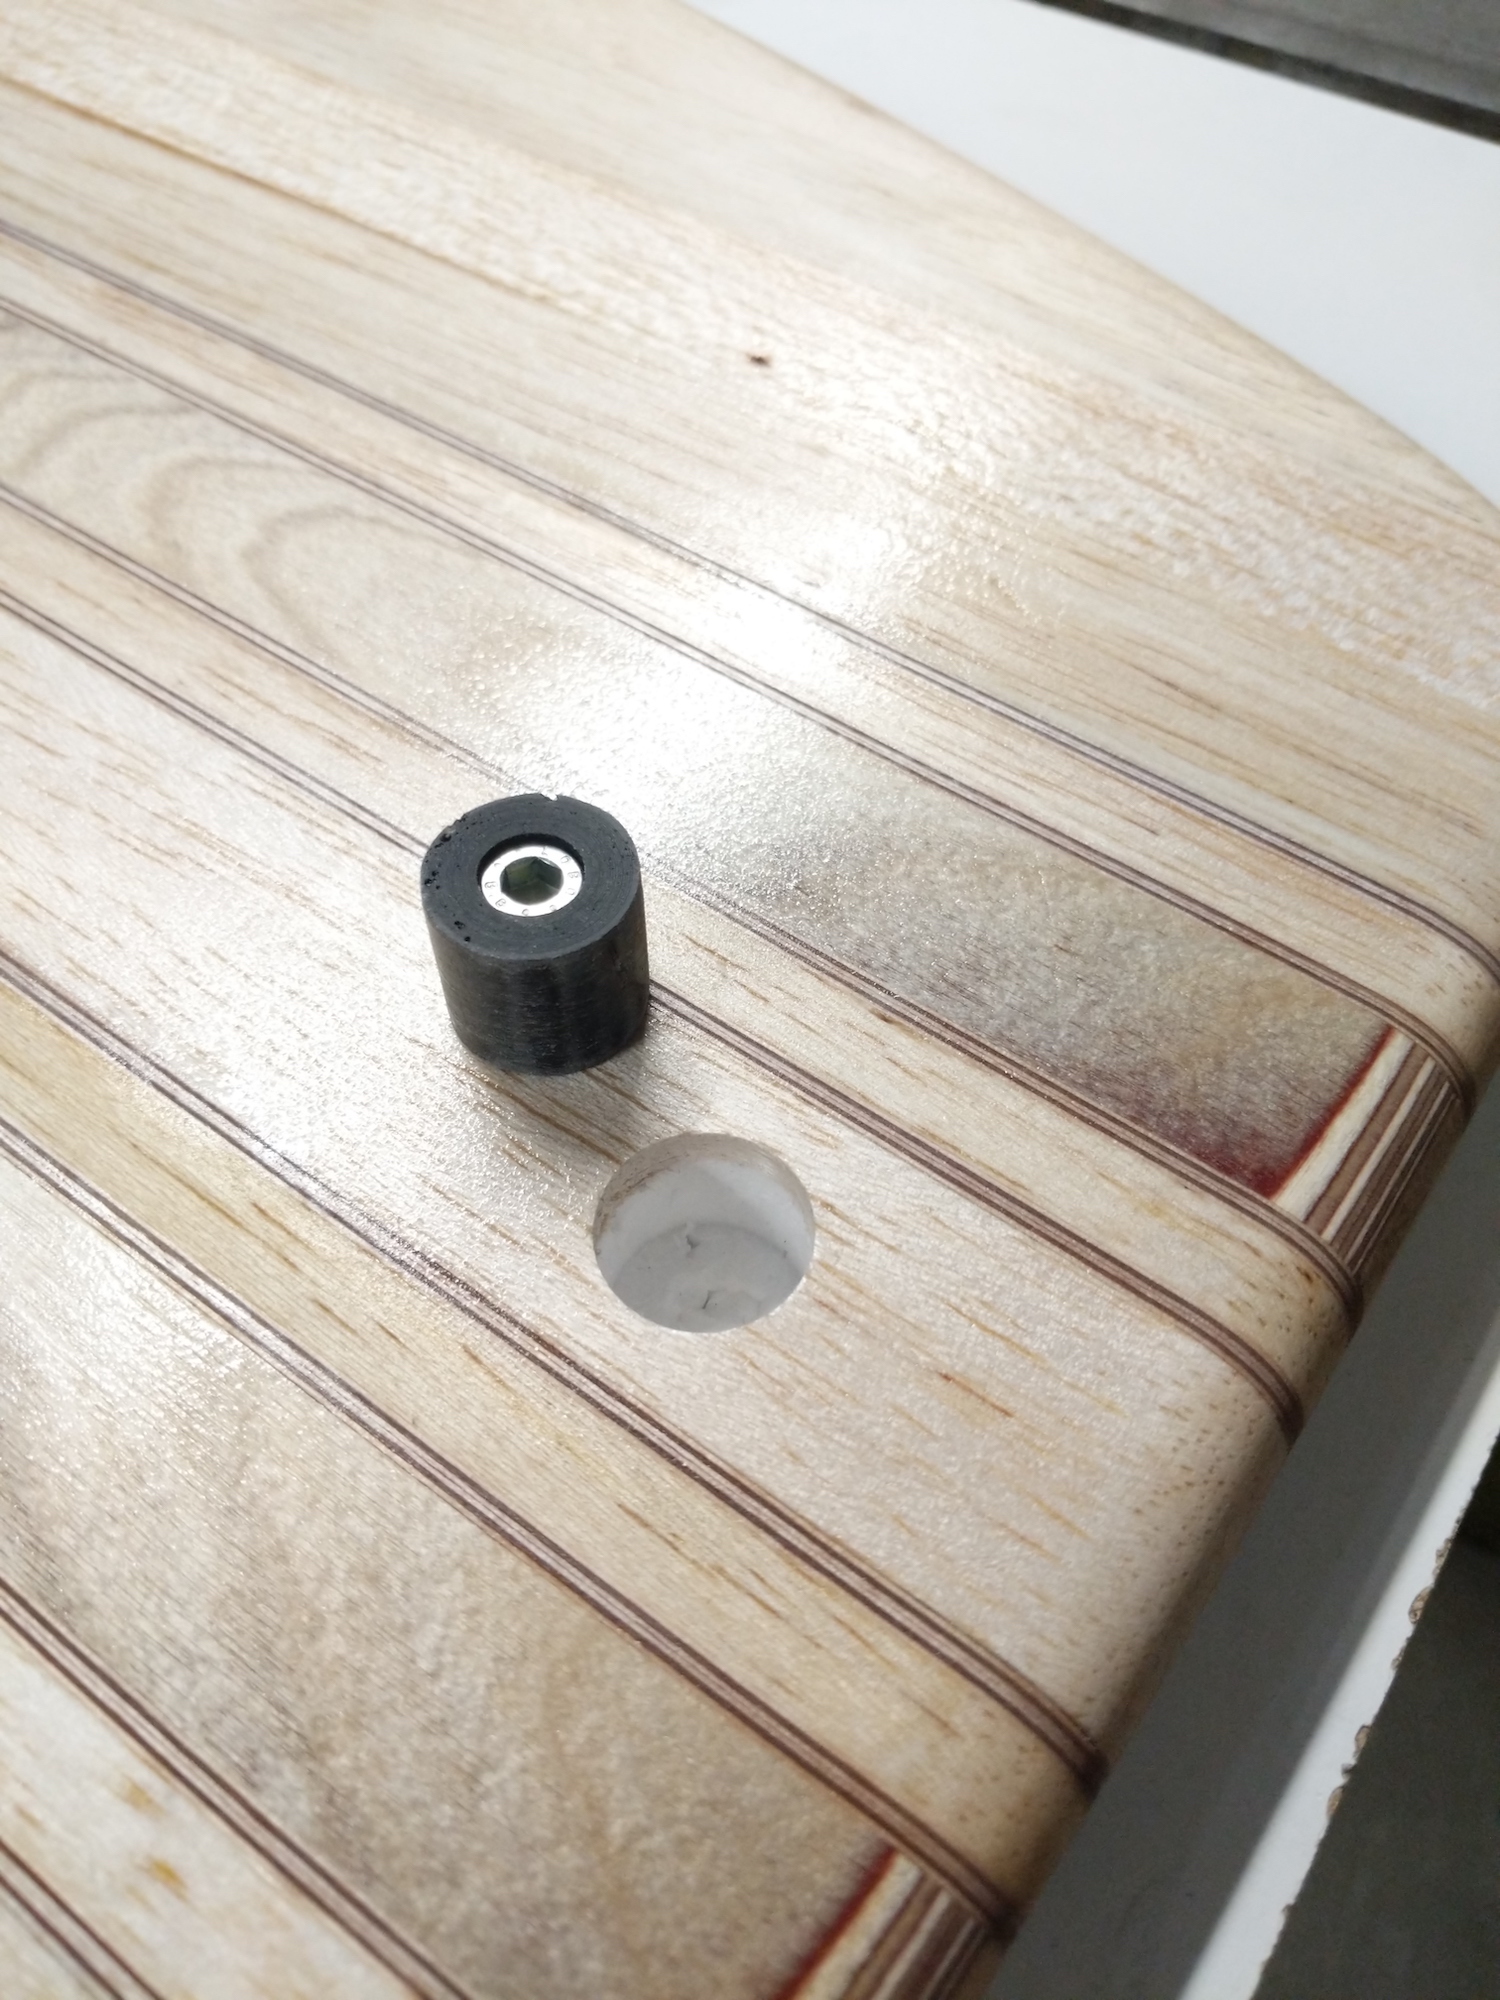
I got the seal ring from a friend but they can be found in most hardware stores.
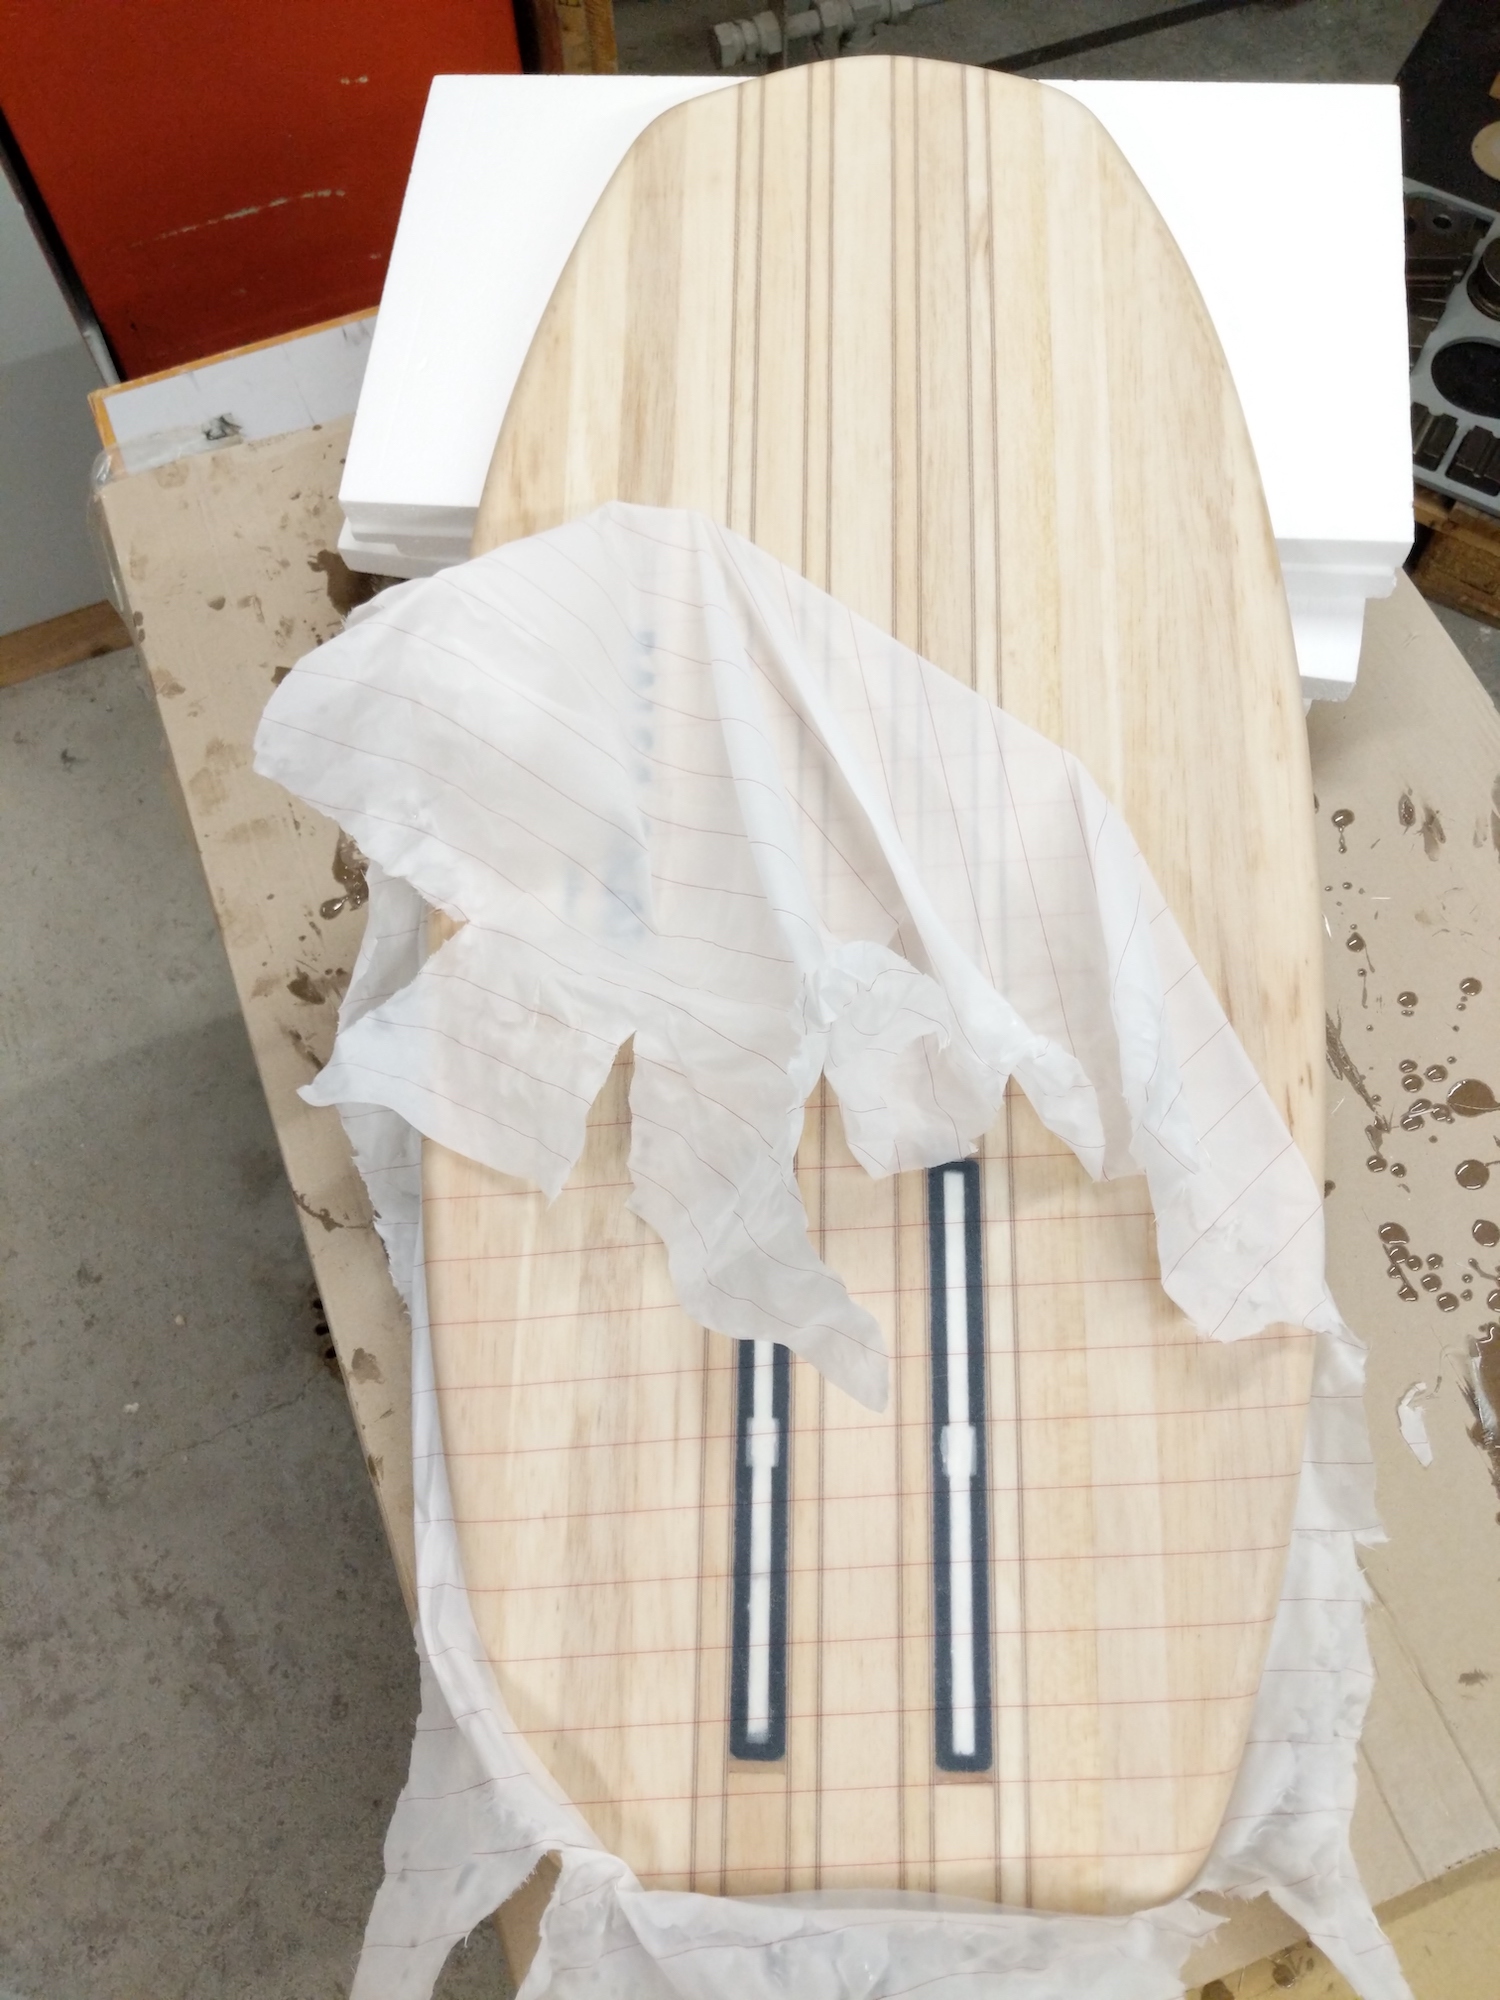
The board was laminated with Sicomin Surfclear EVO epoxy and two 150 g/m2 fiberglass fabrics on each side. Special care was taken that the mats of each side overlap over the rails for extra impact resistance and stiffness.

I used fine peel ply that was applied right onto the wet epoxy so that I could remove any air bubbles that had formed on the surface before the epoxy cured completely. This trick saved me from a lot of sanding because the surface came out quite decent
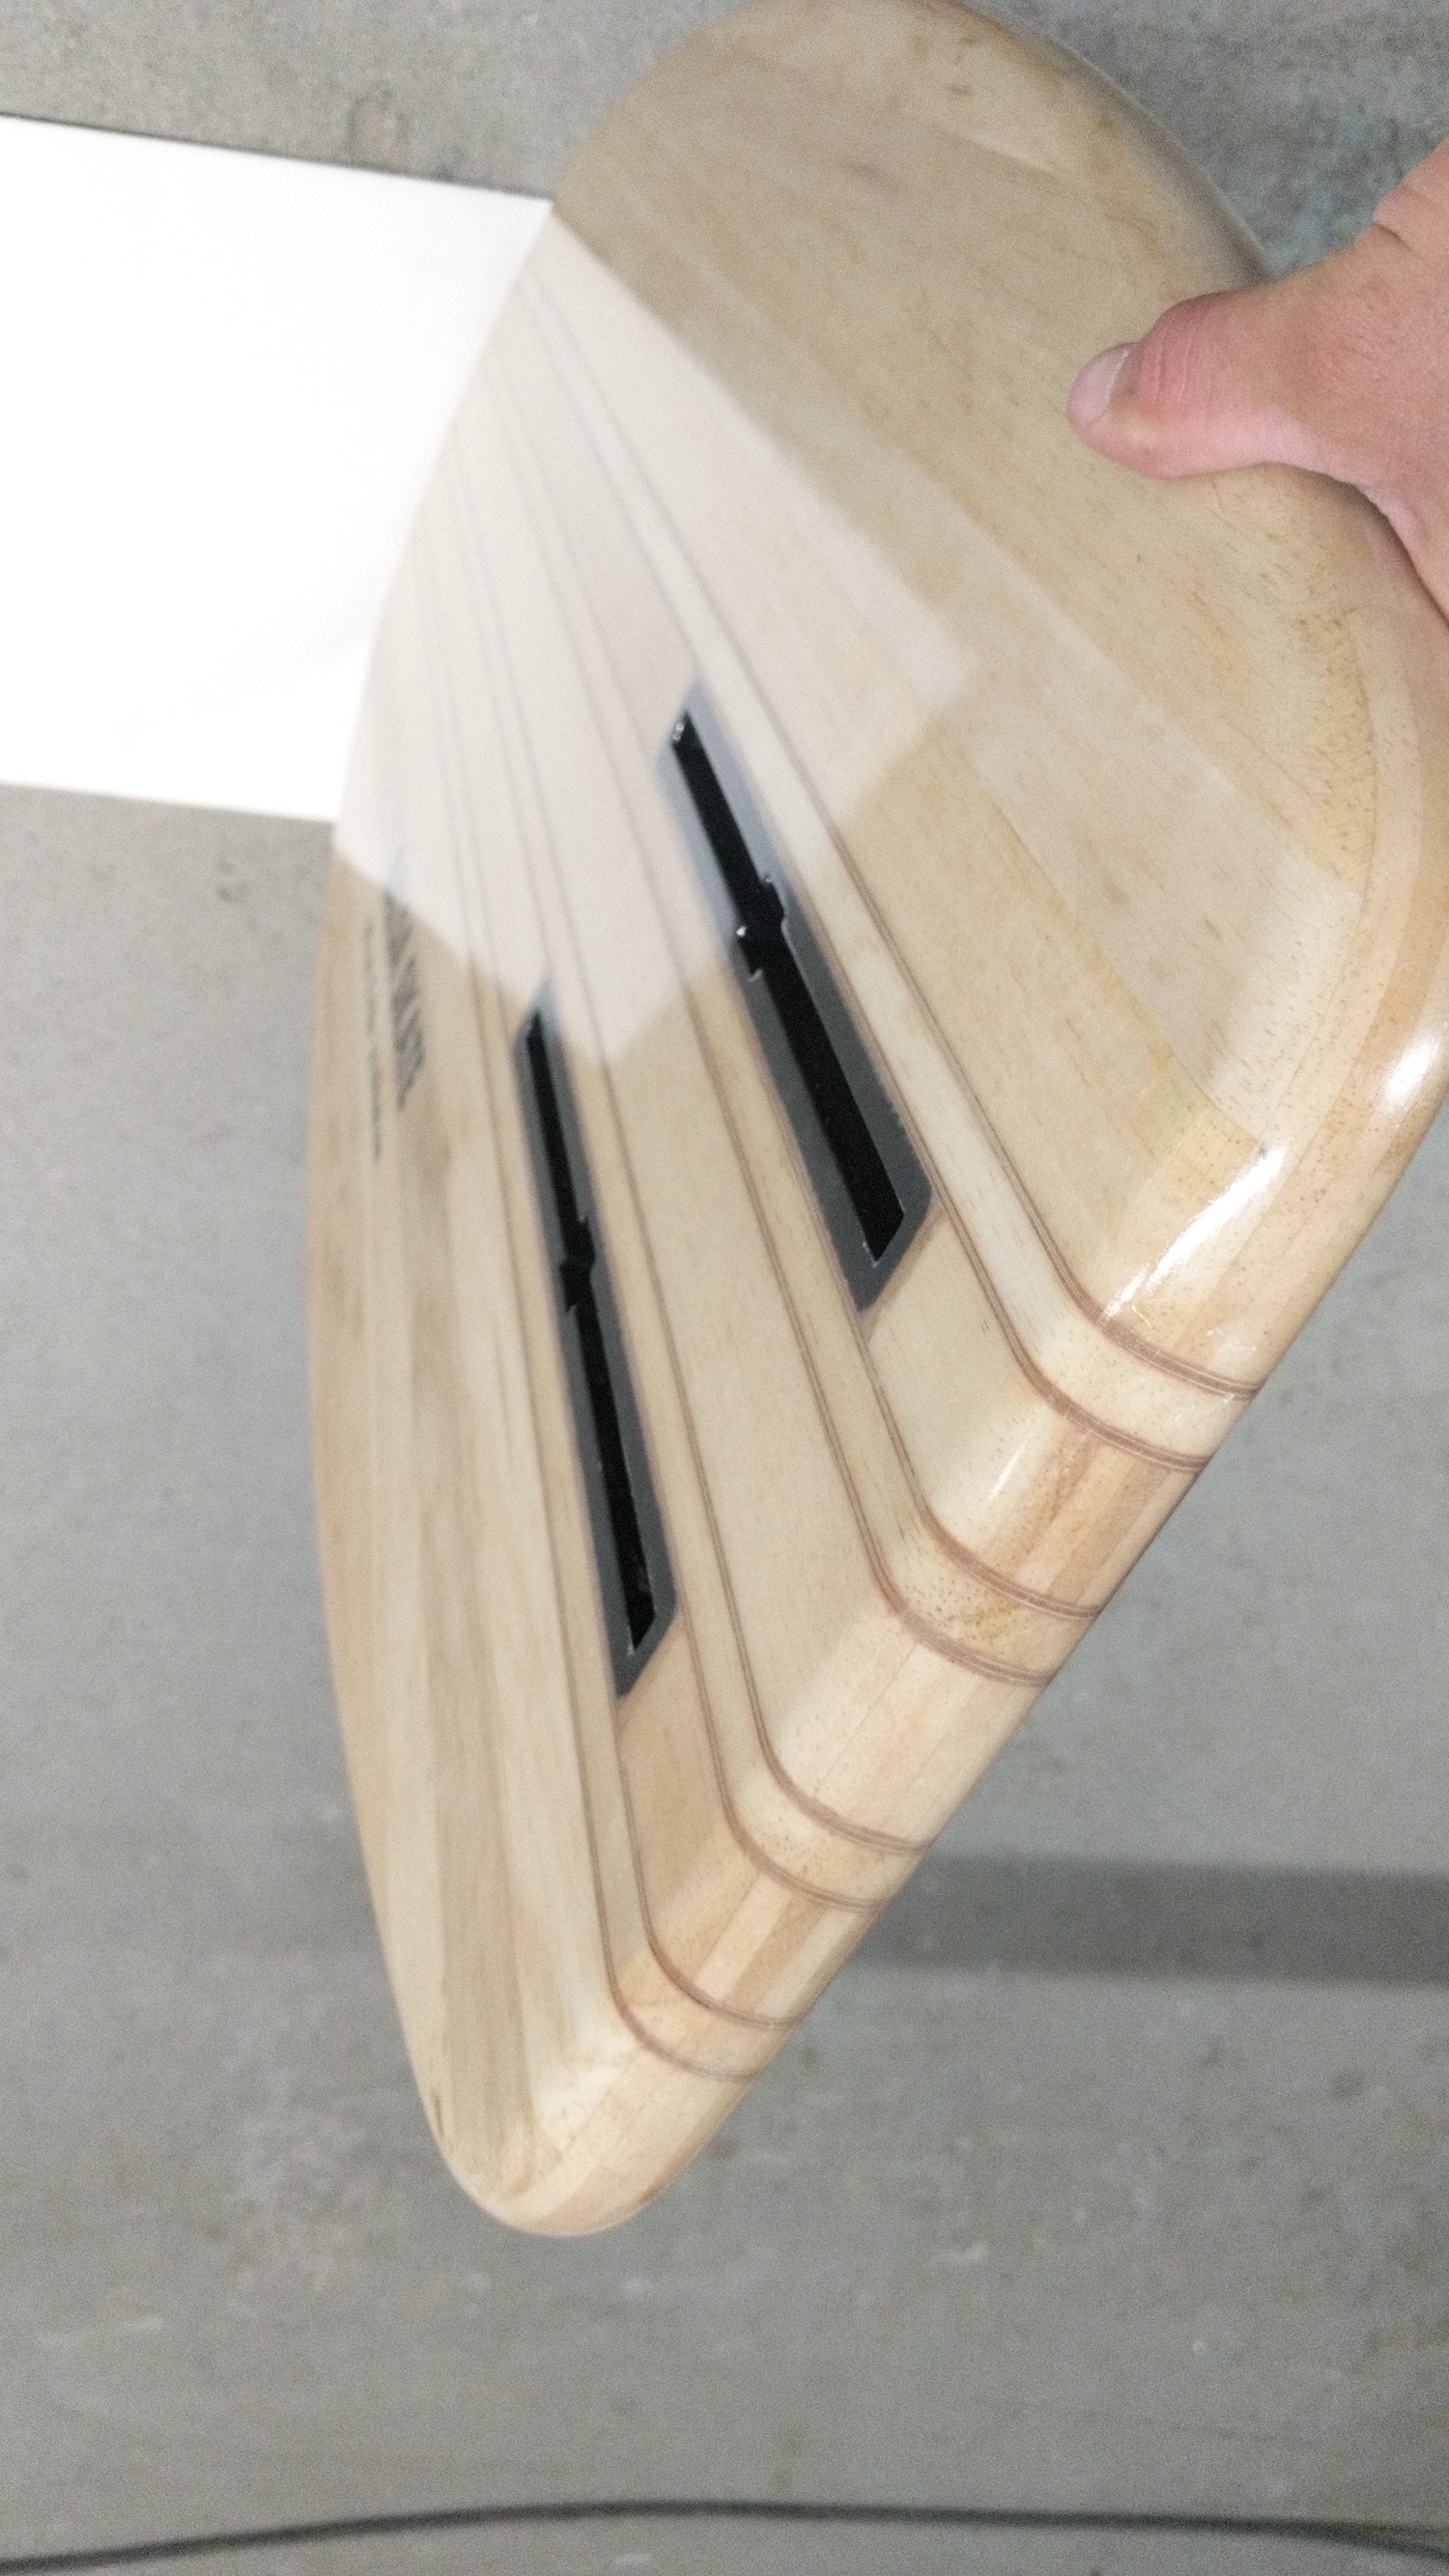
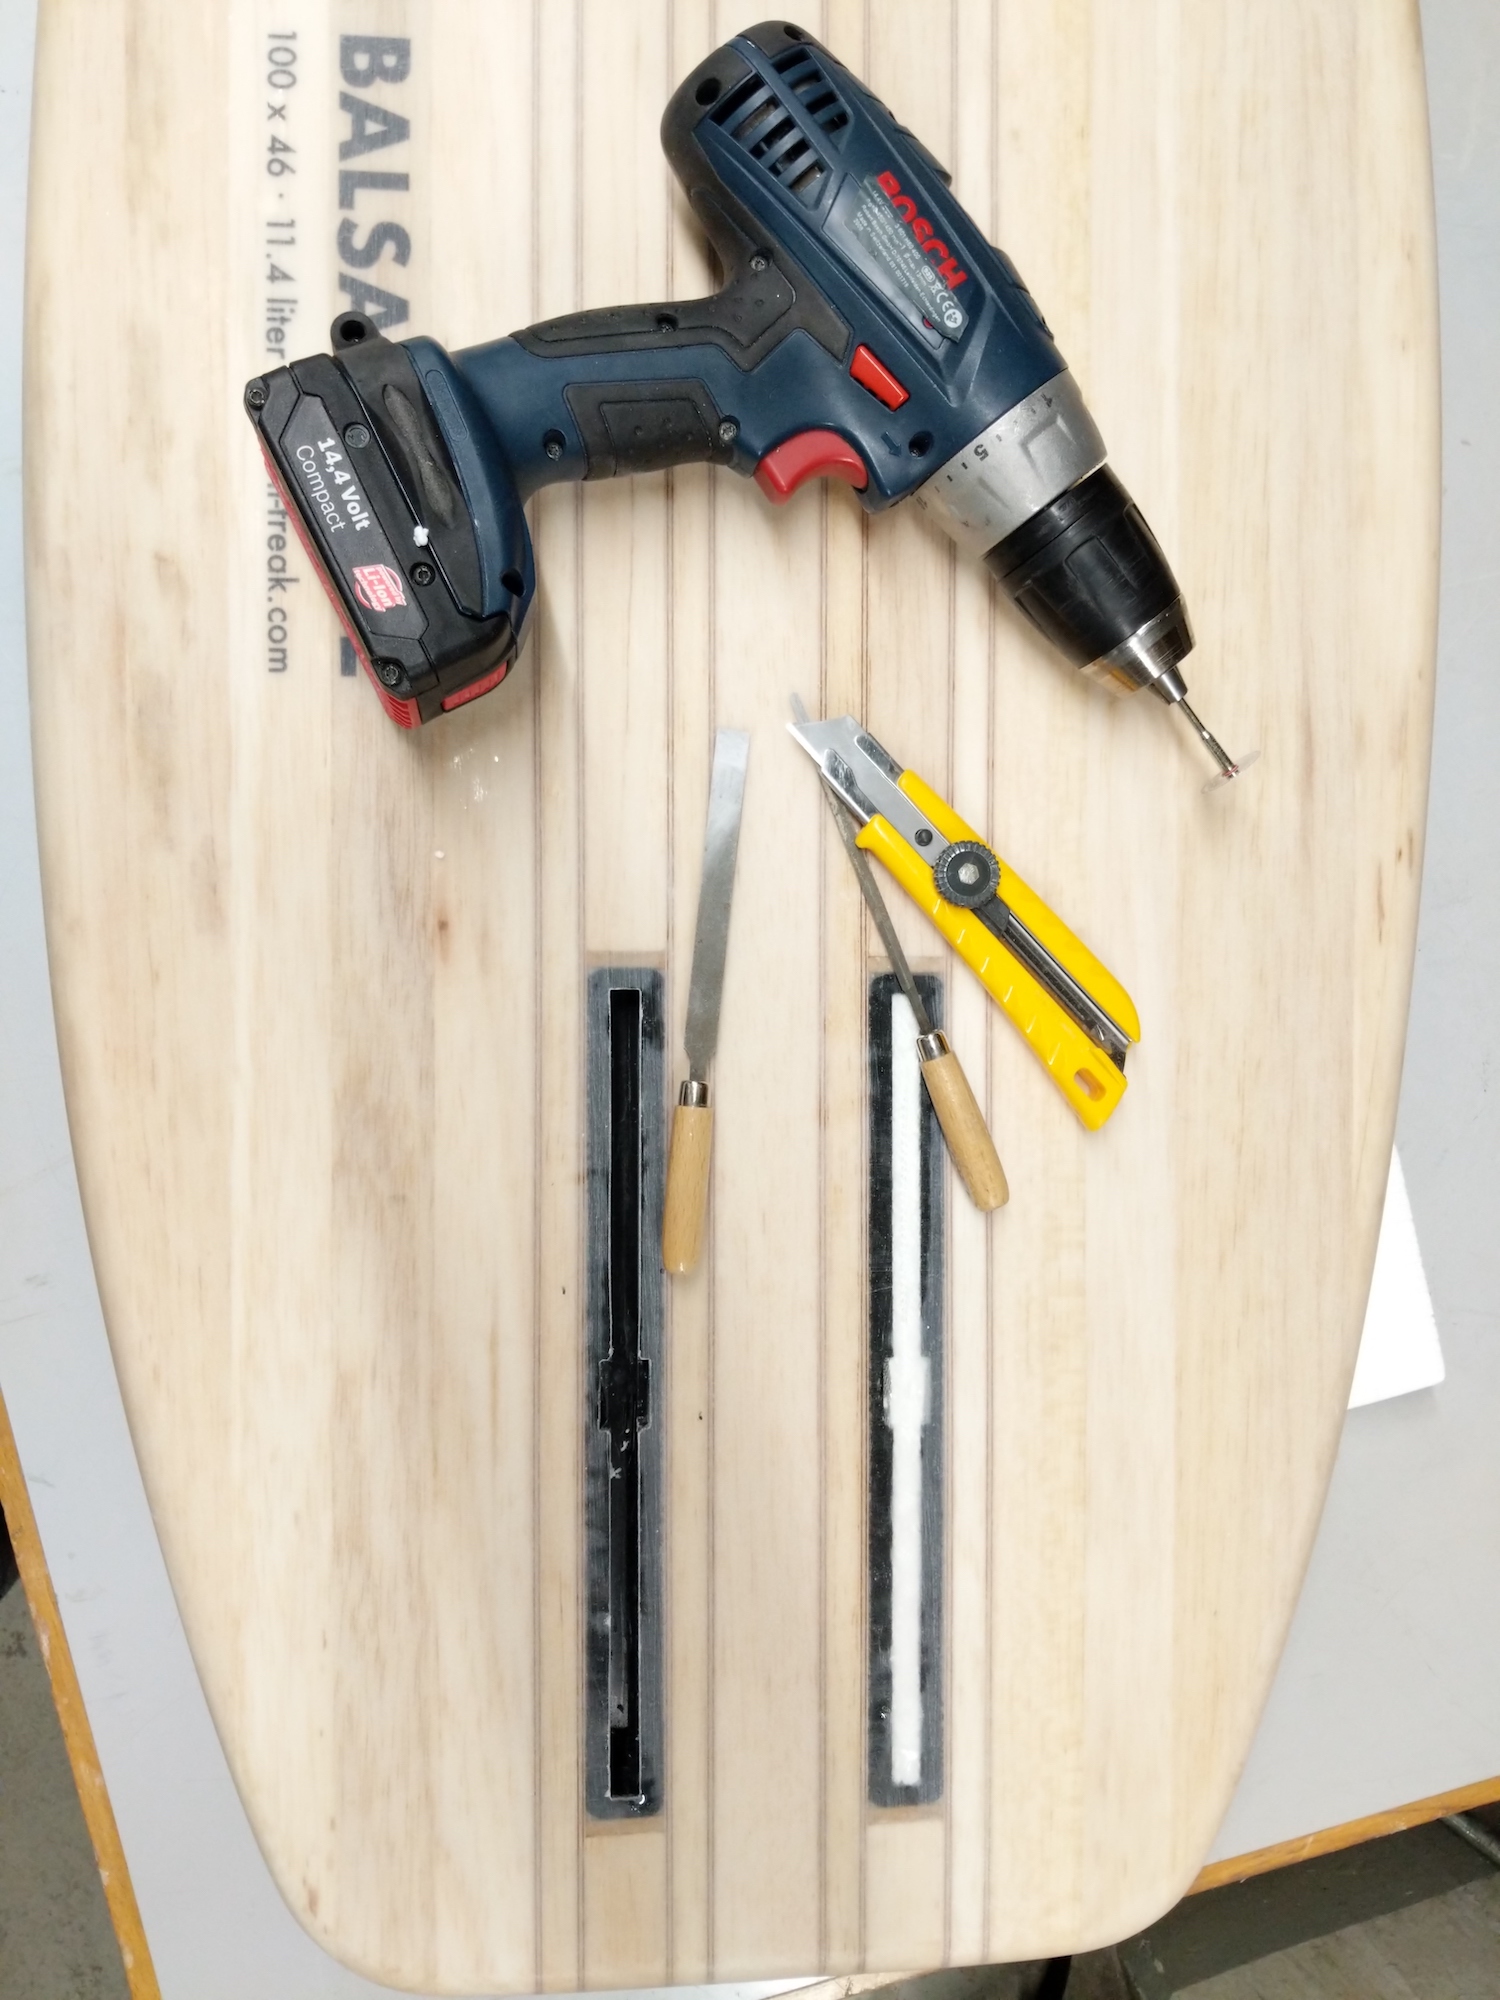
The rails for mounting the foil had EPS stuffed into them which did a good job in avoiding that epoxy would run into them. For cutting them free mainly a standard retractable knife was used. It required some endurance but the result was good. In the beginning I tried to use a small saw blade attached to a drill but that didn't work well (needs more rpm).
Unfortunately I didn't make any pictures of the (hot)coating of the board with an additional thin layer of Sicomin Surfclear EVO epoxy on the bottom/rails of the board but this happened ;)
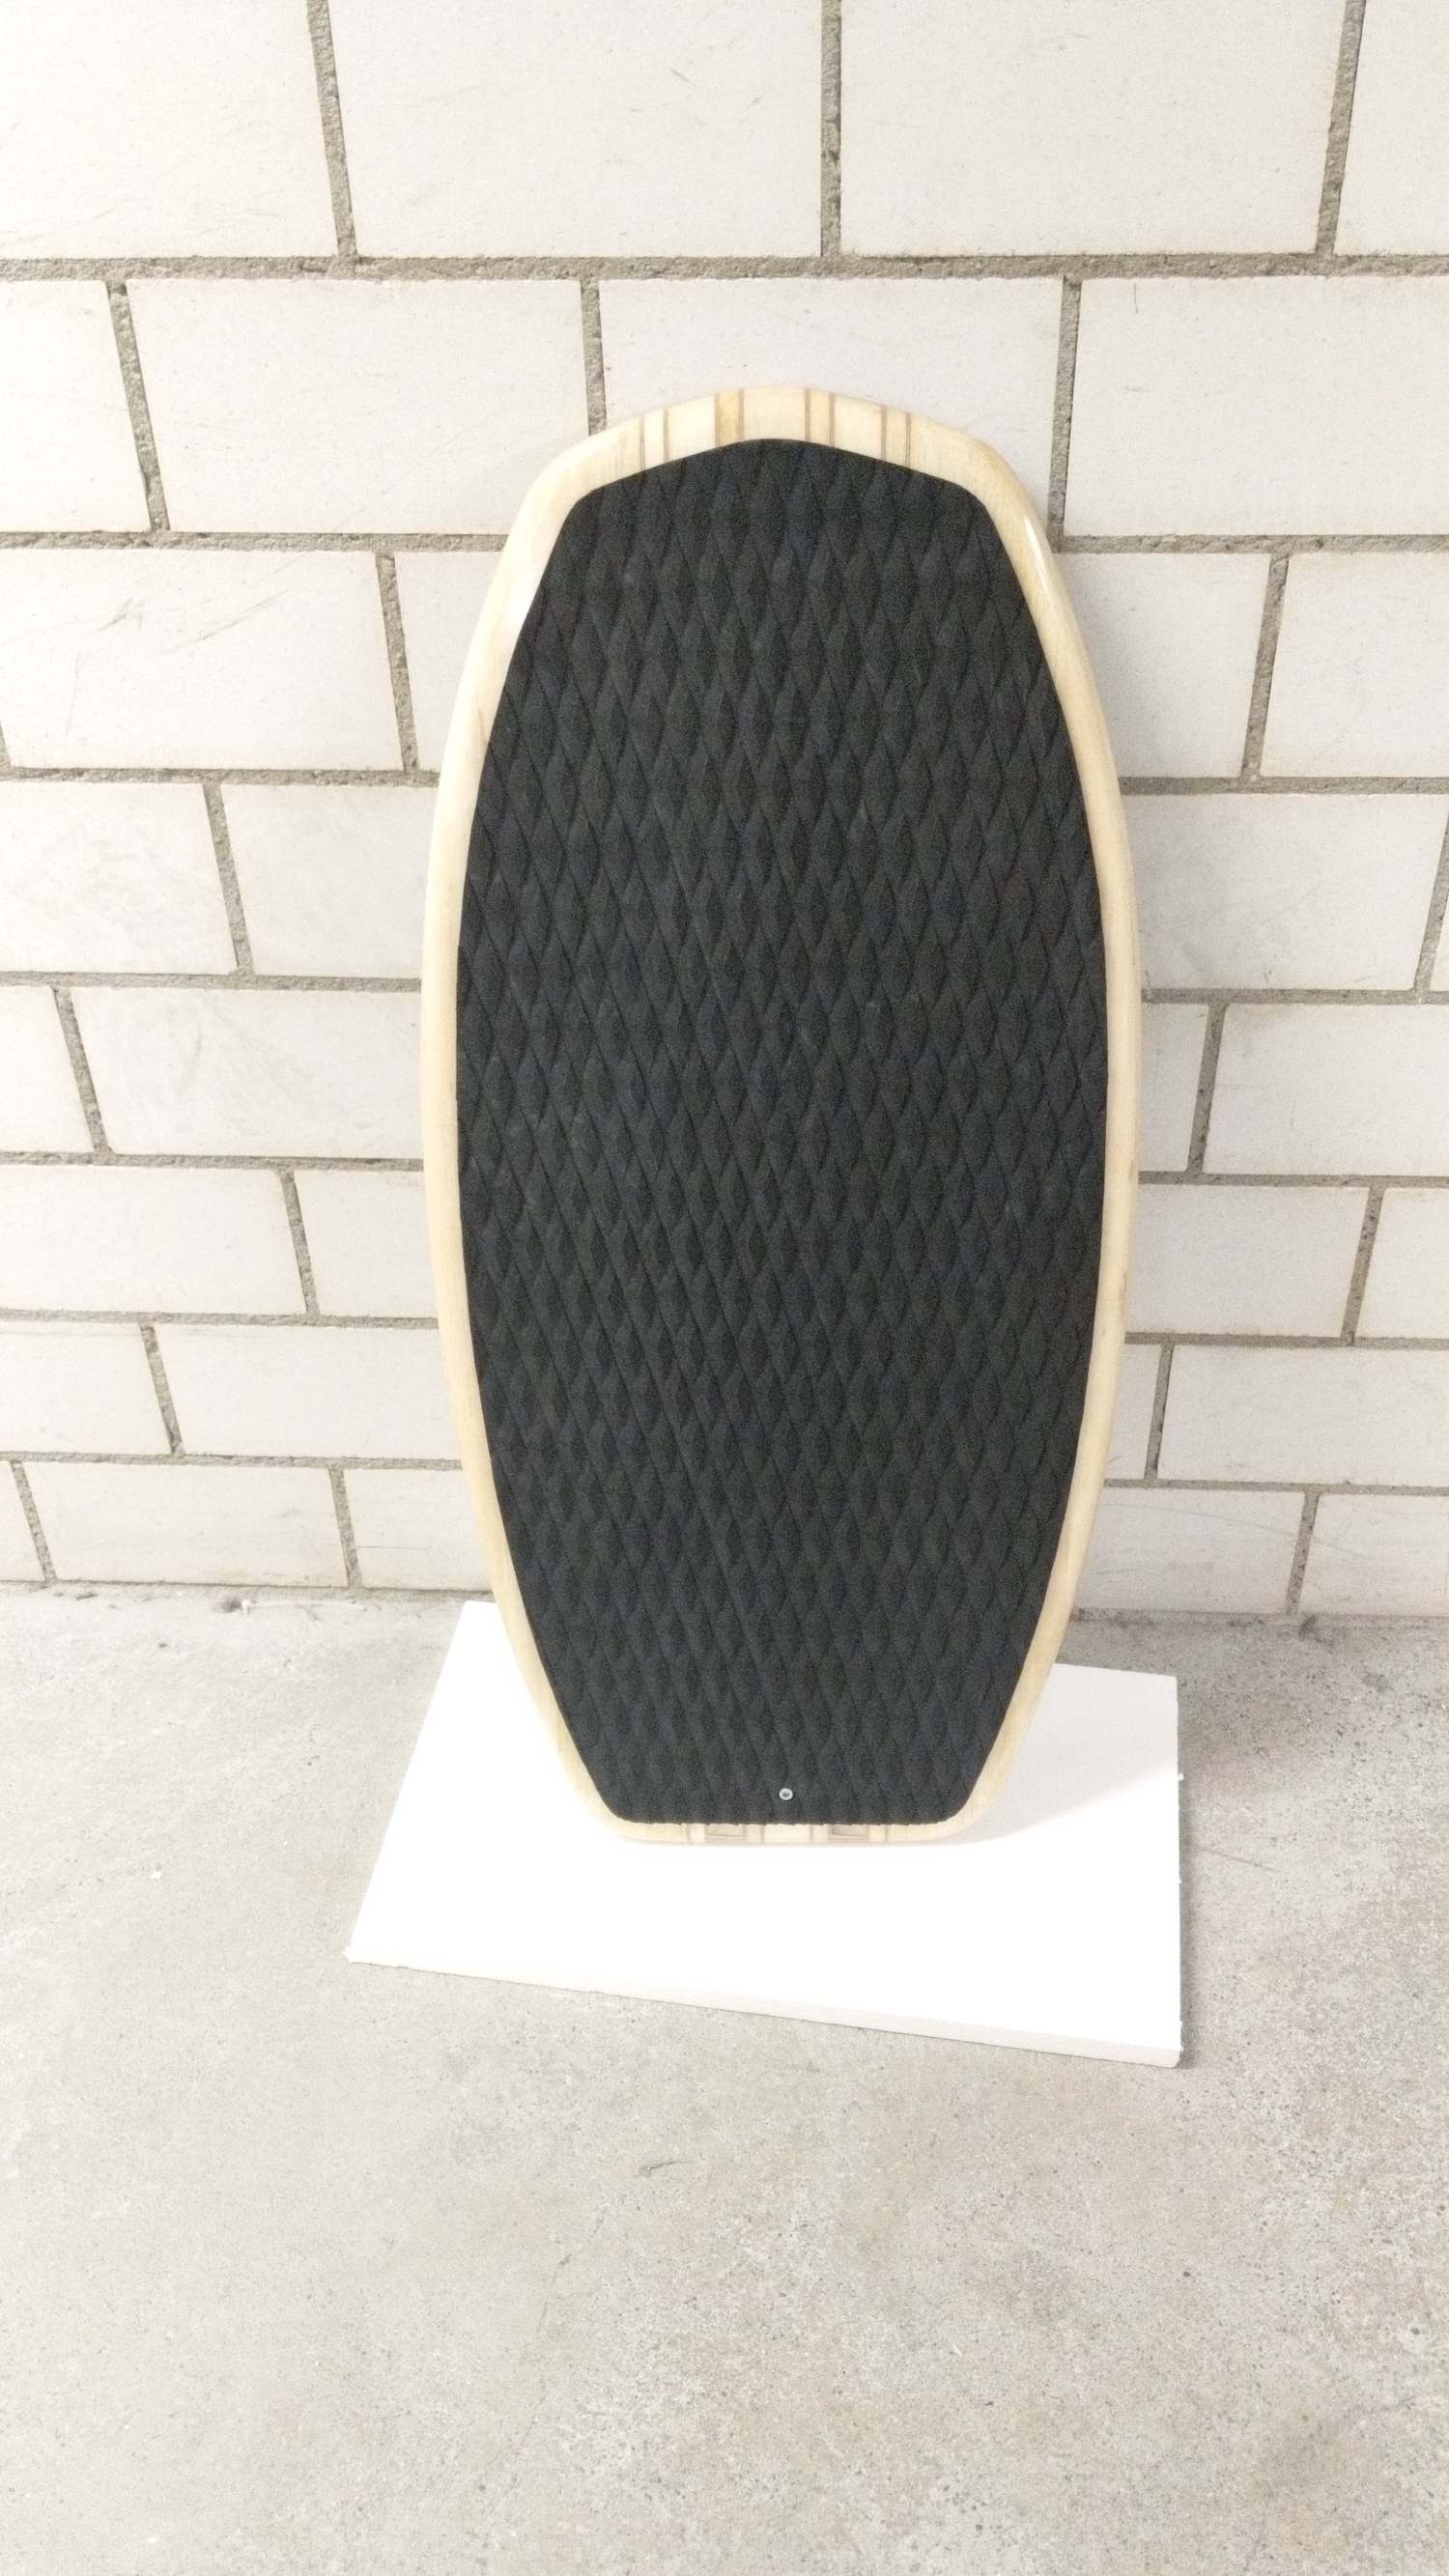
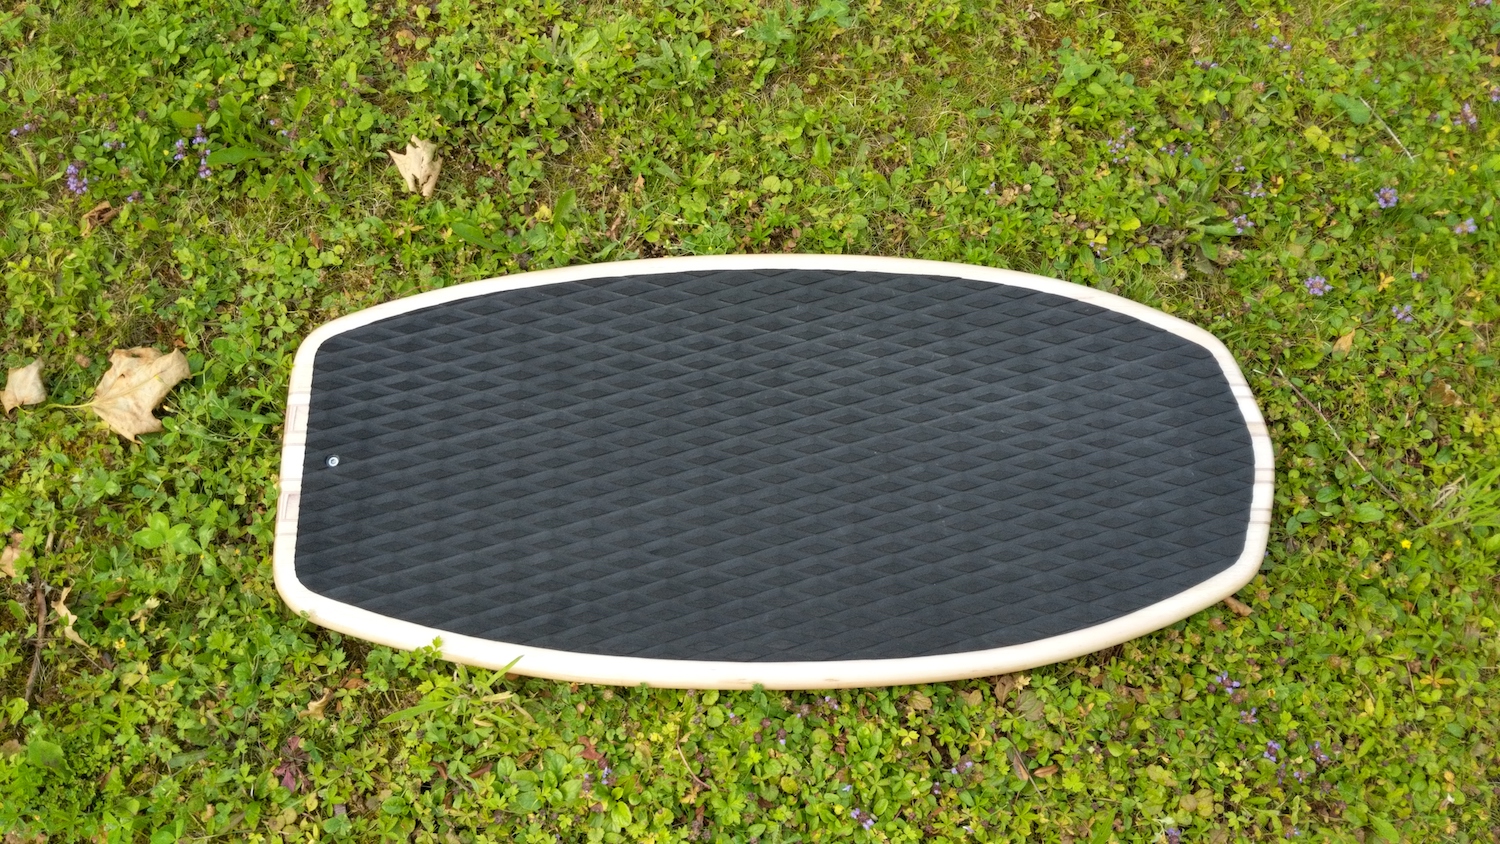
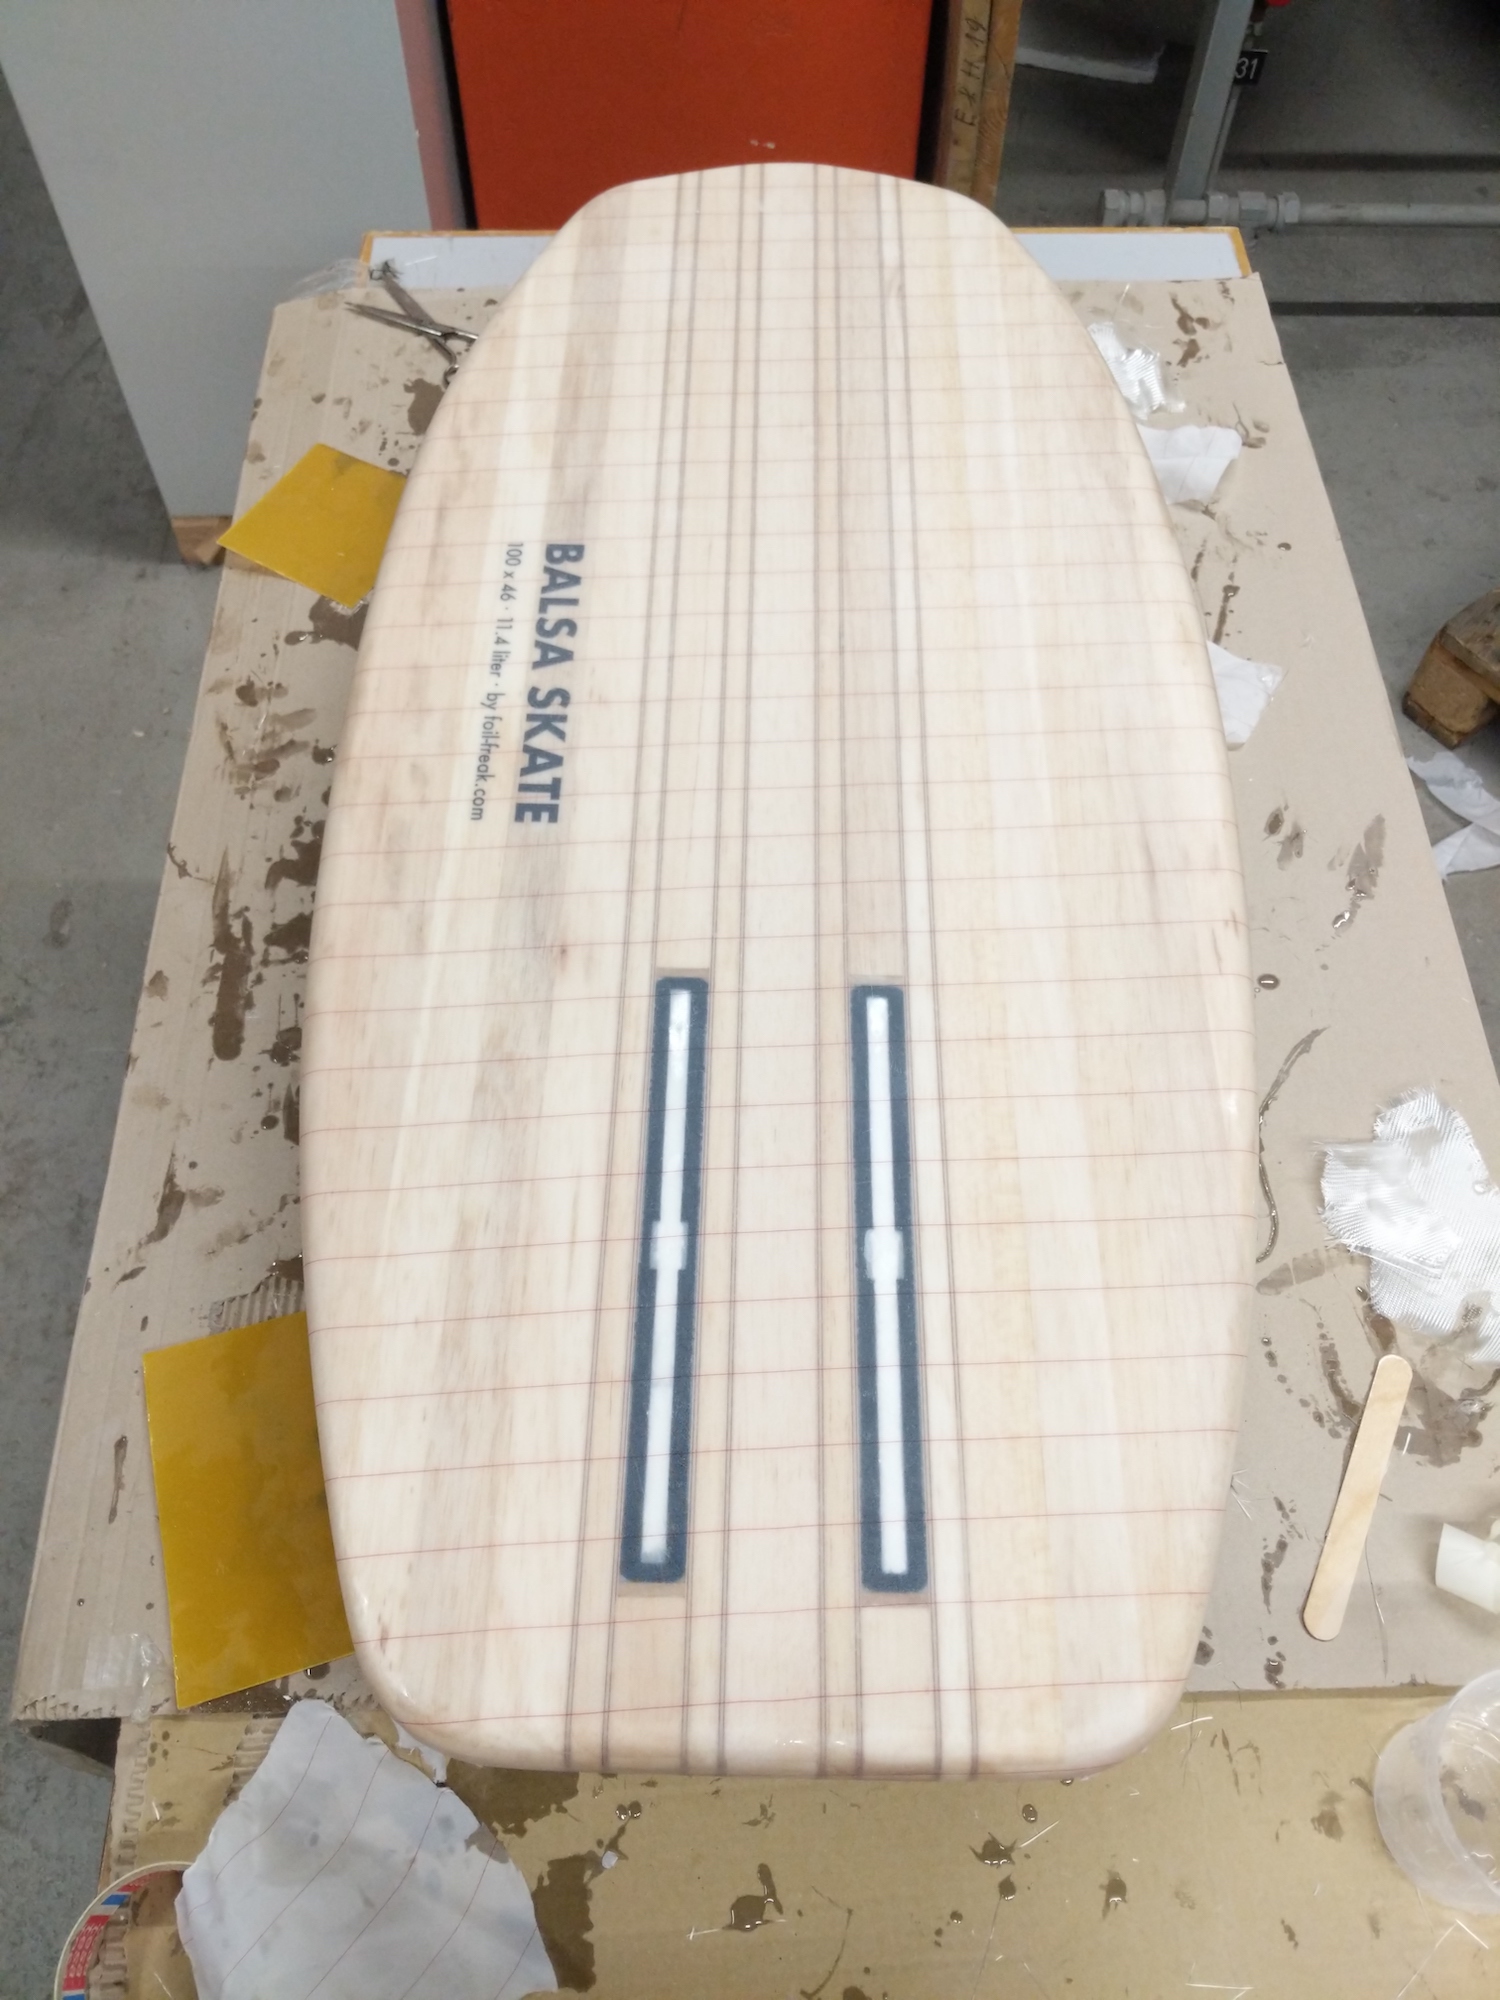
The last step of the build was to cut the deck pad. The gluing part was quite tricky to be honest but with 4 hands it was doable.
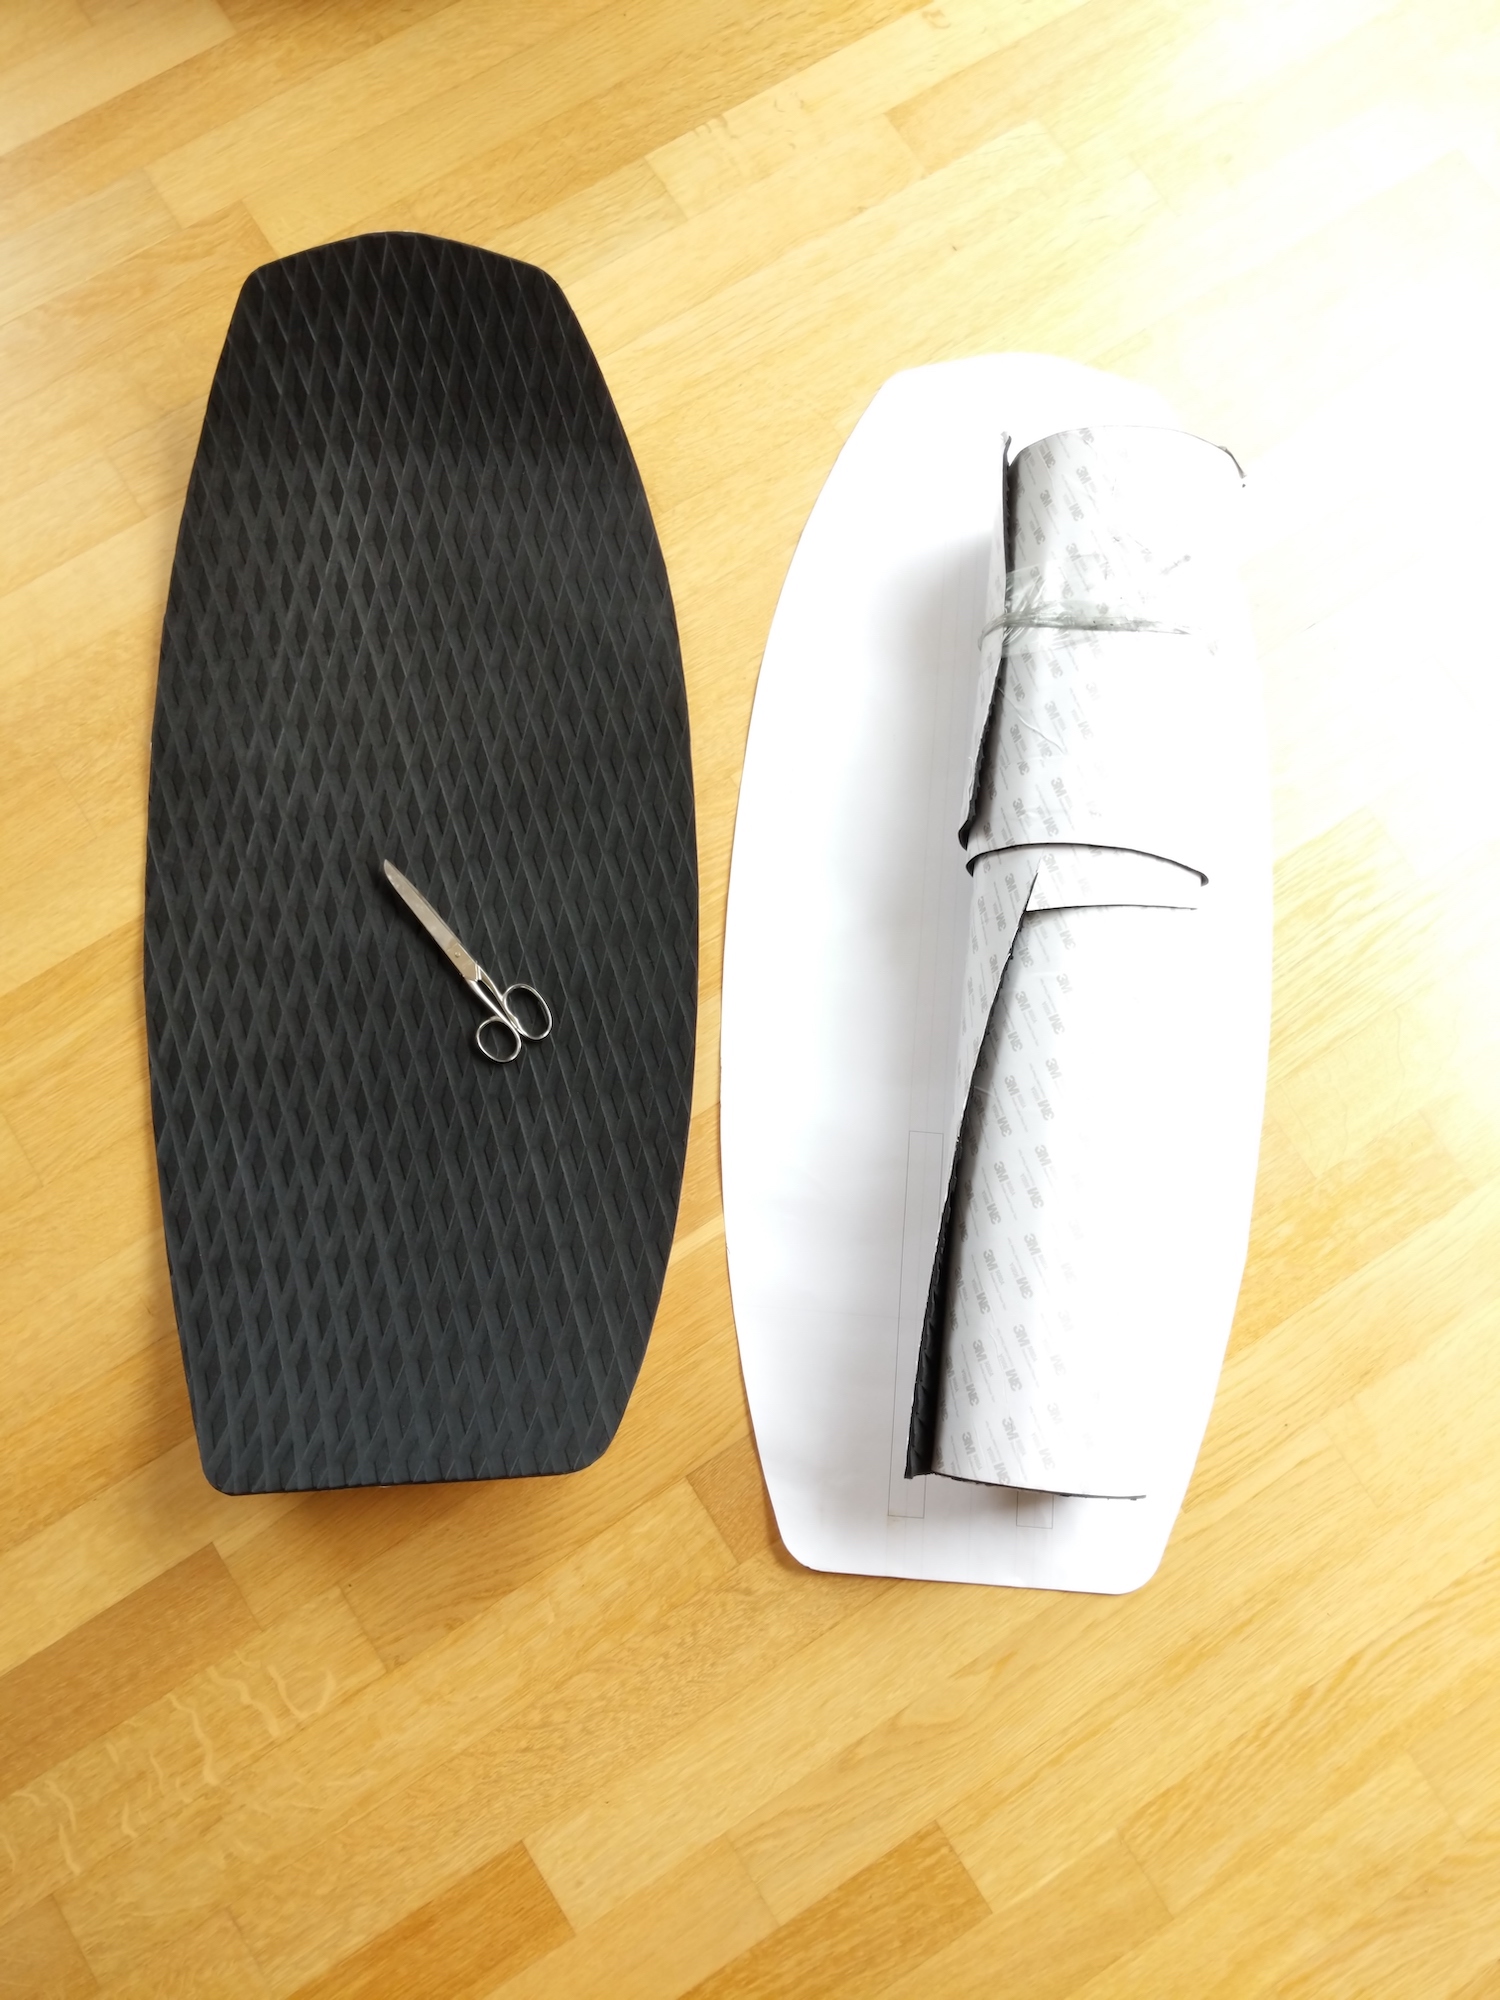
The resulting board had a total weight of 2300g including the deck pad at a volume of 11.4 liters. I have been using it for over a year now and it works quite well. If I was to do another one I would however add some rocker. The issues of not having a rocker are a (perceived) worse pumping efficiency as well as an endlessly floating board when you push it too deep under water. Especially latter is a real pain because sometimes when you drown the board 1 meter or more it will emerge only seconds later far away from you.