After more than a year of pumping with a Pronesurf board it was time to build a real pumping board.
Based on the construction ideas of Christian and with his extensive advice and support I was able to complete this project.
The boardshape is inspired by the WKT from Armstrong.
I did the construction in the apartment and bike room of our house as I don't have a workshop. To avoid dust as much as possible I did as much as i could with hot wire cutting.
Construction materials:
- Foiltracks: Noname, produced in China
- Stringer: Aircraft plywood 3 mm
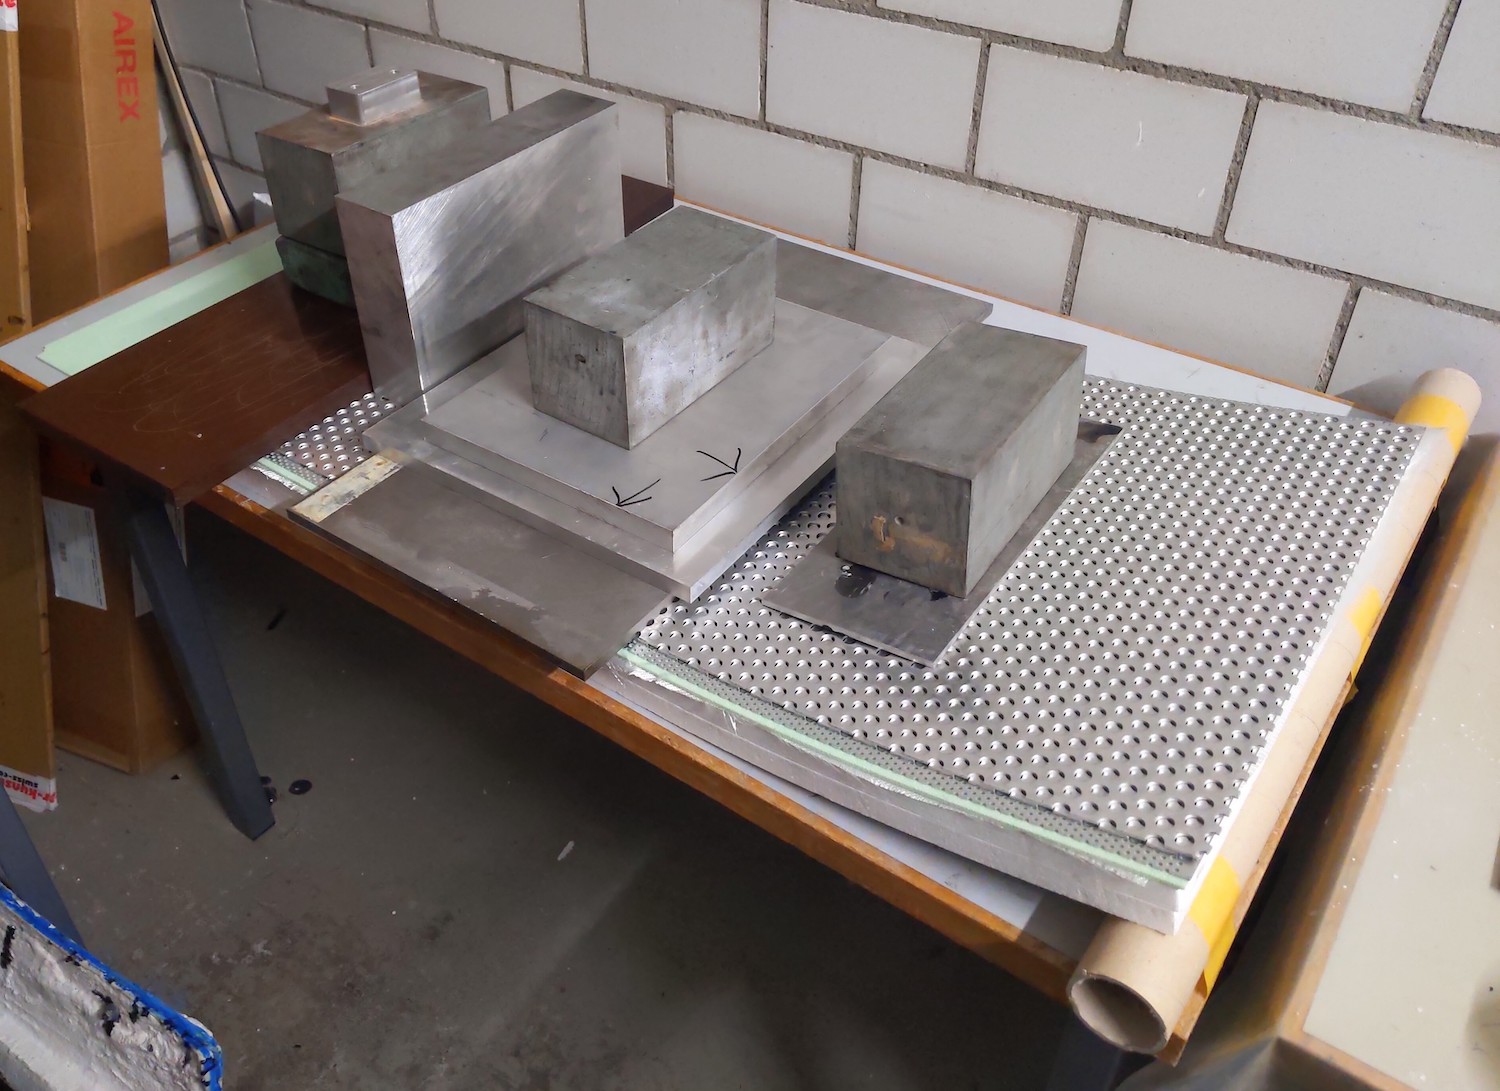
- Trackbox: Balsa wood
- EPS: Model EPS 30 kg/m3
- Sandwich: Glass fiber 160 g/m2 and Airex C70.75 2 mm
- Carbon: Biaxial 45° degree, 100 g/m2
1. Construction of the shape in CAD
In the free version of Fusion 360 (Autodesk) I constructed the boardshape to be able to print the templates and the stringers. I had no previous experience in this program. With the help of some Youtube tutorials it went relatively well.
2. Cutting the foam core
First I cut the EPS block into rectangular pieces. For this I used a hot wire cutter from Proxxon. Using two layers of painter's tape as a "template", I was able to get very accurate and clean cuts.
For the boardshape, I had the templates plotted on paper. This was kindly done free of charge by a local architectural firm. I glued the plotted outlines of the top and bottom to painter's board with a spray adhesive and cut them into the individual pieces with scissors.
I attached the templates to both sides of the EPS pieces with pins and cut them into the correct shape with the hot wire.
In the first phase I cut the shapes from the top and in the second phase from the side.
I was able to order the stringers from a modeling company cut to size from aircraft plywood. The stringers then immediately served as templates for the side cuts. I kept all negative cutouts as construction aids.
3. Gluing together the core and the trackbox
I built the trackbox out of balsa wood, with the foil tracks enclosed at the sides by two stringers. In the first step, I glued the wood where possible with waterproof wood glue. In the second step I glued the middle part of the board together with epoxy. I clamped the foil tracks in between as a void to keep the EPS from pressing too tightly together. This is a good moment to briefly check the position of the foil tracks with the mast.
In step 3, I glued the foil tracks into the "track boxes using a mixture of epoxy and microballoons.
In step 4, the two side pieces followed with the negative cuts as supports. Again with epoxy resin.
After the epoxy cured, I sanded out slight irregularities on the top and bottom by hand with a 60 grit sandpaper.
Retroperspectively, I think it would have been possible to glue the wood parts and the EPS in one step.
4. Diagonal cuts bottom side and rails
The diagonal cuts on the bottom side I made again with the hot wire along the templates made of painter's cardboard and tape.
Likewise, I took off the edges on the top with the hot wire cutter and tape. I then lightly sanded the entire surface and edges with 80 grit sandpaper.
5. Airex sandwich
To reinforce the board against impacts (mainly from the dock) I covered the whole board except the trackbox with 2 mm Airex C70.75. In order to distribute potential impact forces better, I also placed 160 g/m2 of fiberglass between the EPS and the Airex.
Then I thermoformed the Airex for the top with tape and a hair dryer.
I then hand laminated the board with overlapping fiberglass 1. top and then from the bottom. Then lifted the board directly into the thermoformed Airex, put the bottom side on top, and taped the whole thing down and packed it in the vacuum bag.
I completely underestimated how much resin came out between here and foolishly tried to do without tear-off fabric and fleece, which was a mistake.
After curing, I sanded down the edges of the Airex and fitted the last two pieces of Airex for the diagonal surfaces.
I then packed these into the vacuum bag again with tape and this time fleece.
Again from the bag I rounded the edges. Here it helped that I had taped the Airex edges of the top and bottom to not damage the them when sanding.
As a last step, I sanded the slightly raised track box to the level of the Airex.
6. Carbon outer shell
After a few small pressure tests with a testpiece, I decided on a biaxial scrim with 45° degree fiber orientation and 100 g/m2. In the standing area and above the foil box I have two additional patches and around the whole board a layer with overlapping rails. The idea was to achieve quasi isotropic properties in these areas.
As templates I took cardboard and wrapping paper, which I adjusted around the boarding. For the two comprehensive tops and bottoms, I taped the scrim with painter's tape on one side of the cut shape (on the side facing out from the laminate. This allowed me to cut the scrim very easily and handle it without fiber shifting or fraying edges.
After some research I decided to laminate the board in one step. For this I prepared all the carbon pieces between two painter's masking films (PP) with resin as prepreg. Then I laminated first the lower, then the upper layer.
I placed the larger pieces on the board with a cardboard tube (covered with PP film). The most difficult thing was to position the blanks exactly without moving the reinforcement pieces of the tread and the track box. I didn't slit the edge area until I wrapped the rails to allow the scrim to drape nicely. The tape from cutting it to size can be easily peeled off after it comes in contact with the epoxy, as the adhesive will not hold with the resin.
In the last step, I taped the precut tear-off cloth and fleece around the board and packed the whole thing in the vacuum bag.
Once in the bag, I used water to make the plastic pliable and nicely smoothed out the edges.
After curing, I was able to release the boarding from the tear-off cloth. The result was very good and only some small hulls had formed due to the opposite draping around the rails.
In the future it would be better to use tape to make some marks on the scrim to make positioning easier. I will also drape the first side more tightly around the edge and the second side a little less. This way the lower scrim should not be stretched when draping over it and there should be no hulls.
7. Filler and hotcoat
To make the board waterproof and to have a nice surface I applied a clear epoxy coat to the board. First came a filler coat.
After curing the filler coat I wet sanded the board with 180 grit. I made sure not to damage the carbon fibers. Since I didn't use any paint or microballoons, this was very difficult. Unfortunately, I had sanded too deep as I only noticed when the sanding dust turned slightly black. After sanding, I dusted the board of, rubbed it with isopropyl alcohol and applied the hotcoat.
8. Cutting the tracks free and polish
After the hotcoat had cured, I masked off the tracks and carefully cut them out with a metal drill and a cutter. It is recommended to tape the tracks completely and not only partially to avoid possible fraying of individual fibers during drilling.
The last step was to polish the board to remove the last small imperfections from the hotcoat.
Again I wet sanded with the grits: 400, 600, 800, 1000. Then I polished with a polishing sponge and polishing compound until I was satisfied with the look.
9. Conclusion and outlook
The board with pad is just under 2400 g, with the final dimensions of 1105 x 405 x 45 mm and a volume of 13 liters.
I am very satisfied for the first construction of a board and I am curious how it will perform over time.
I made some mistakes during construction.
- I sealed the core with epoxy, which would not have been necessary with this foam. This way I could save +/- 150 g.
- I could also reduce the layer with fiberglass to 80 g/m2 and save another 50 -100 grams.
- I first used a cheap Airex product that was defective. It was very coarsely pored and did not hold on the fiberglass due to the small contact area. I had to scrape this down and start over with a new Airex, this time with the original one. There is about another 150 g of potential savings here.
- Lastly, I would do the filler coat with microballoons to better see if I sand into the carbon fibers. Or apply a very thin layer of glass to the carbon to save the filler coat altogether and sand into the glass fiber (nly if a carbon look is desired).
Also, in the future I would like to use a unidirectional scrim for the patches on the top and bottom to strengthen the board and make it even stiffer in the longitudinal direction.
I am already thinking about a second version with possible improvements.