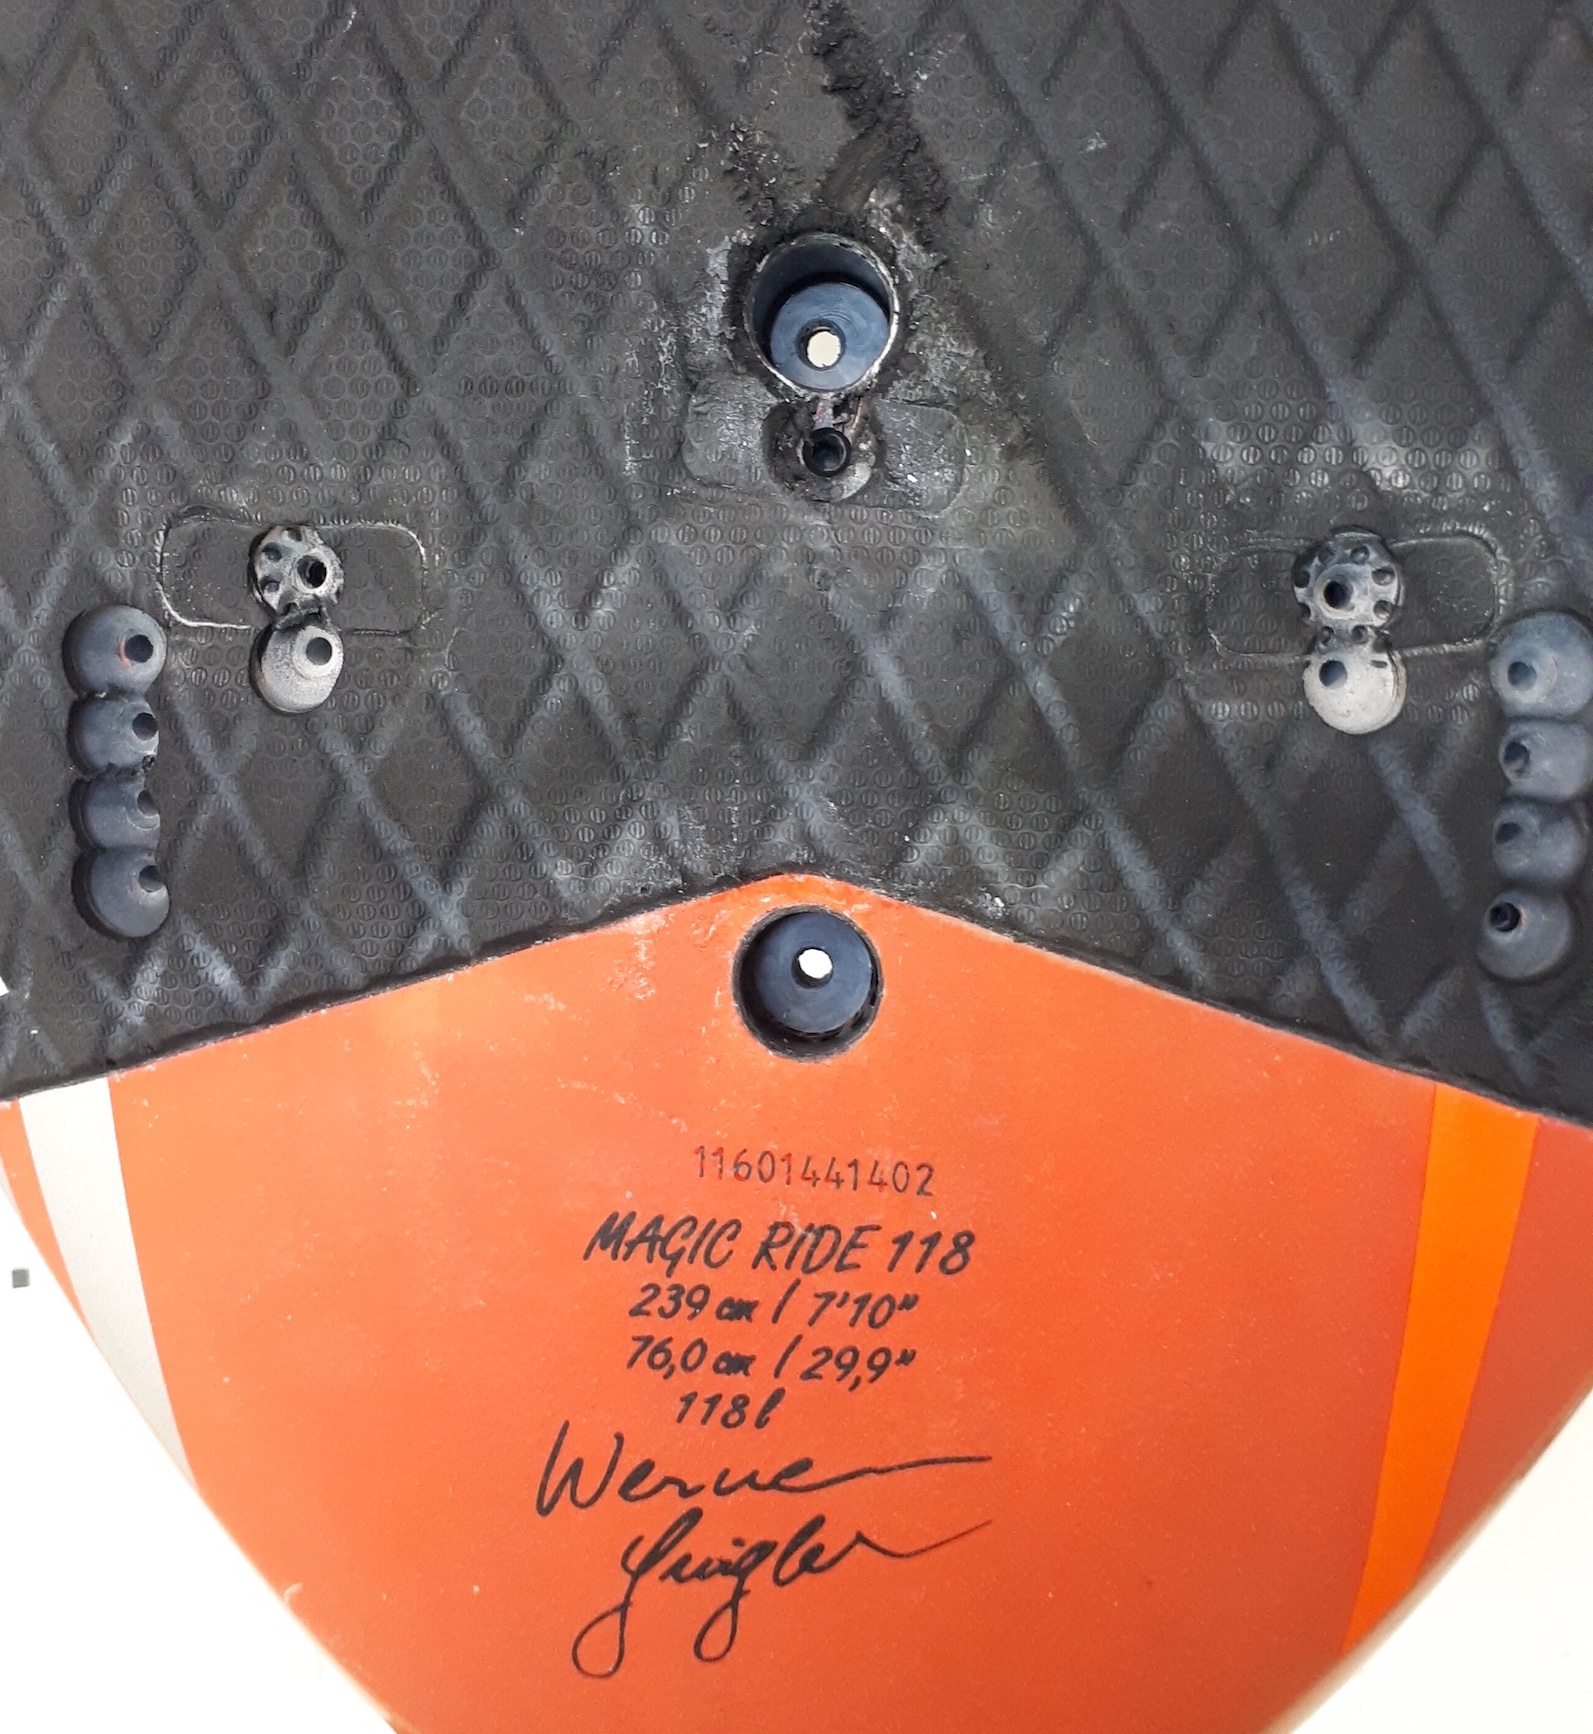
Similar to the procedure described in Fanatic Skate 101 I also converted my JP Magic Ride 118 into a foil-ready version. The only notable difference was that the Magic Ride has a reinforced fin-box that is laminated with both lower to the upper deck thus making the removal of it a bit harder. The original screw hole for fin mounting was reused as the aft mounting hole for the foil, effectively moving the fin/foil mounting position a few centimeters forward which is desired as it reduces the distance between the mast foot and the foil. This post is rater a compilation of pictures that a full description - please refer to the Fanatic Skate post for details.
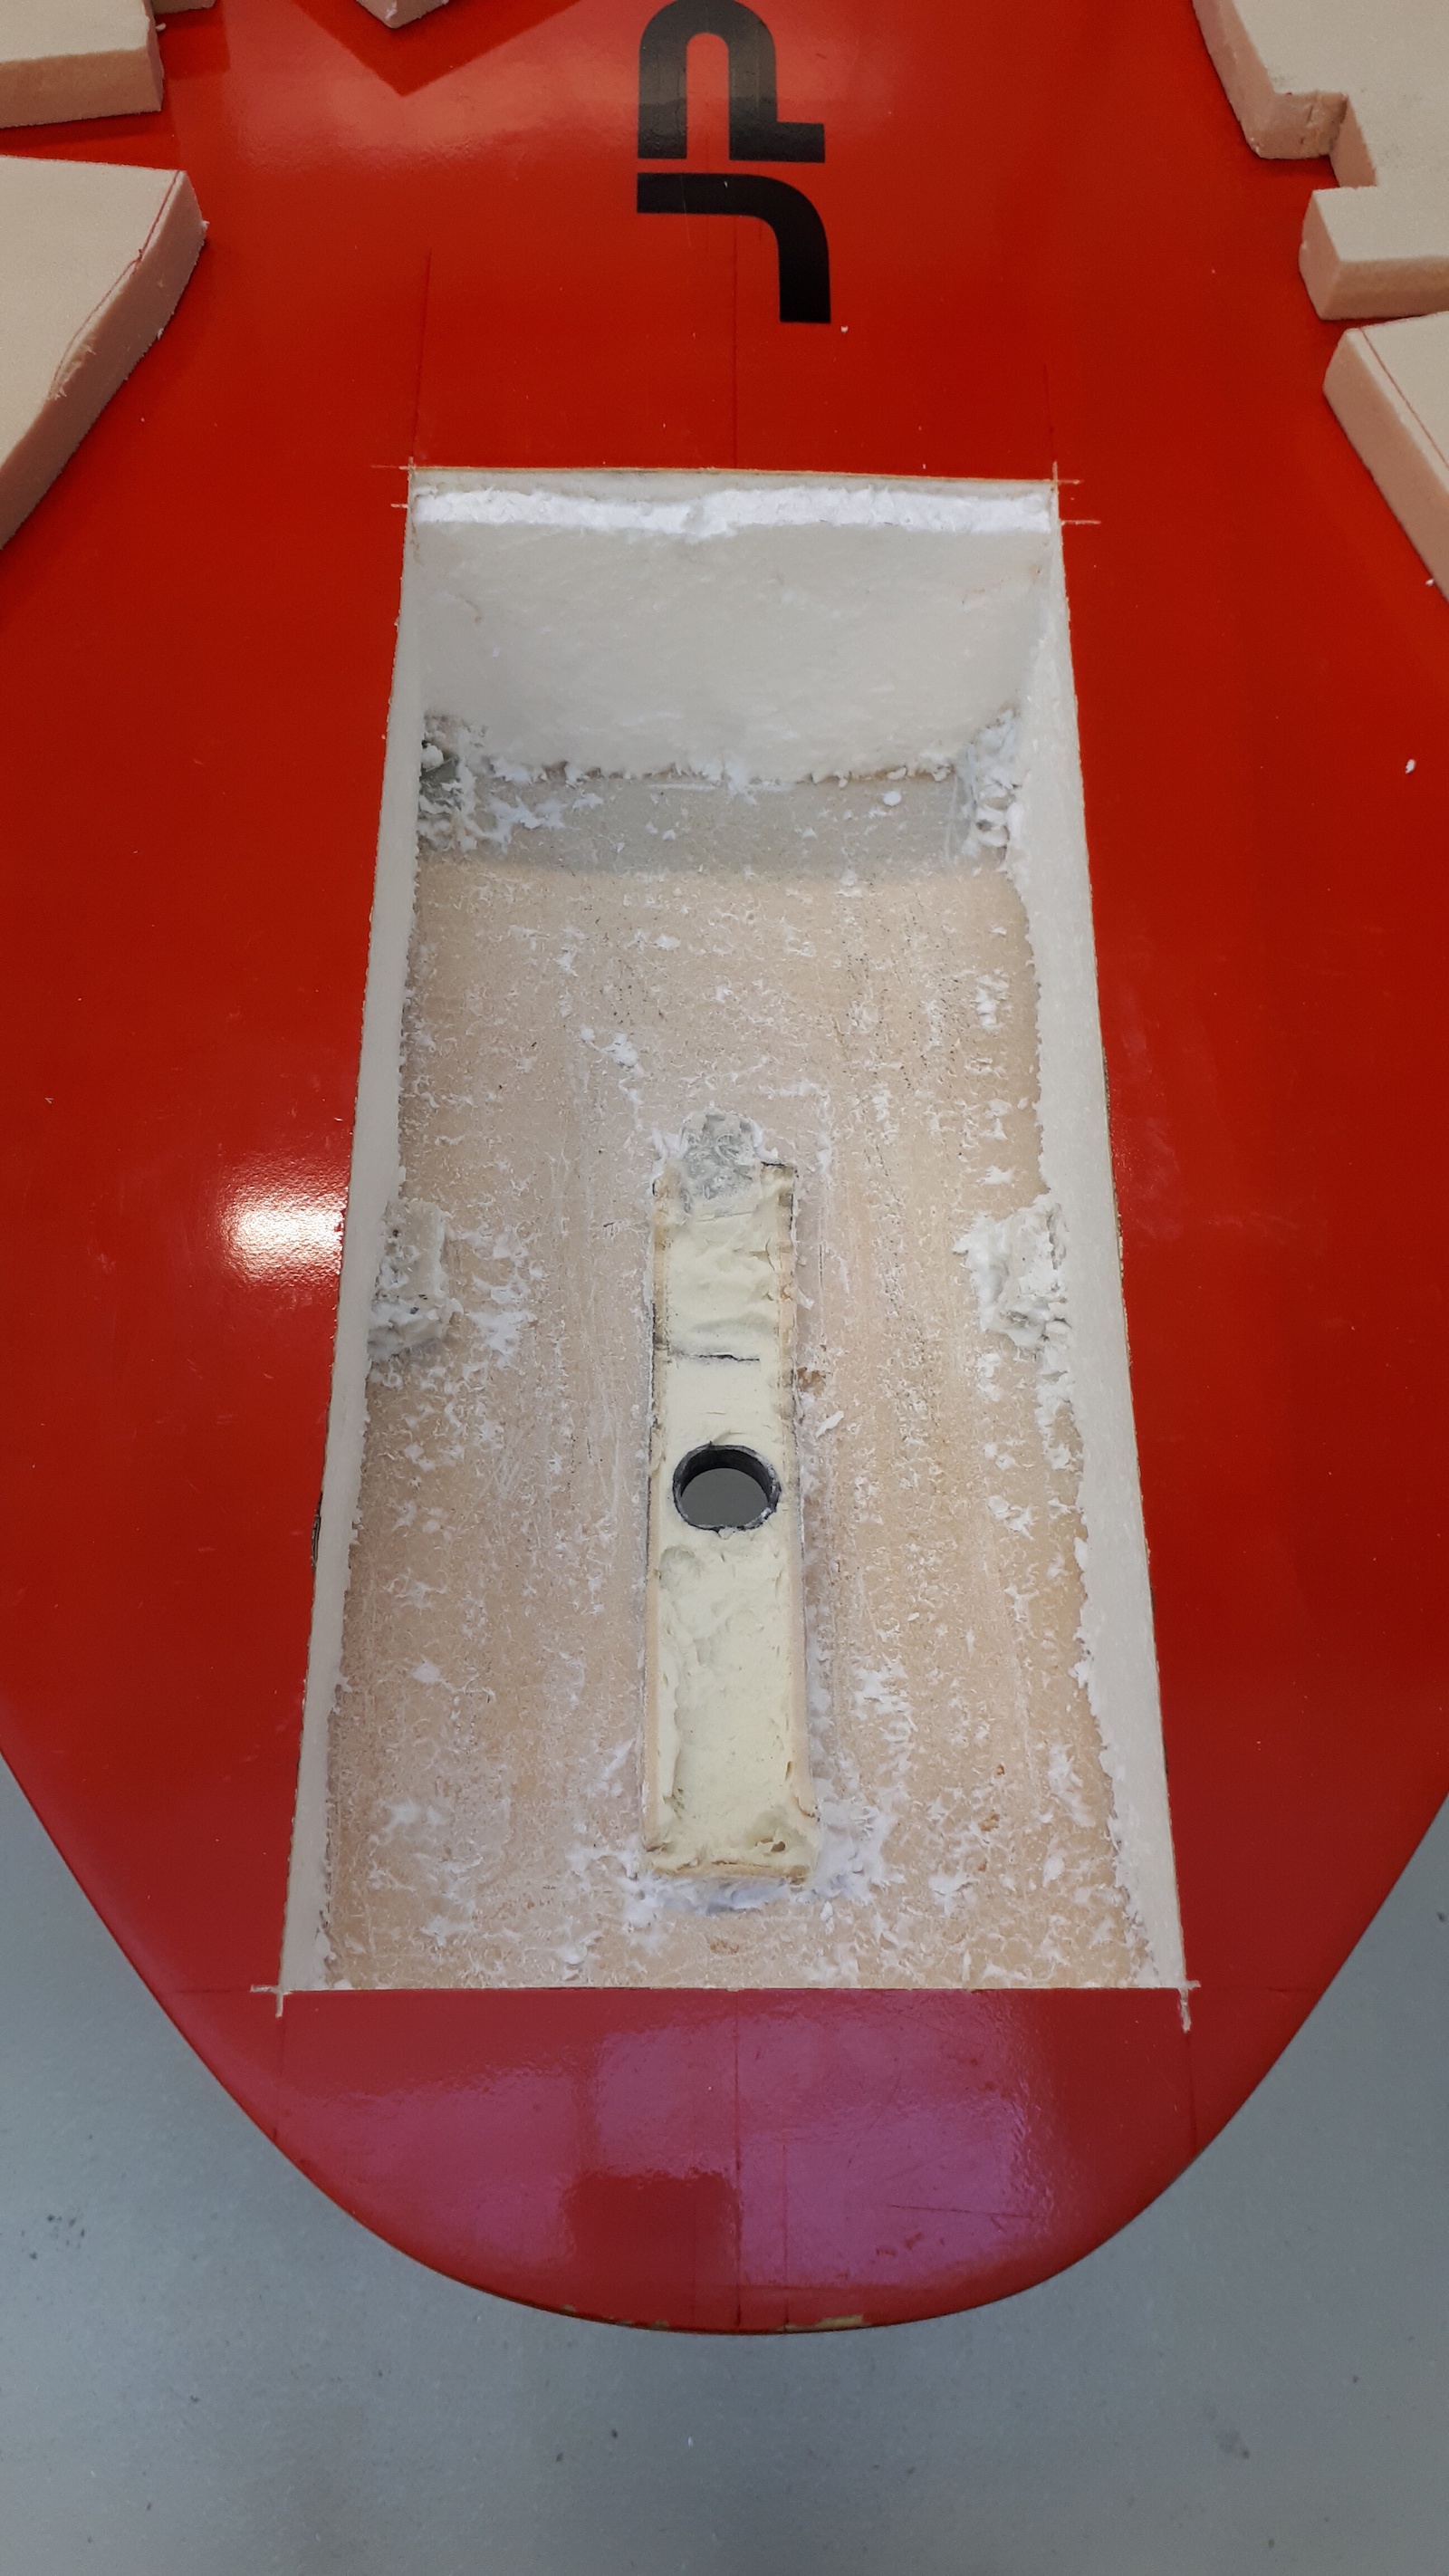
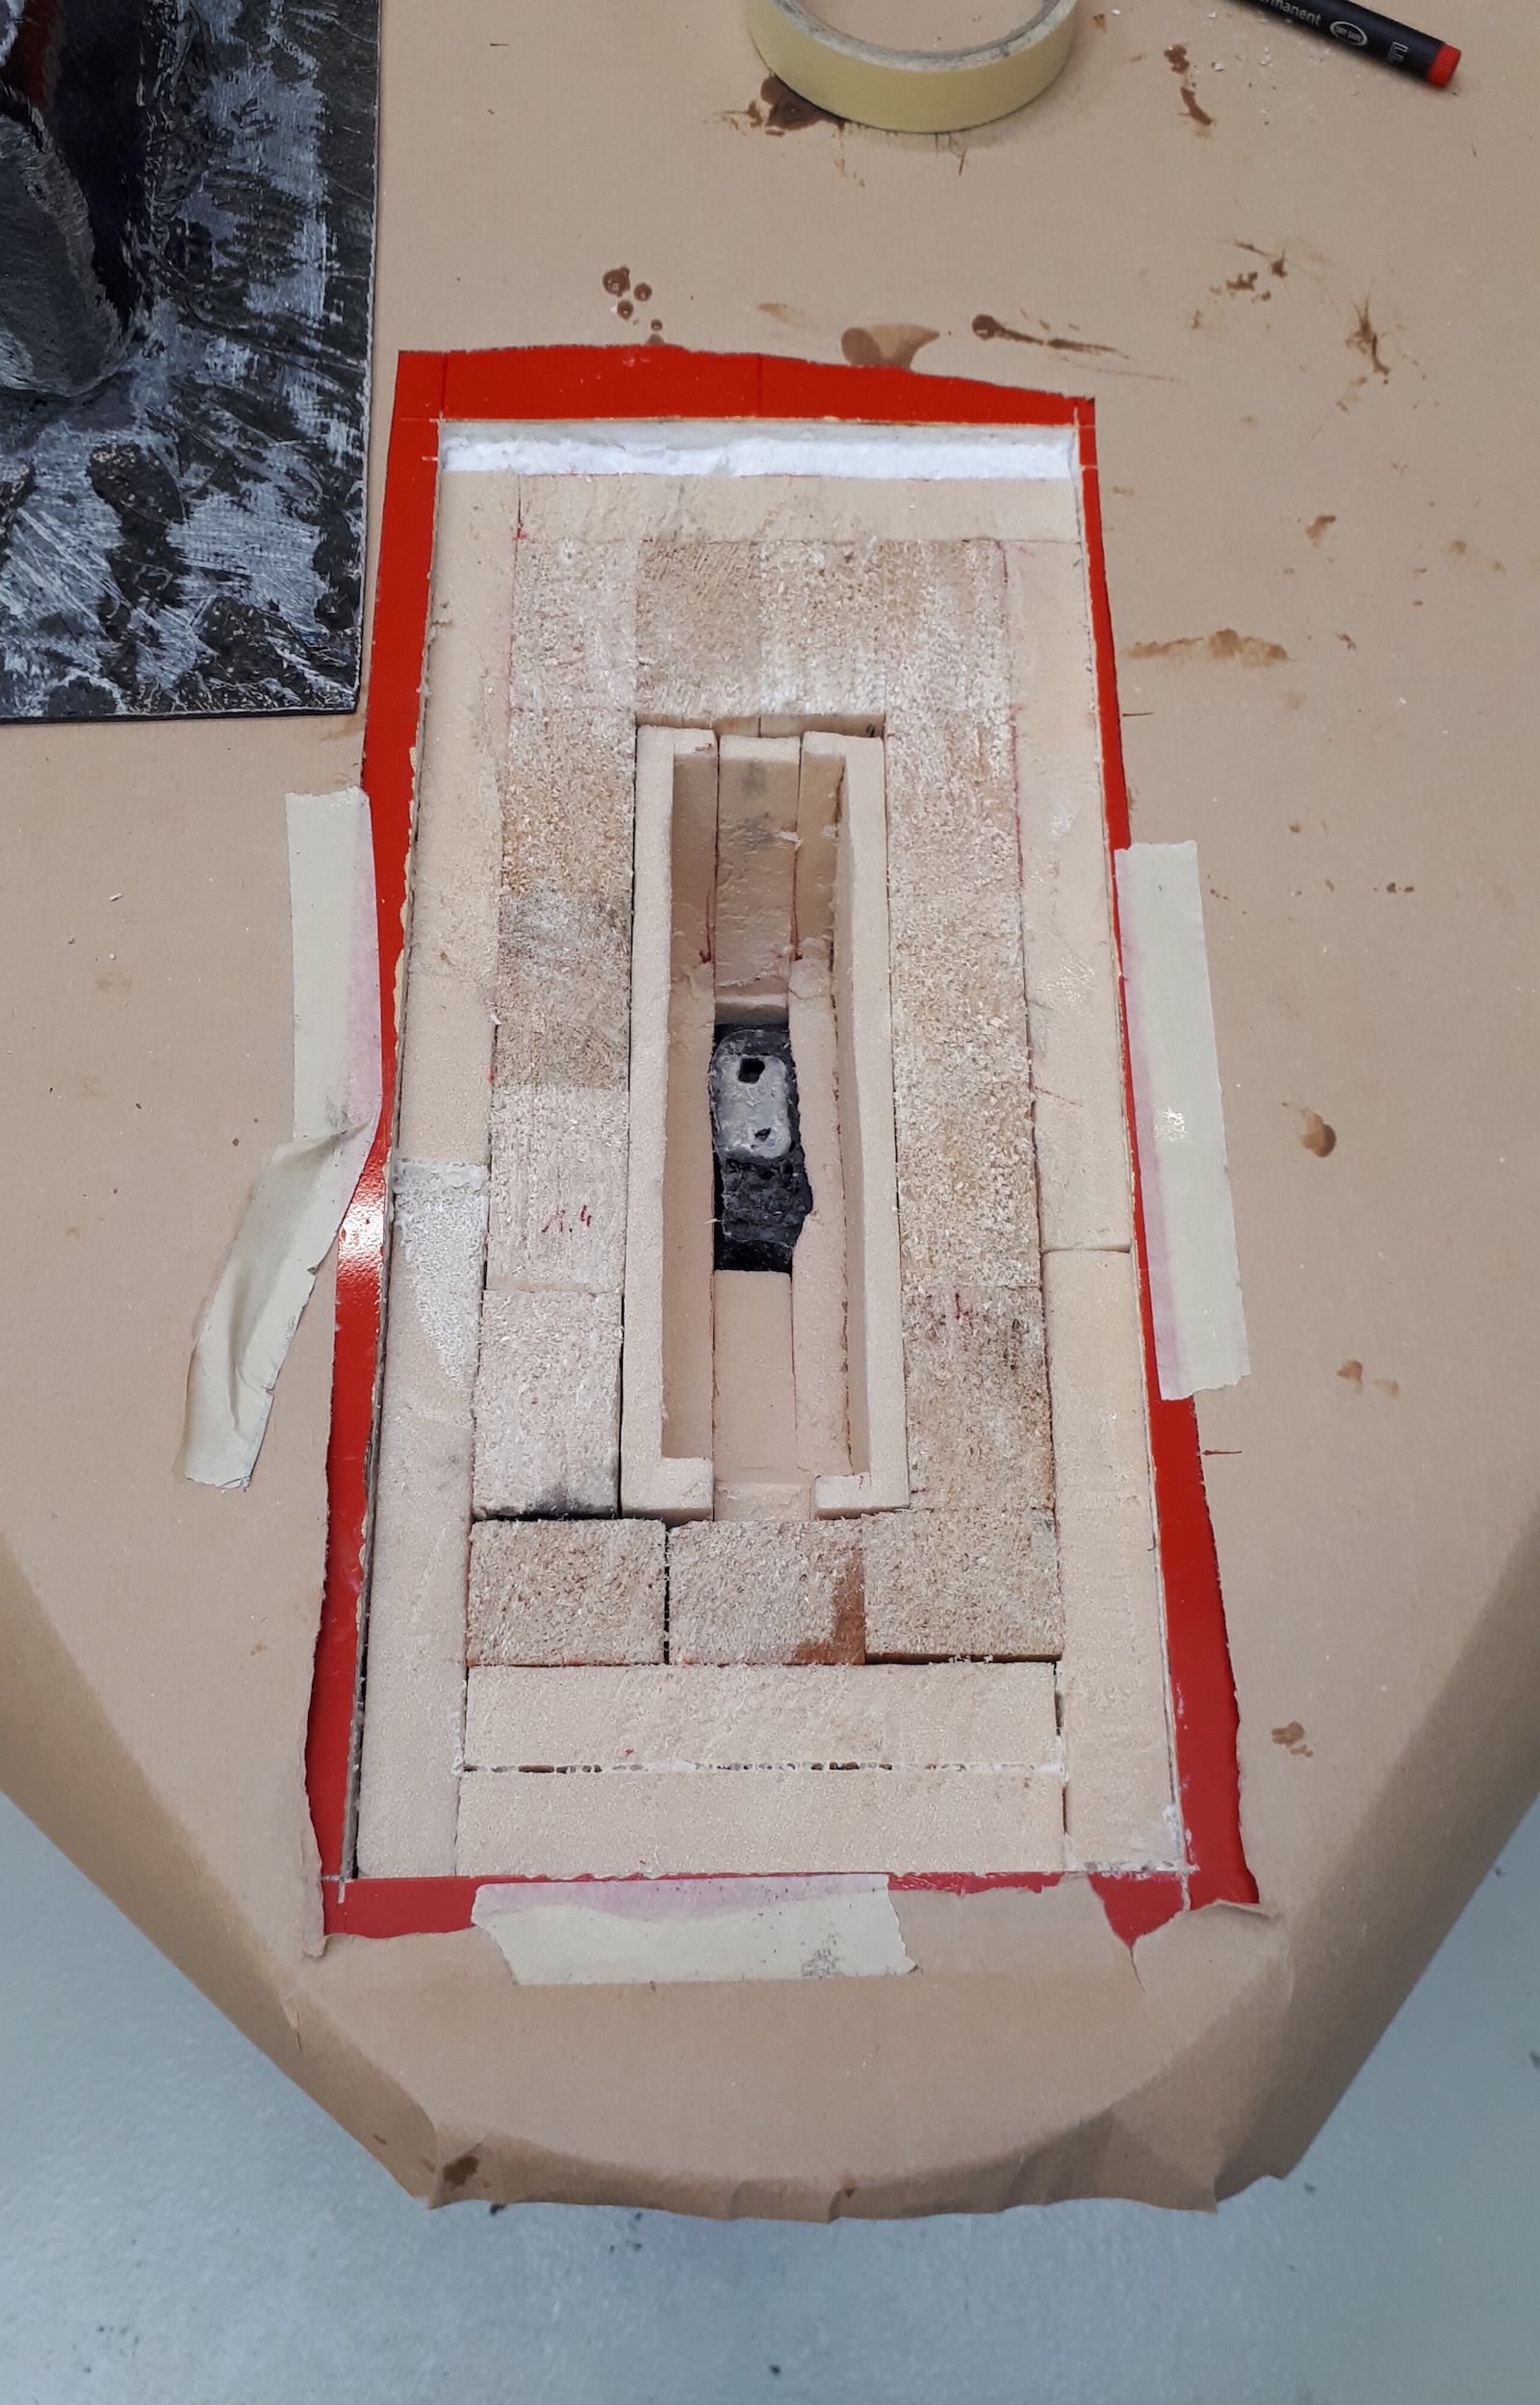
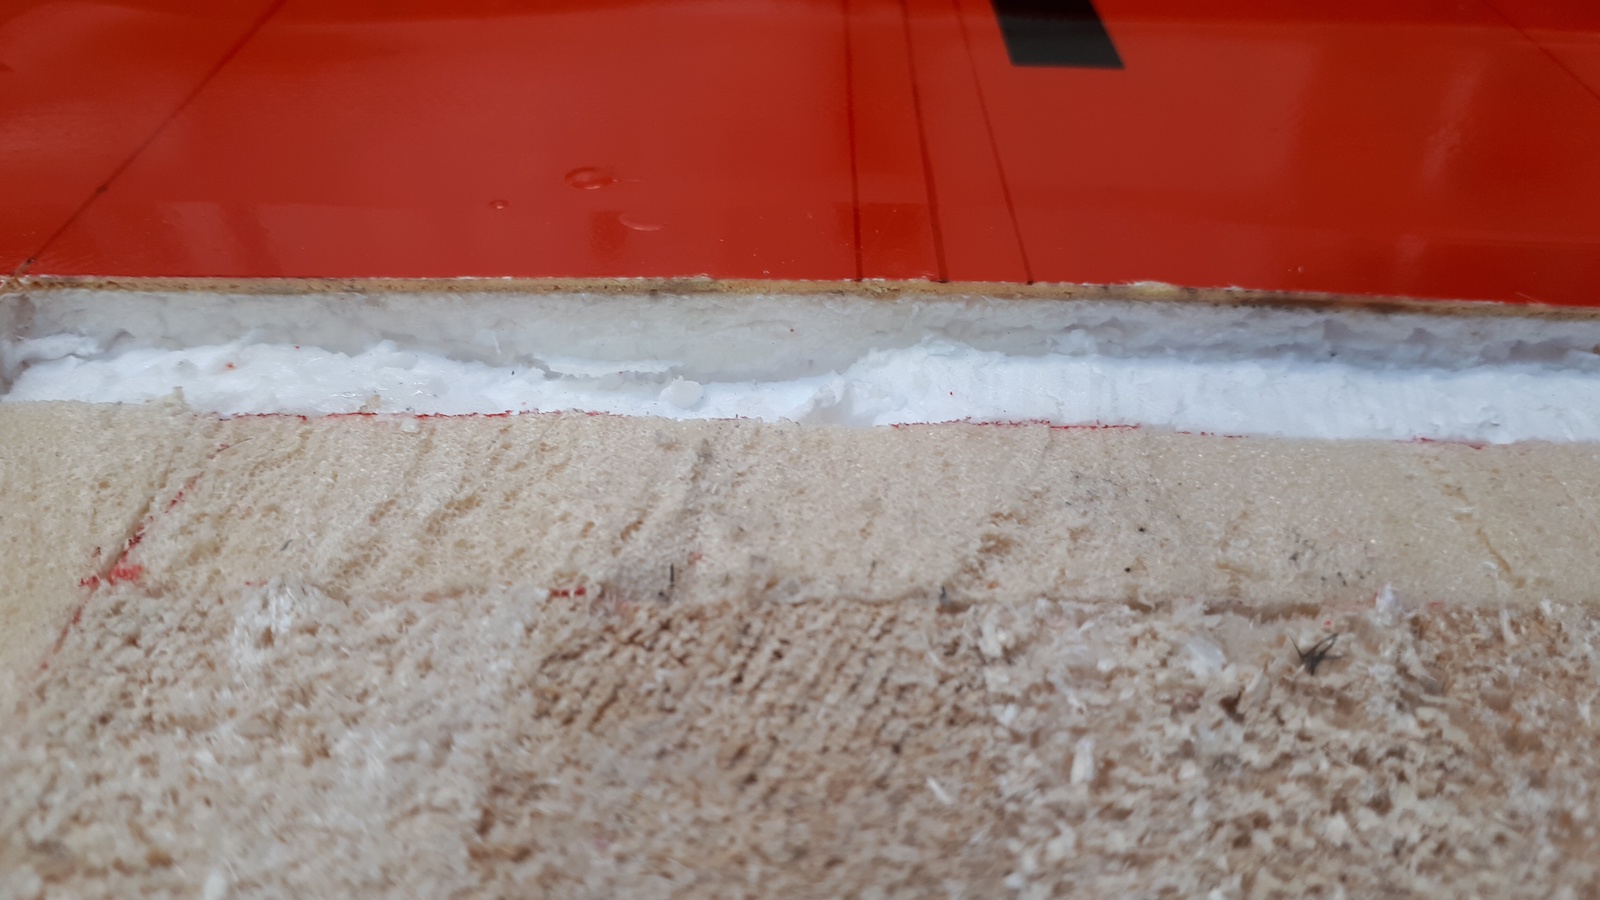
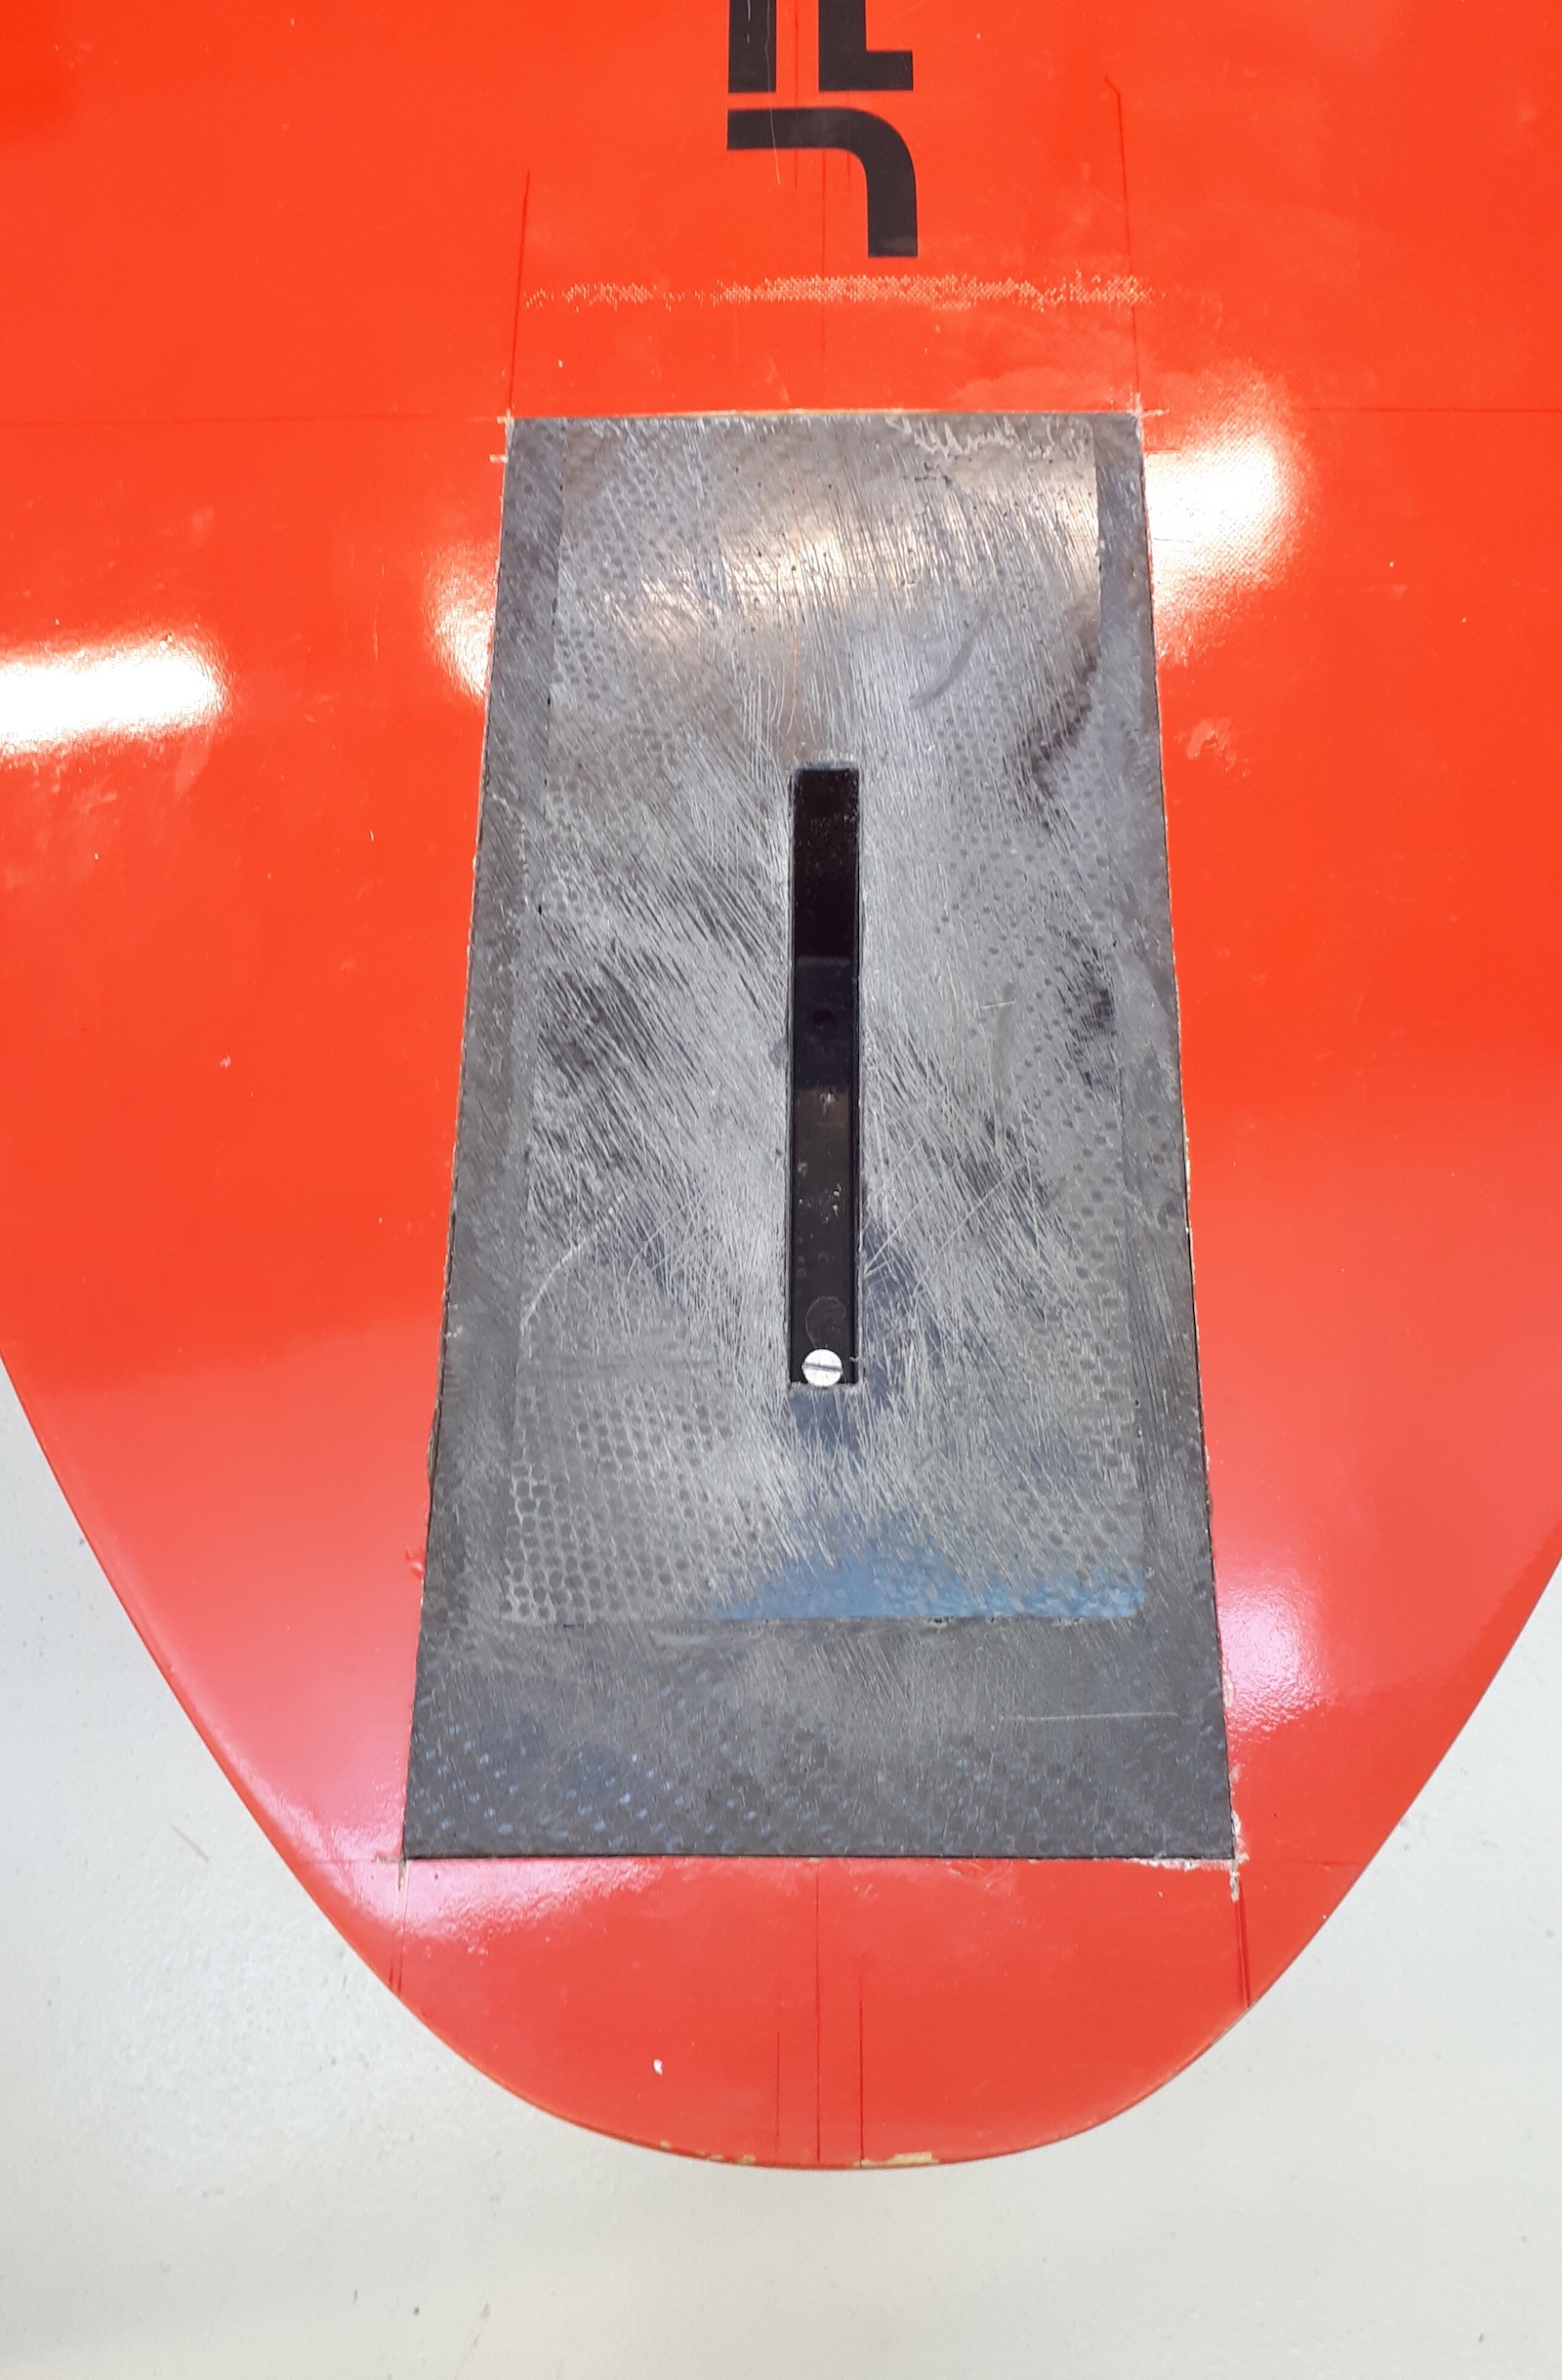
Cutout for the deep tuttle box:
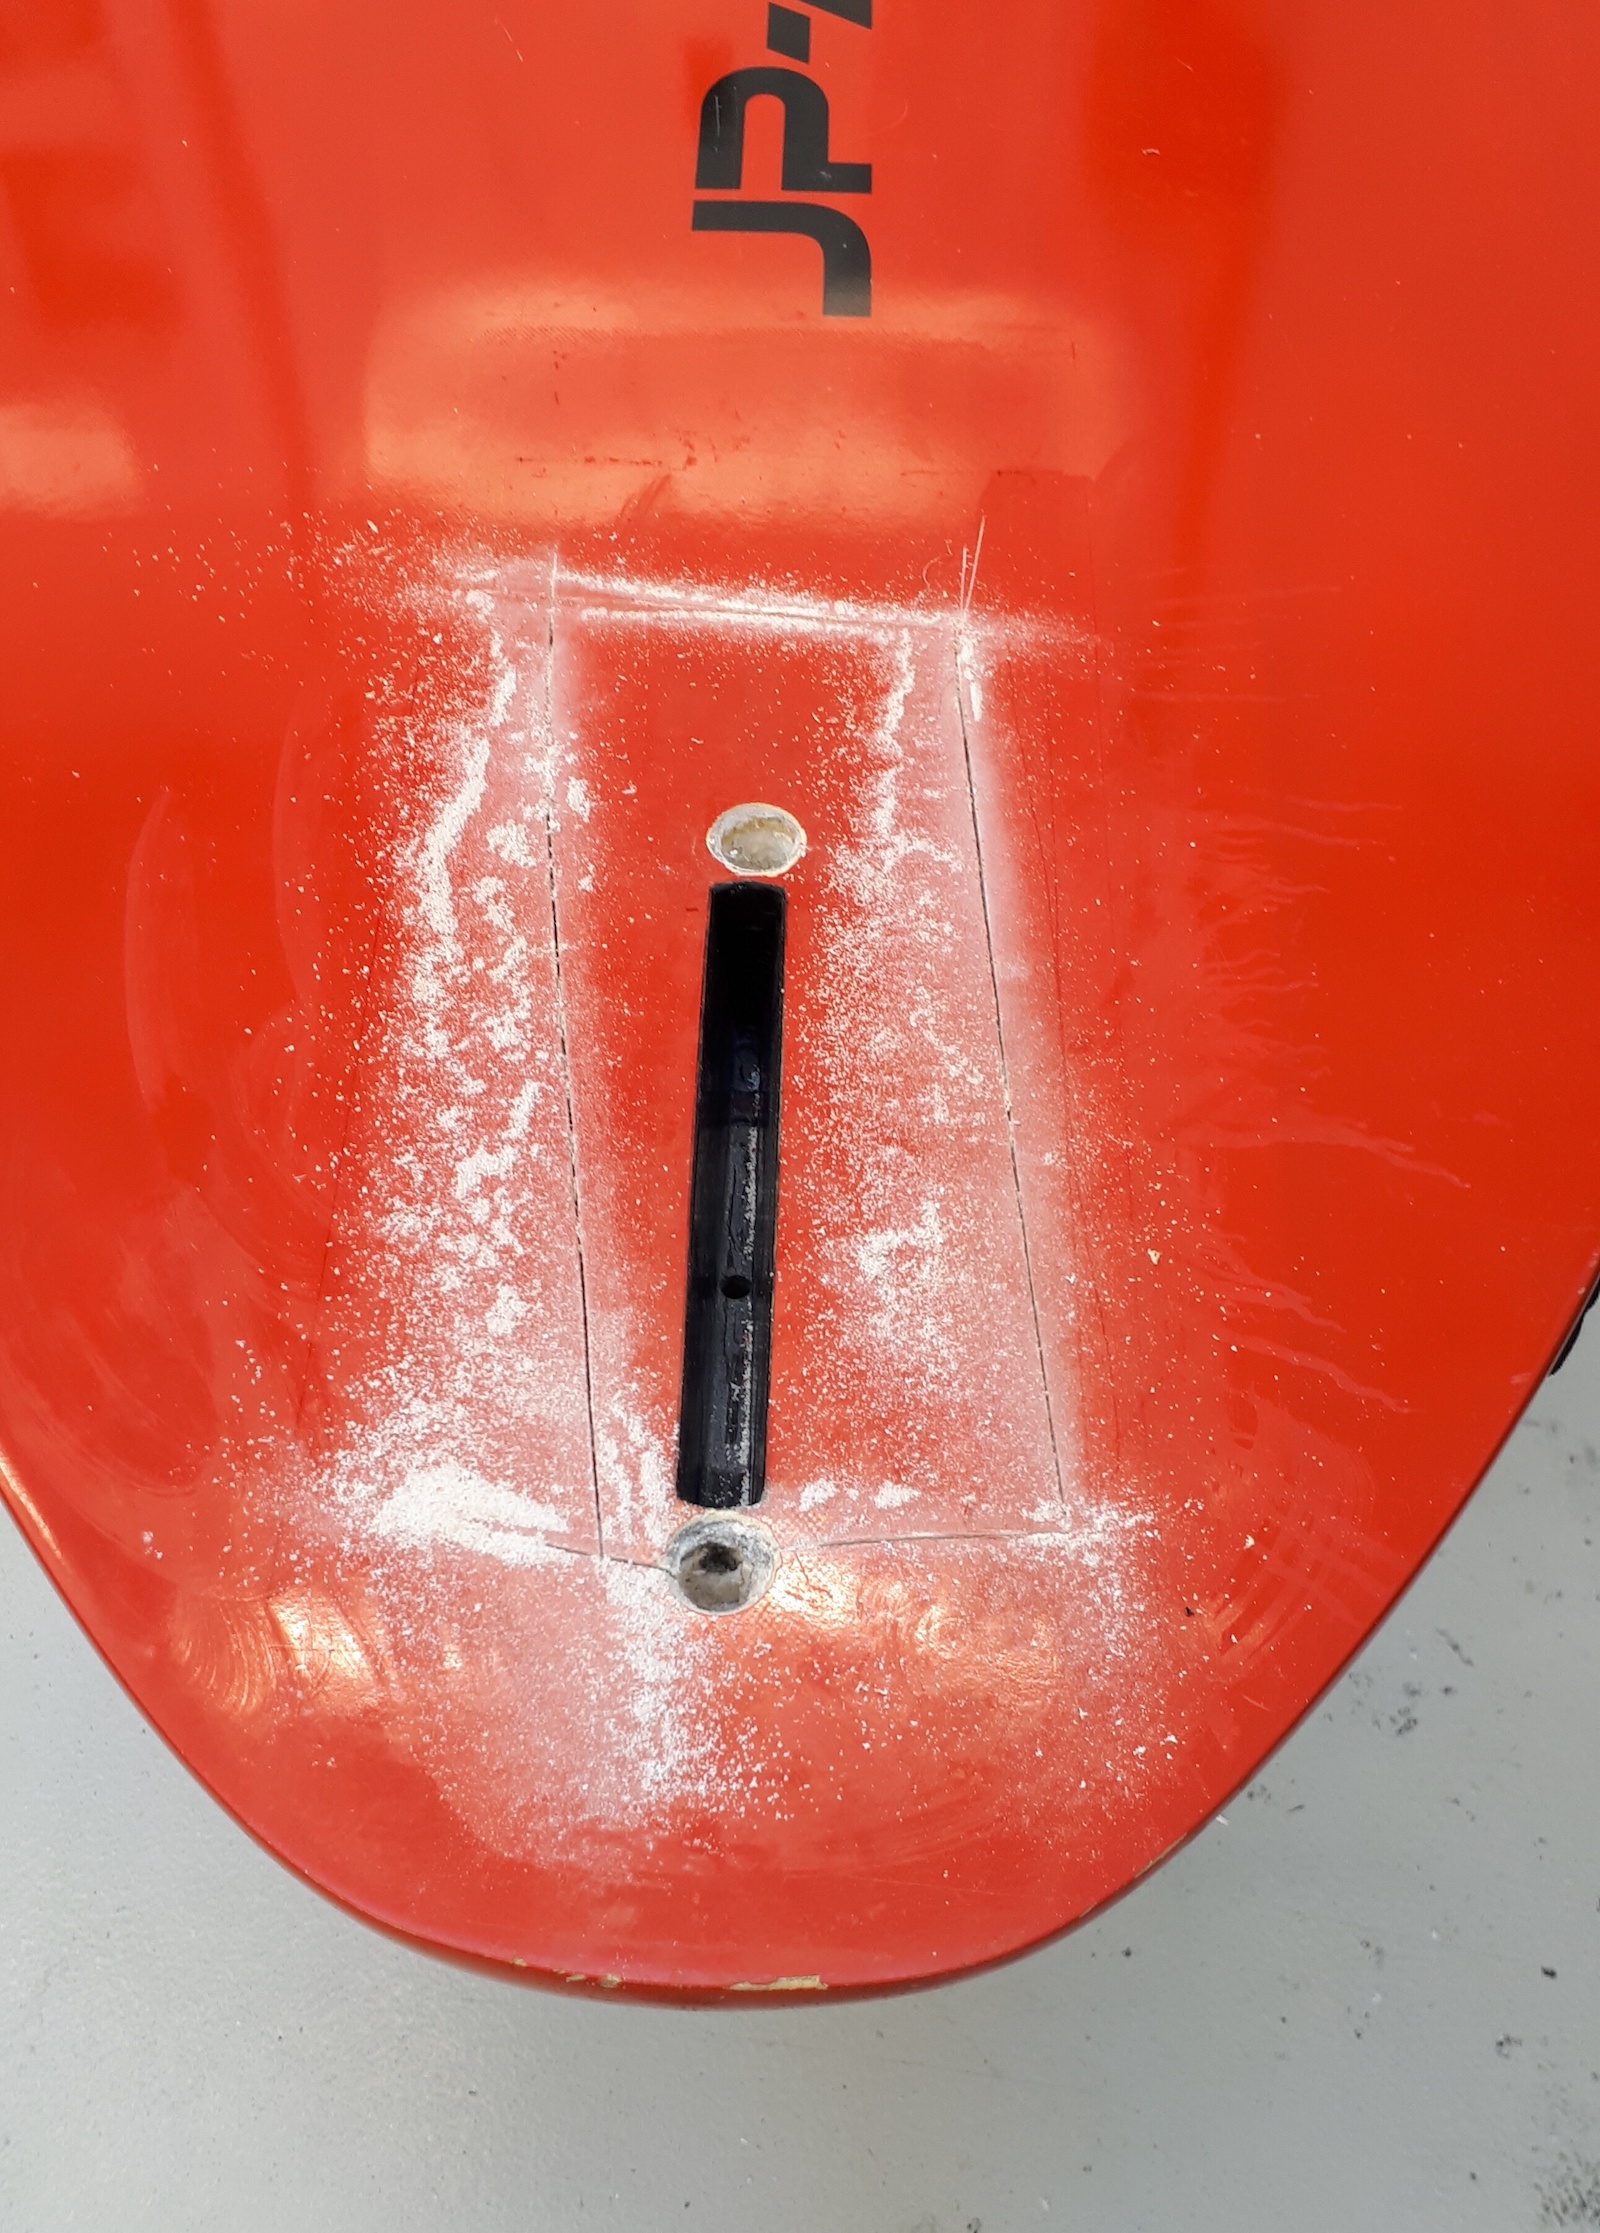
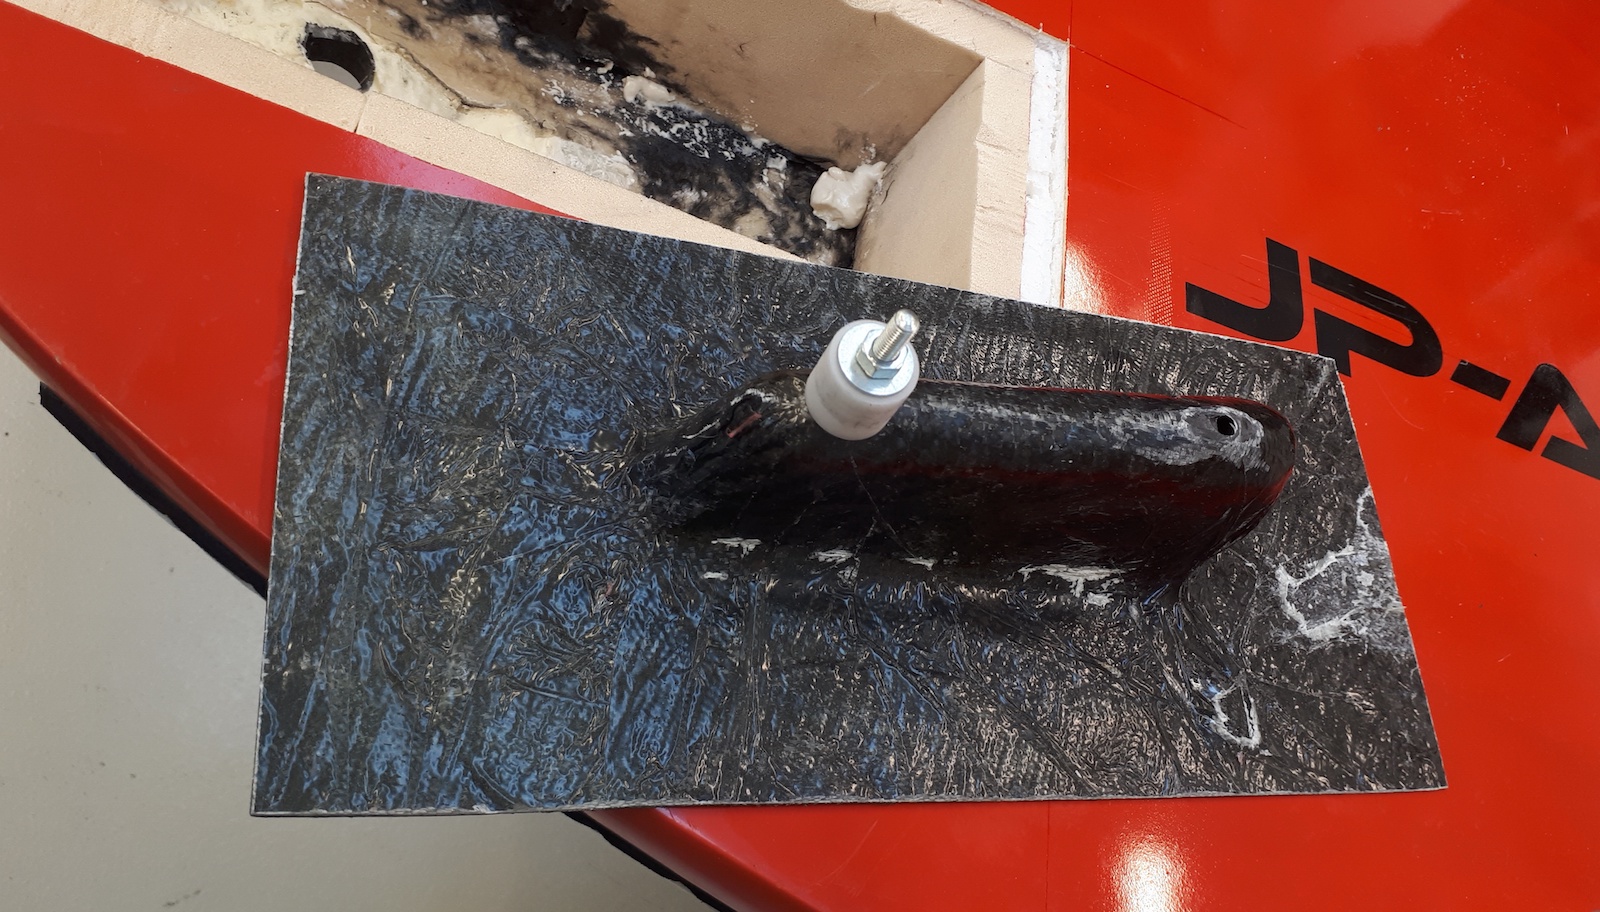
The original screw hole for fin mounting was reused as the aft mounting hole for the foil.
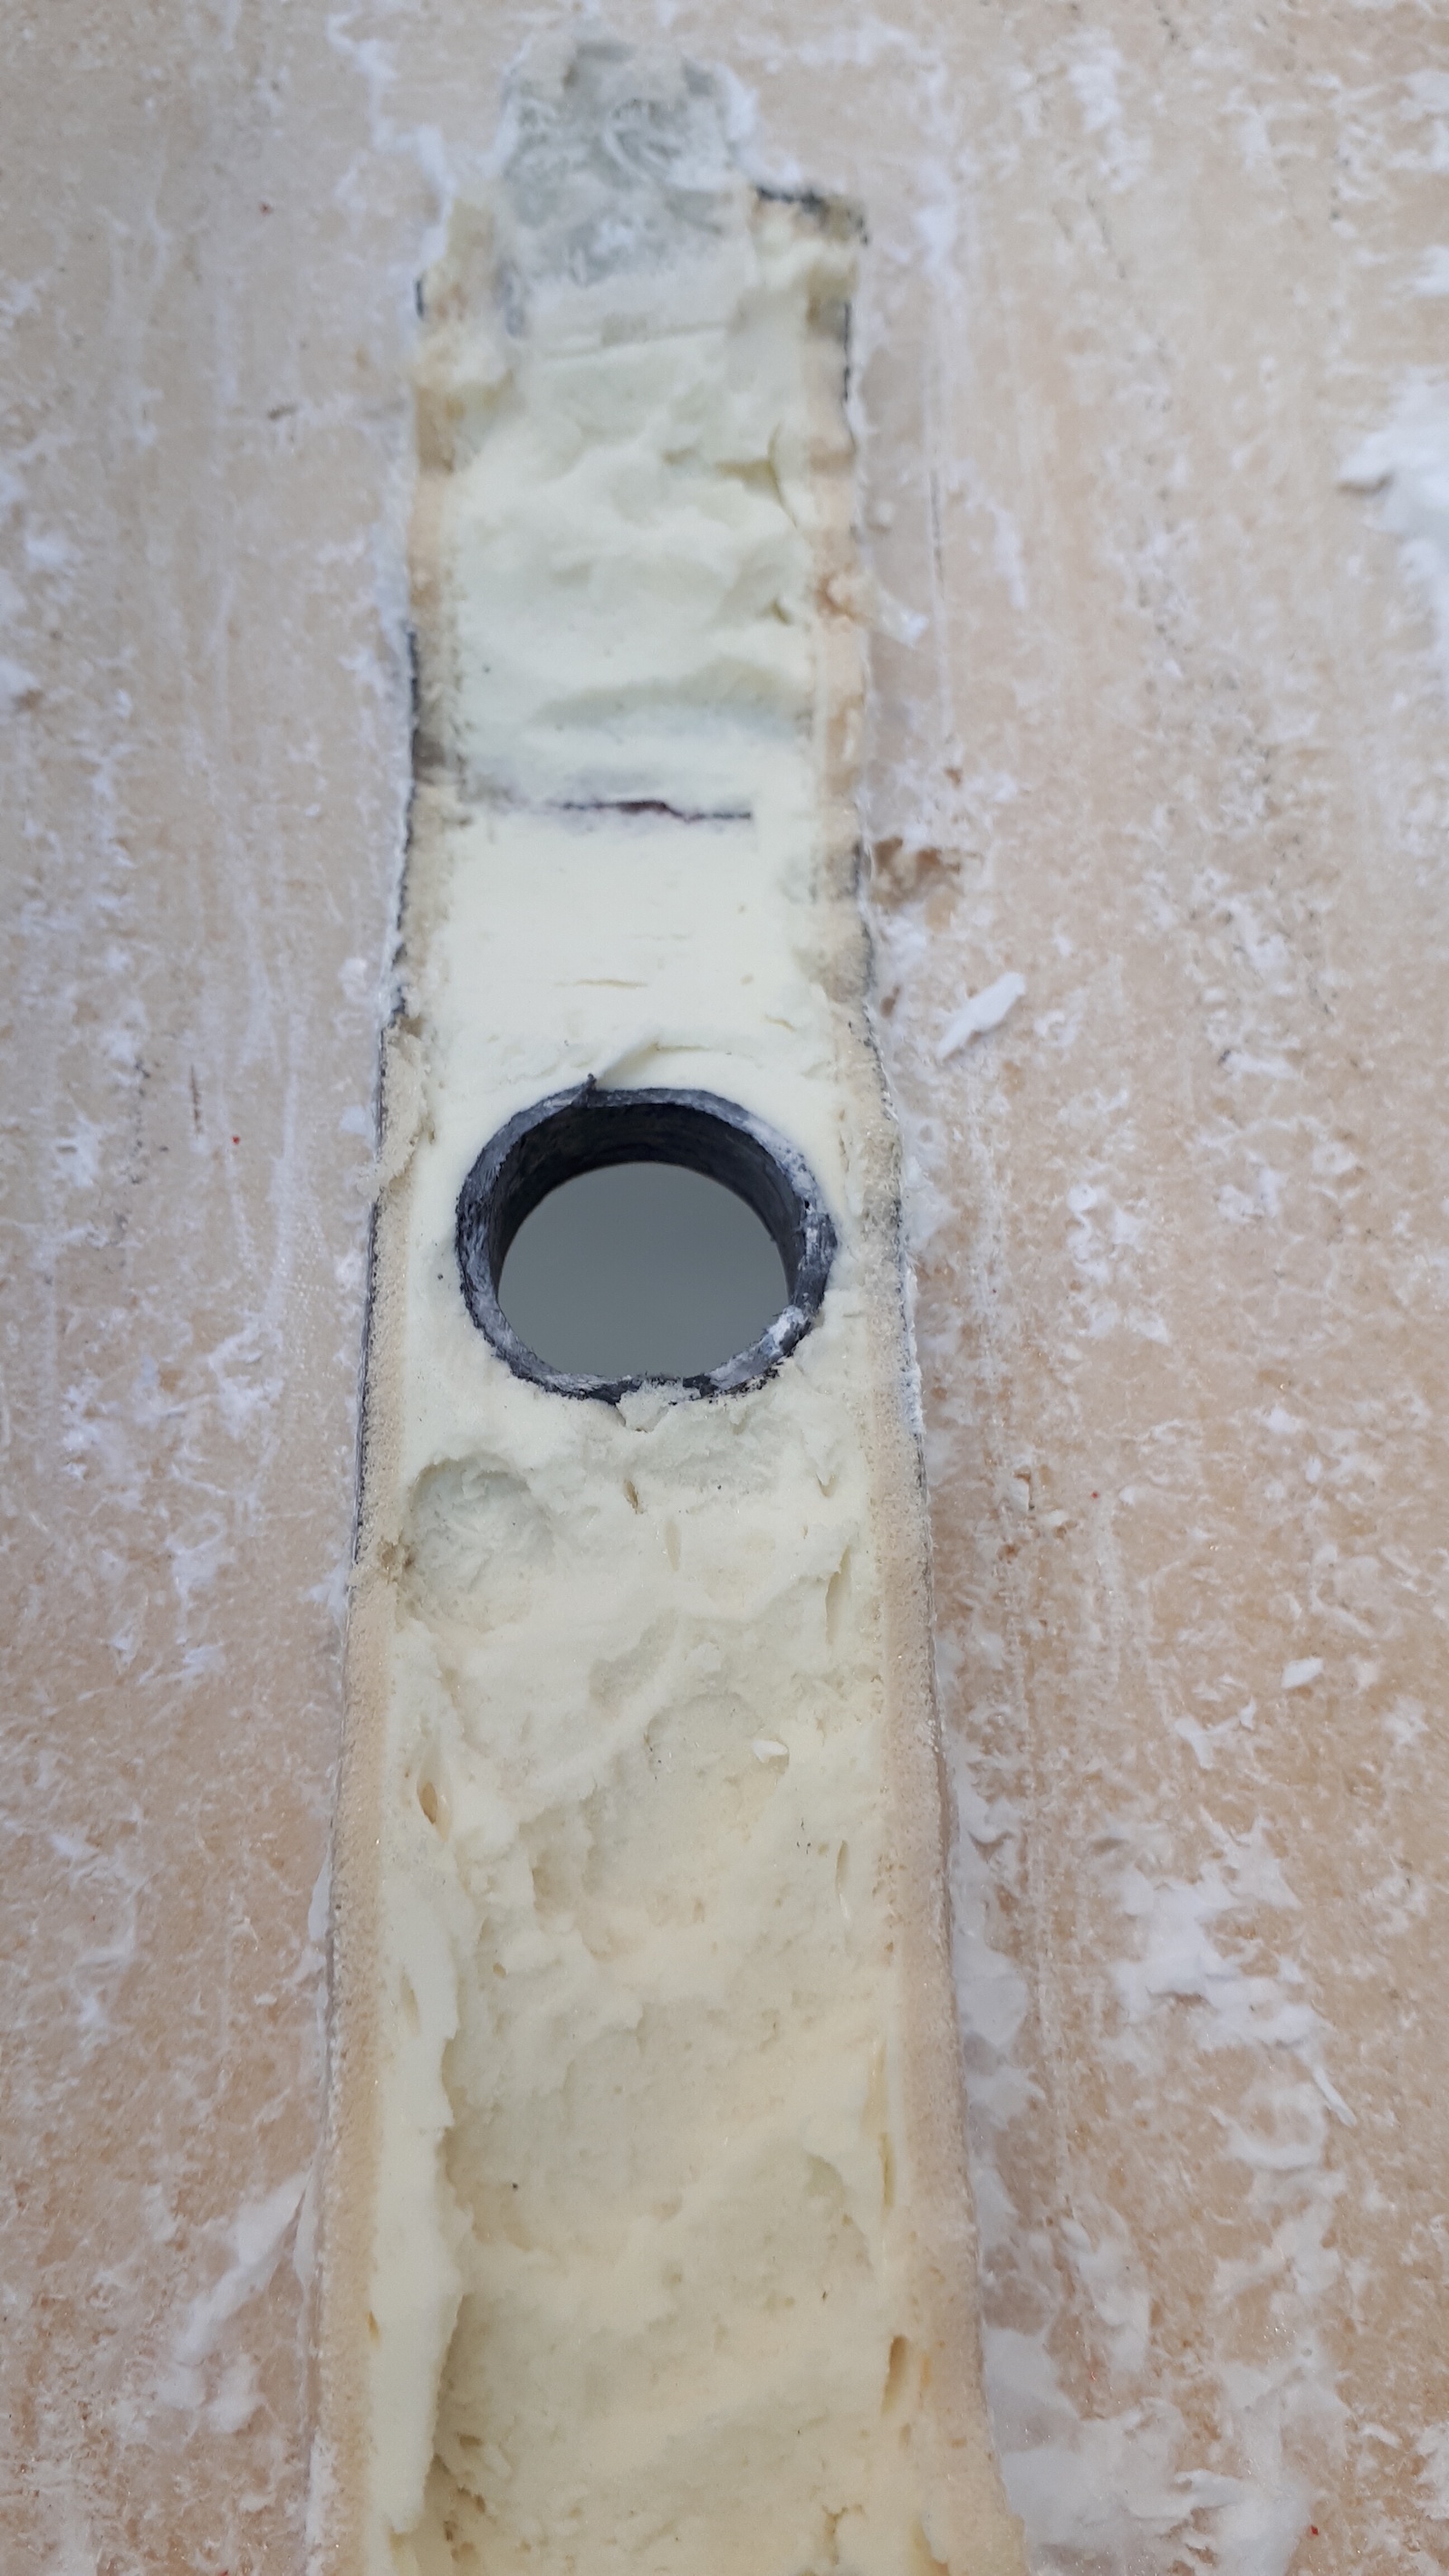
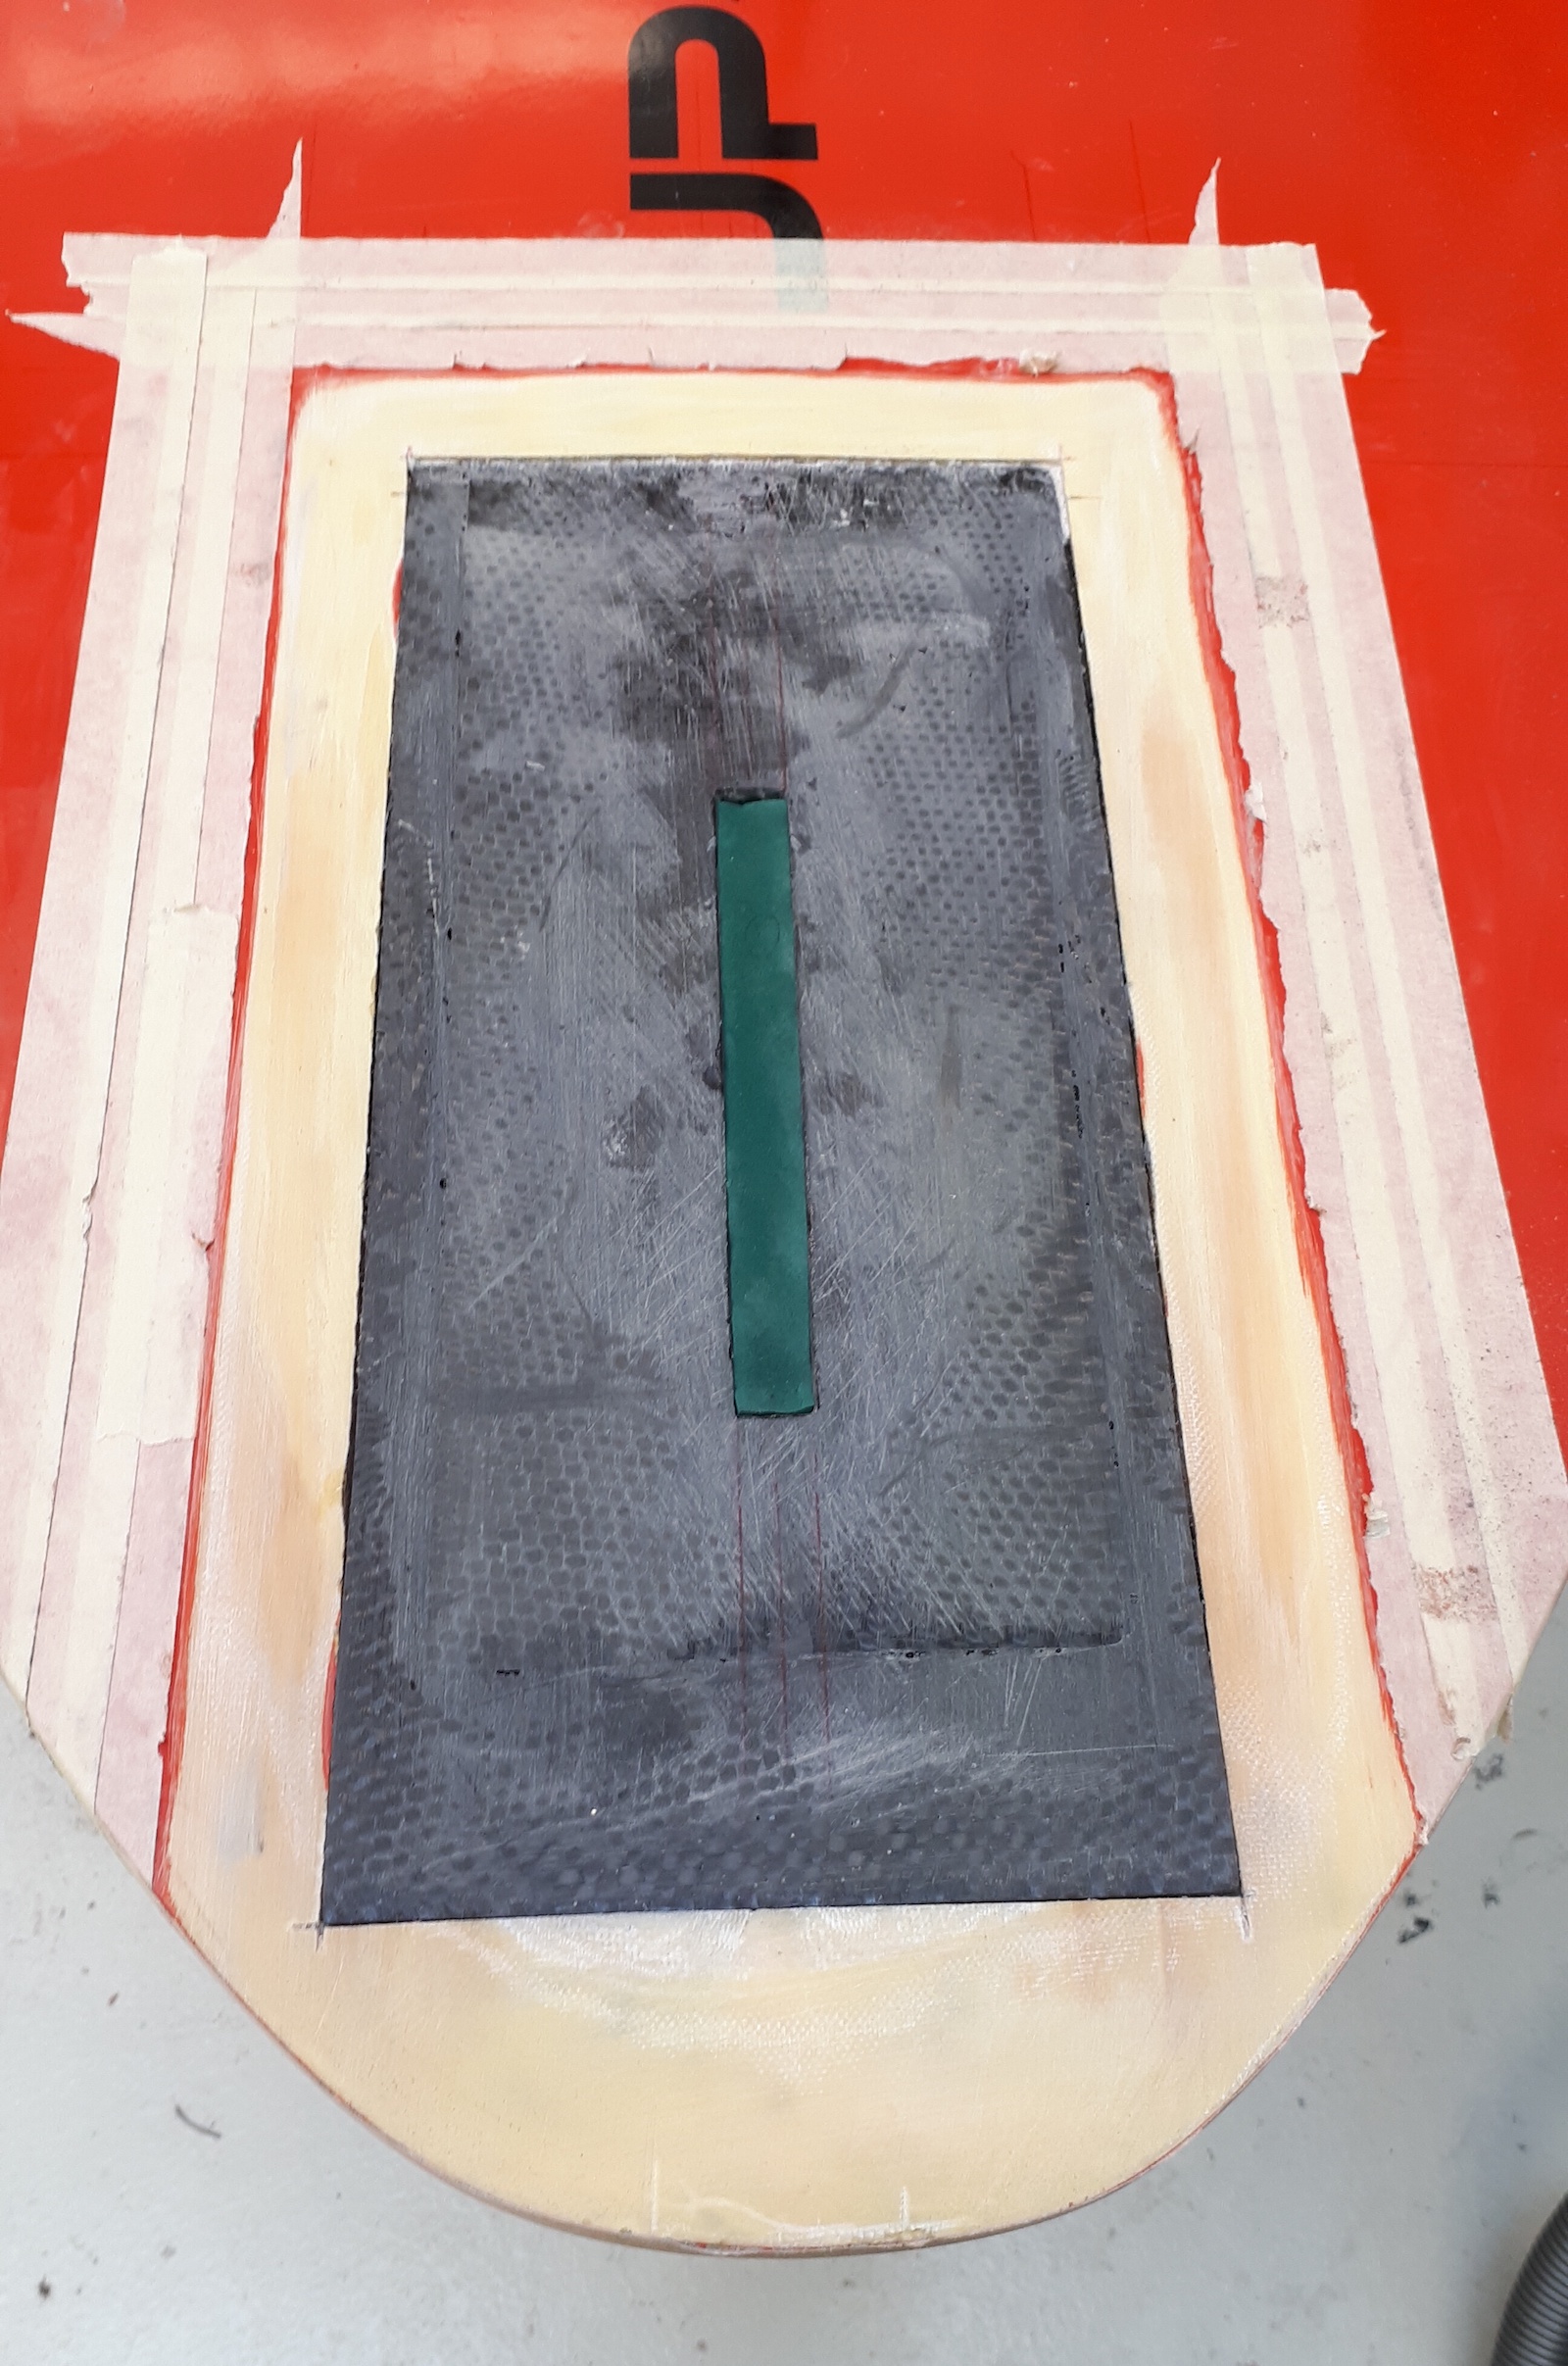
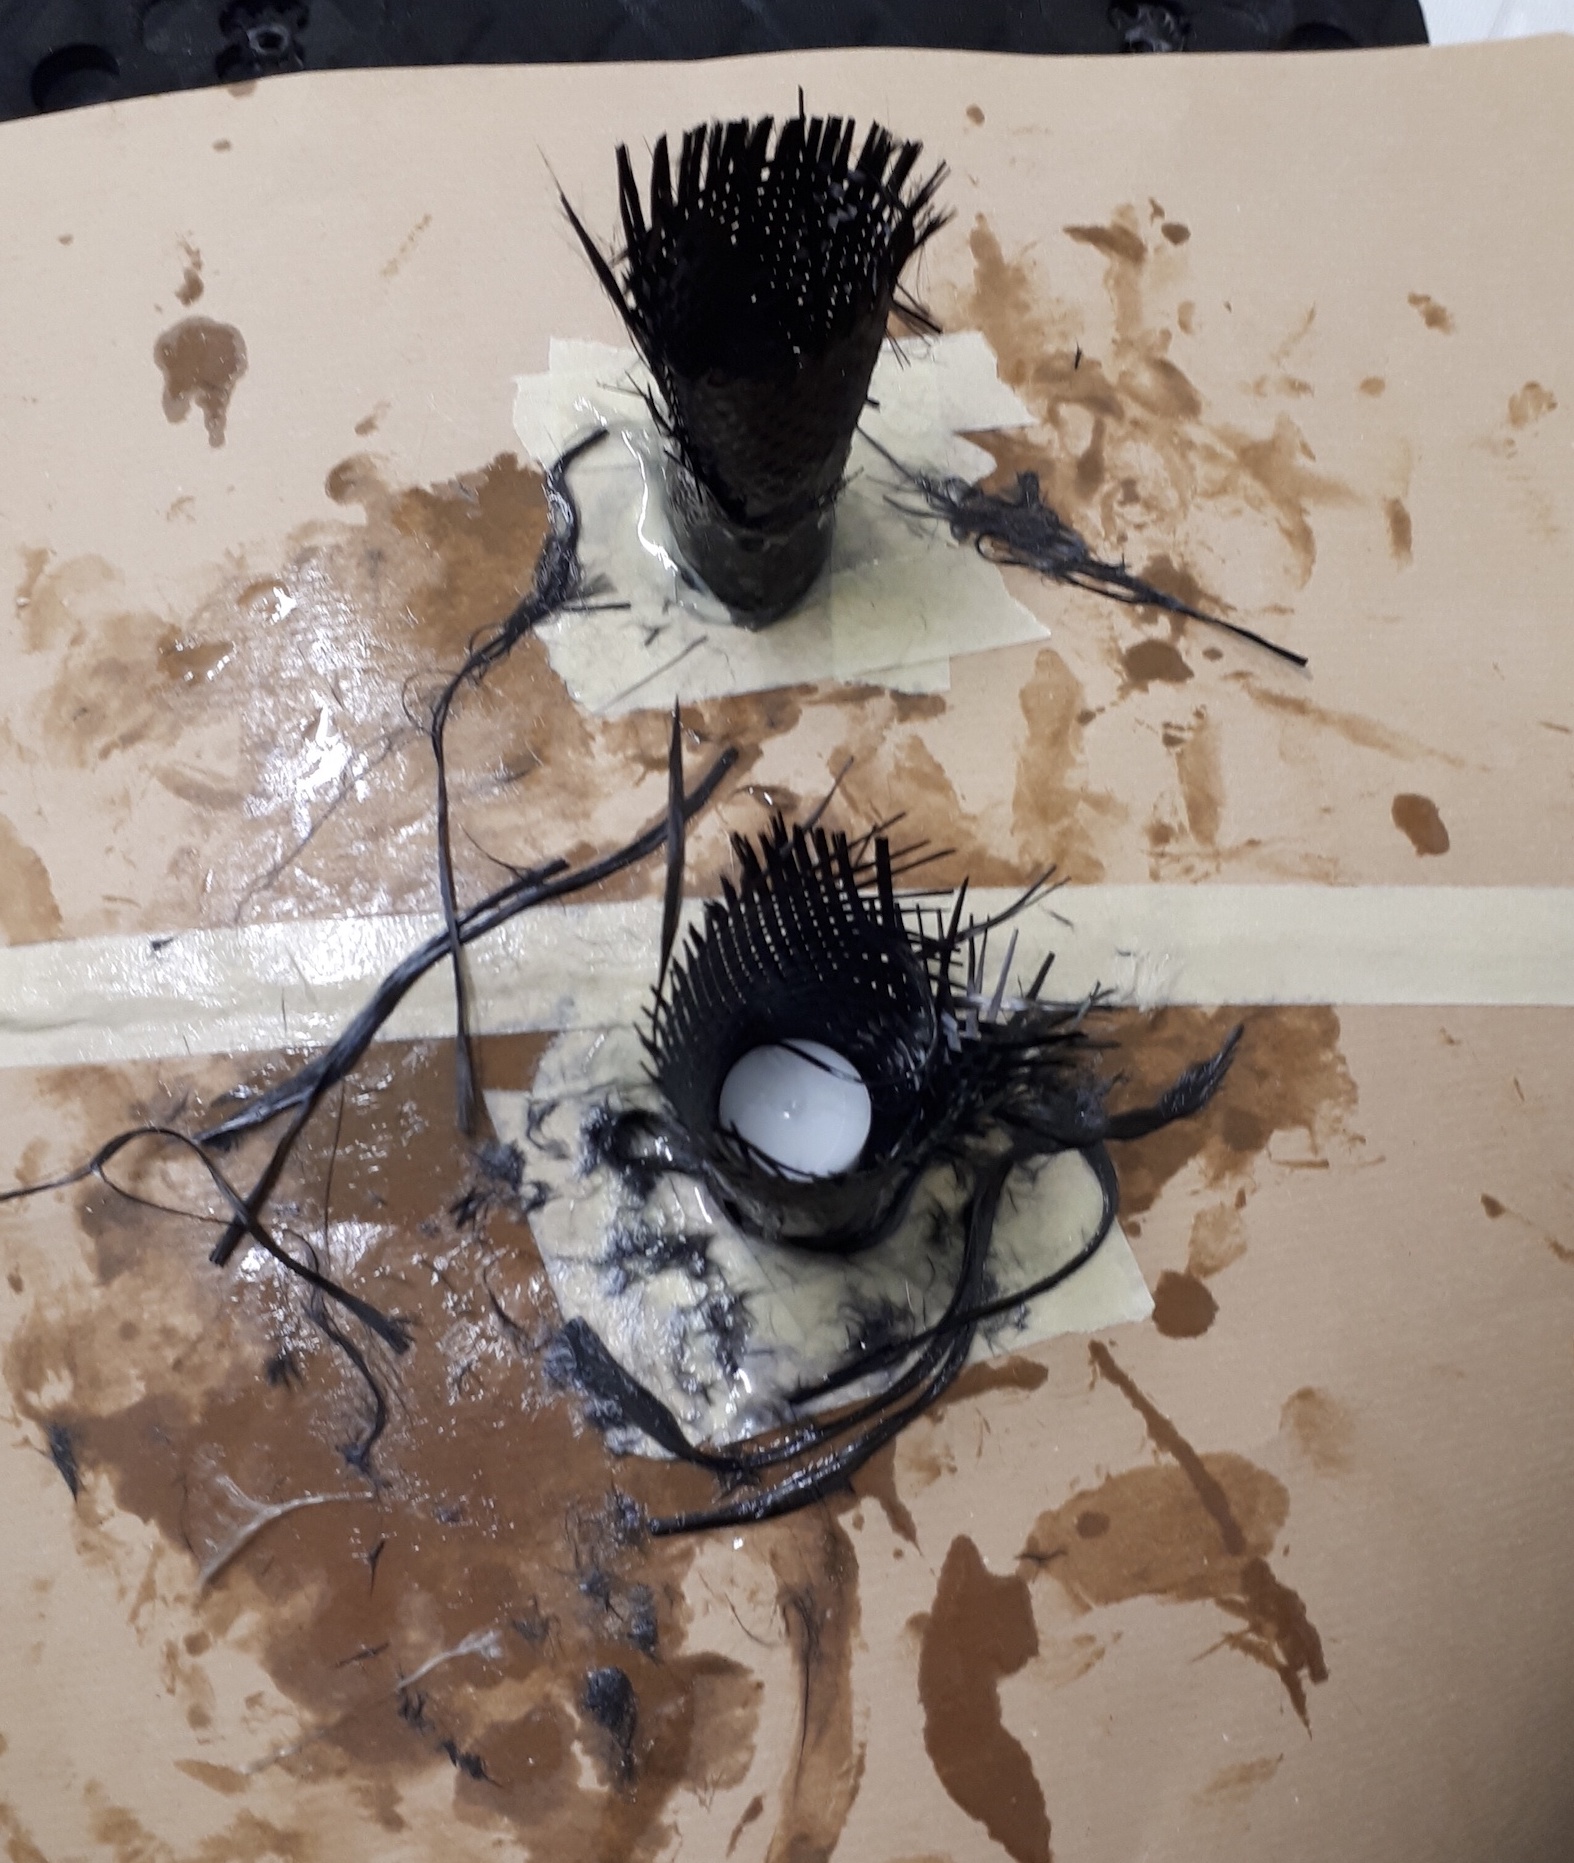
A small plastic cylinder helped to position the carbon insert properly.
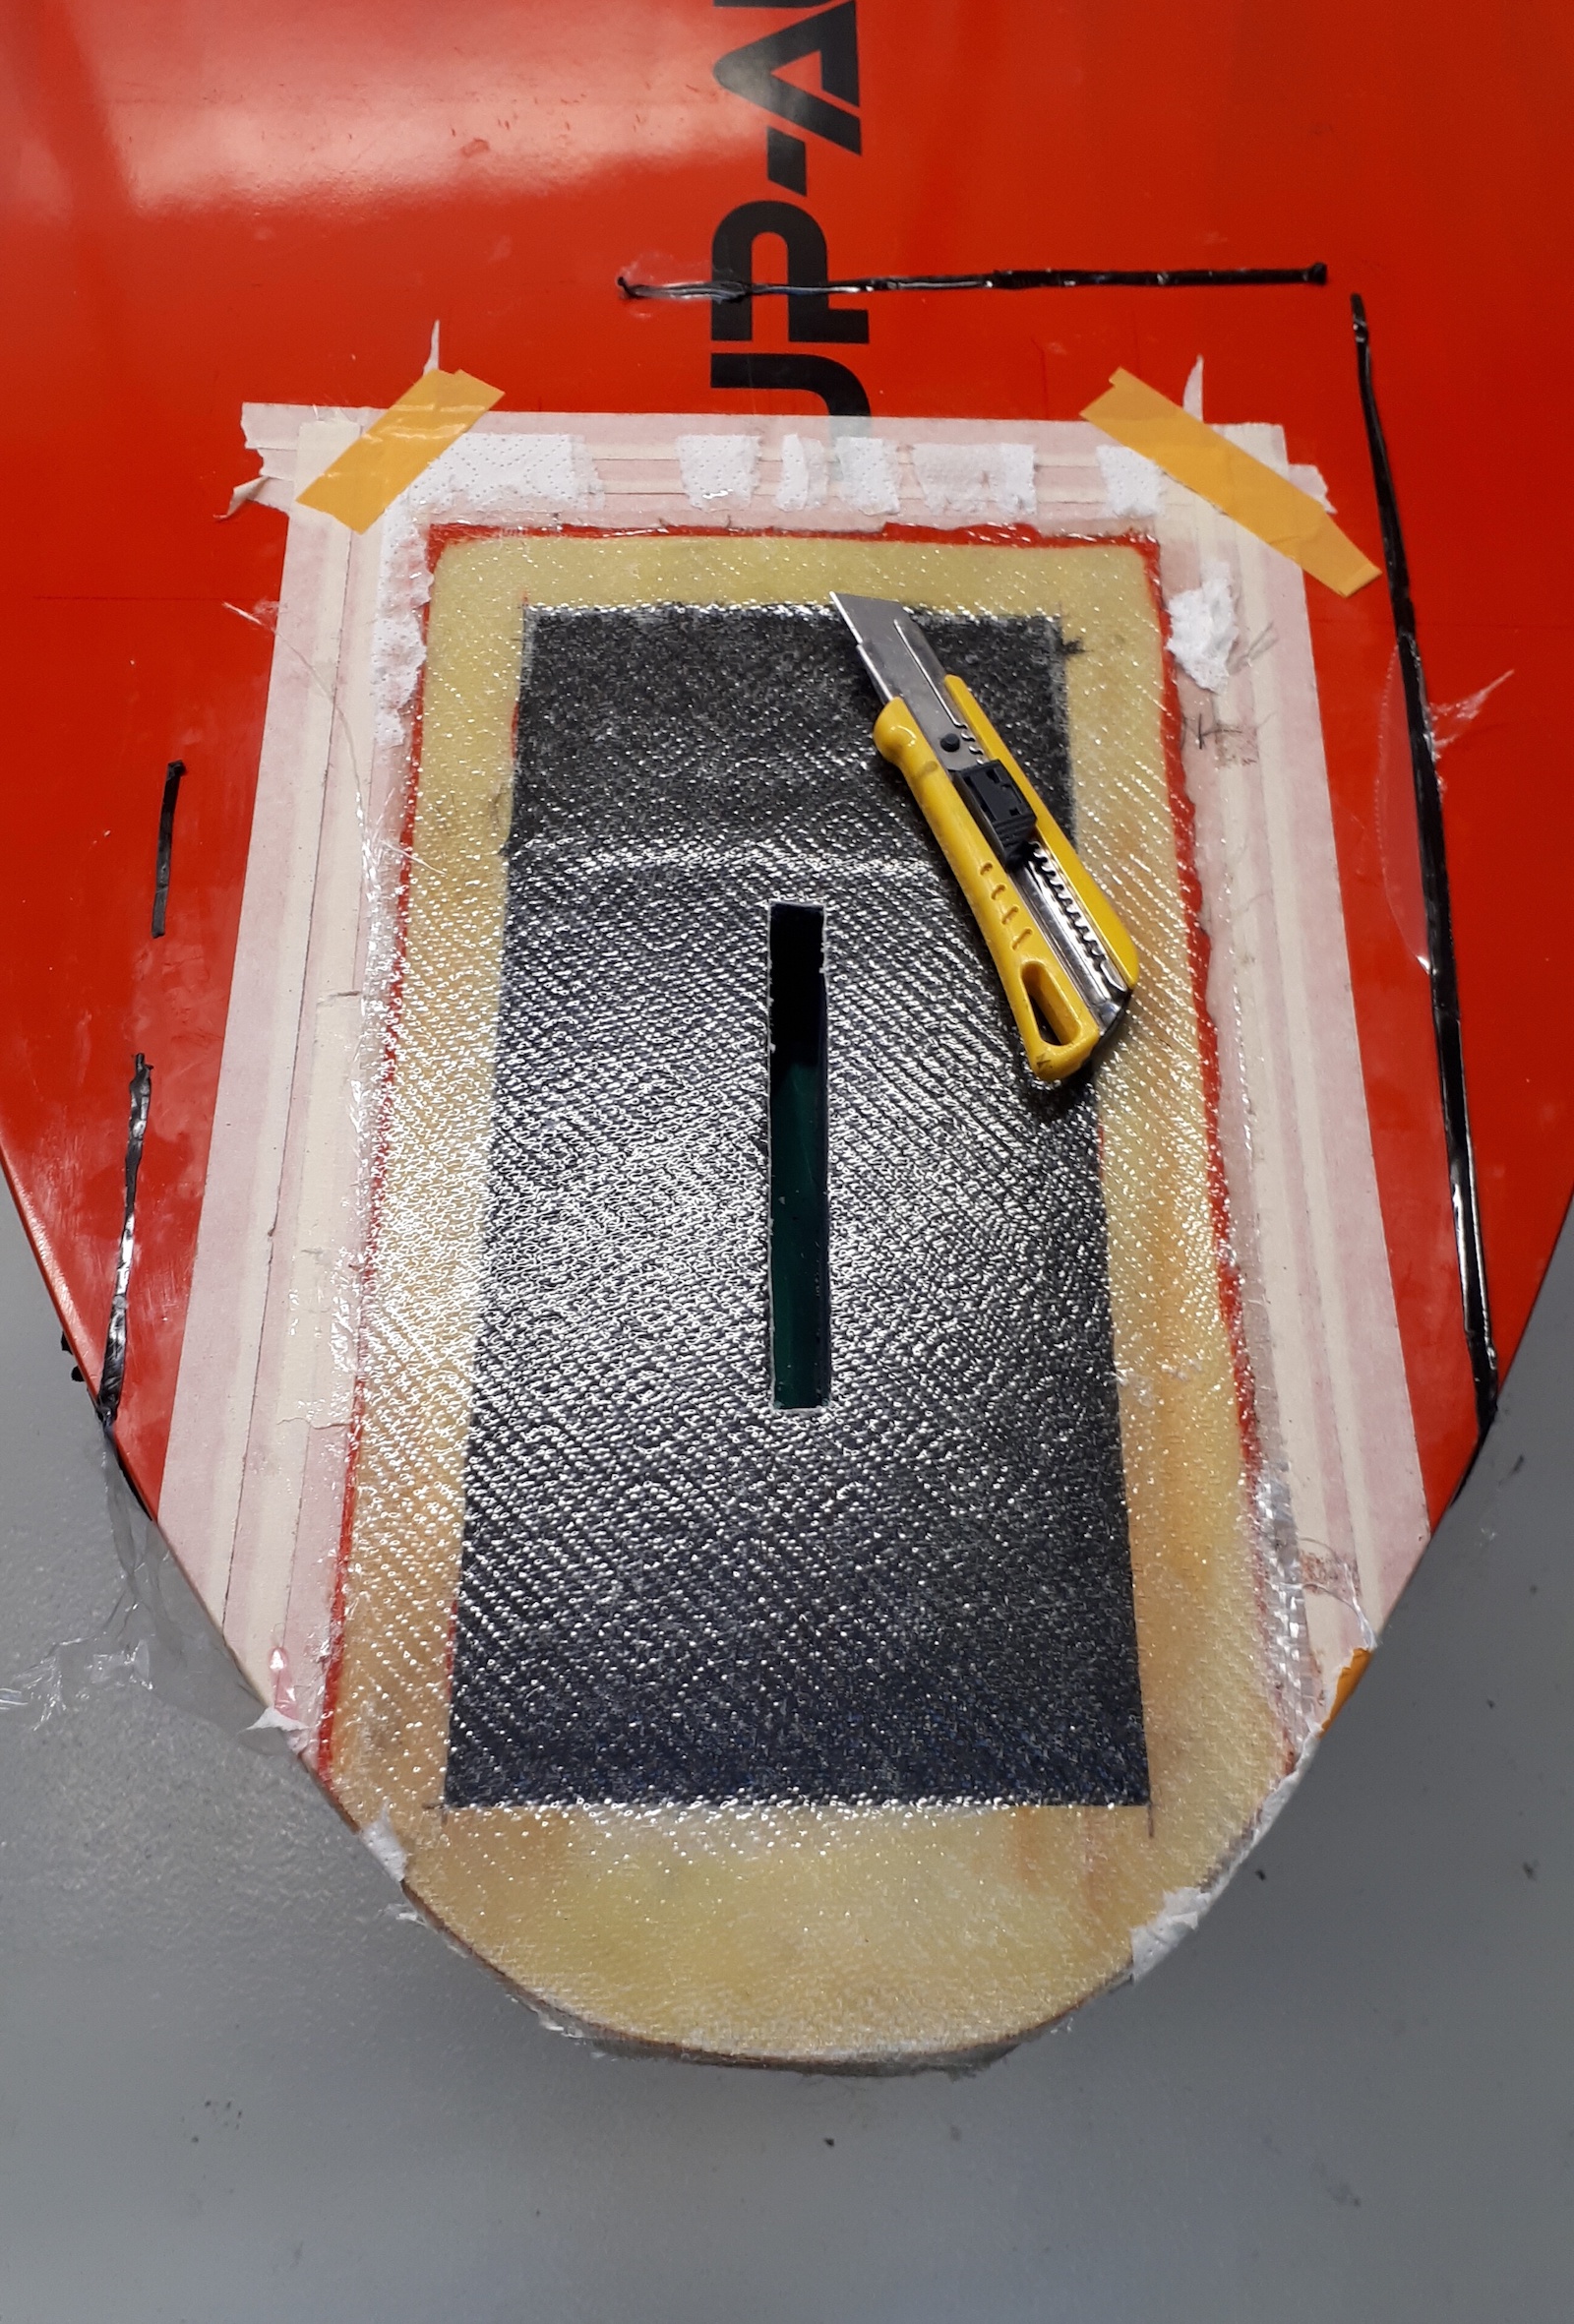
I got hold of some stable and super-light PVC foam that I used in combination with the balsa wood for making the reinforcements for the carbon insert. Given the large seating area of the carbon insert no deformations of the foam under load have to be expected.
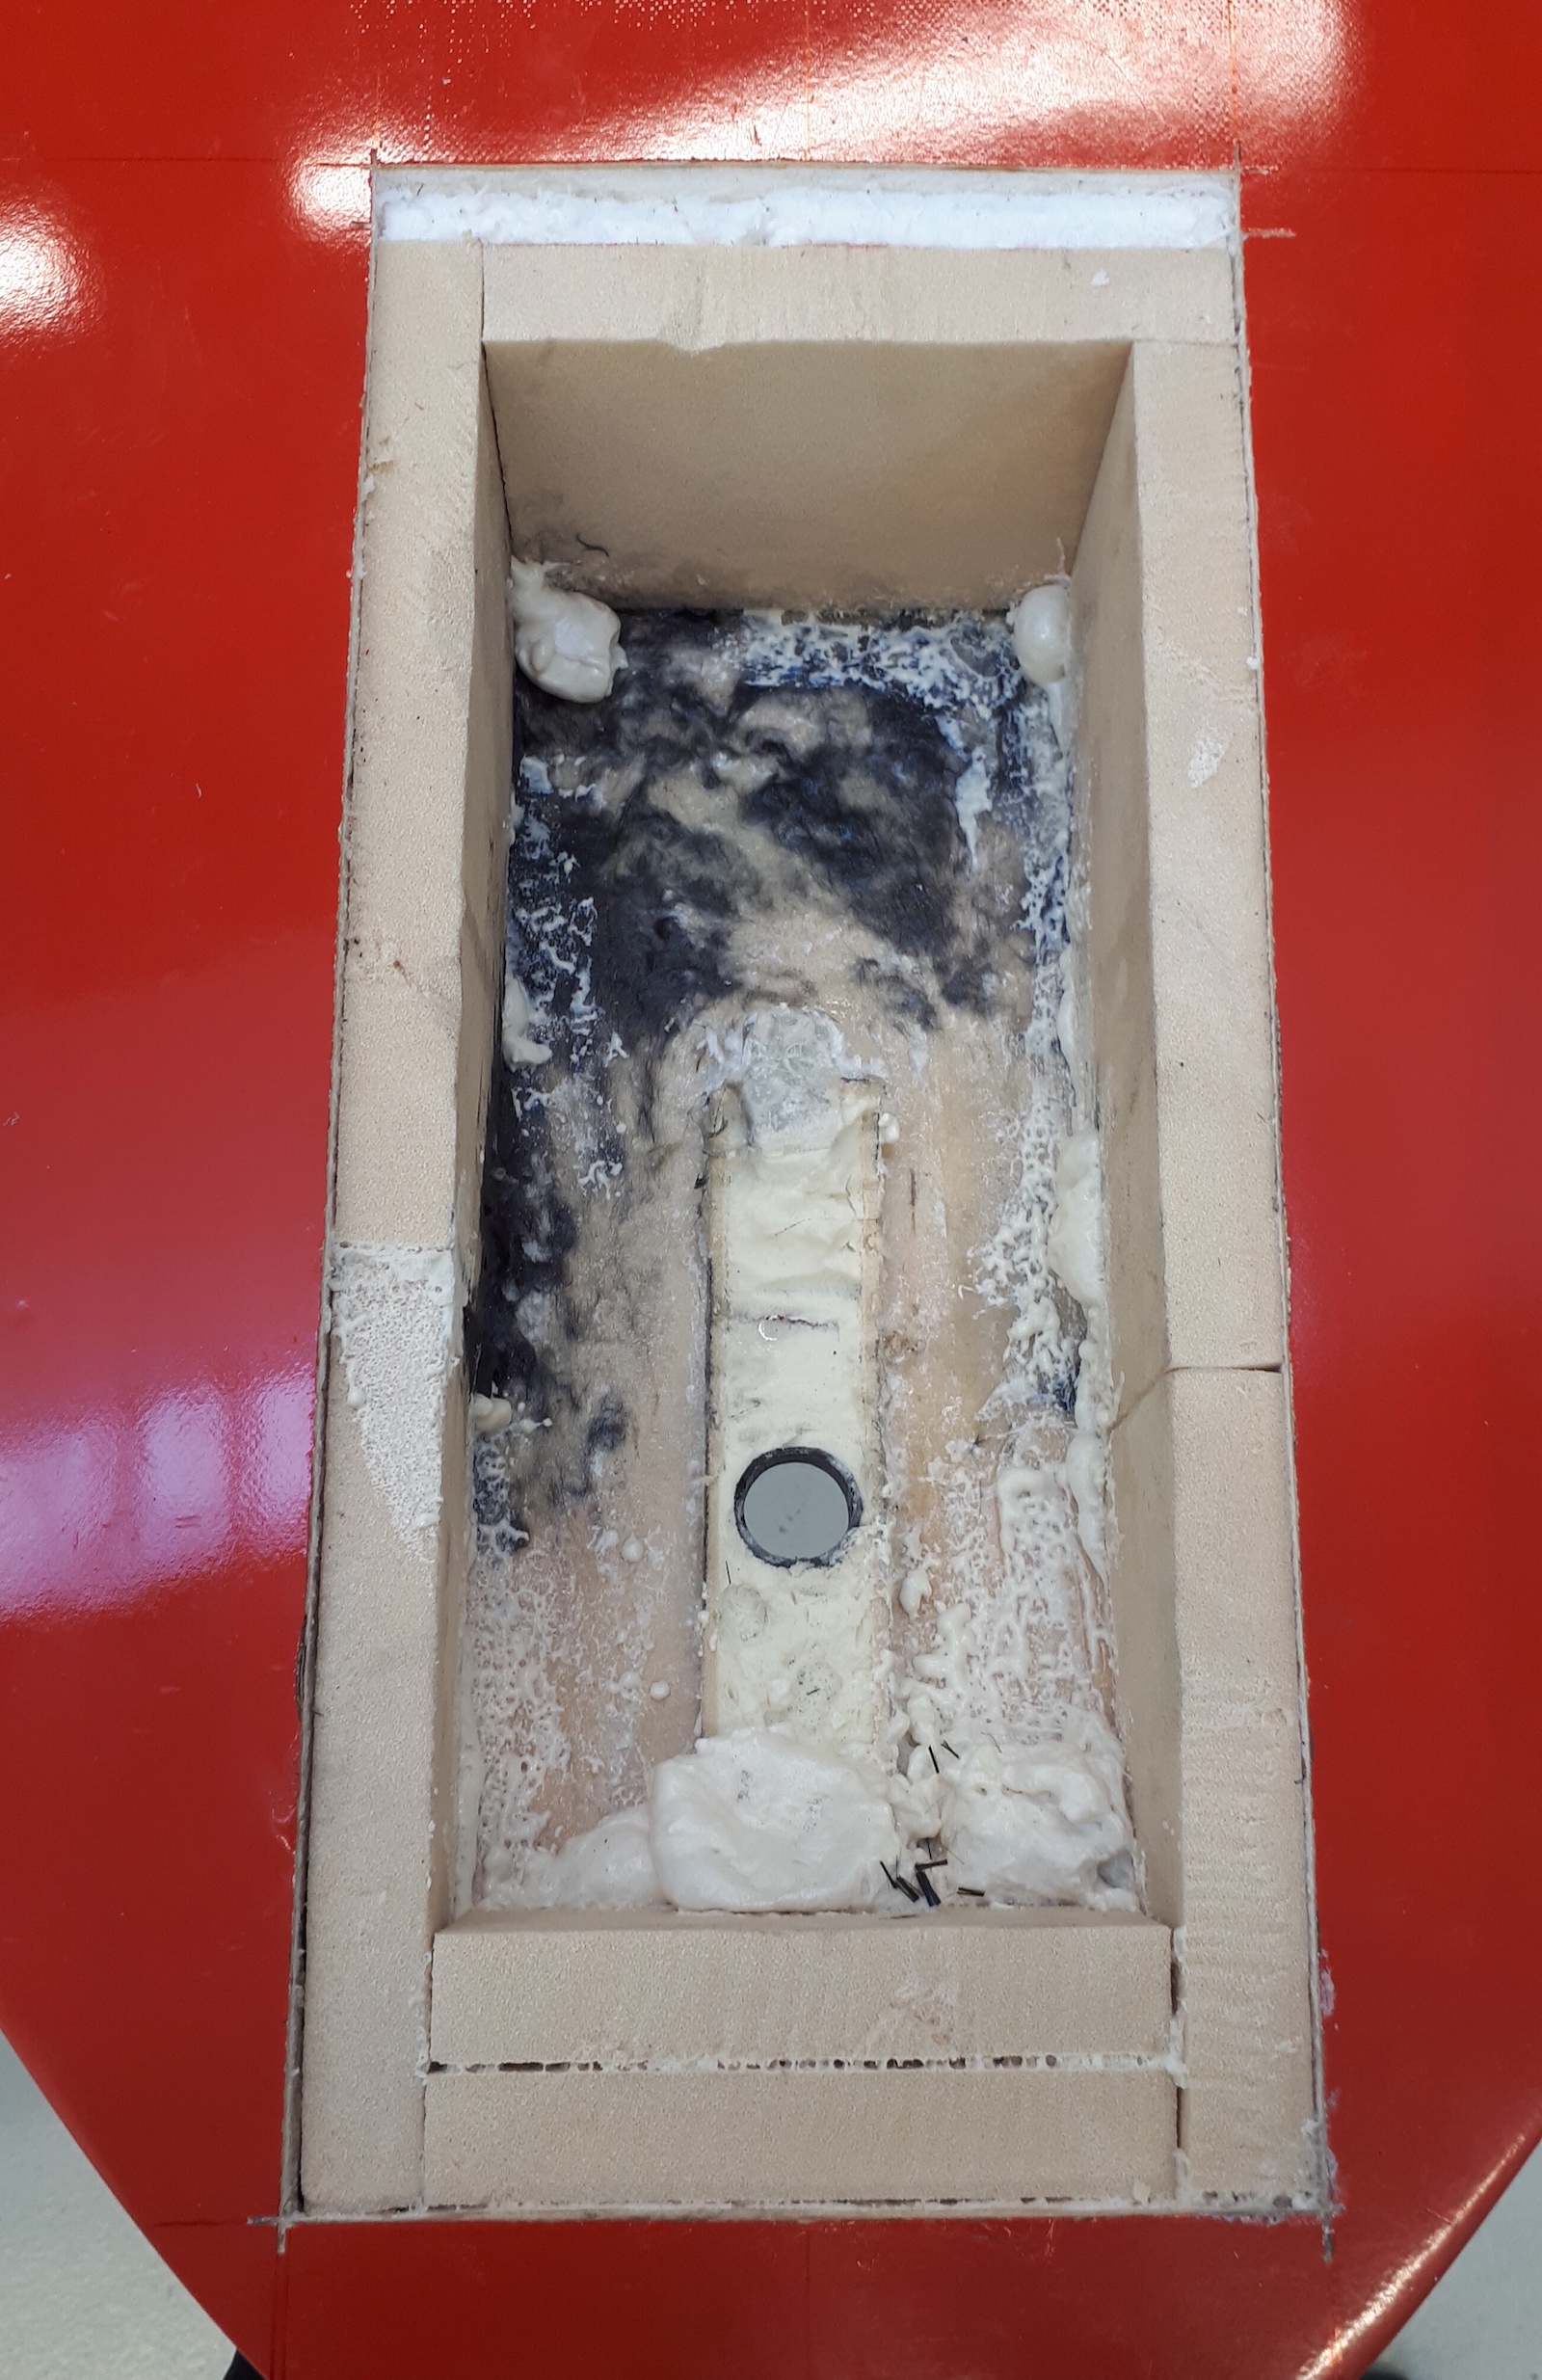
The PVC and balsa wood block and the carbon insert were glued into the board with a mixture of epoxy and 6 mm carbon chips after which it looked like that.
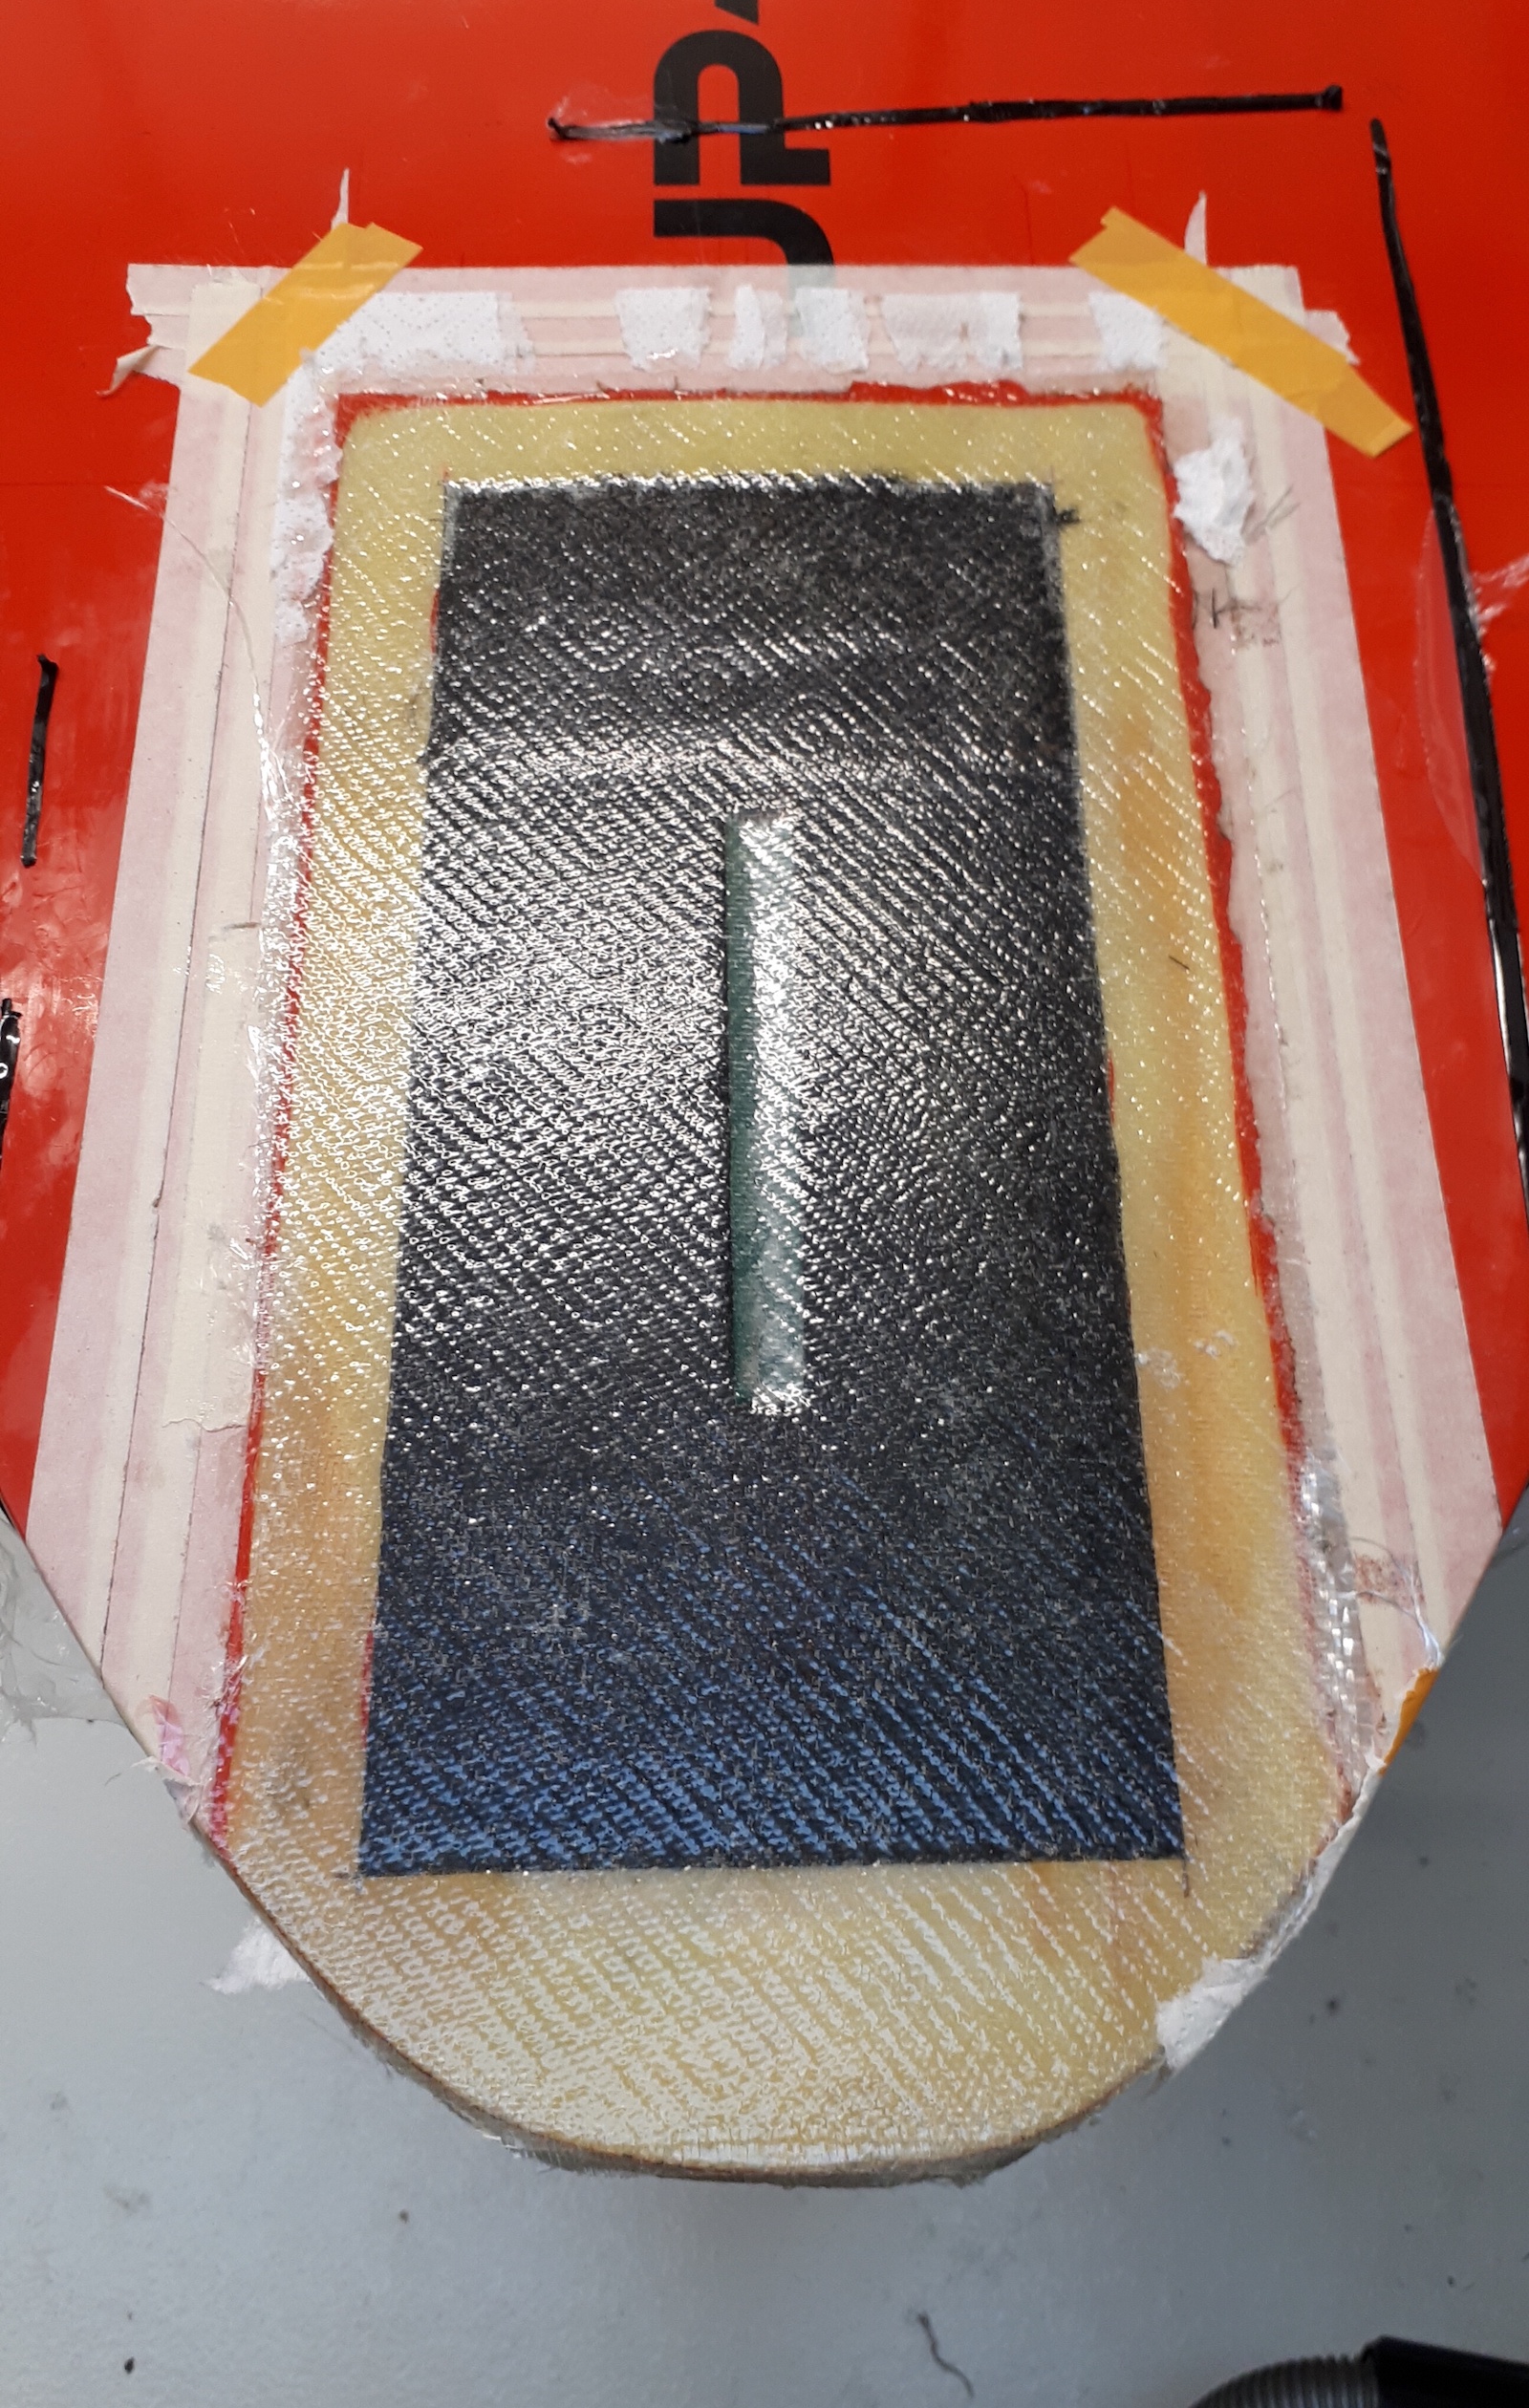
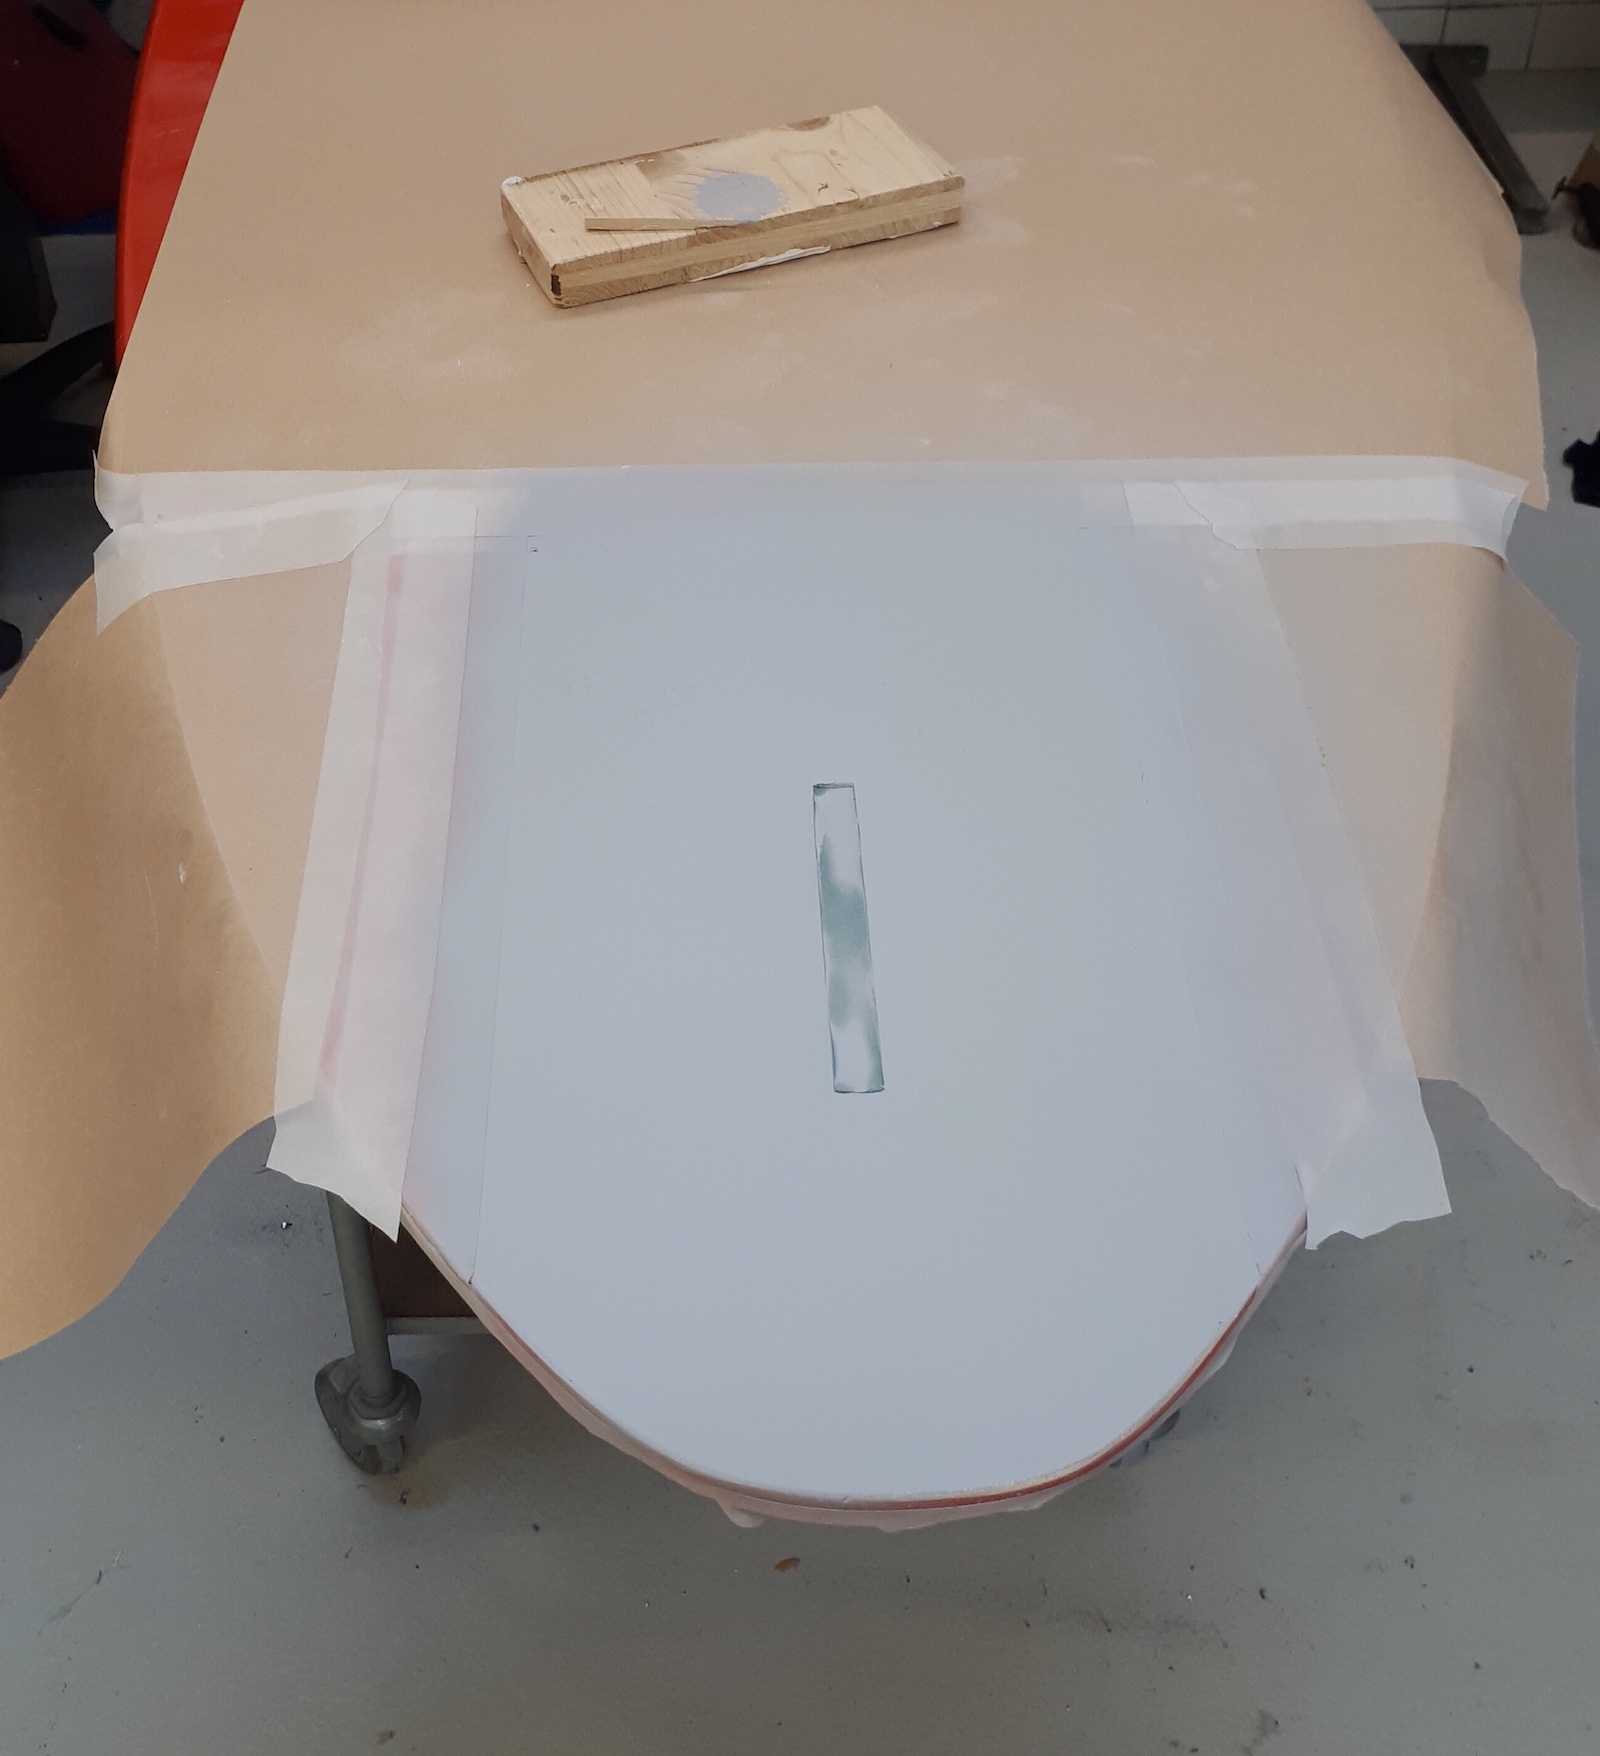
After sanding two layers of 180 g/m2 glass were laminated under vacuum.
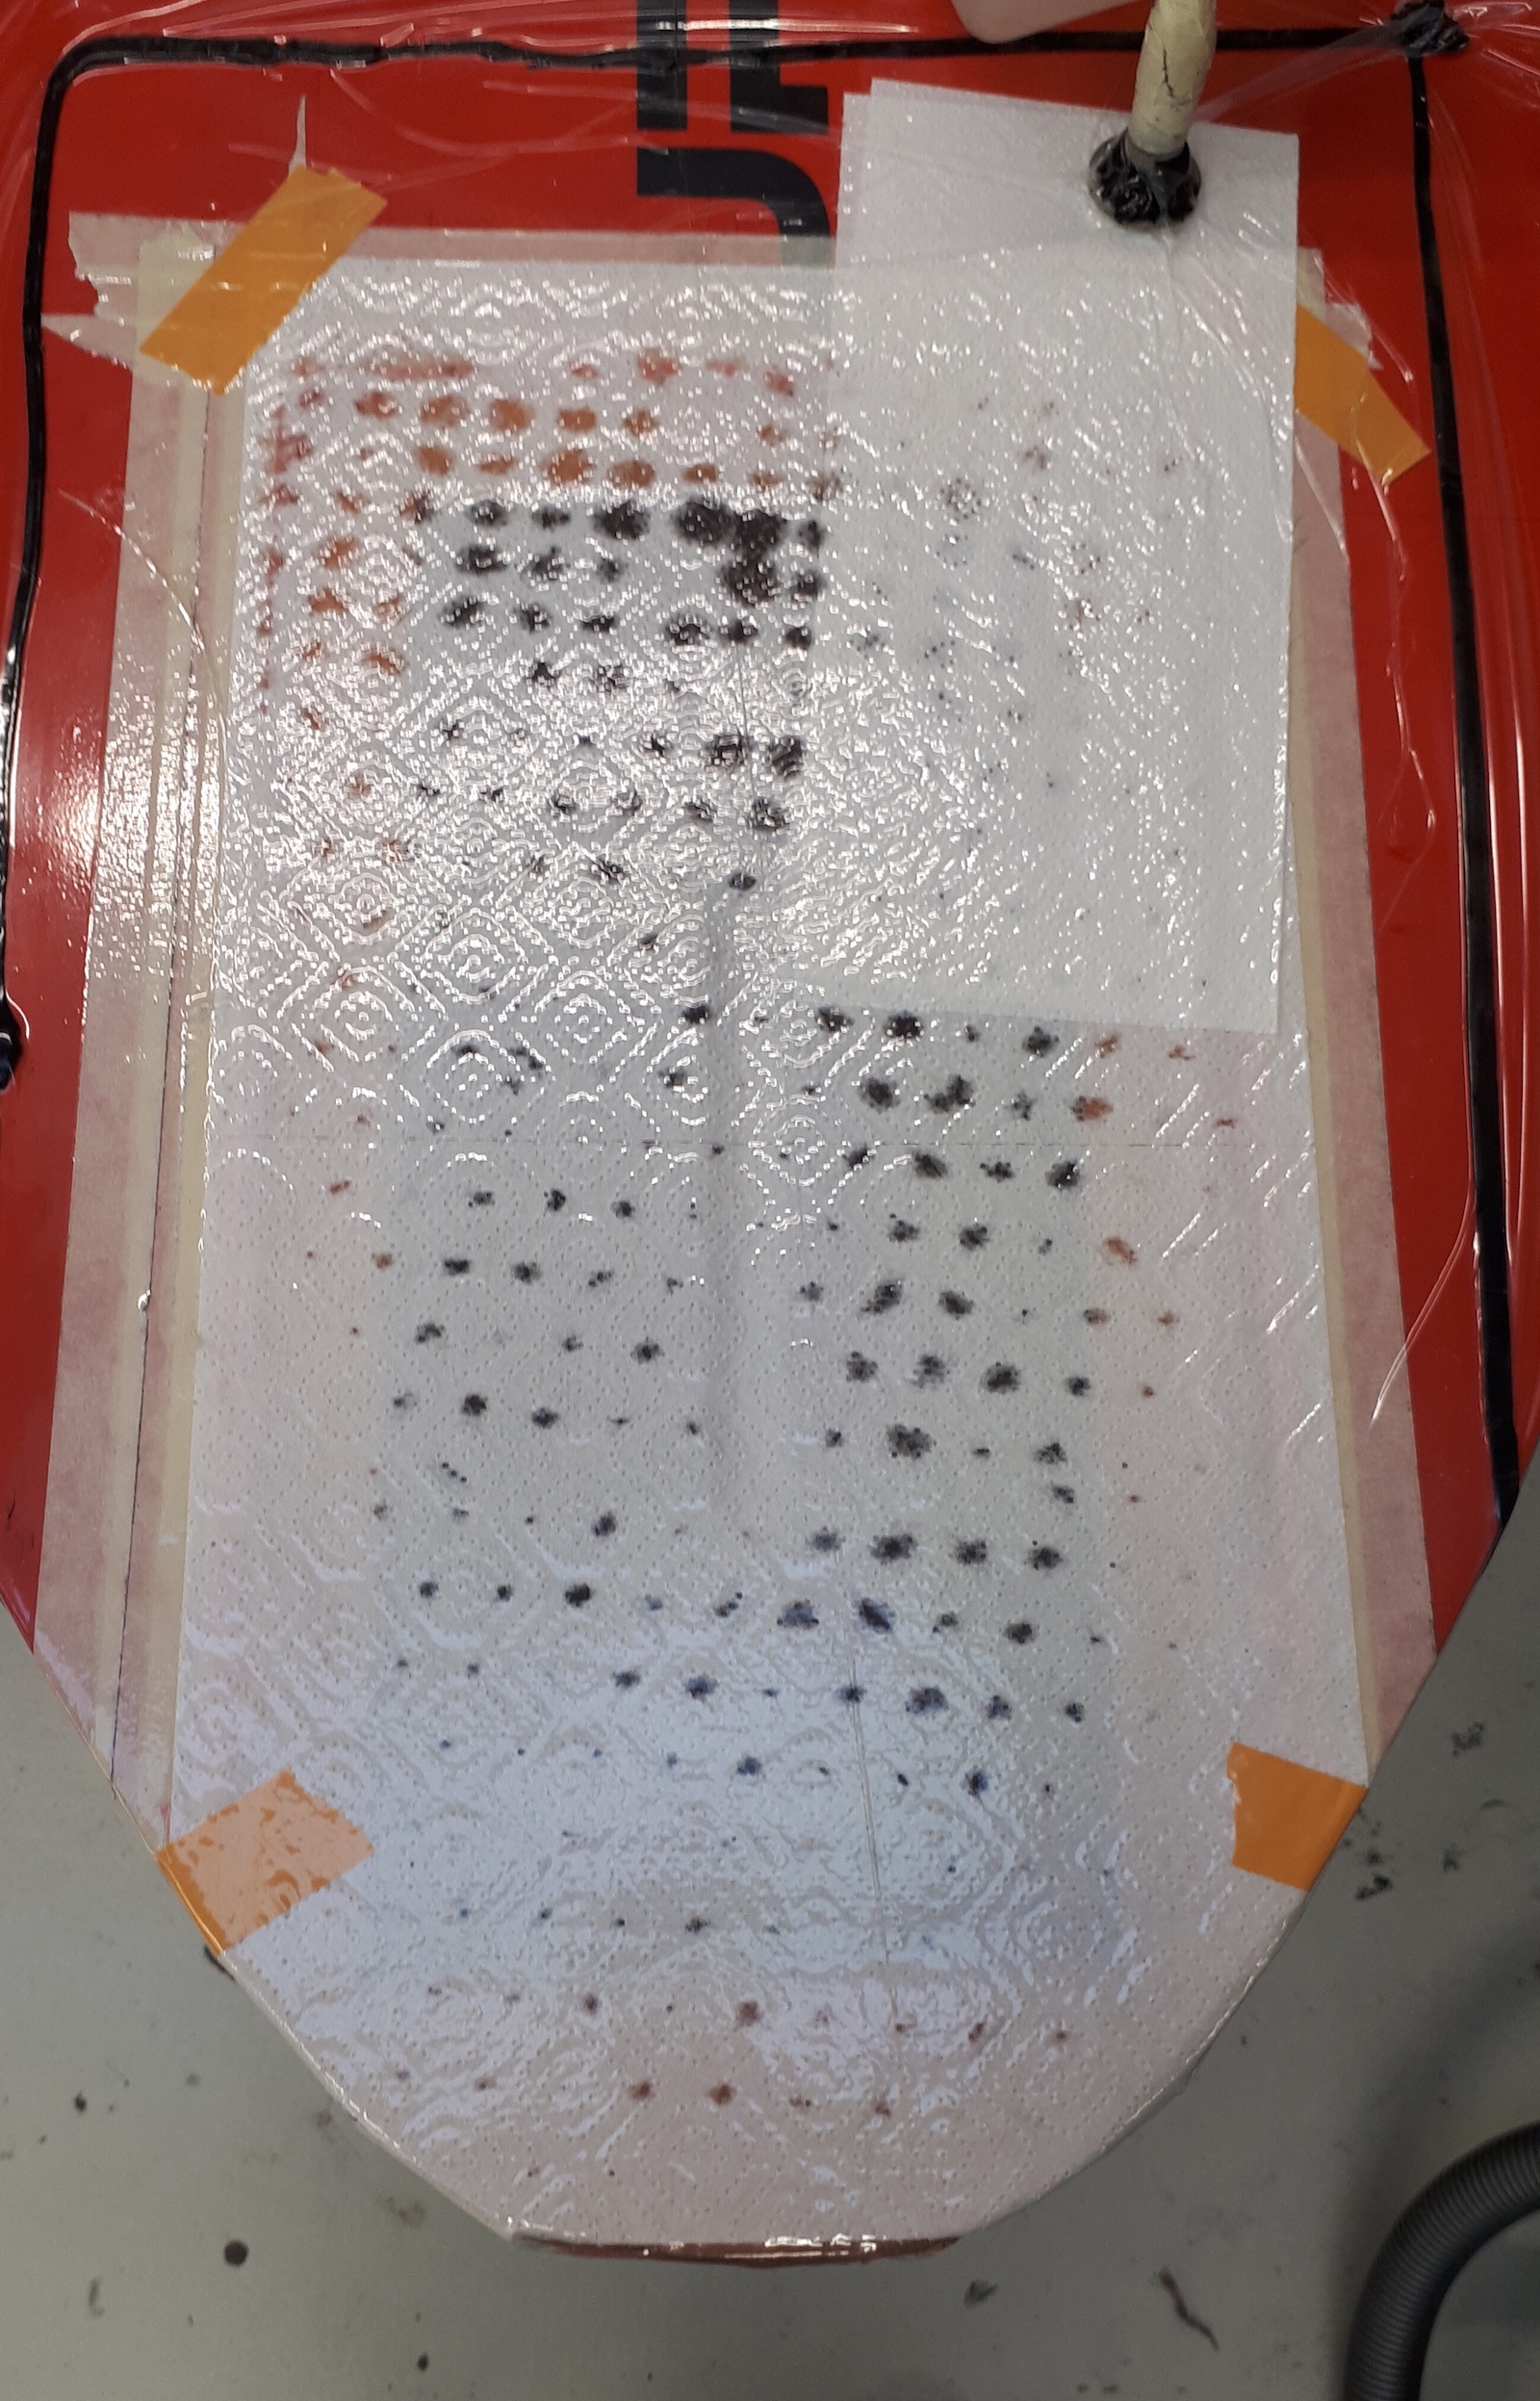
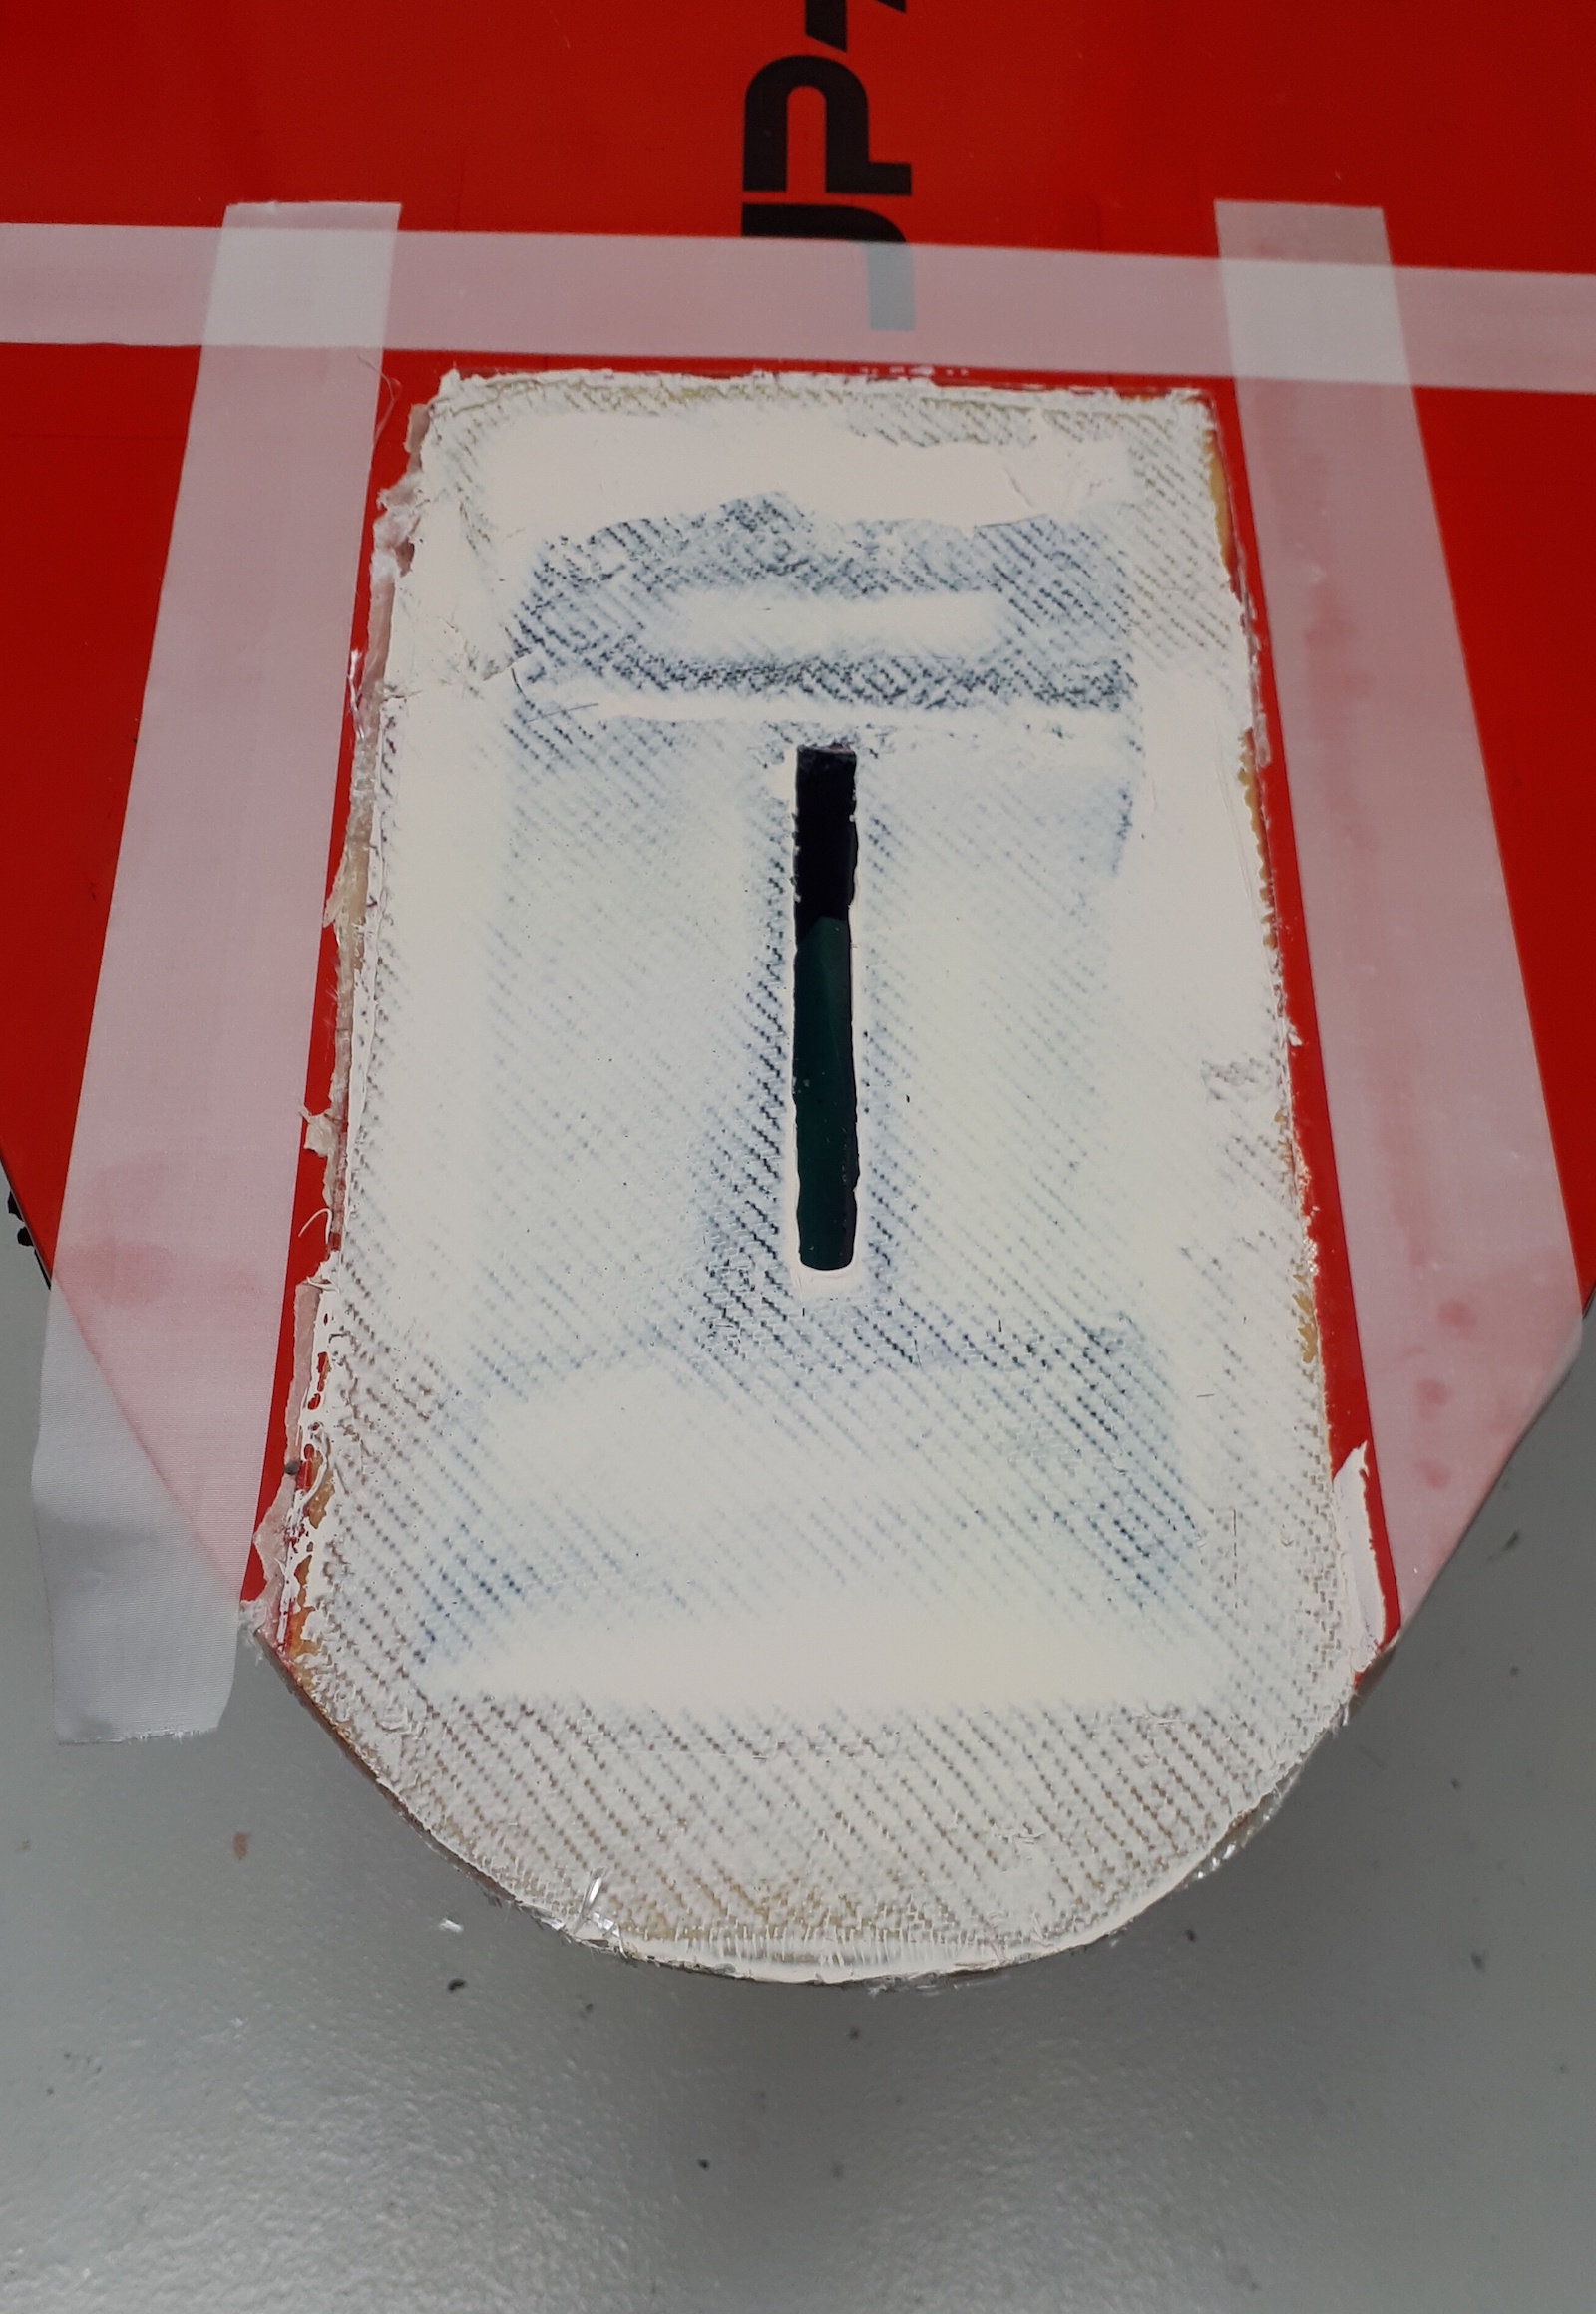
I didn't have a fleece mat for the vacuum step and used kitchen paper instead as you can see by the 'nice' pattern pressed into the surface (see picture above). Nothing that polyester fine filler+sanding couldn't solve:
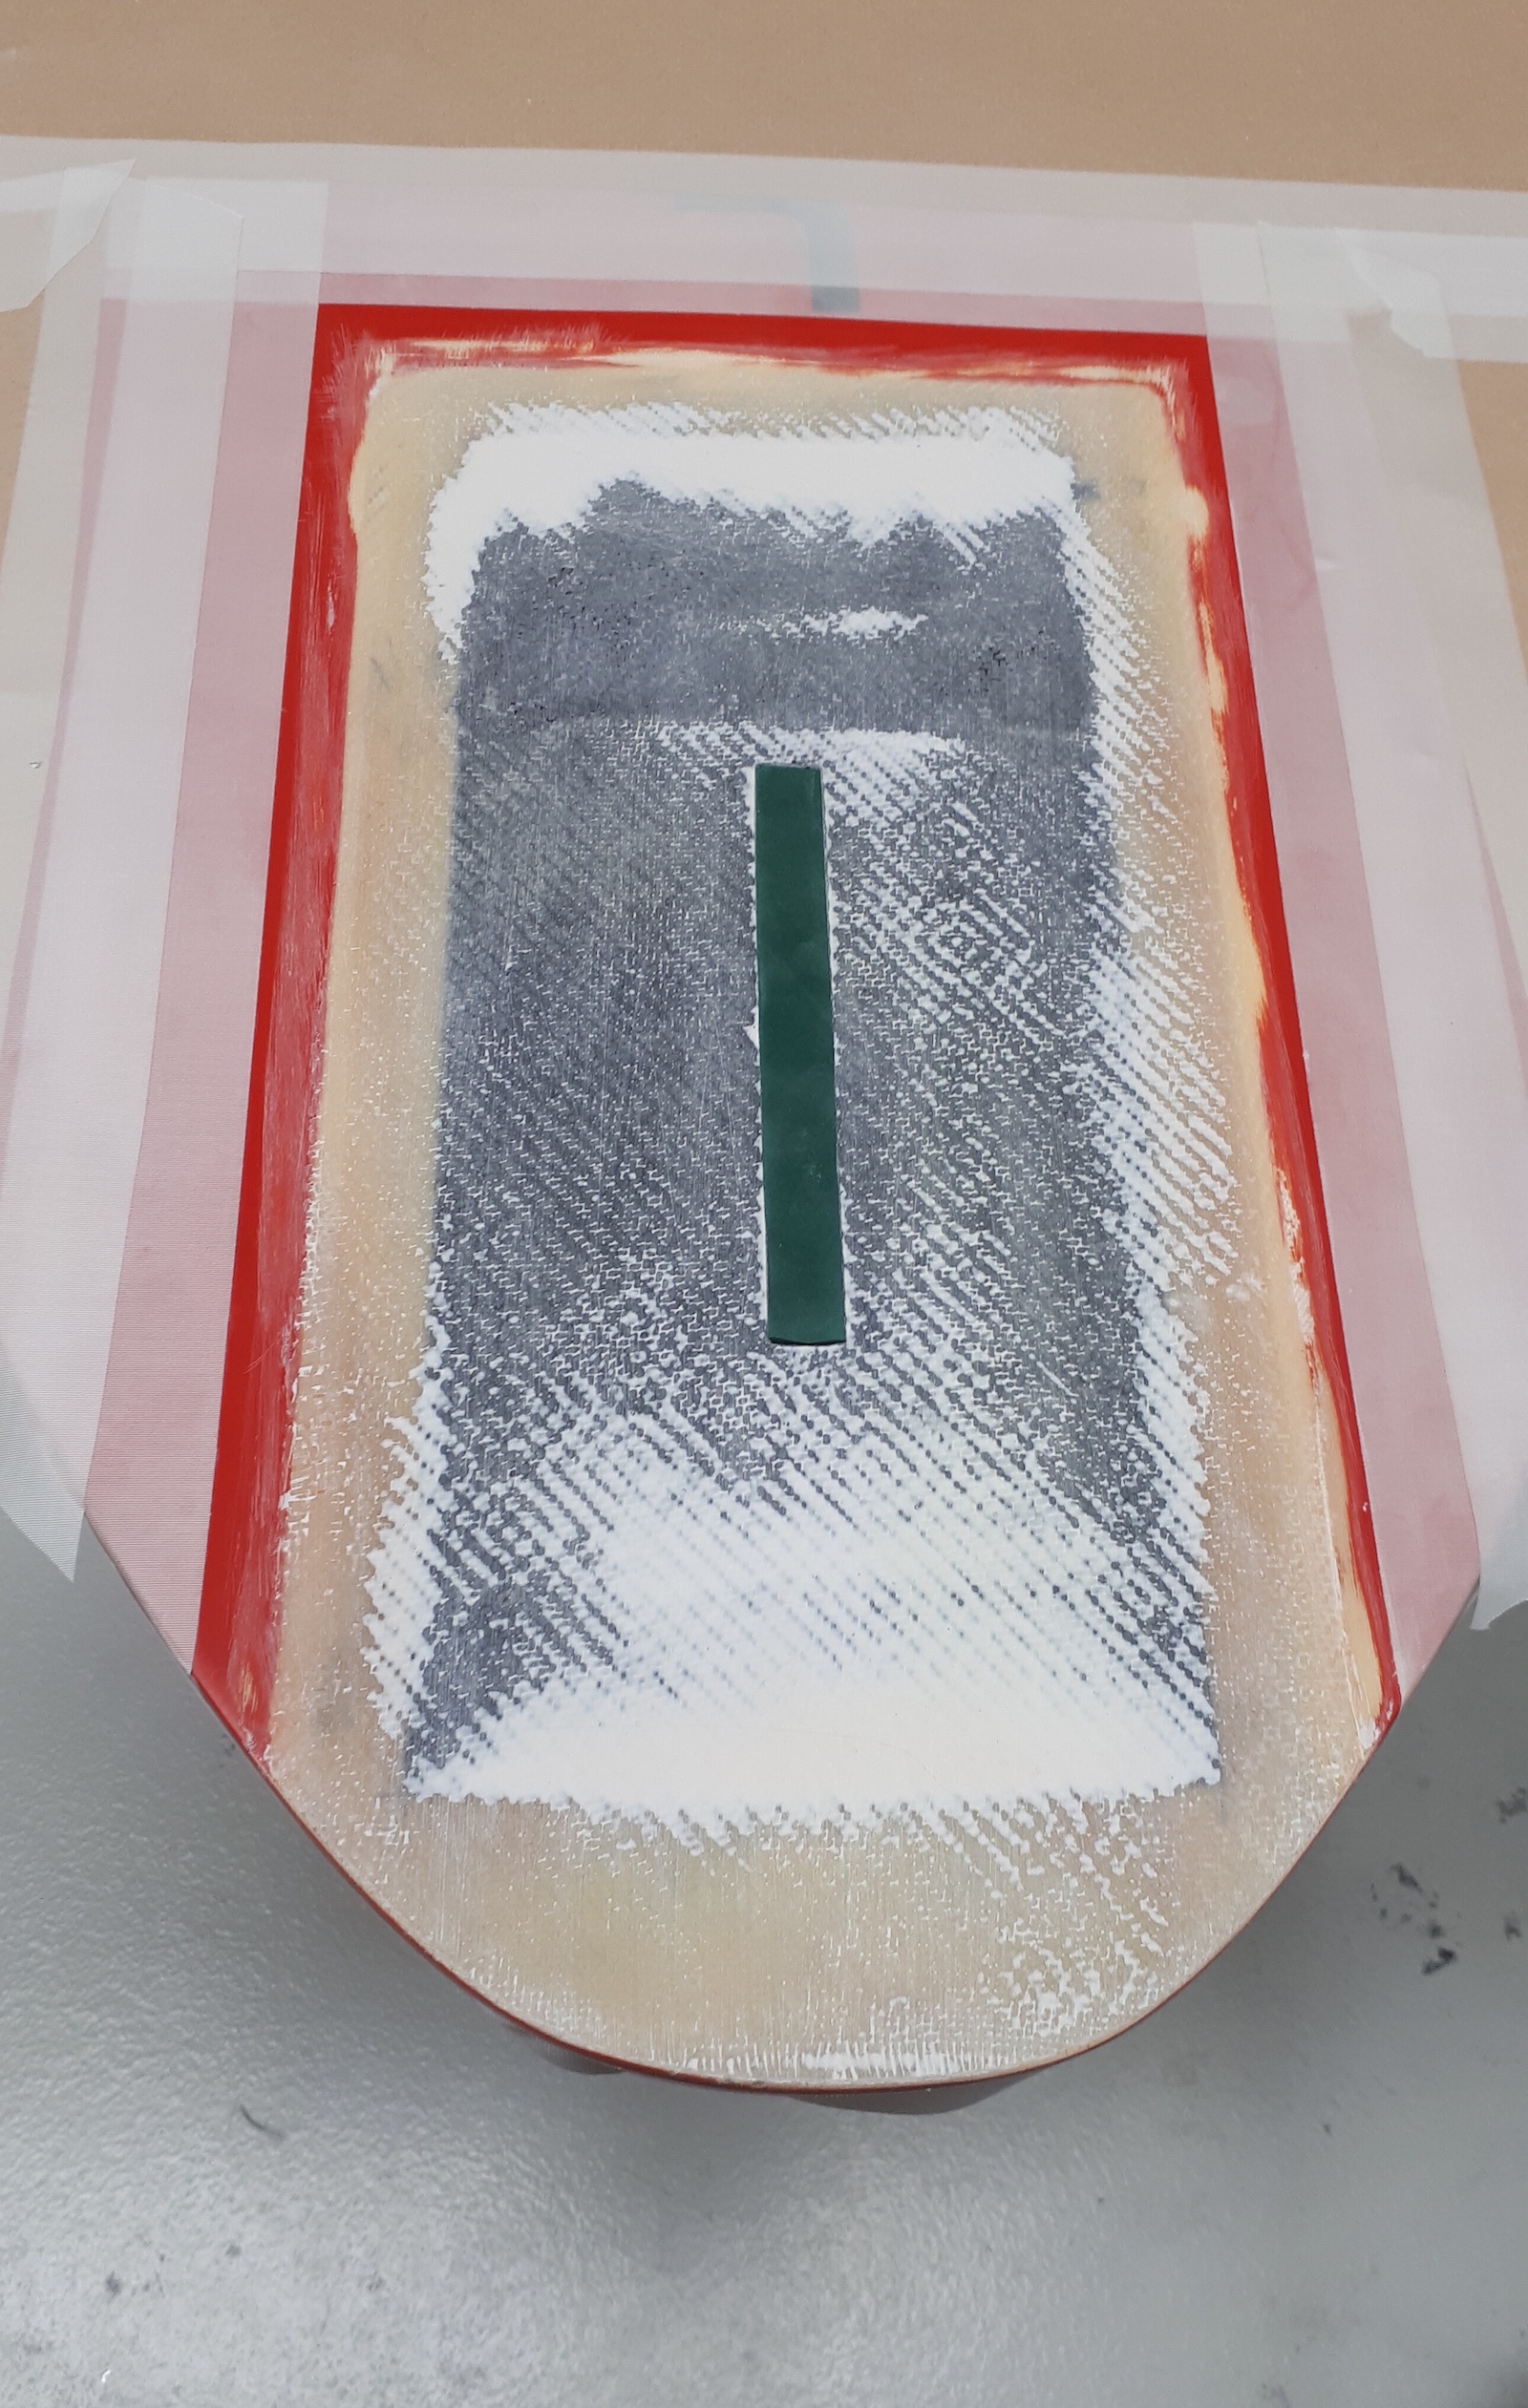
The next step was to make the mounting holes. As previously I drilled them with a mill and covered their walls with epoxy and carbon cloth.
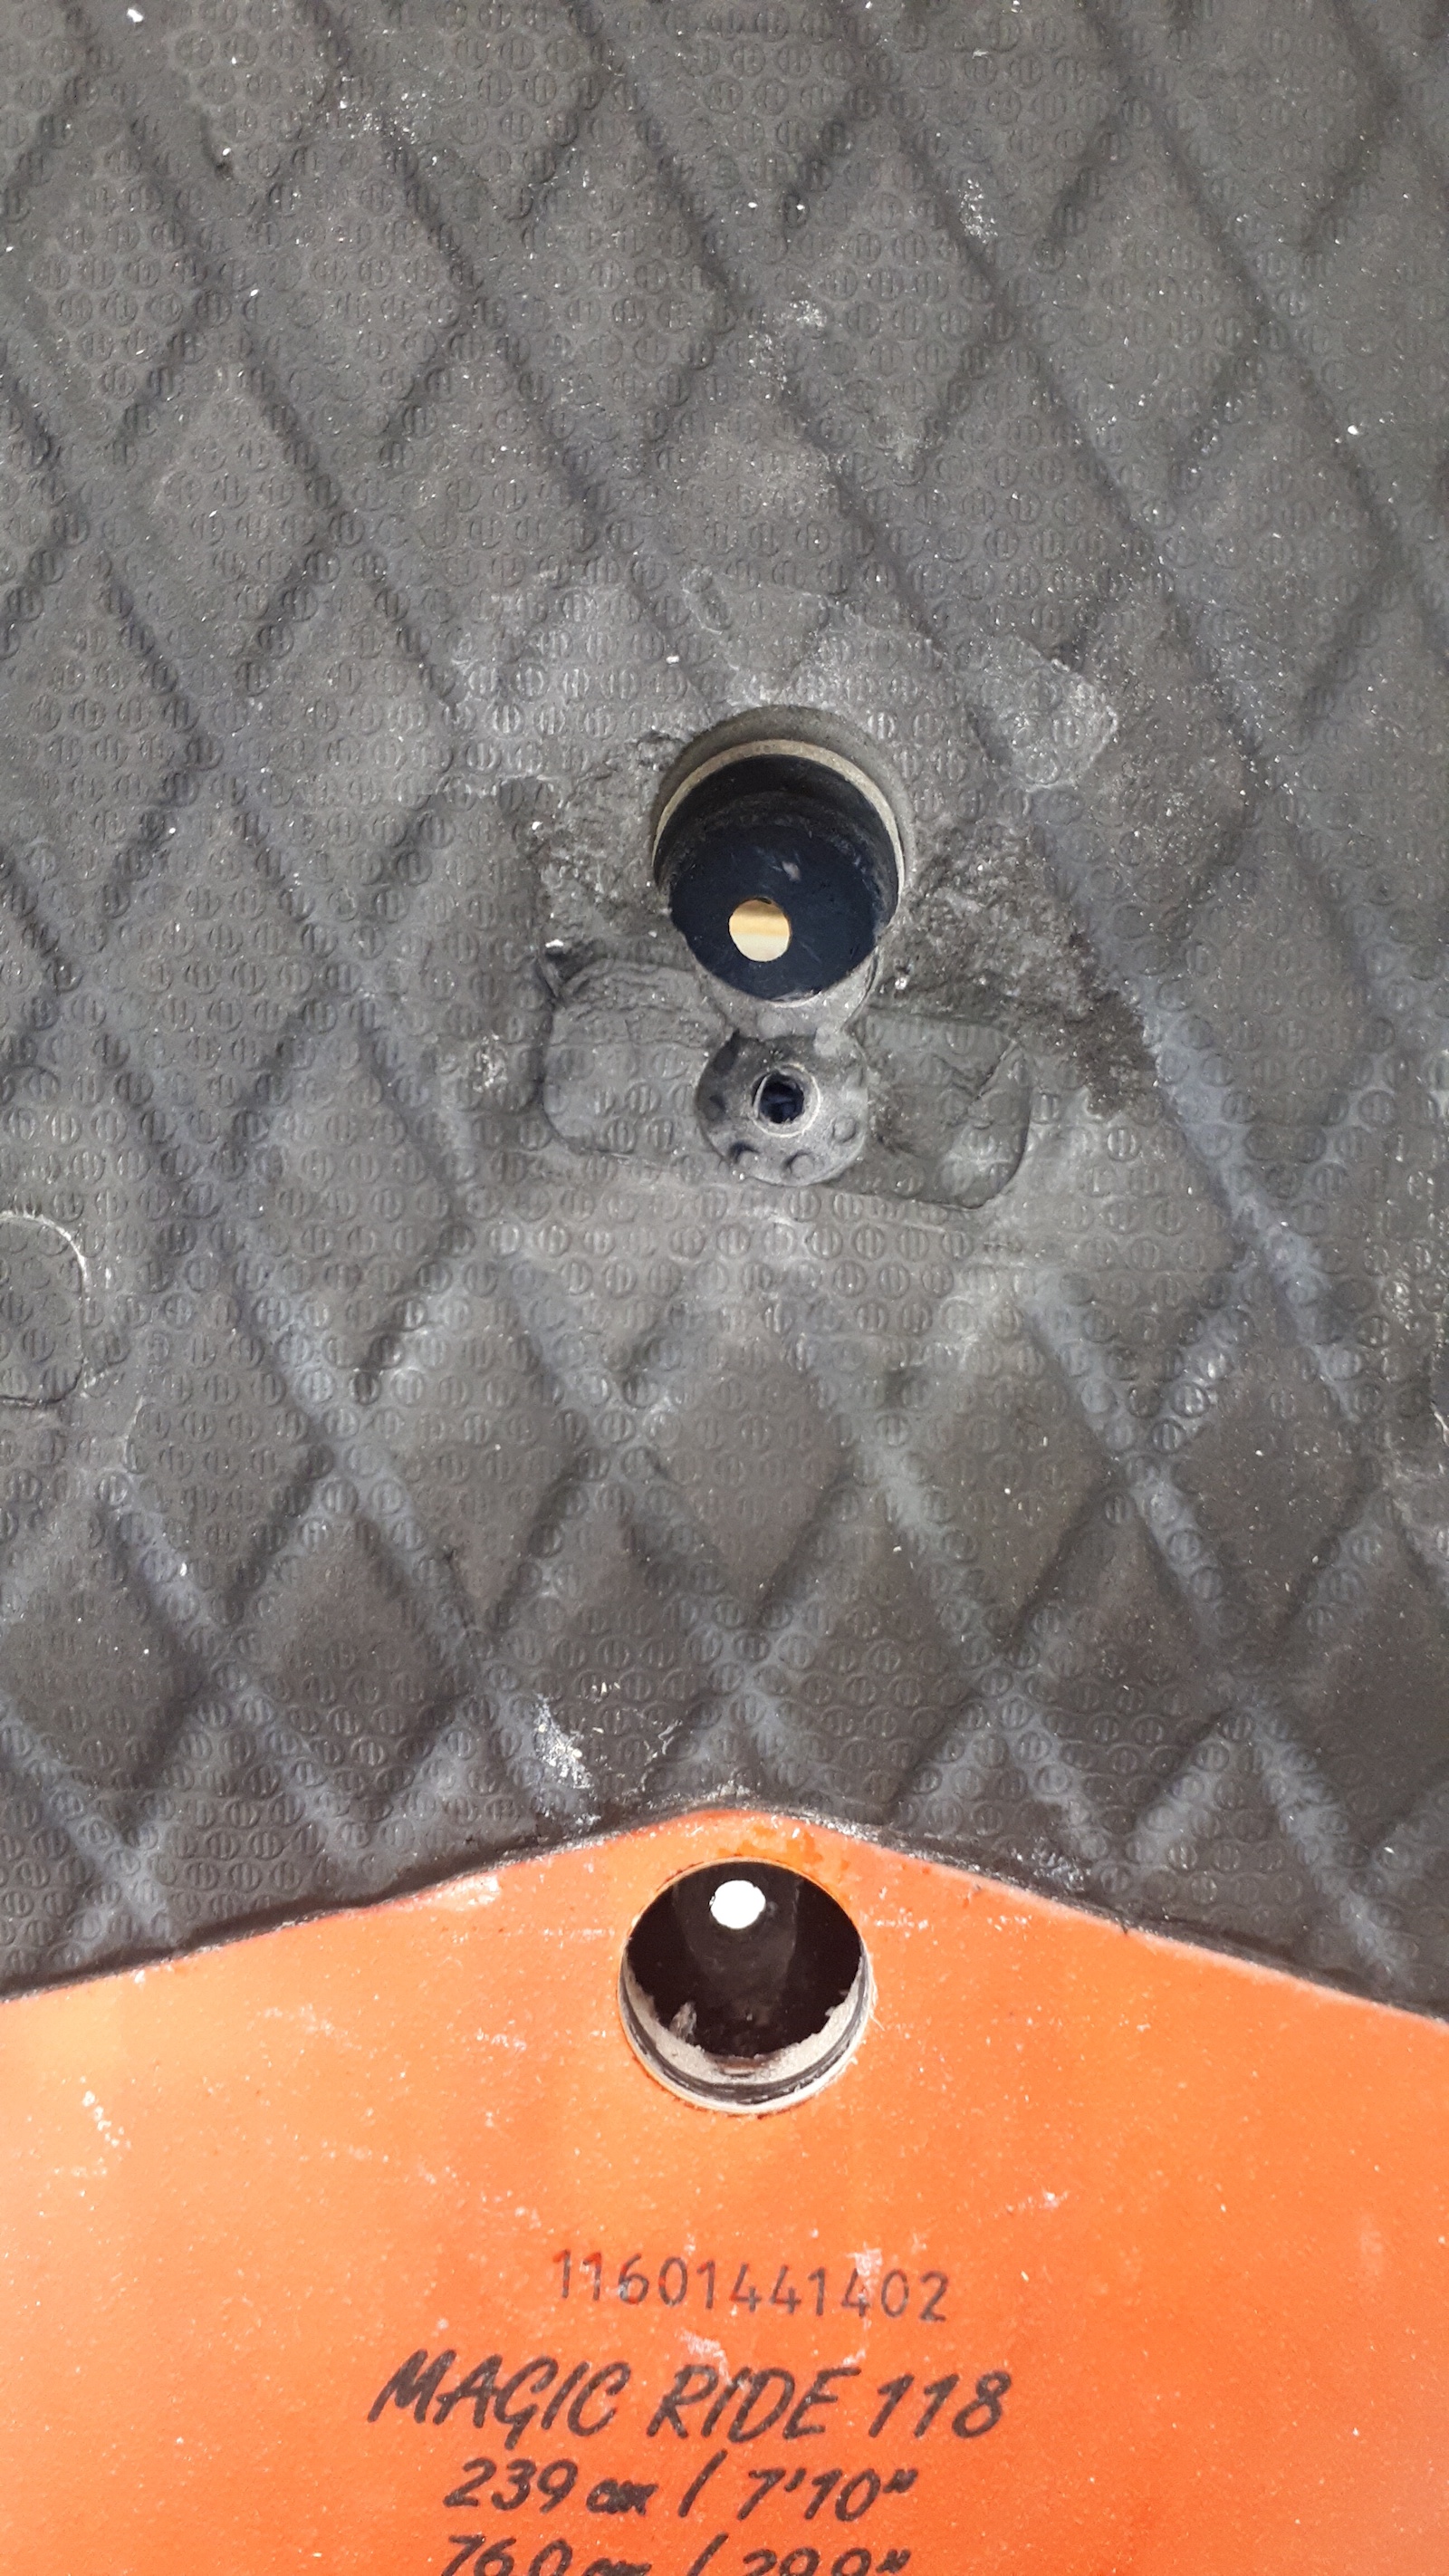
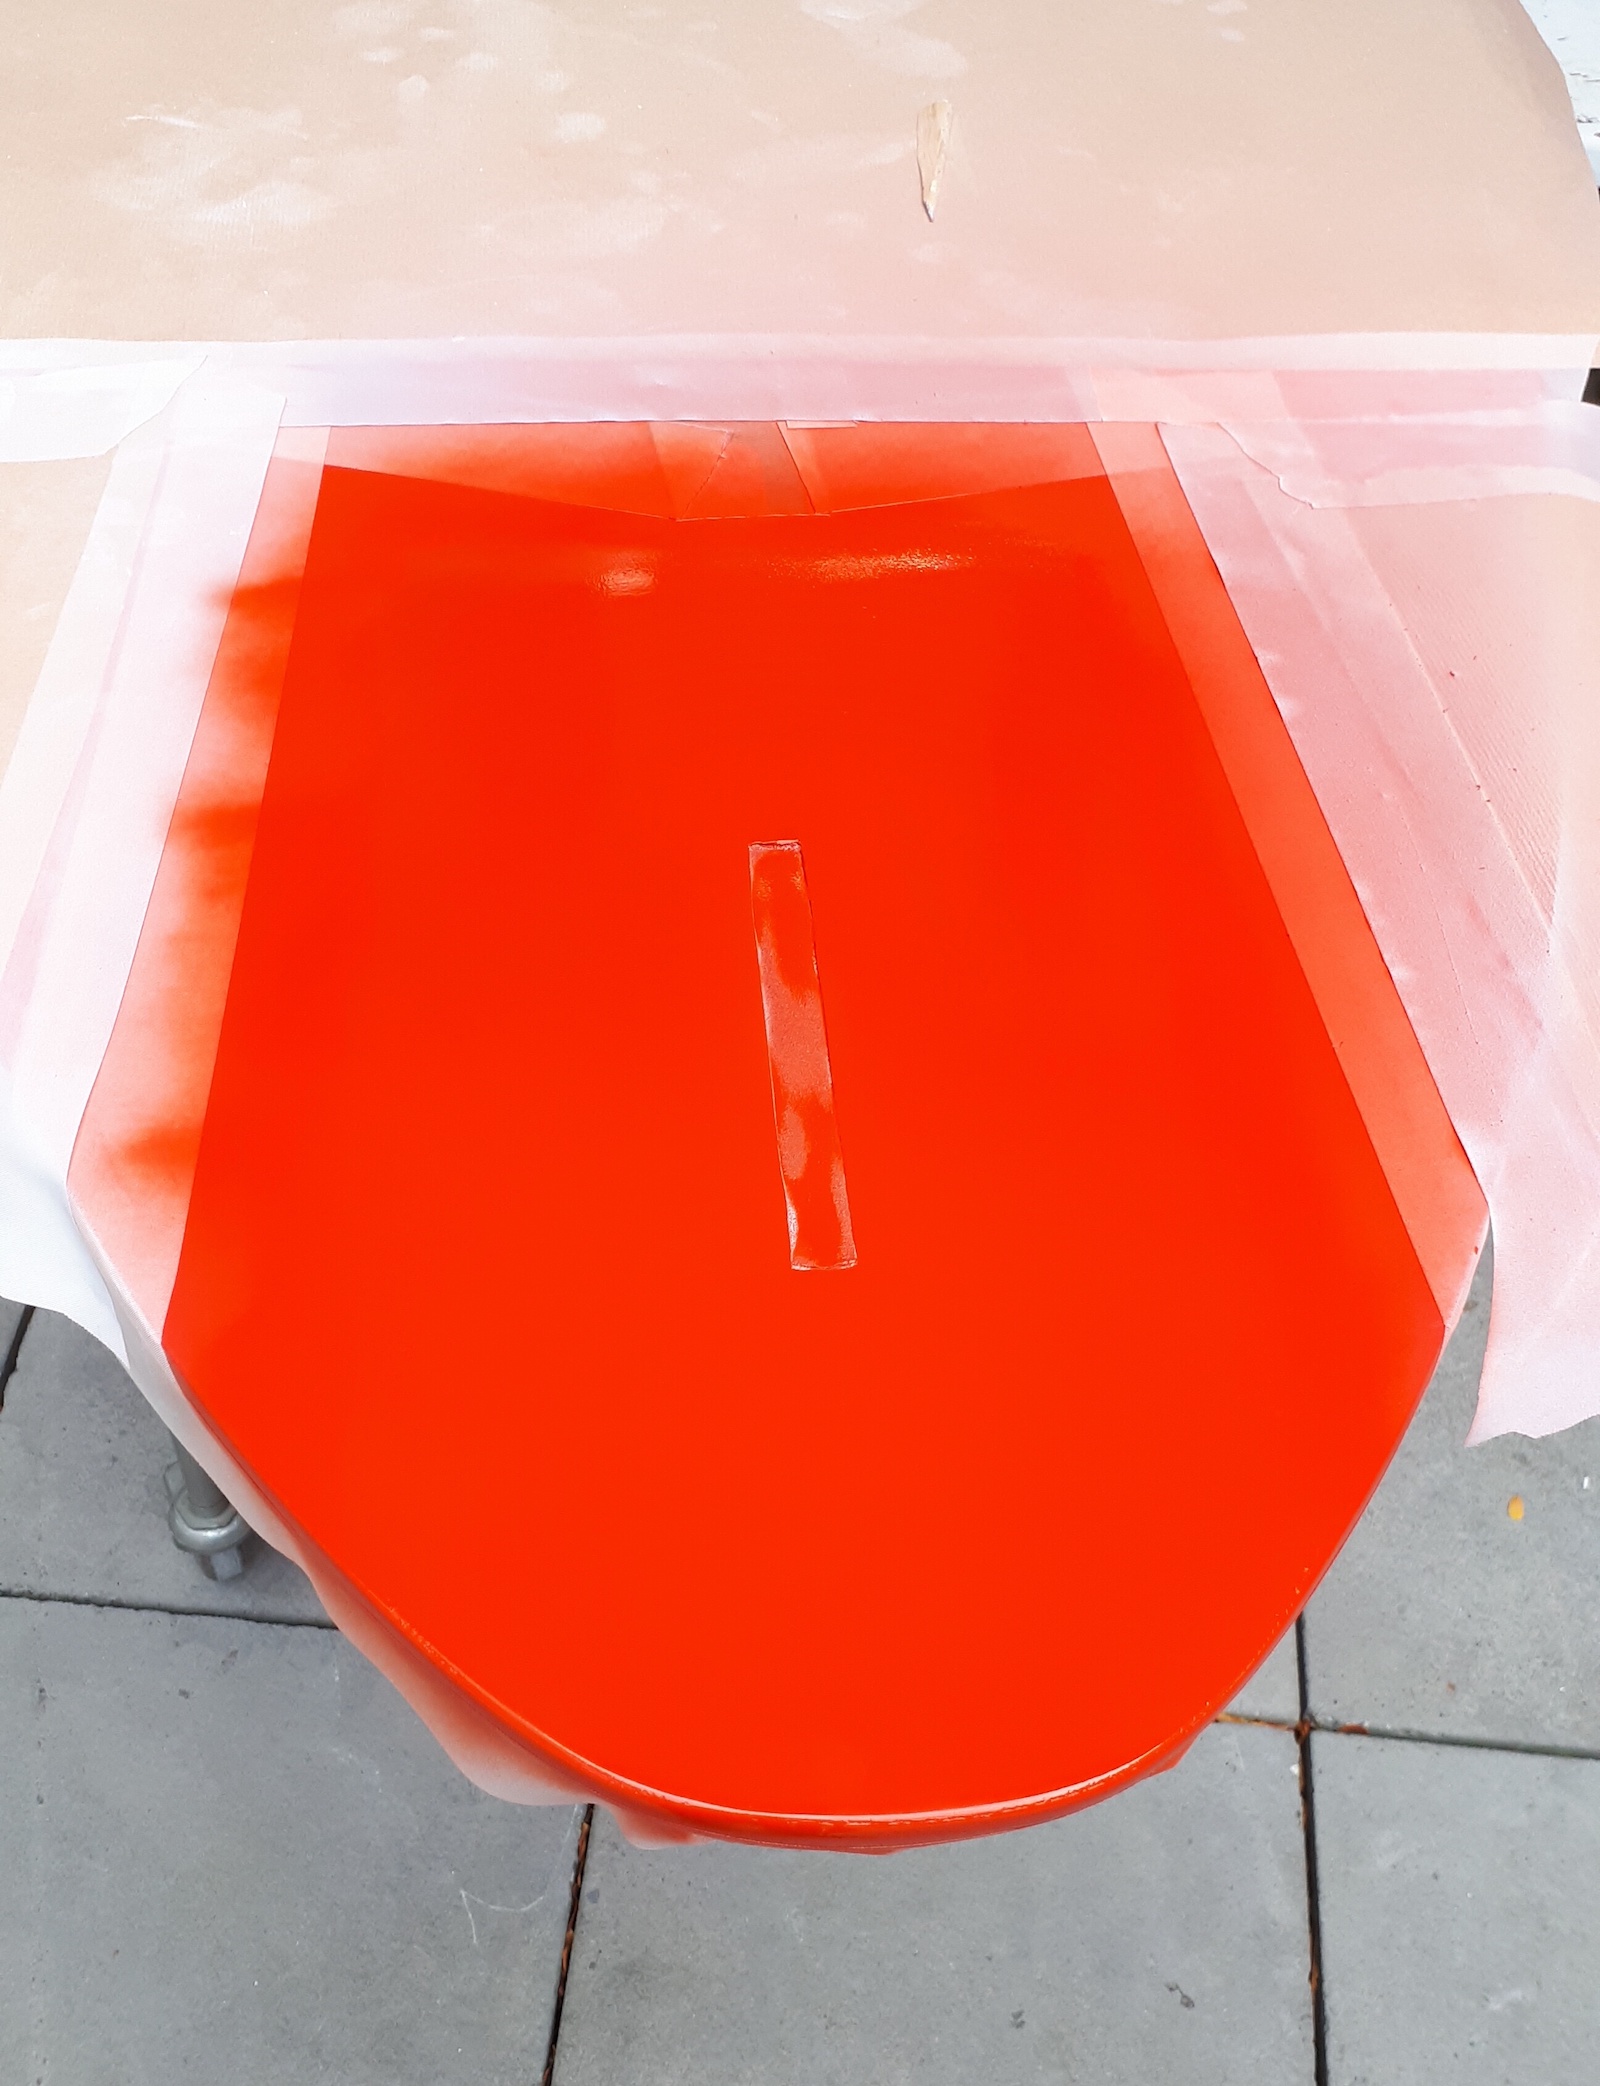
The last steps were spray-filler+sanding followed by a layer of red paint that came close to the actual red of the board.
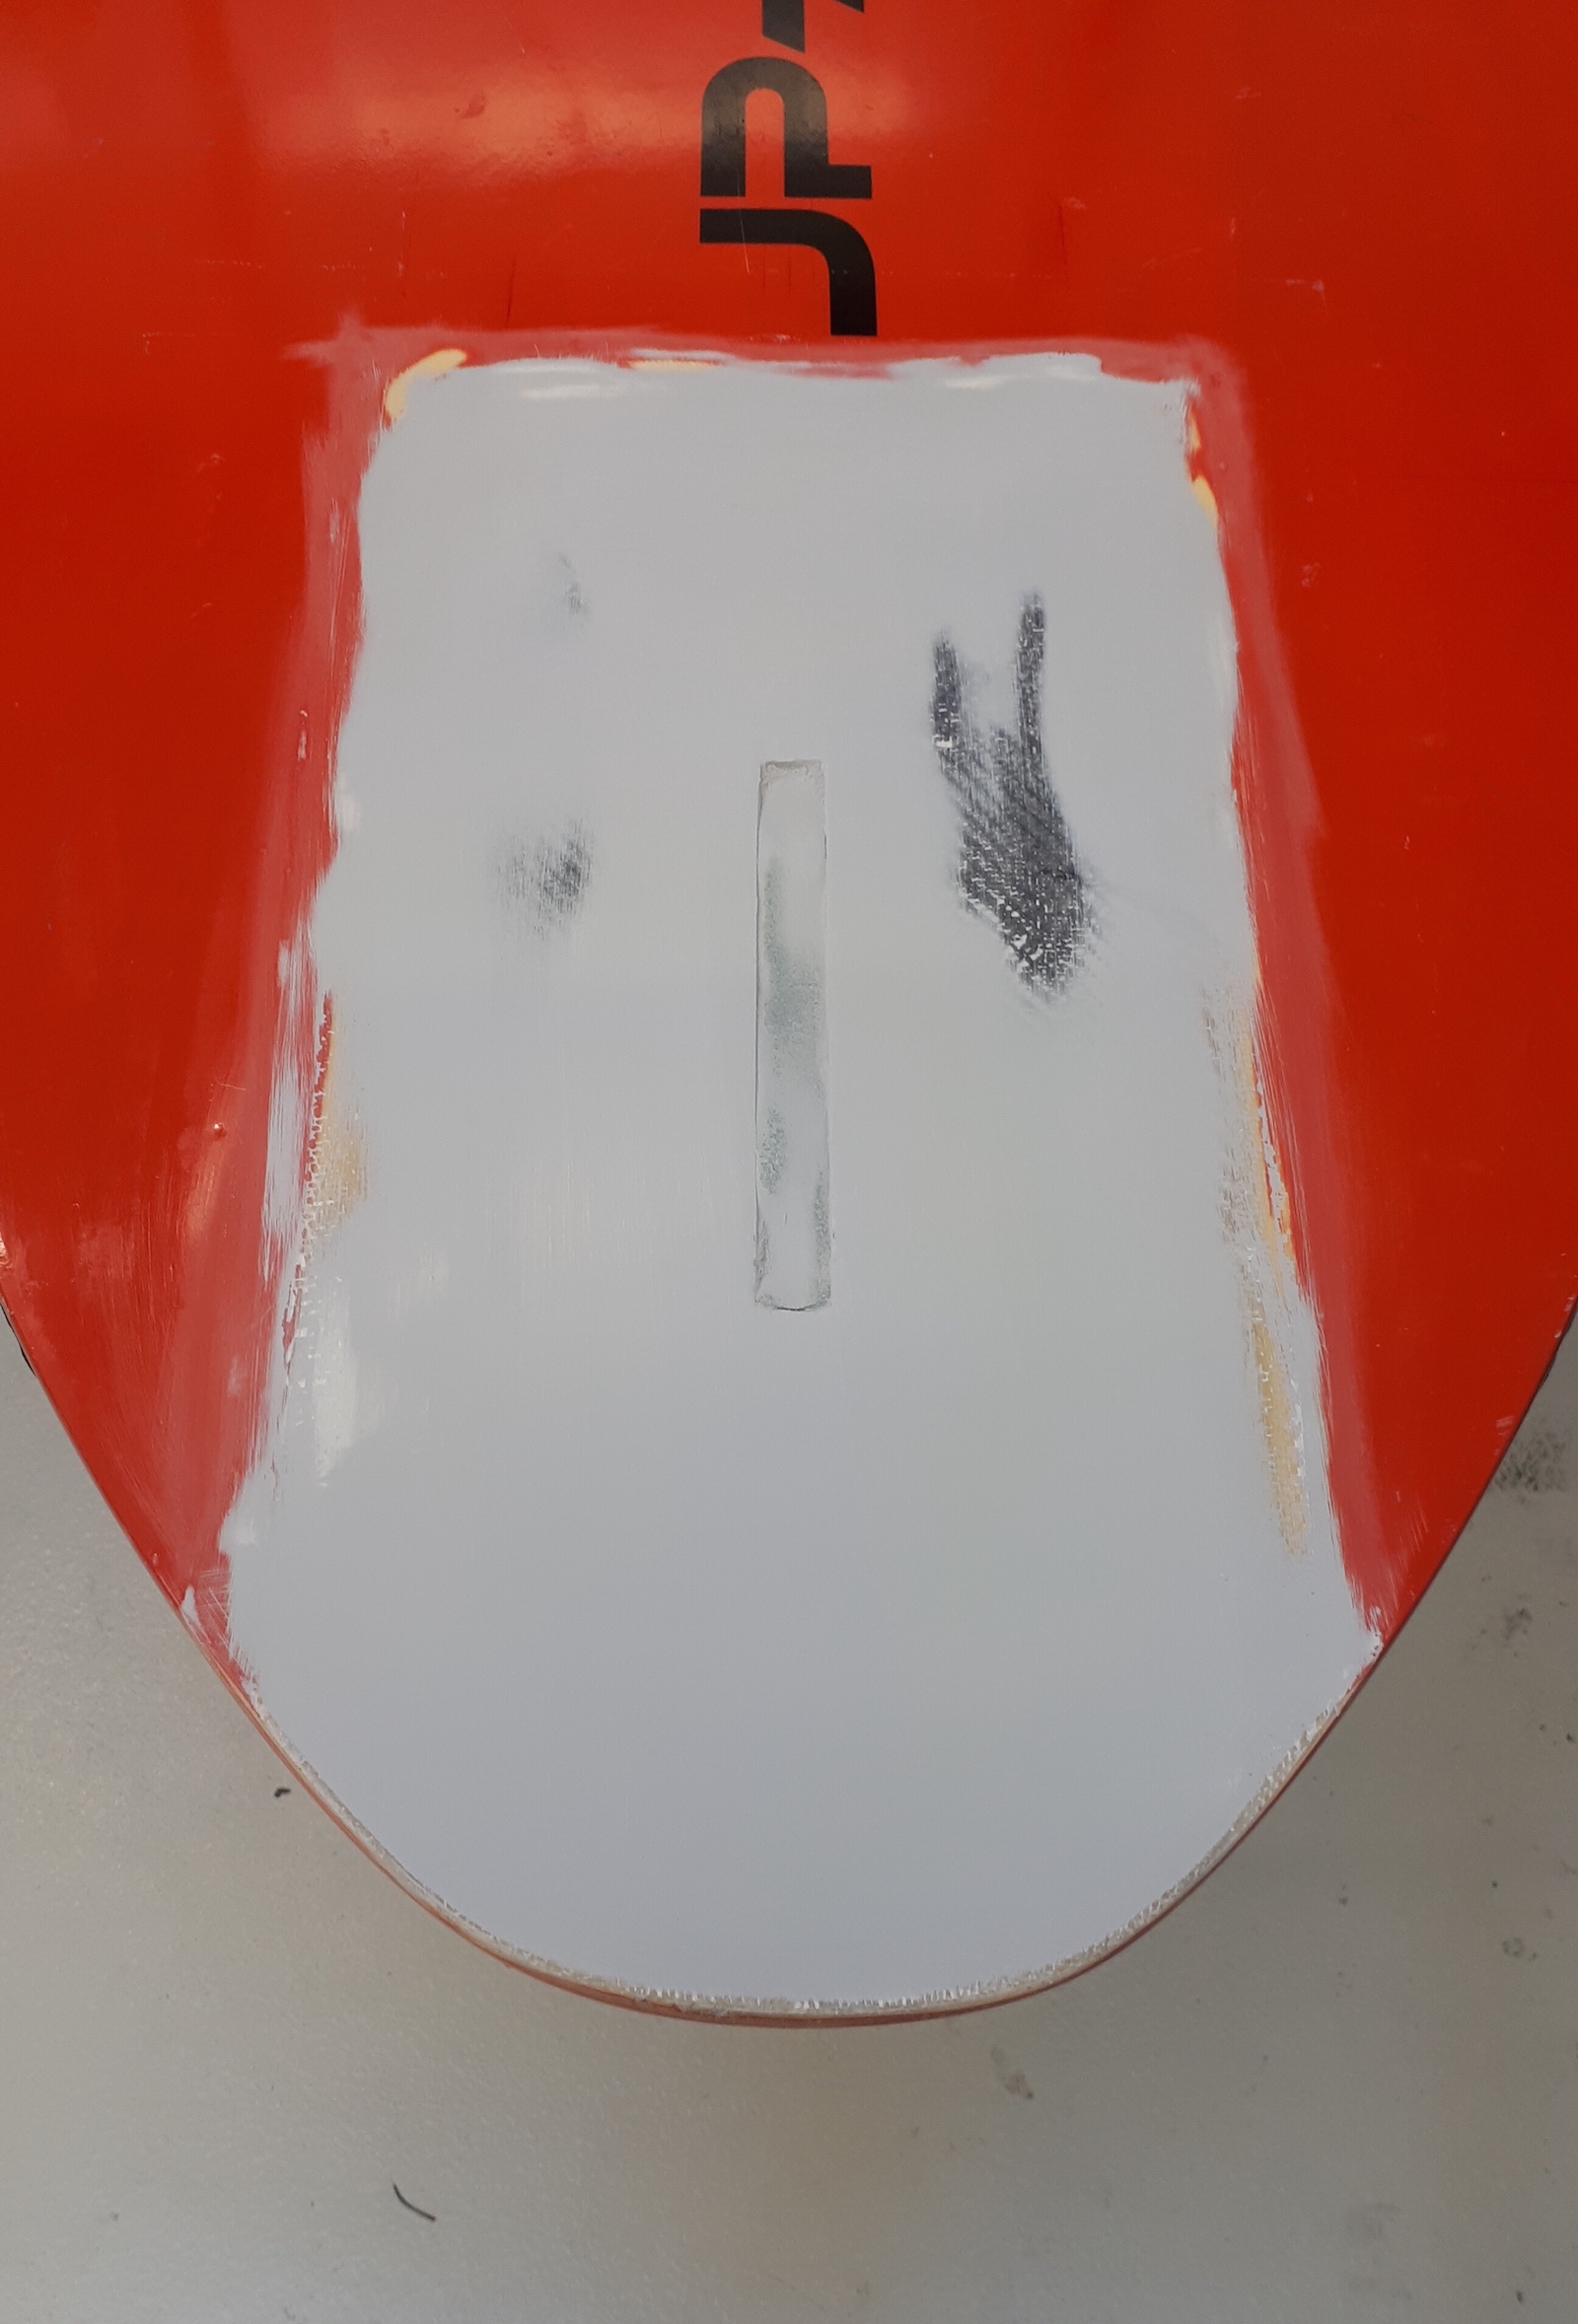
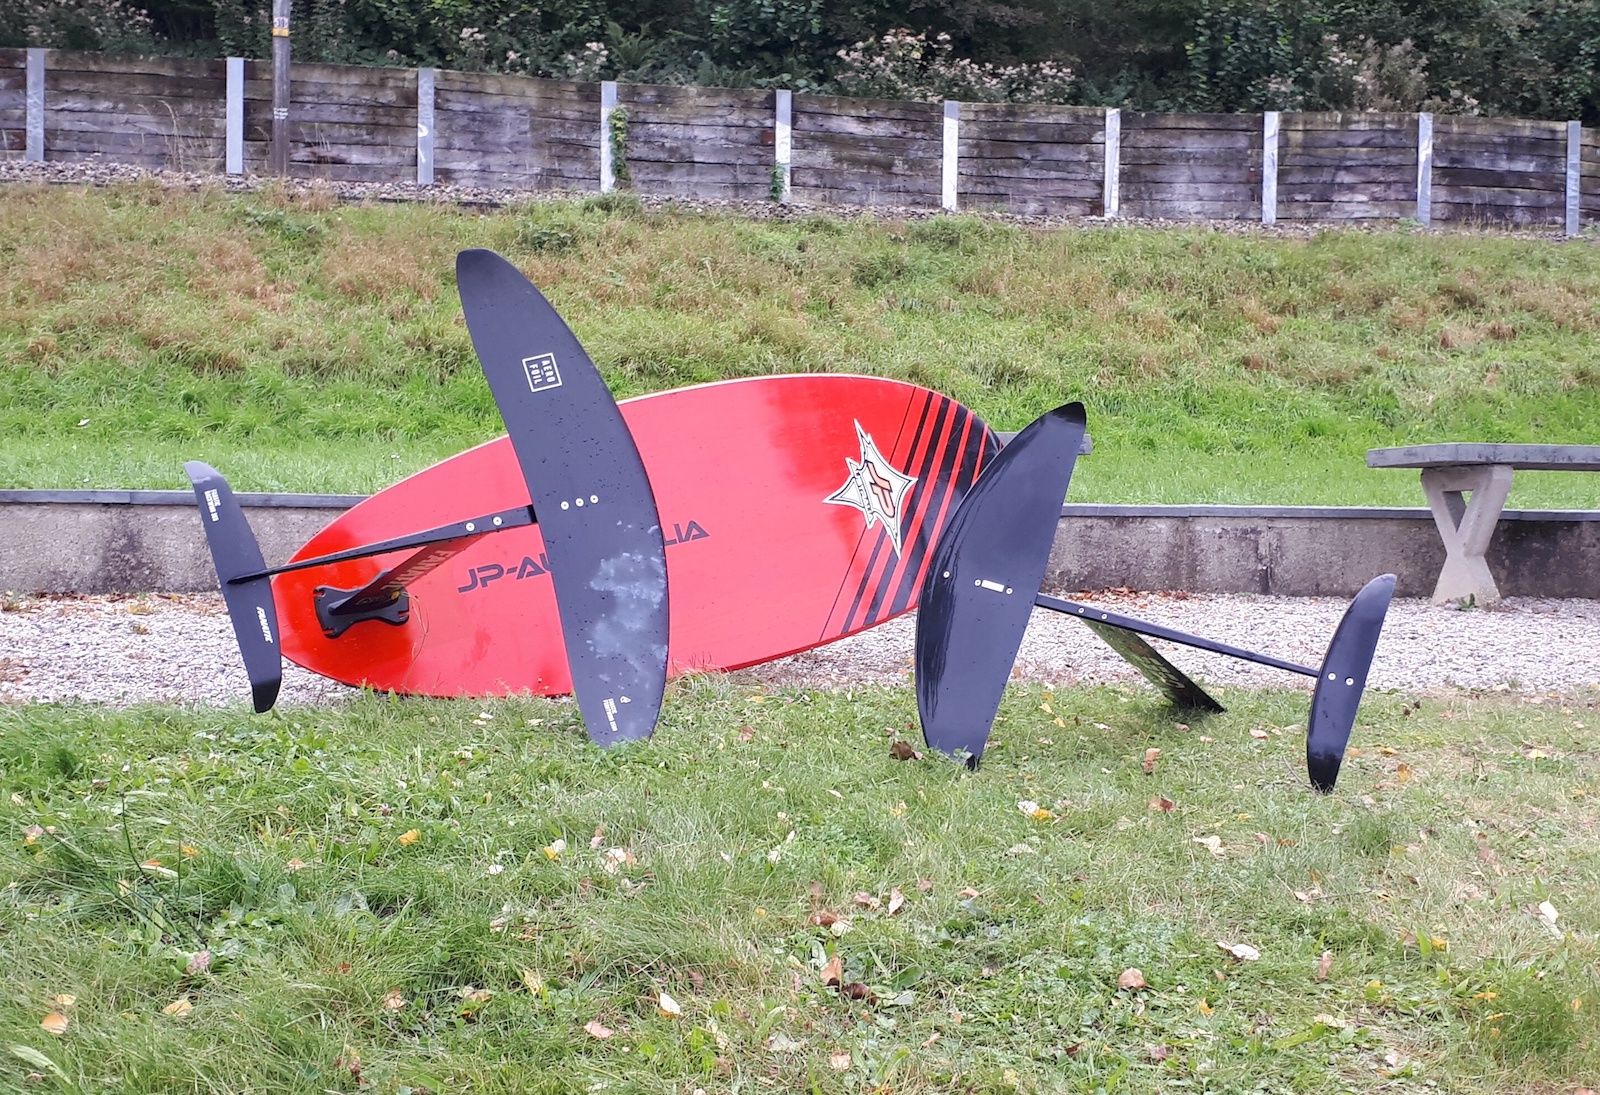
This was the final result: