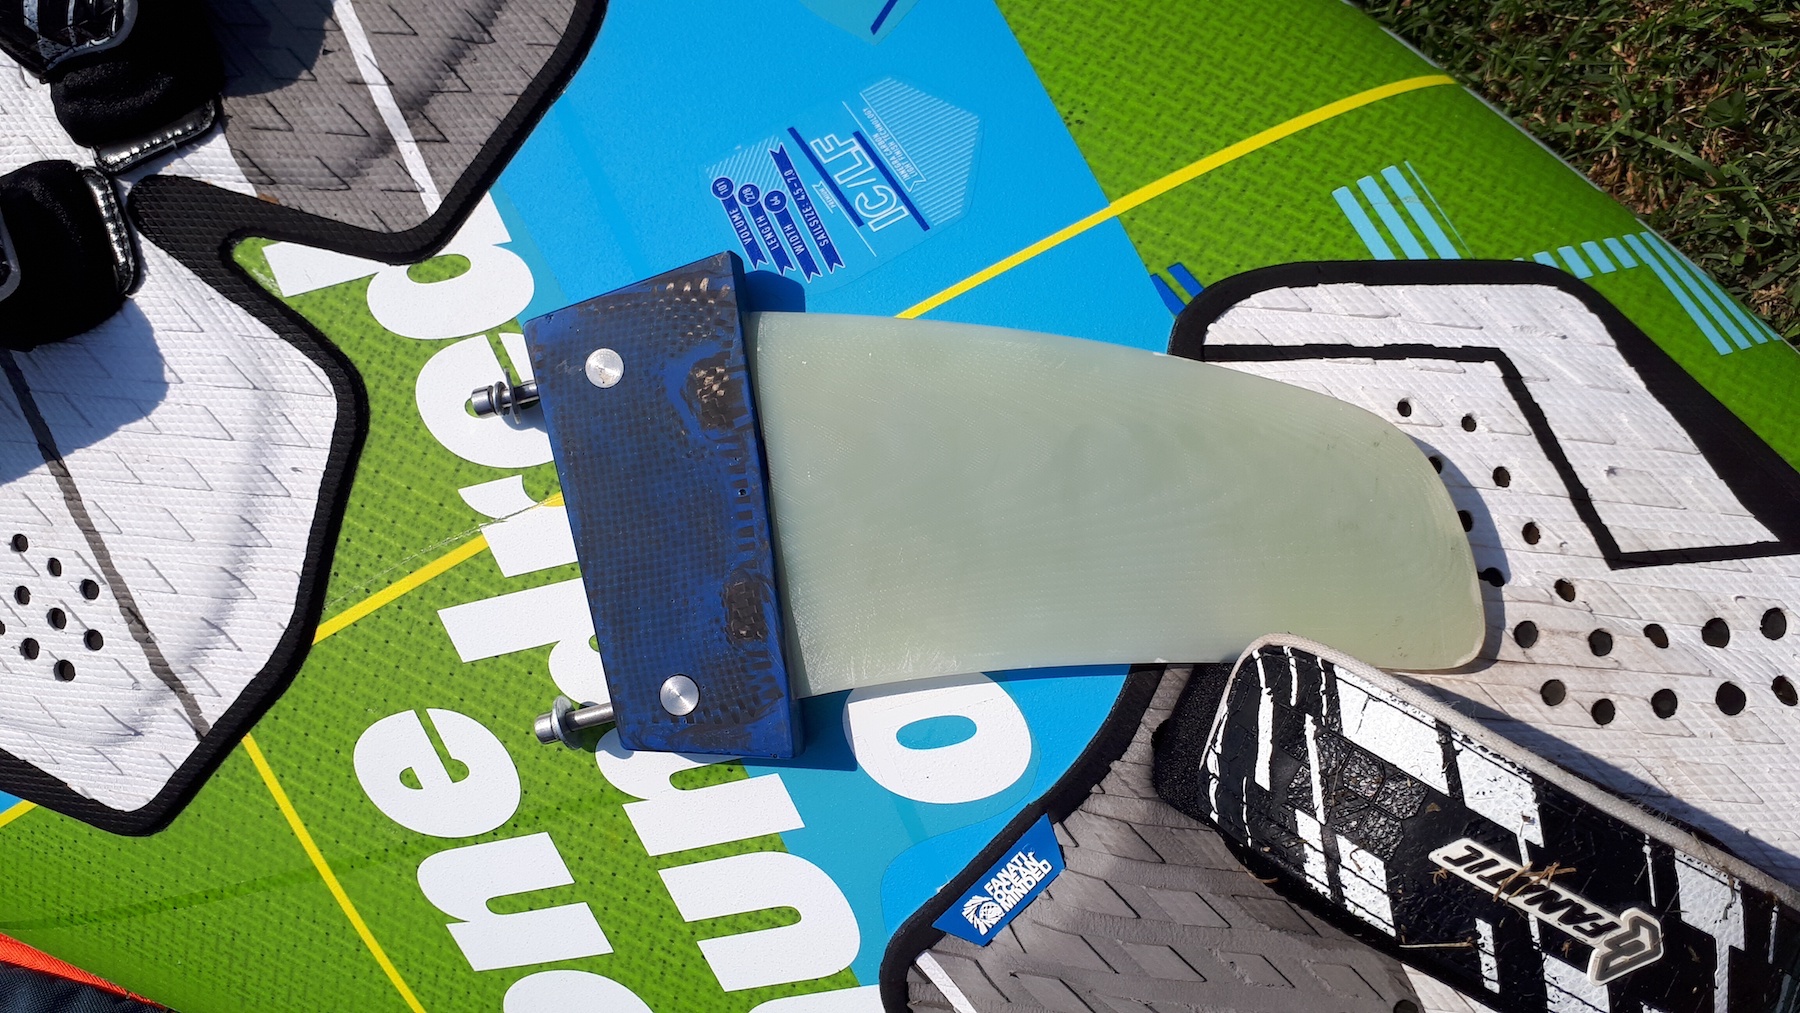
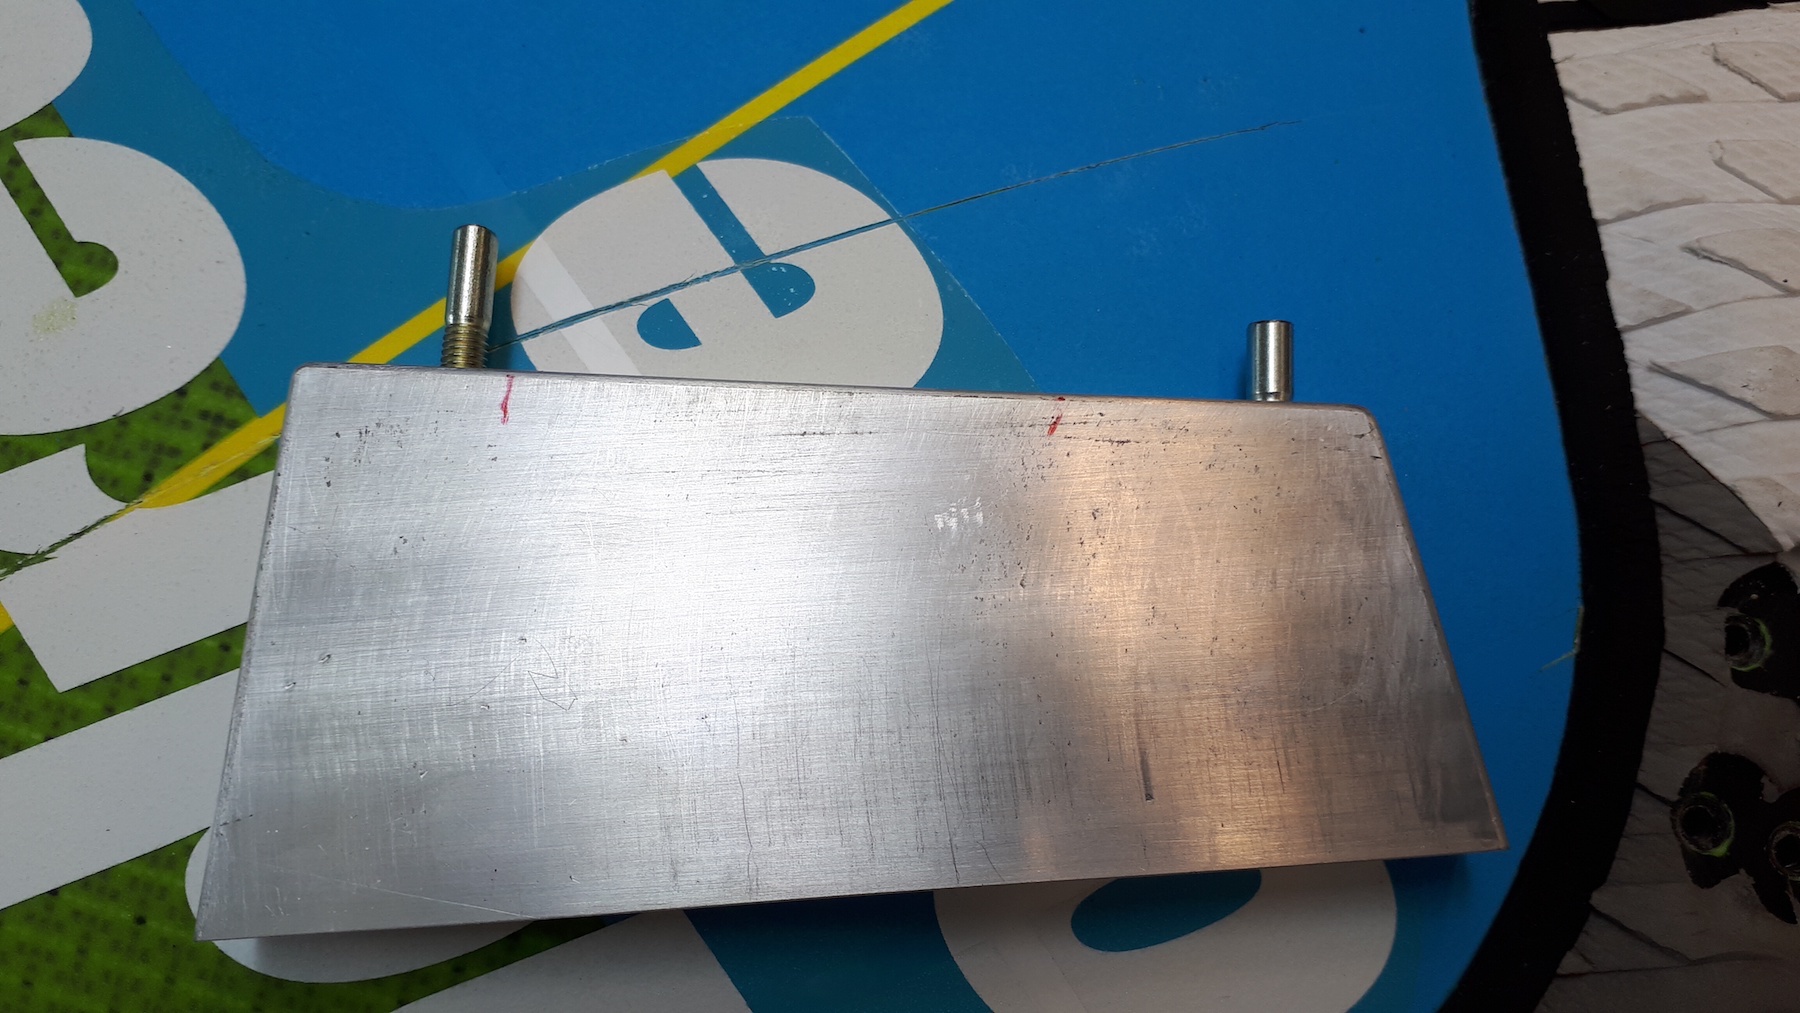
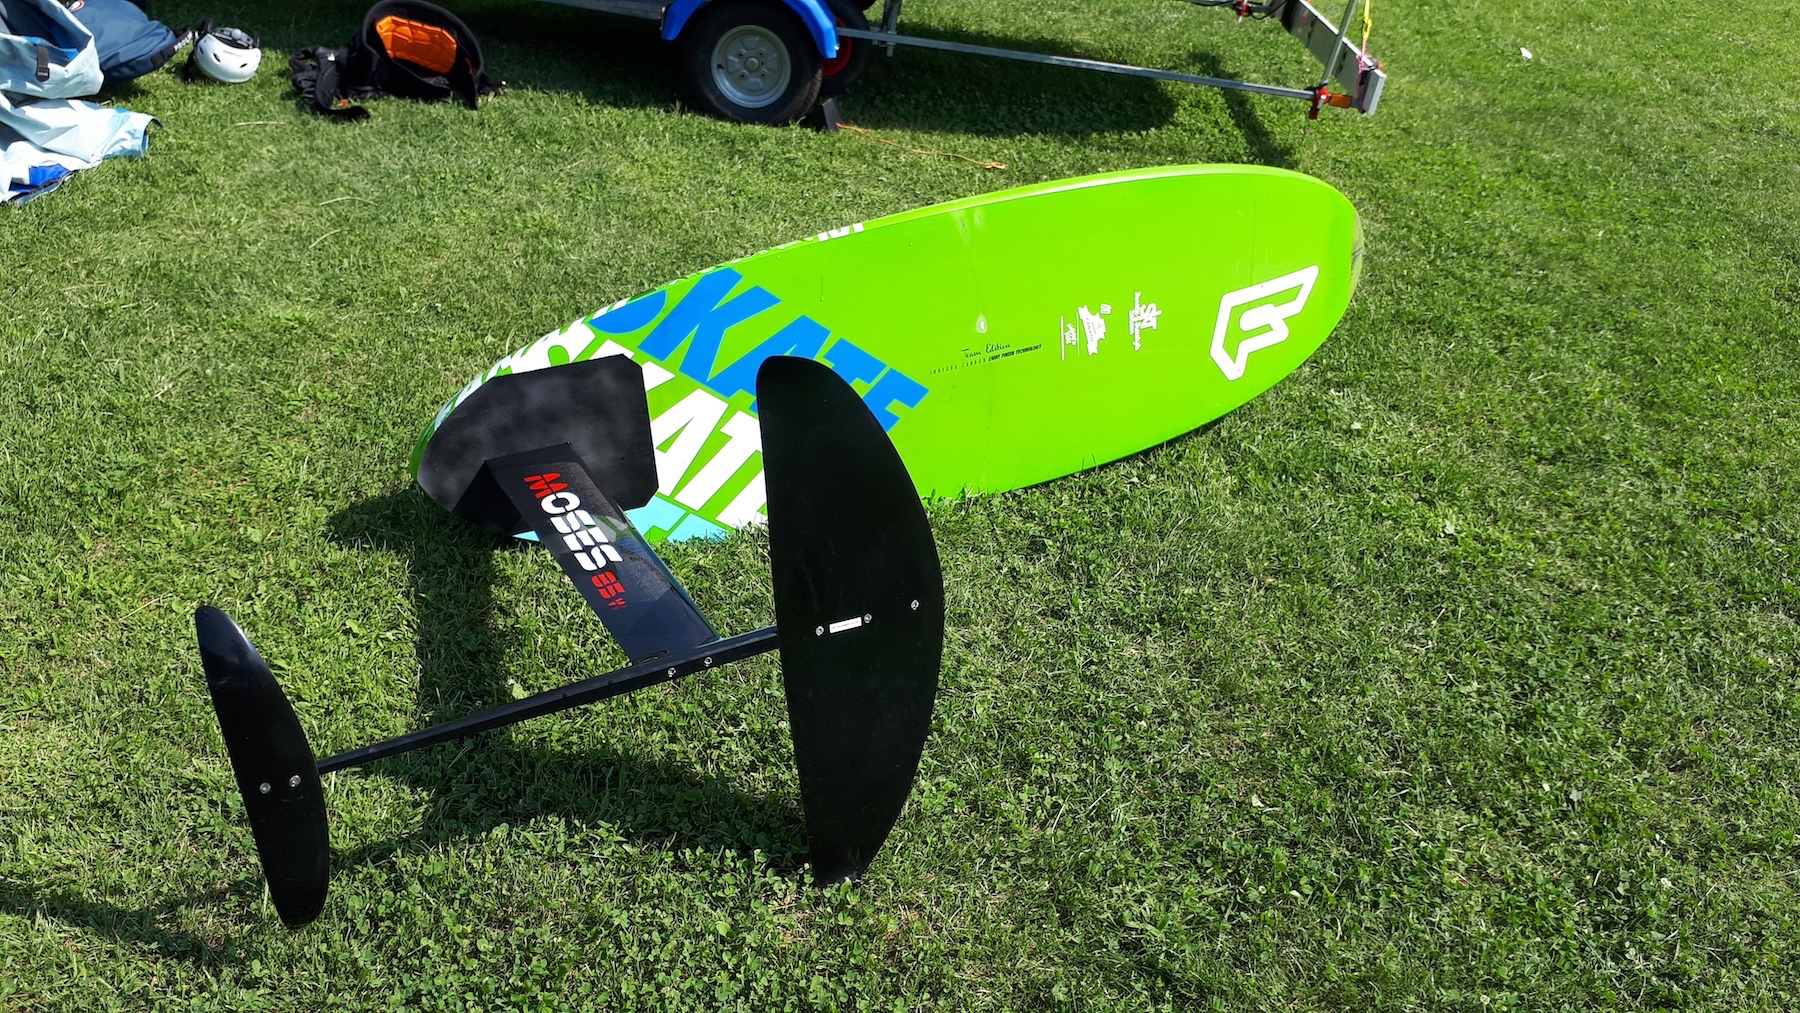
In this post I show you how I made my Fanatic Skate 101 foil-ready. Almost all windsurfing and racing foils come with a deep tuttle head. So the first step was to make a positive of such head. One of the difficulties is that each manufacturer seems to have its own interpretation of what the dimensions of a deep tuttle head should be. It is common that the height or the thickness of the head varies significantly between manufacturers. So instead of copying one head of one manufacturer I made an 'average' of a Drake formula fin and the head of my Moses mast and added a a few millimeters in height.
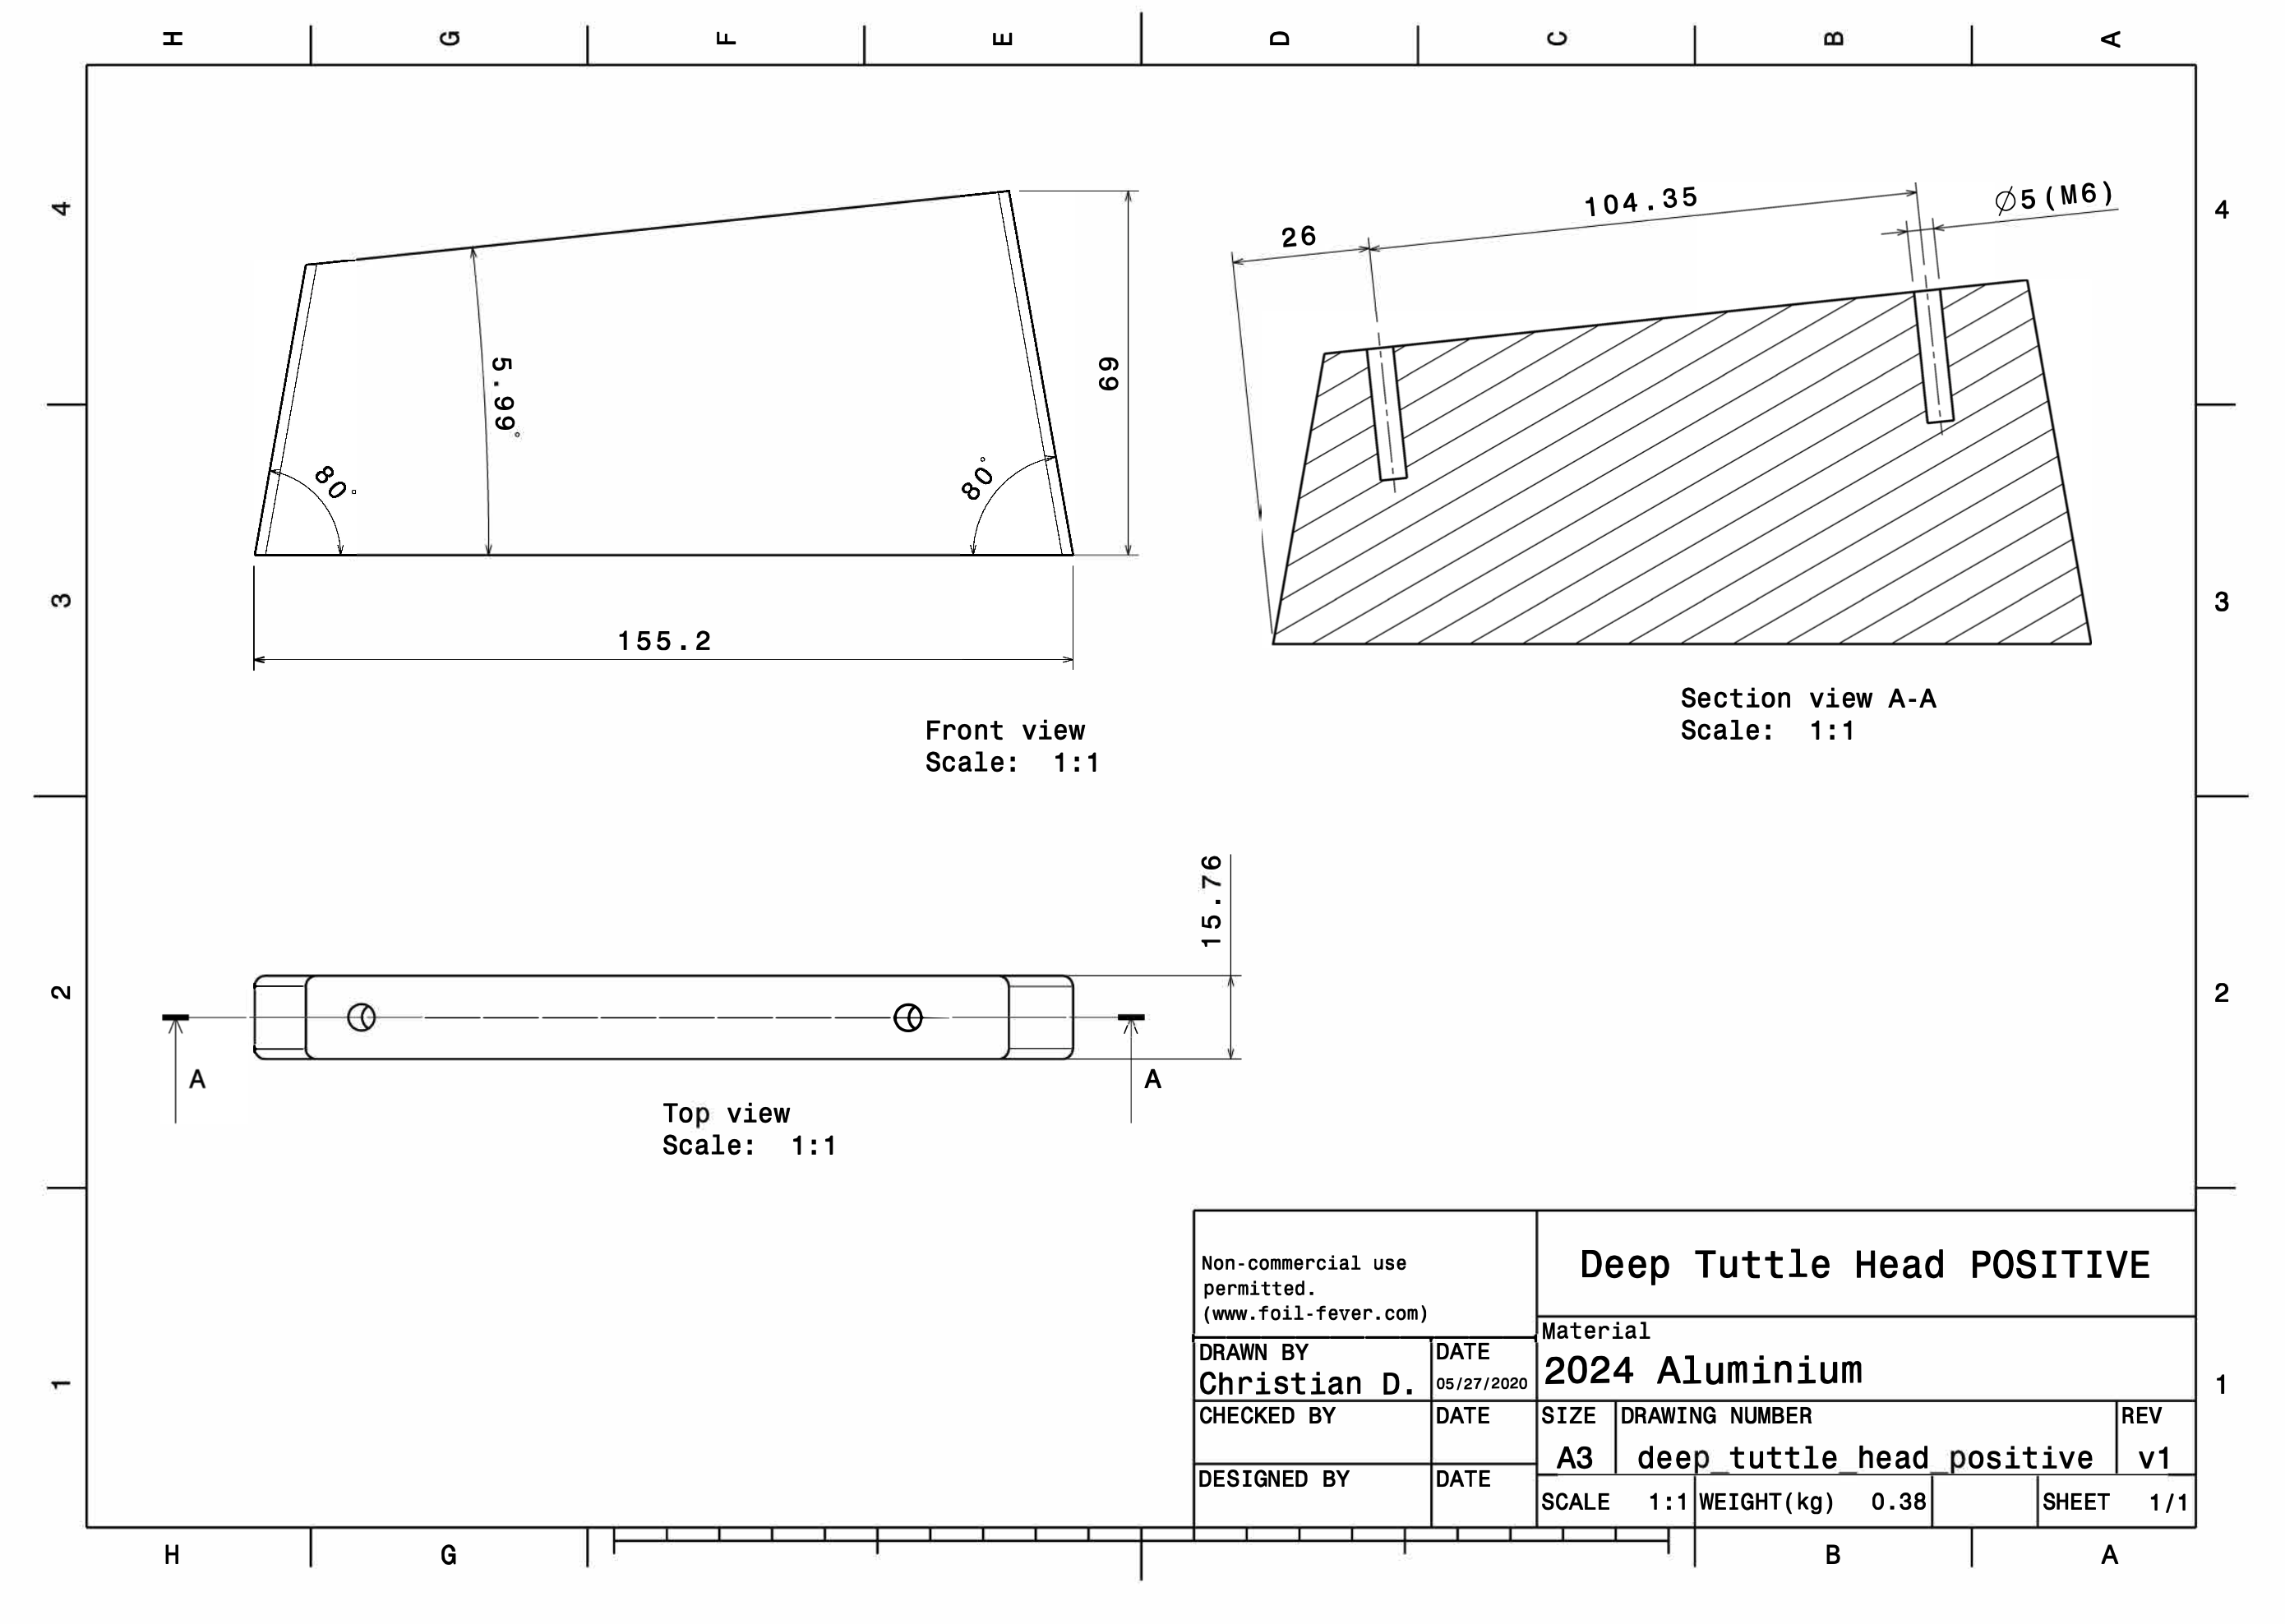
As you might have noticed there is only very little rounding of the edges (indicated by red arrow in the drawing above). The radius of the rounding of both Drake and Moses were in the order of 5-6 mm. After some consideration I decided to round the edges on the positive by only 2 mm even though in therms of strength a larger radius would have been better. My reasoning is that by having a smaller radius it is also possible to fit a fin comes with a 4 mm or even 3 mm radius without having to sand it.
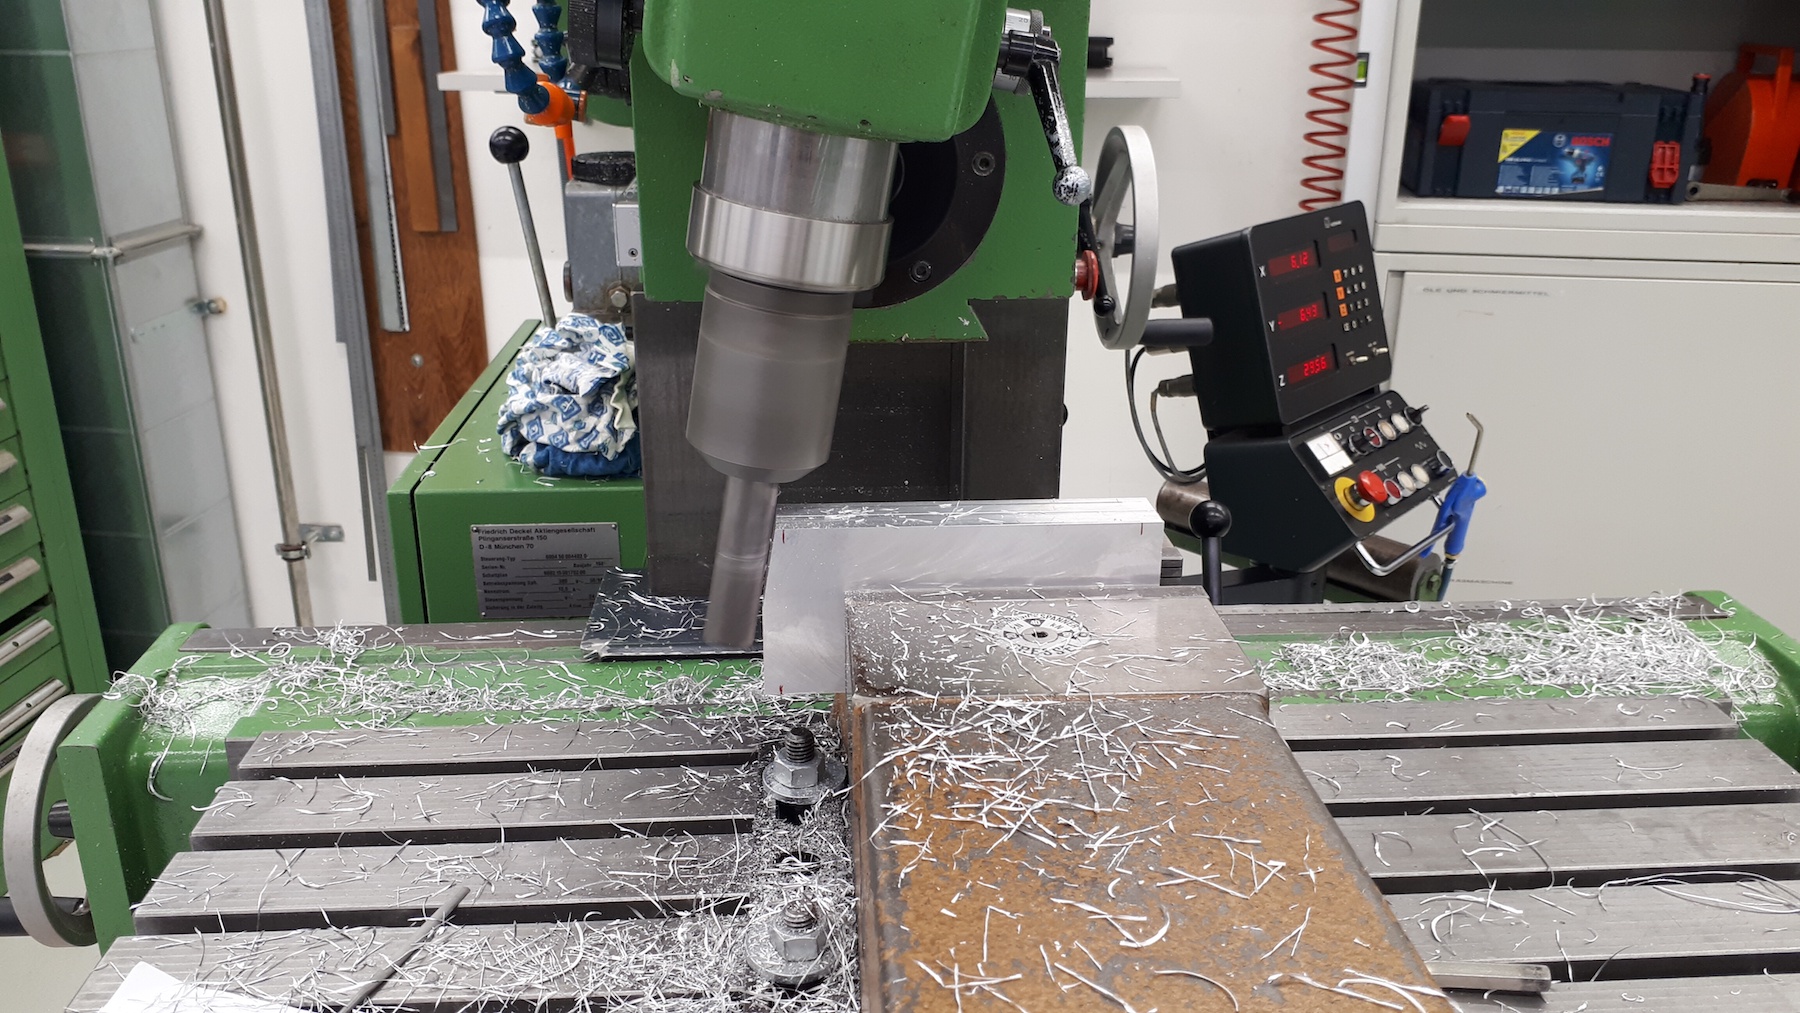
Milling two positives at once:
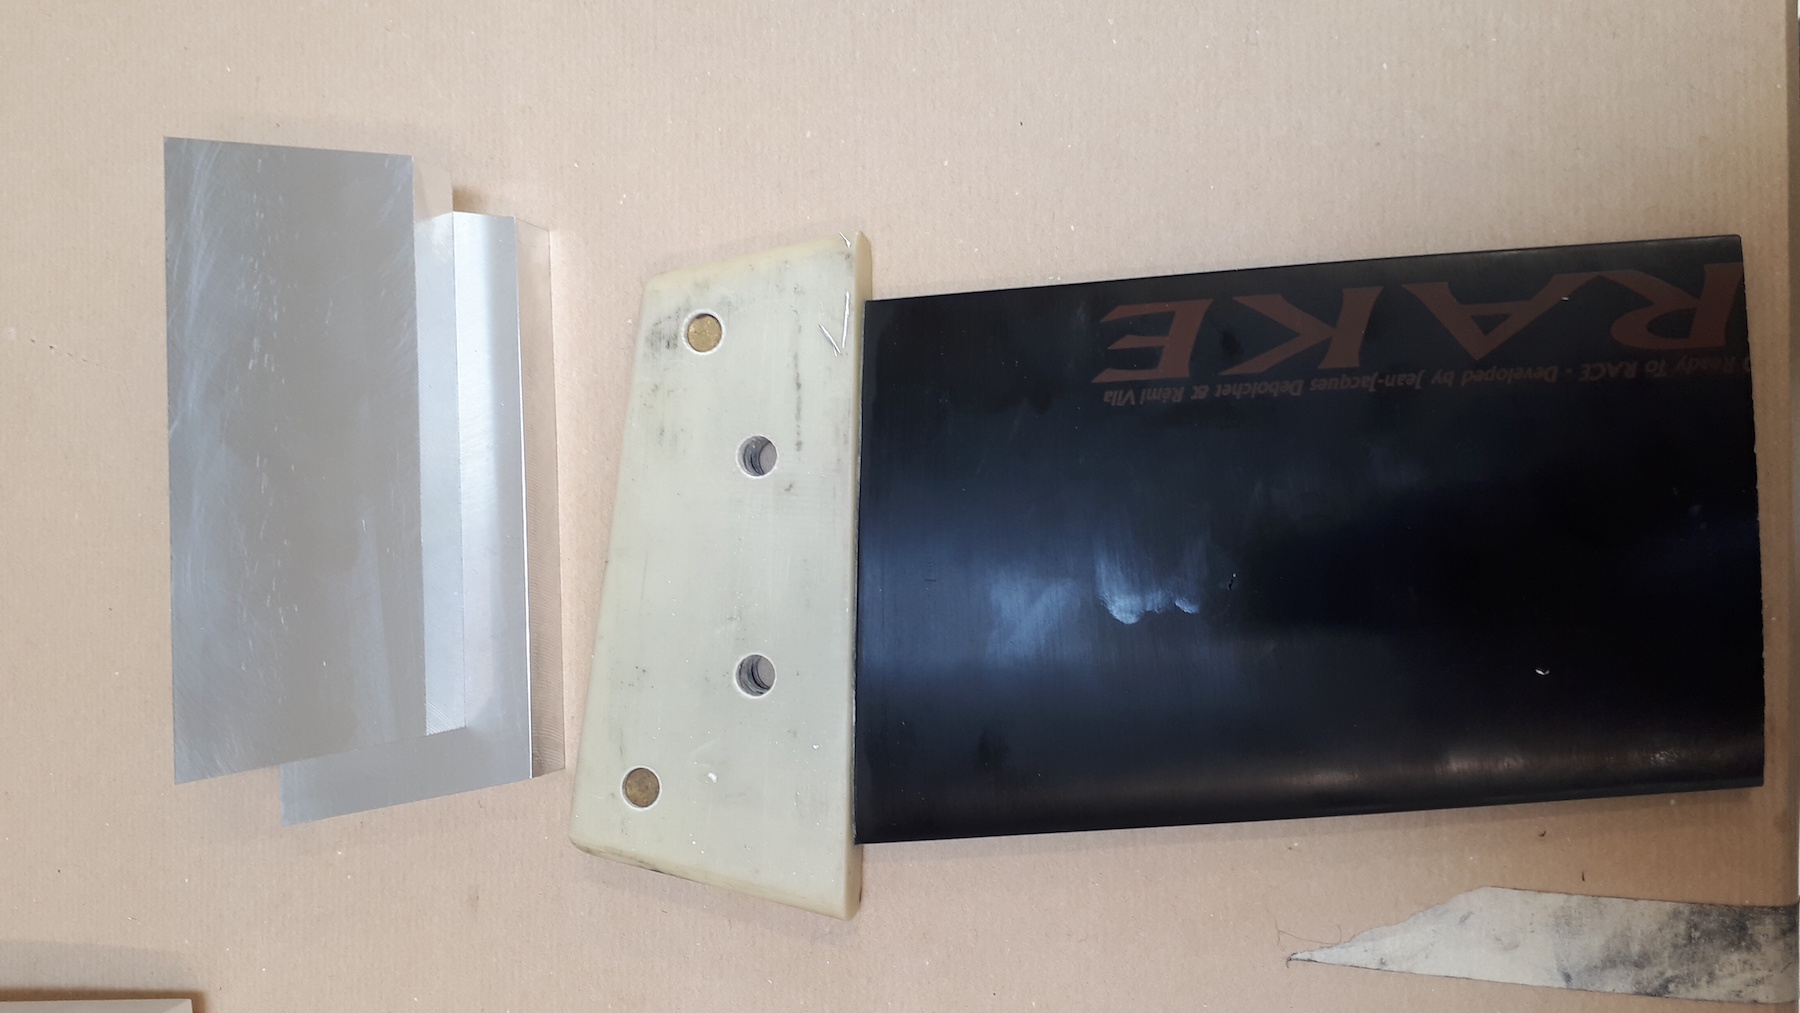
Comparison of aluminum tuttle head positives to the Drake fin:
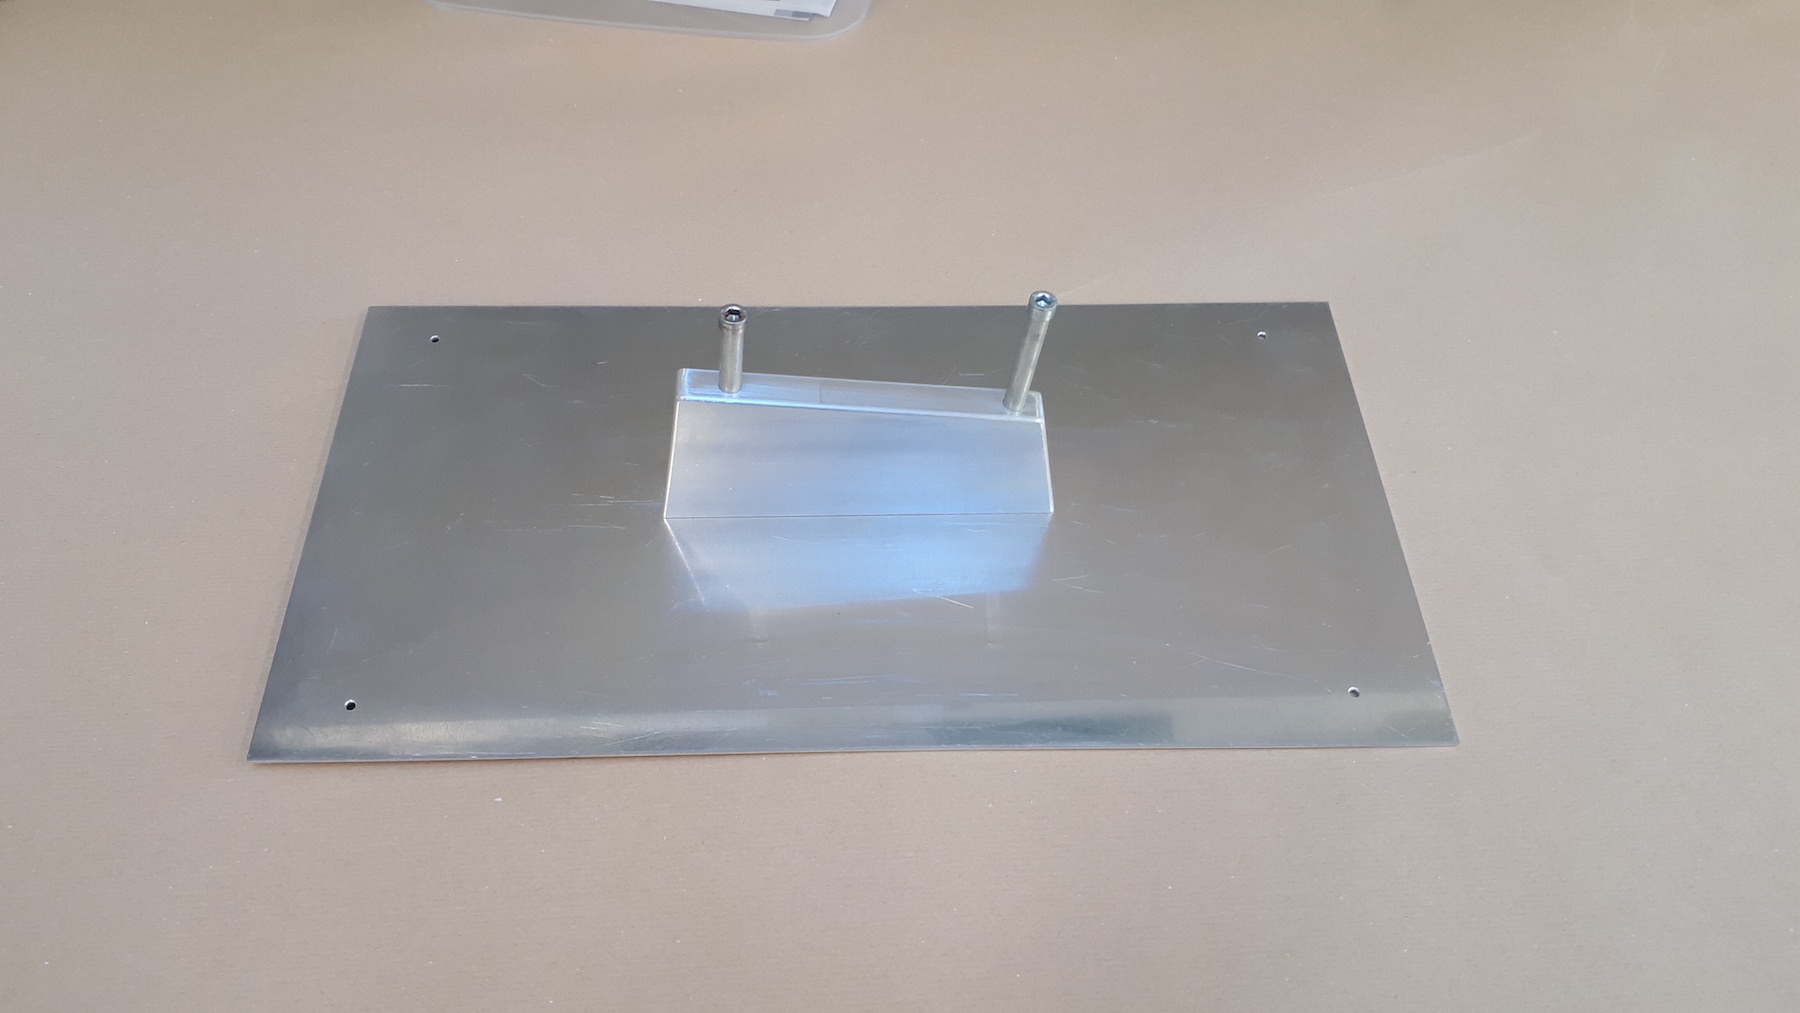
After milling the skew on top, adding the threads and rounding of the edges I screwed the piece to a plate of aluminum (mounting holes for that are not shown in the drawing above as they were done 'on the fly') and applied one layer of permanent mold release and 3 layers of release wax before laminating.
Overall I did two laminating steps. The first one was thought to be a test run and only had 3 layers of 200 g/m2 carbon fabric.
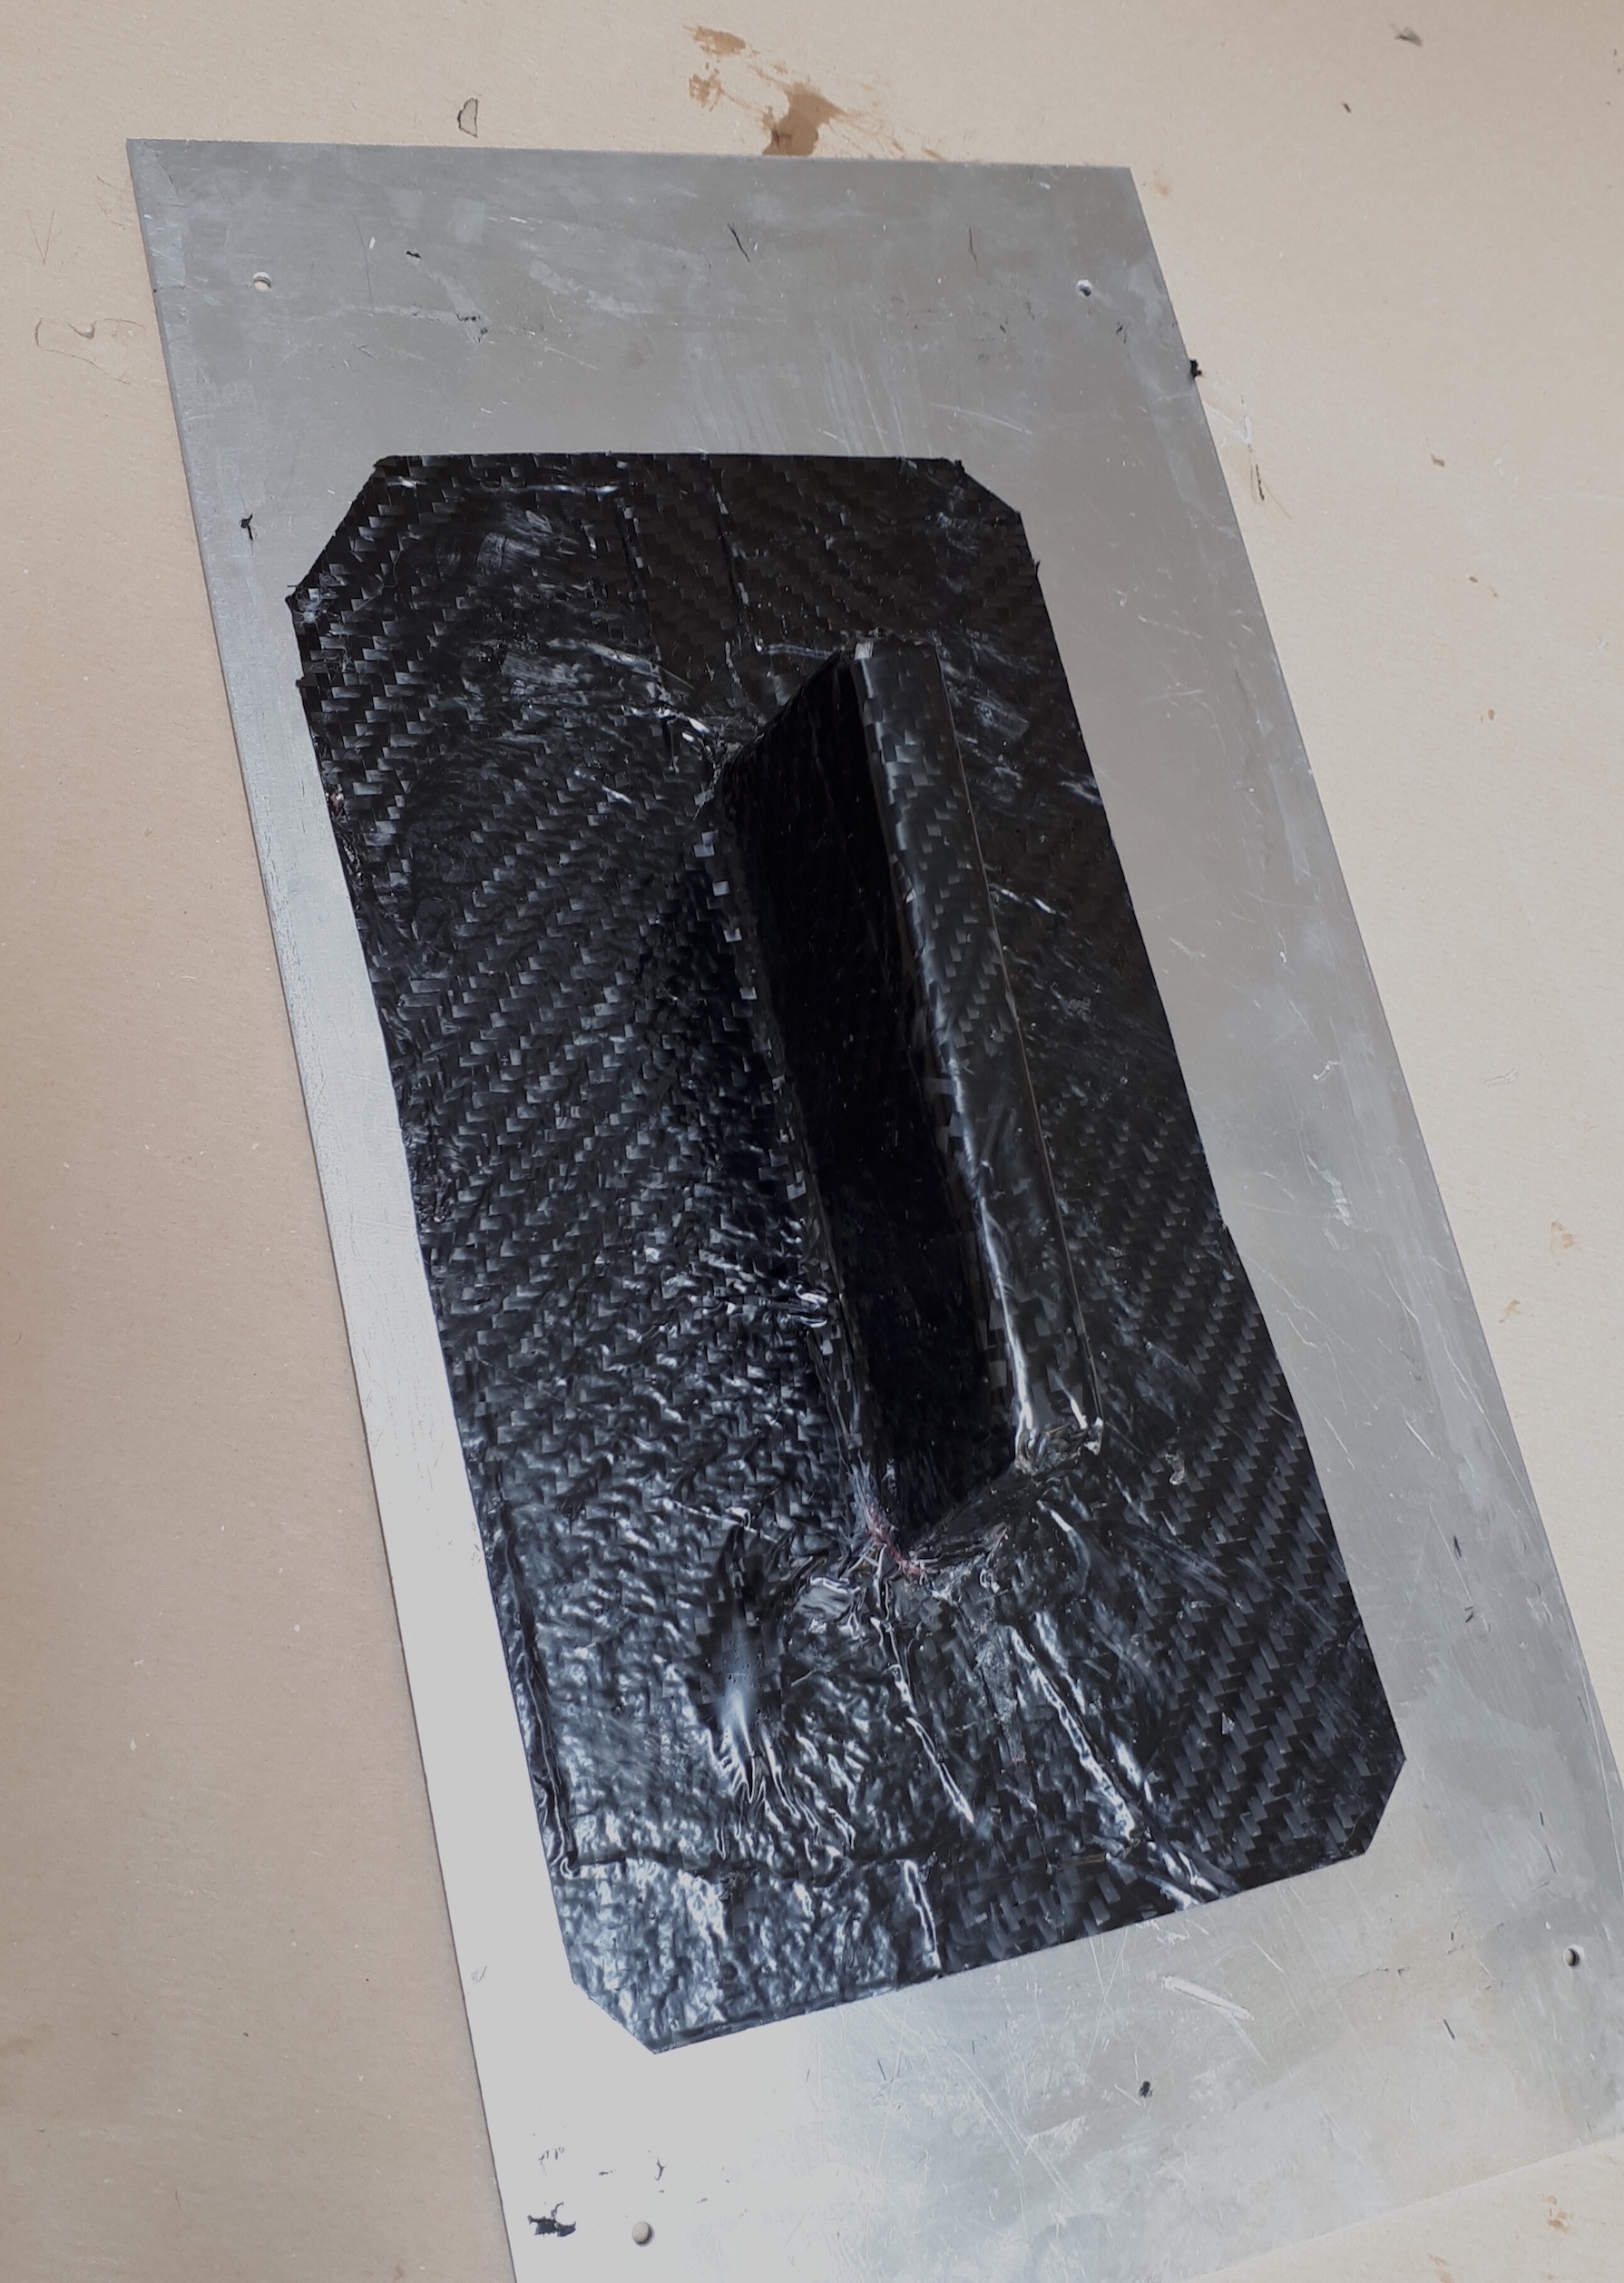
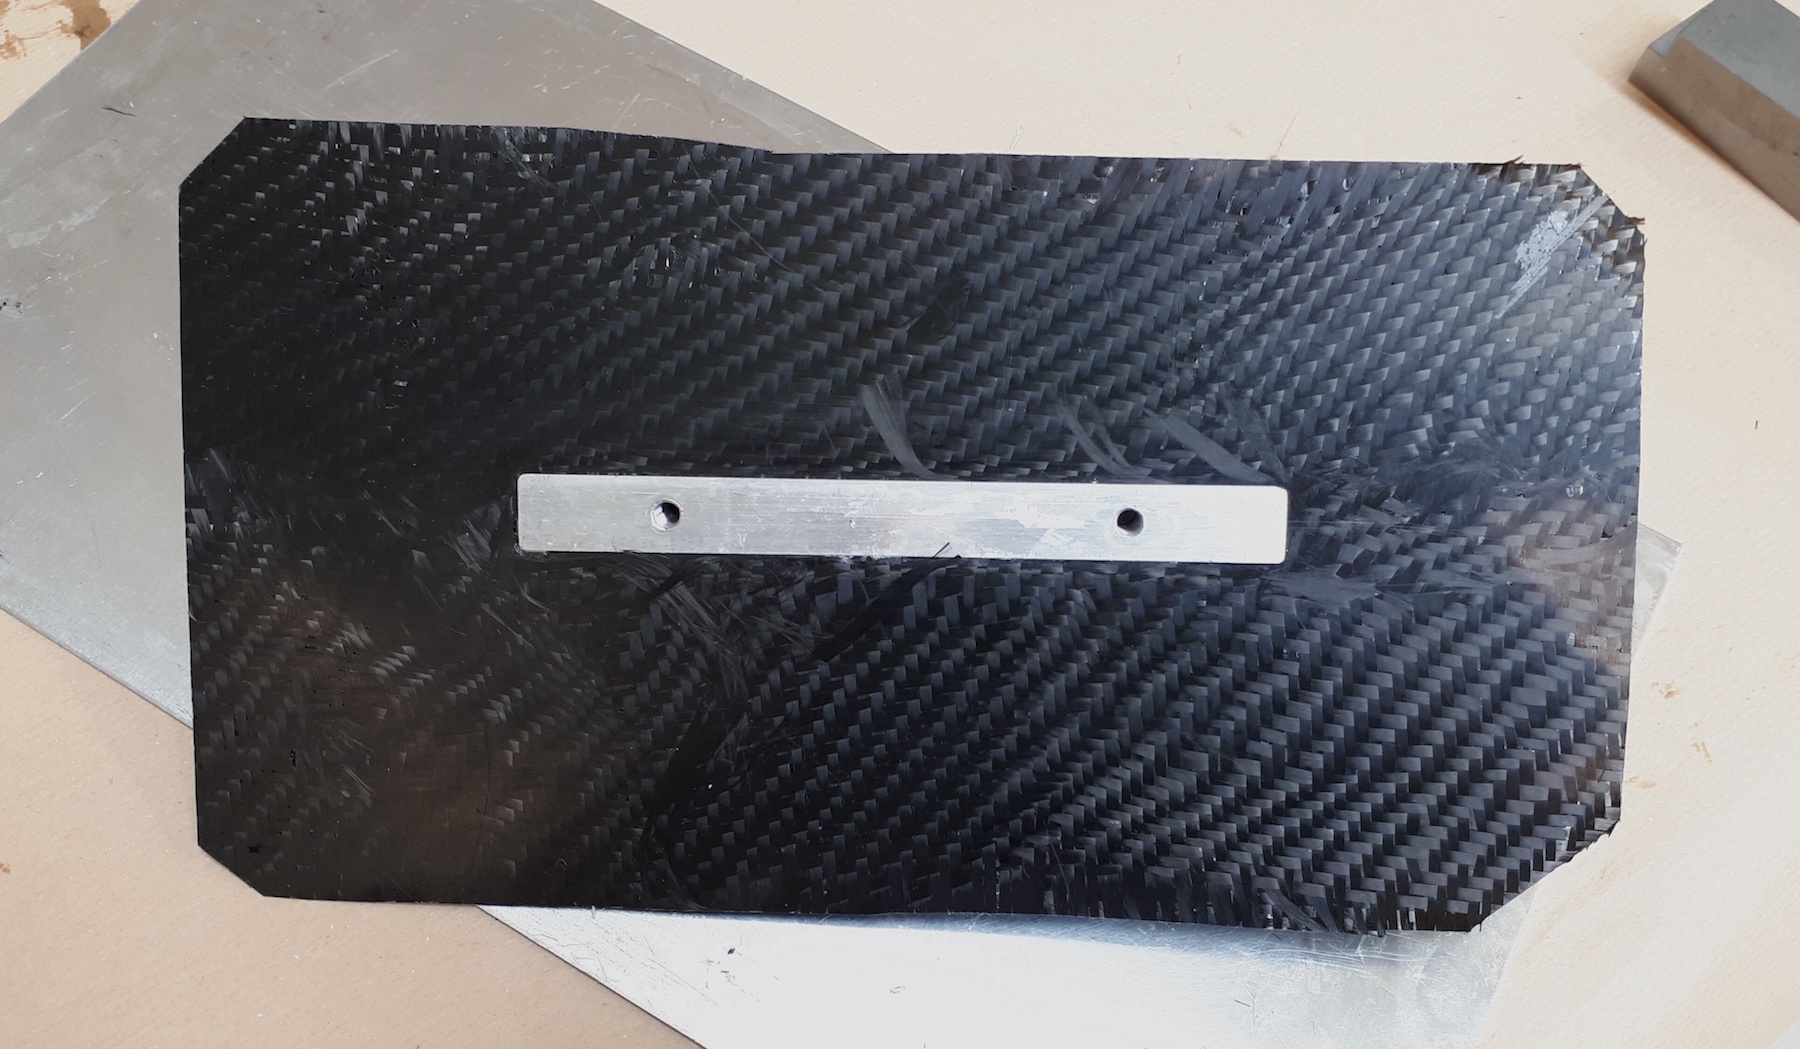
Since the result was pretty good I drilled the opening to the screw holes, mounted the aluminum tubes (which represent the screw holes through which our foil or fin will be mounted to the board) and applied the a mixture of epoxy and carbon chips to the surrounding instead of starting from scratch again.
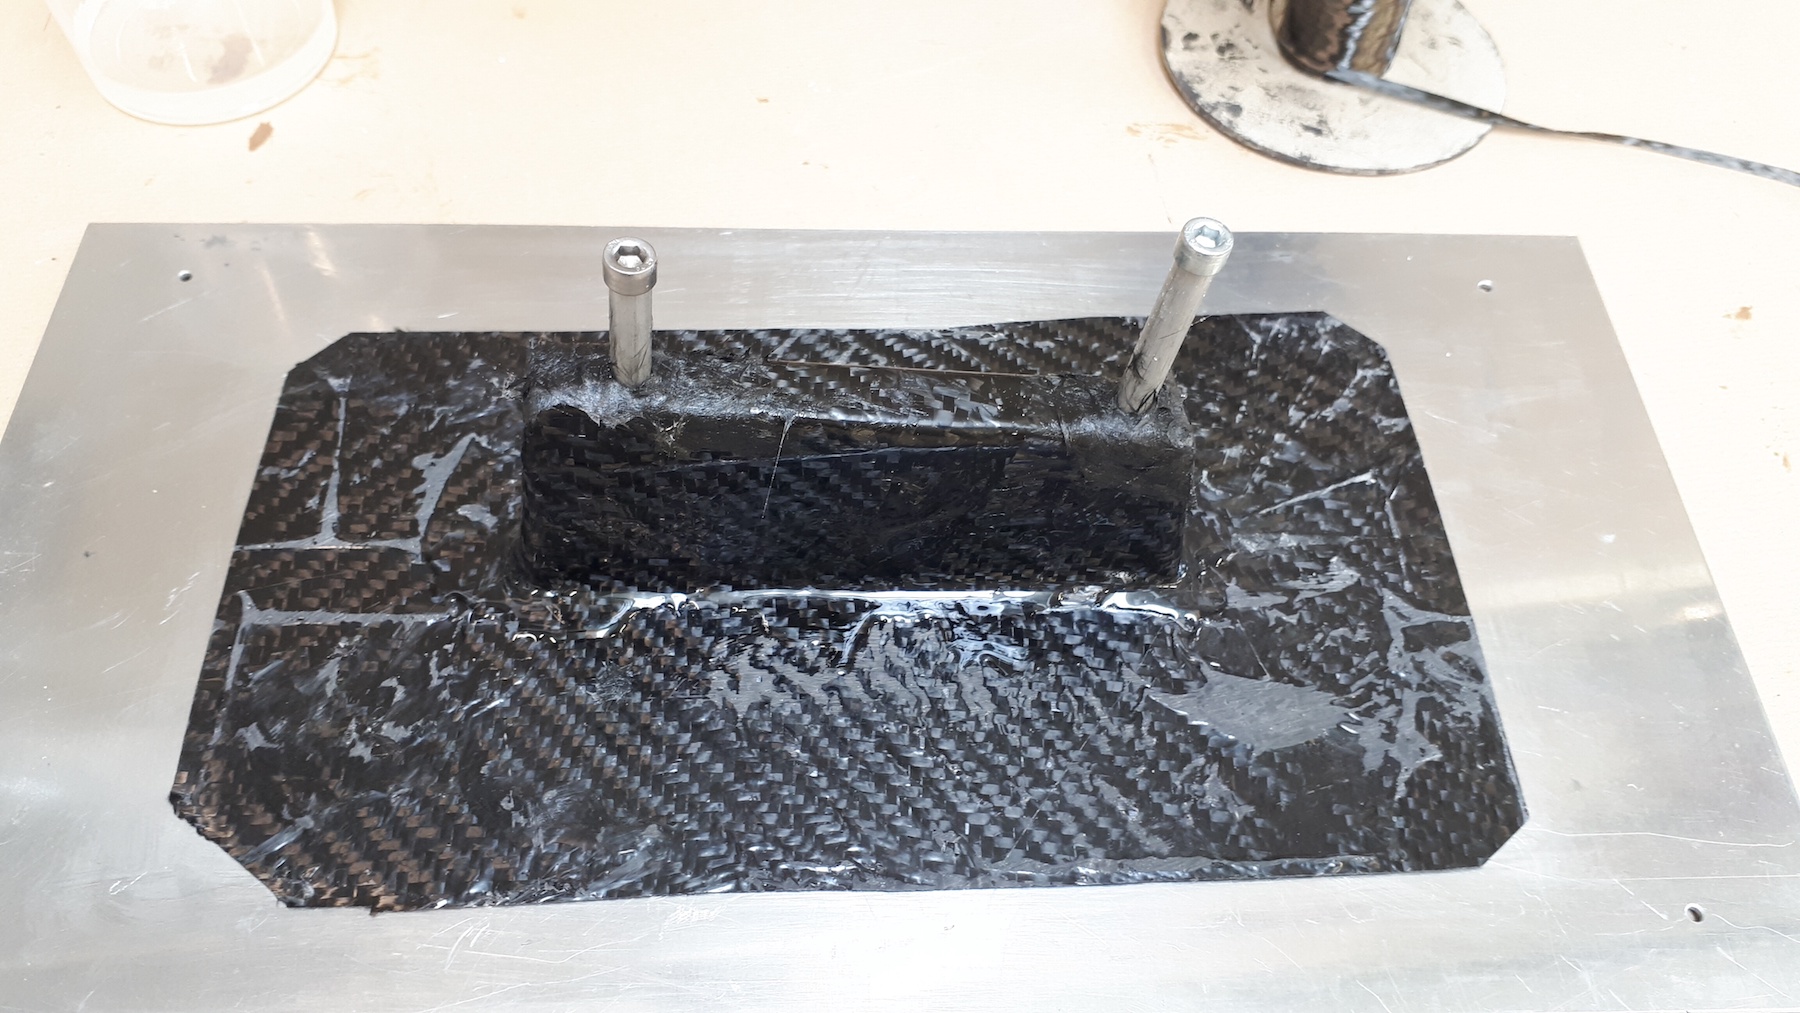
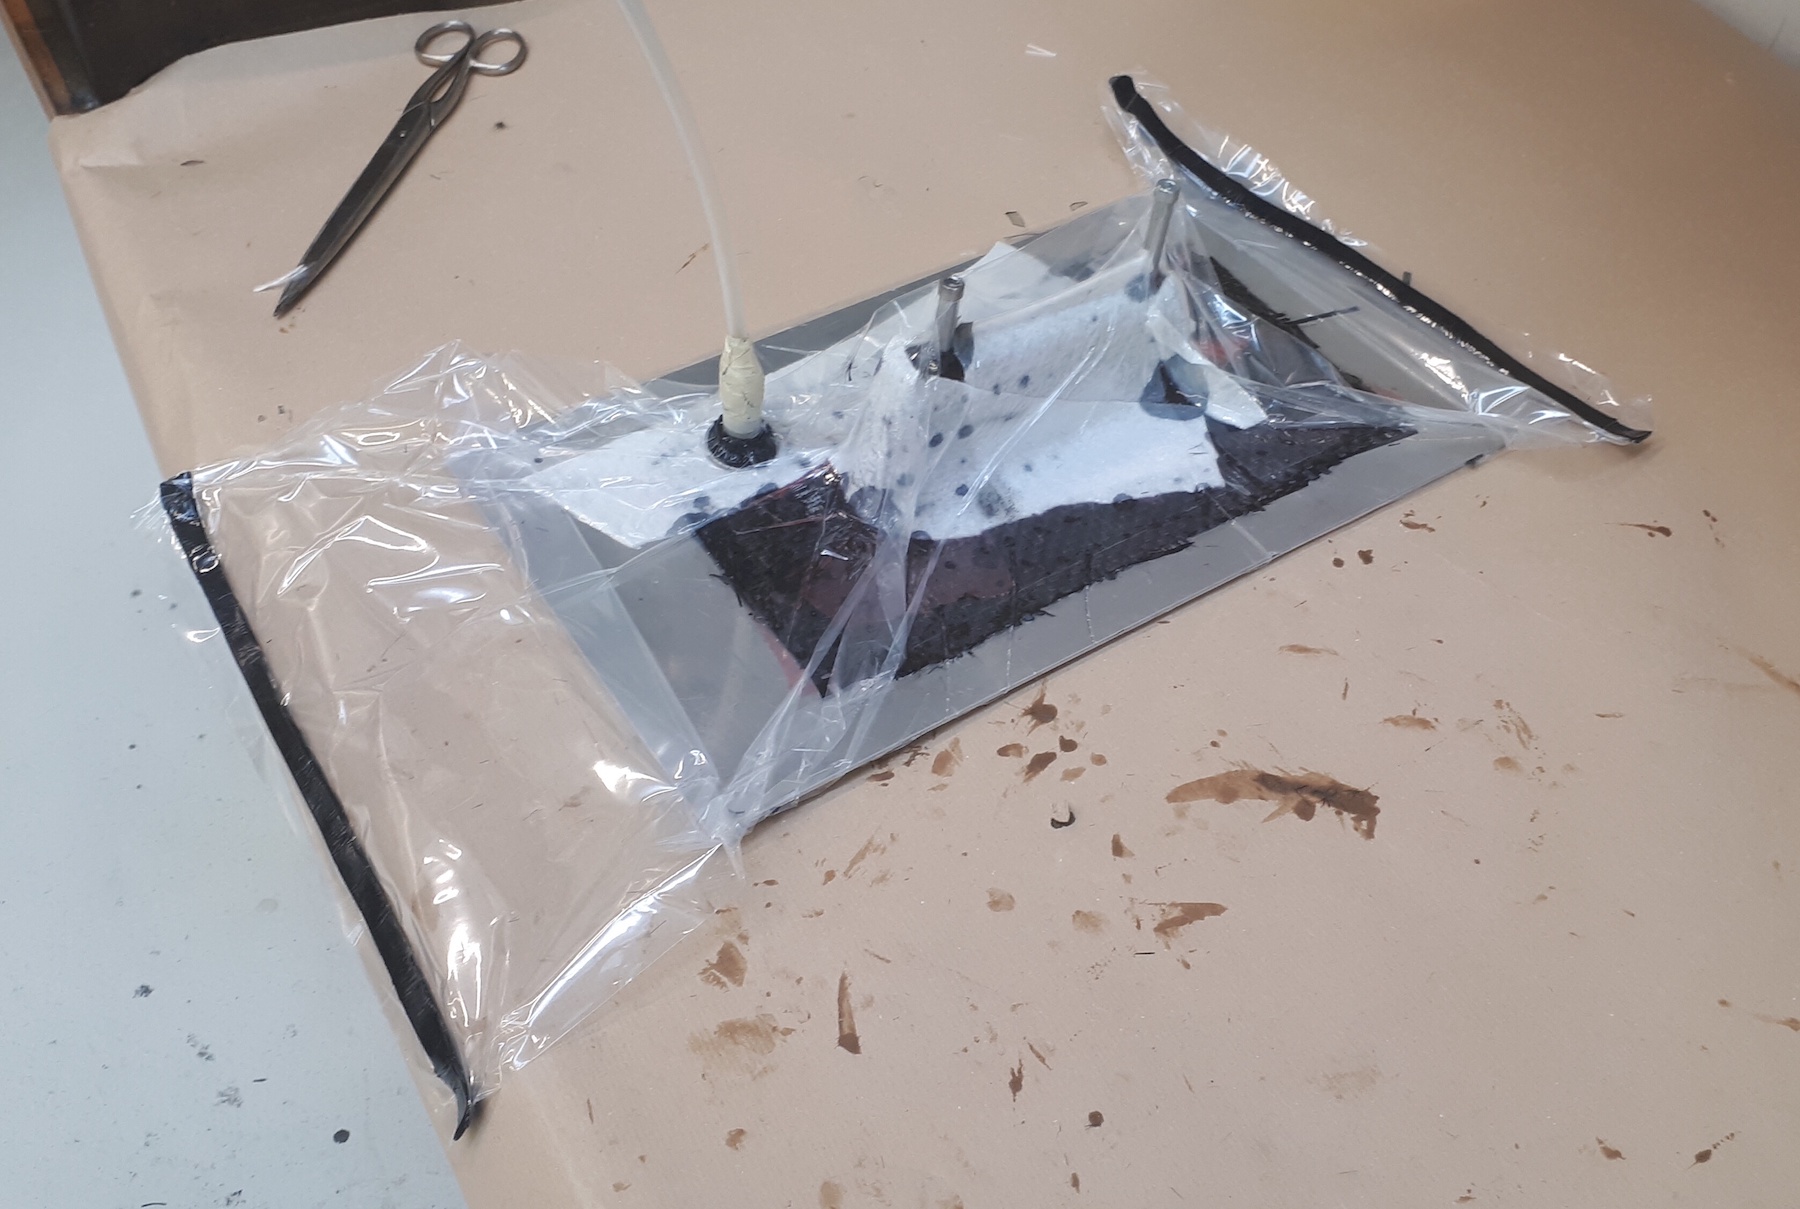
What followed was the second laminating step under vacuum with several layers of carbon and a few layers of glass.
I don't recall how many layers I used but the thickness of the carbon after curing was in the order of 4-5 mm at the head while I used much less fabric on the sheet of aluminum resulting in a thickness of 2-3 mm there. This is different from the videos on the internet in which multiple large layers of carbon fabric are stacked which results in about the same thickness of the piece everywhere.
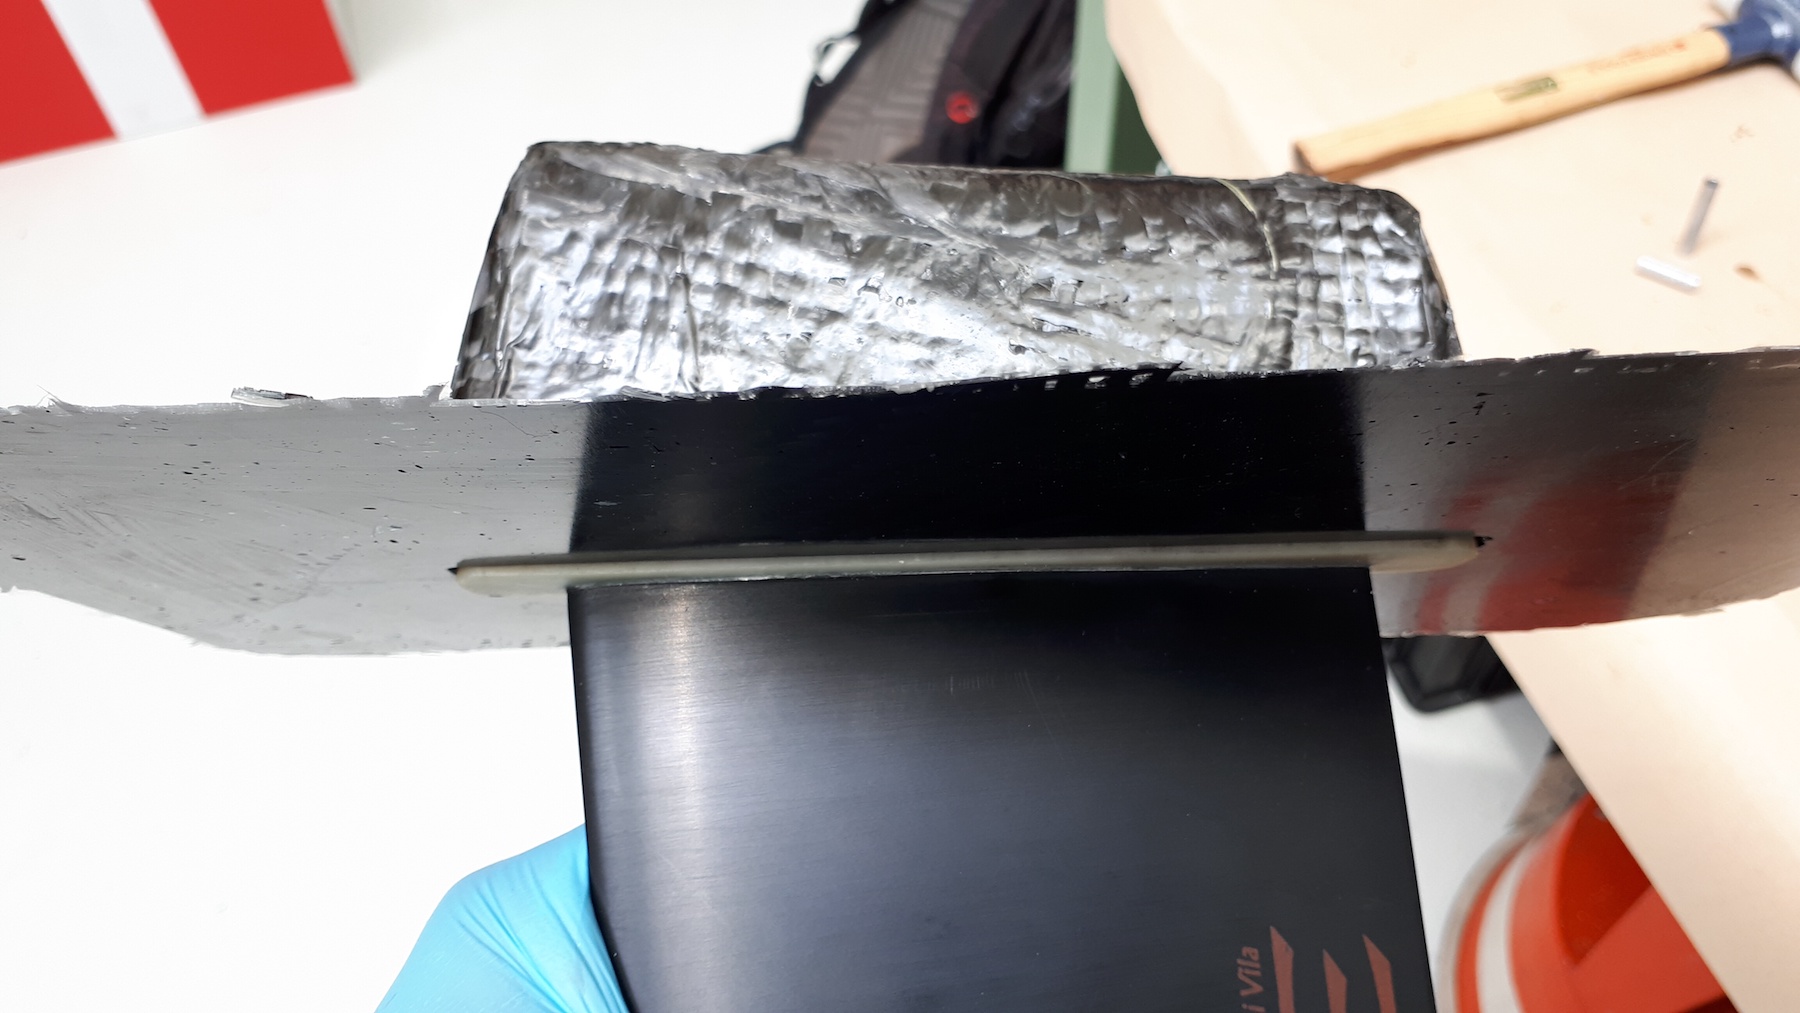
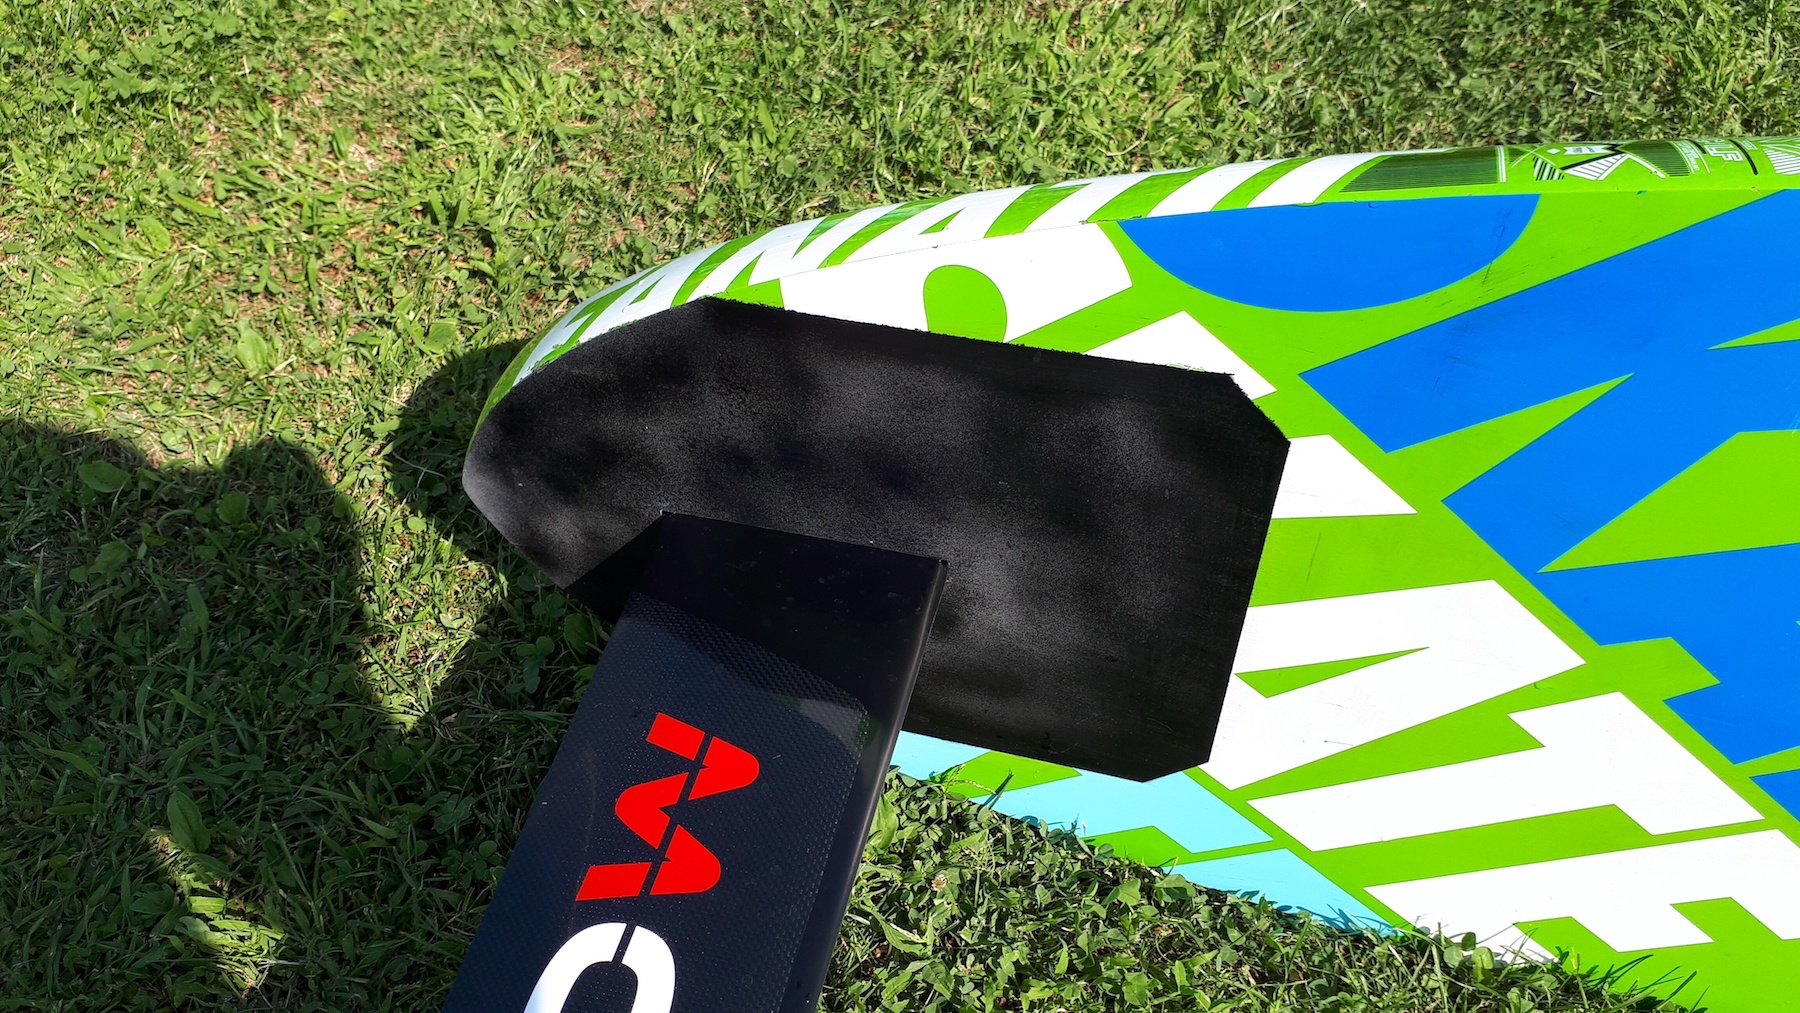
Without tightened screws the deep tuttle head of the Drake fin sticks out by about 1.5 mm while there is about 3 mm of space left on the inside. After tightening the mounding screws the 1.5 mm vanish and the fin head of the Drake fin has a flat transition with the surrounding.
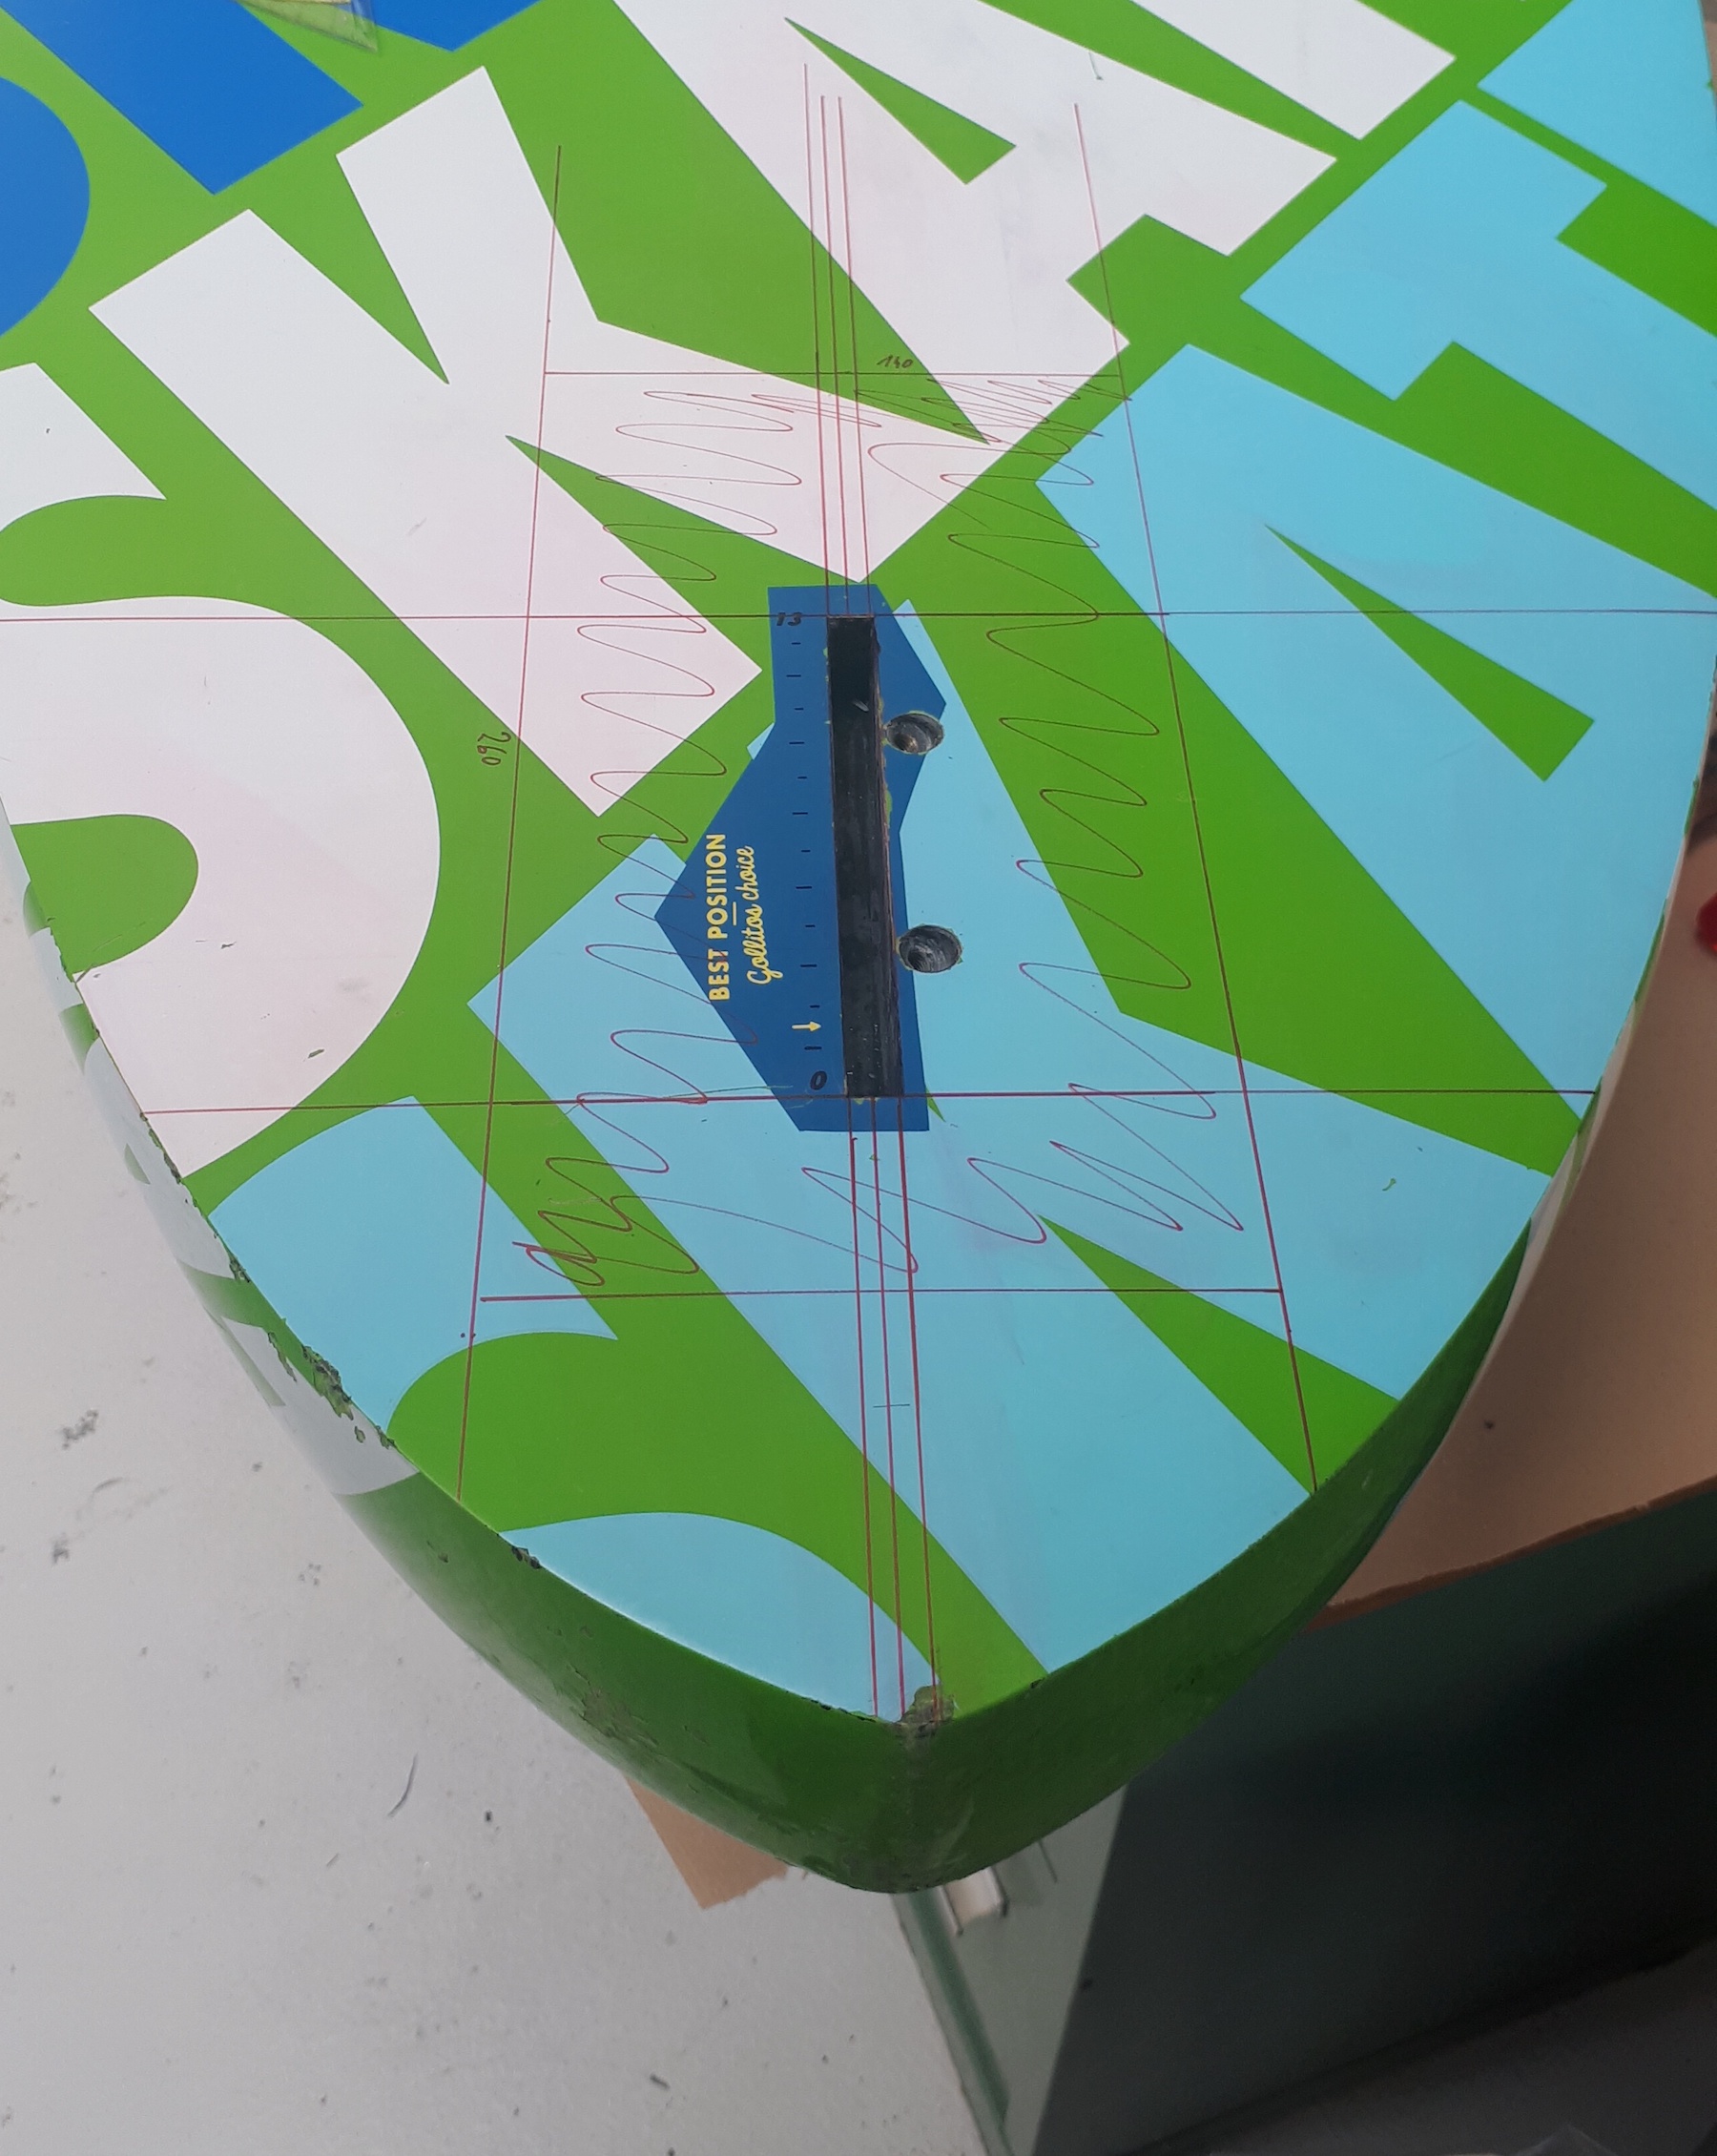
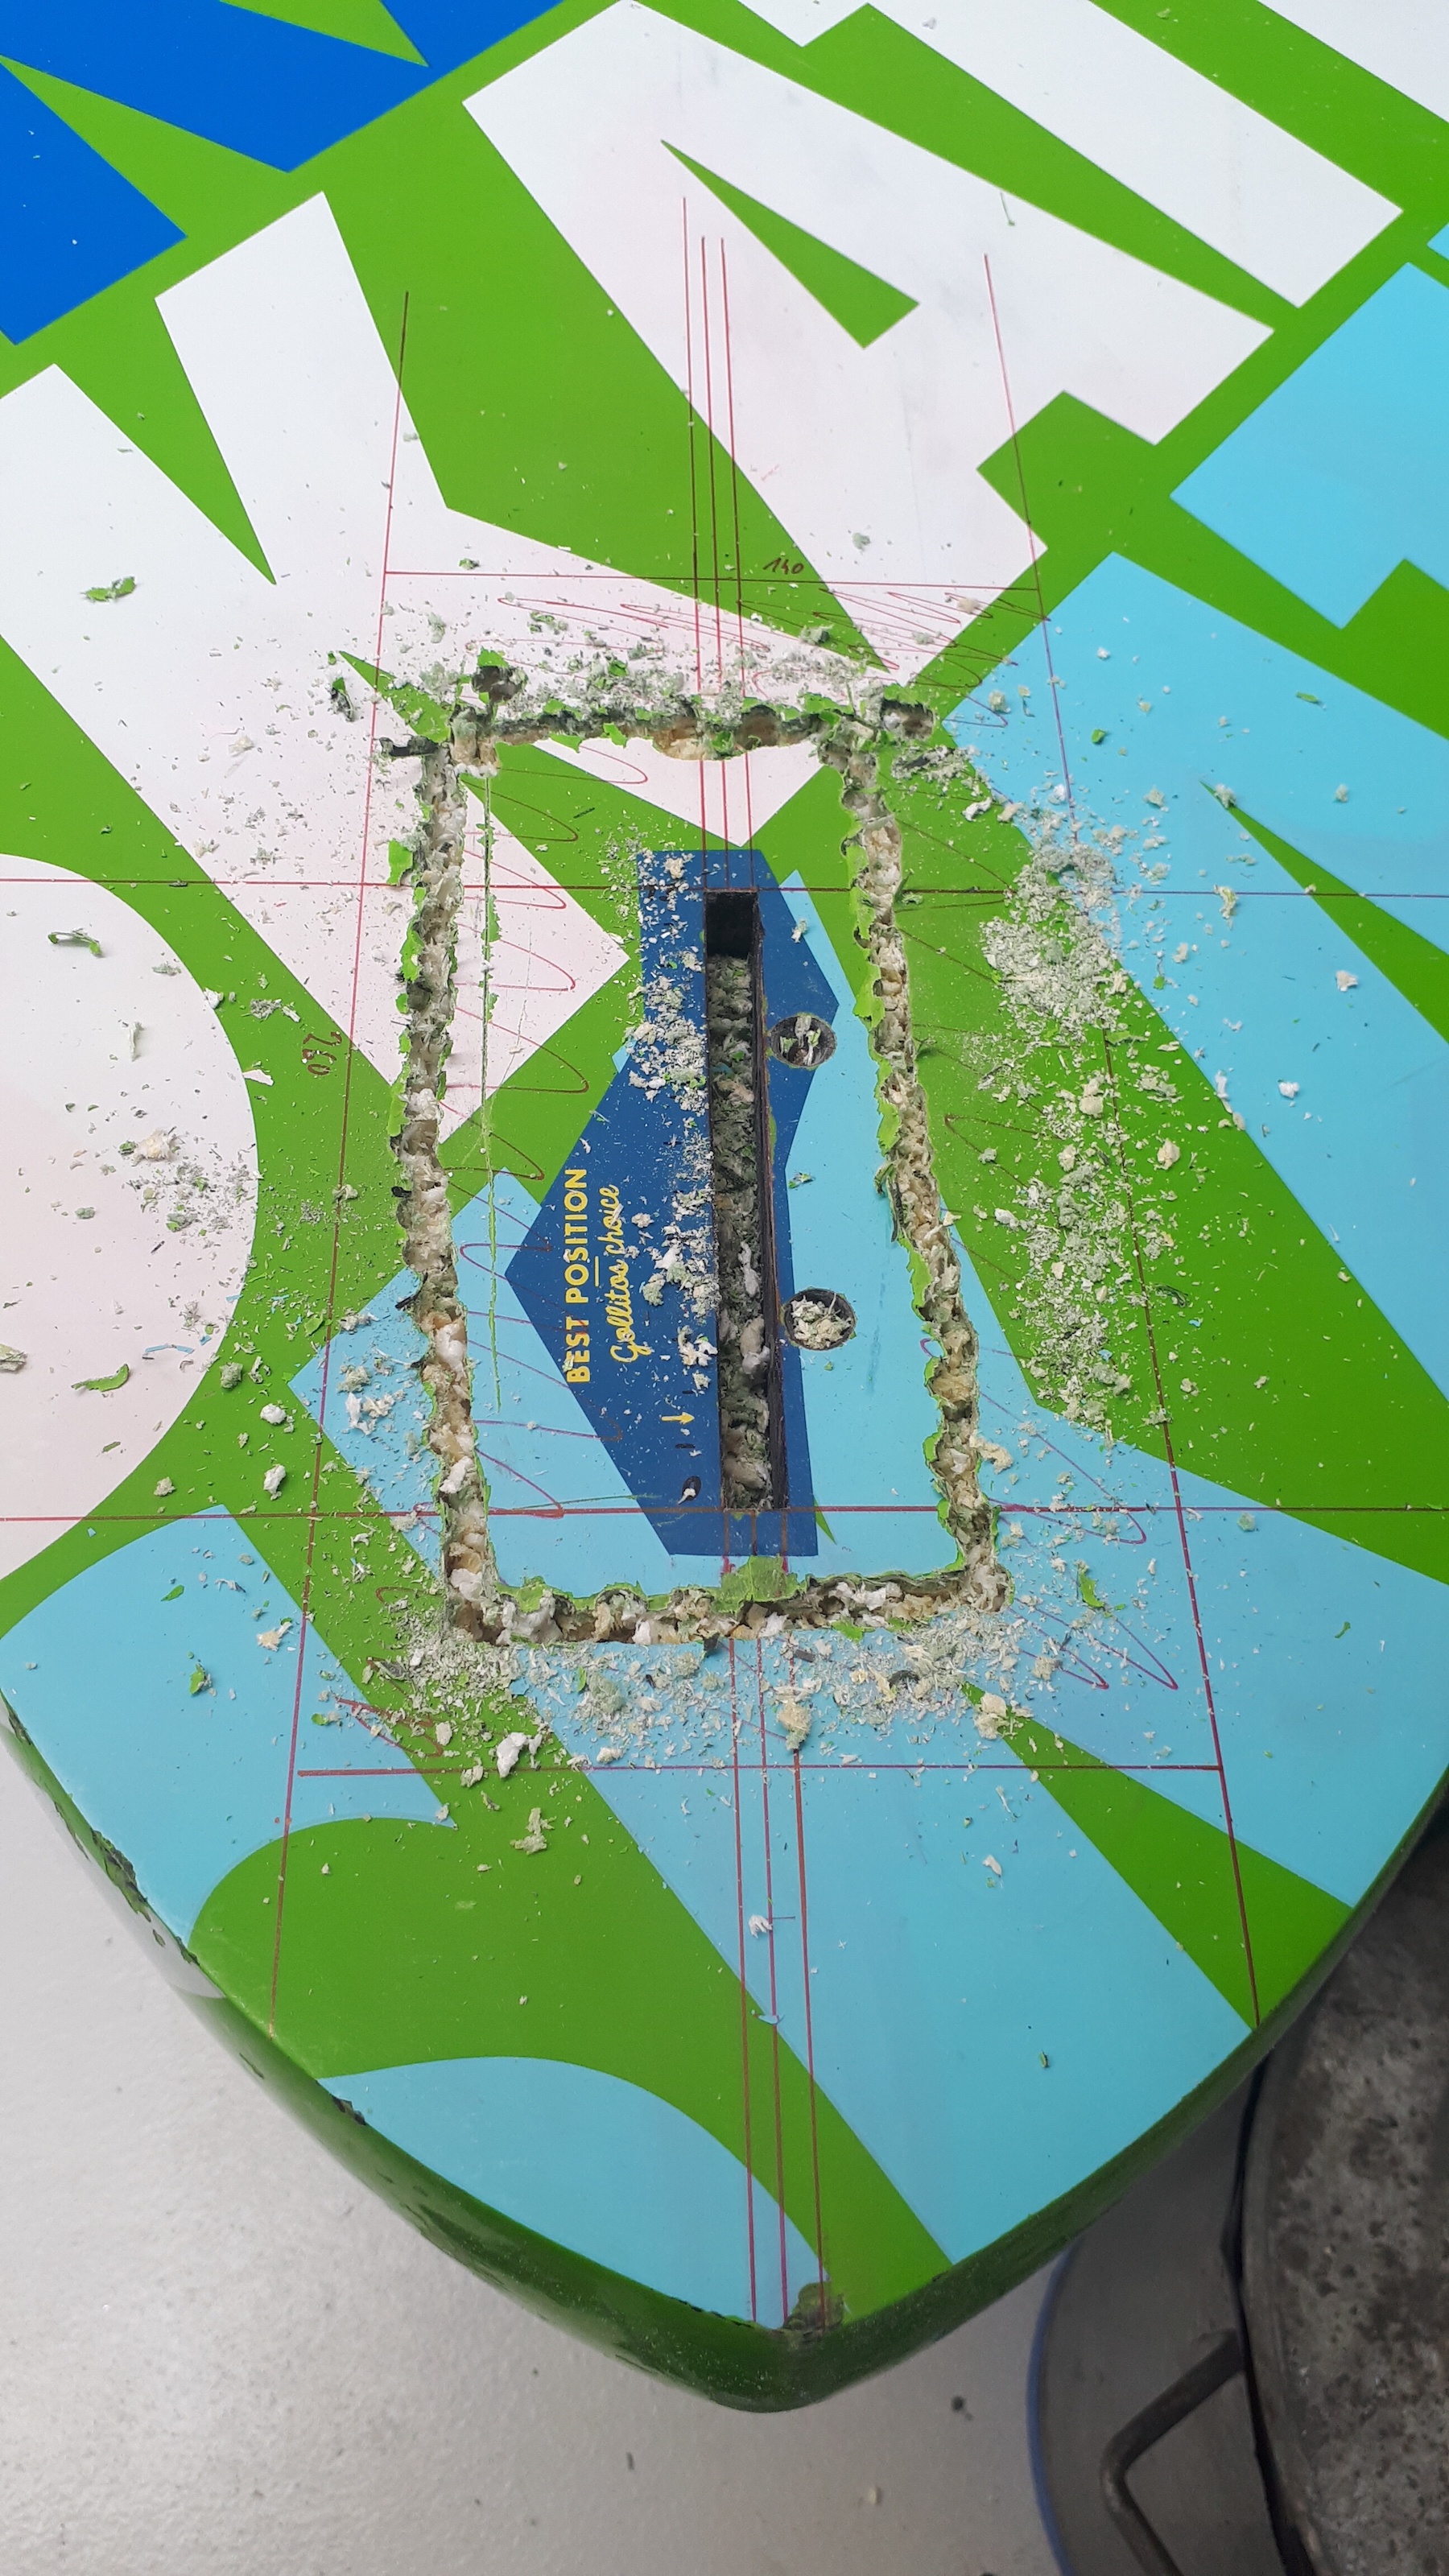
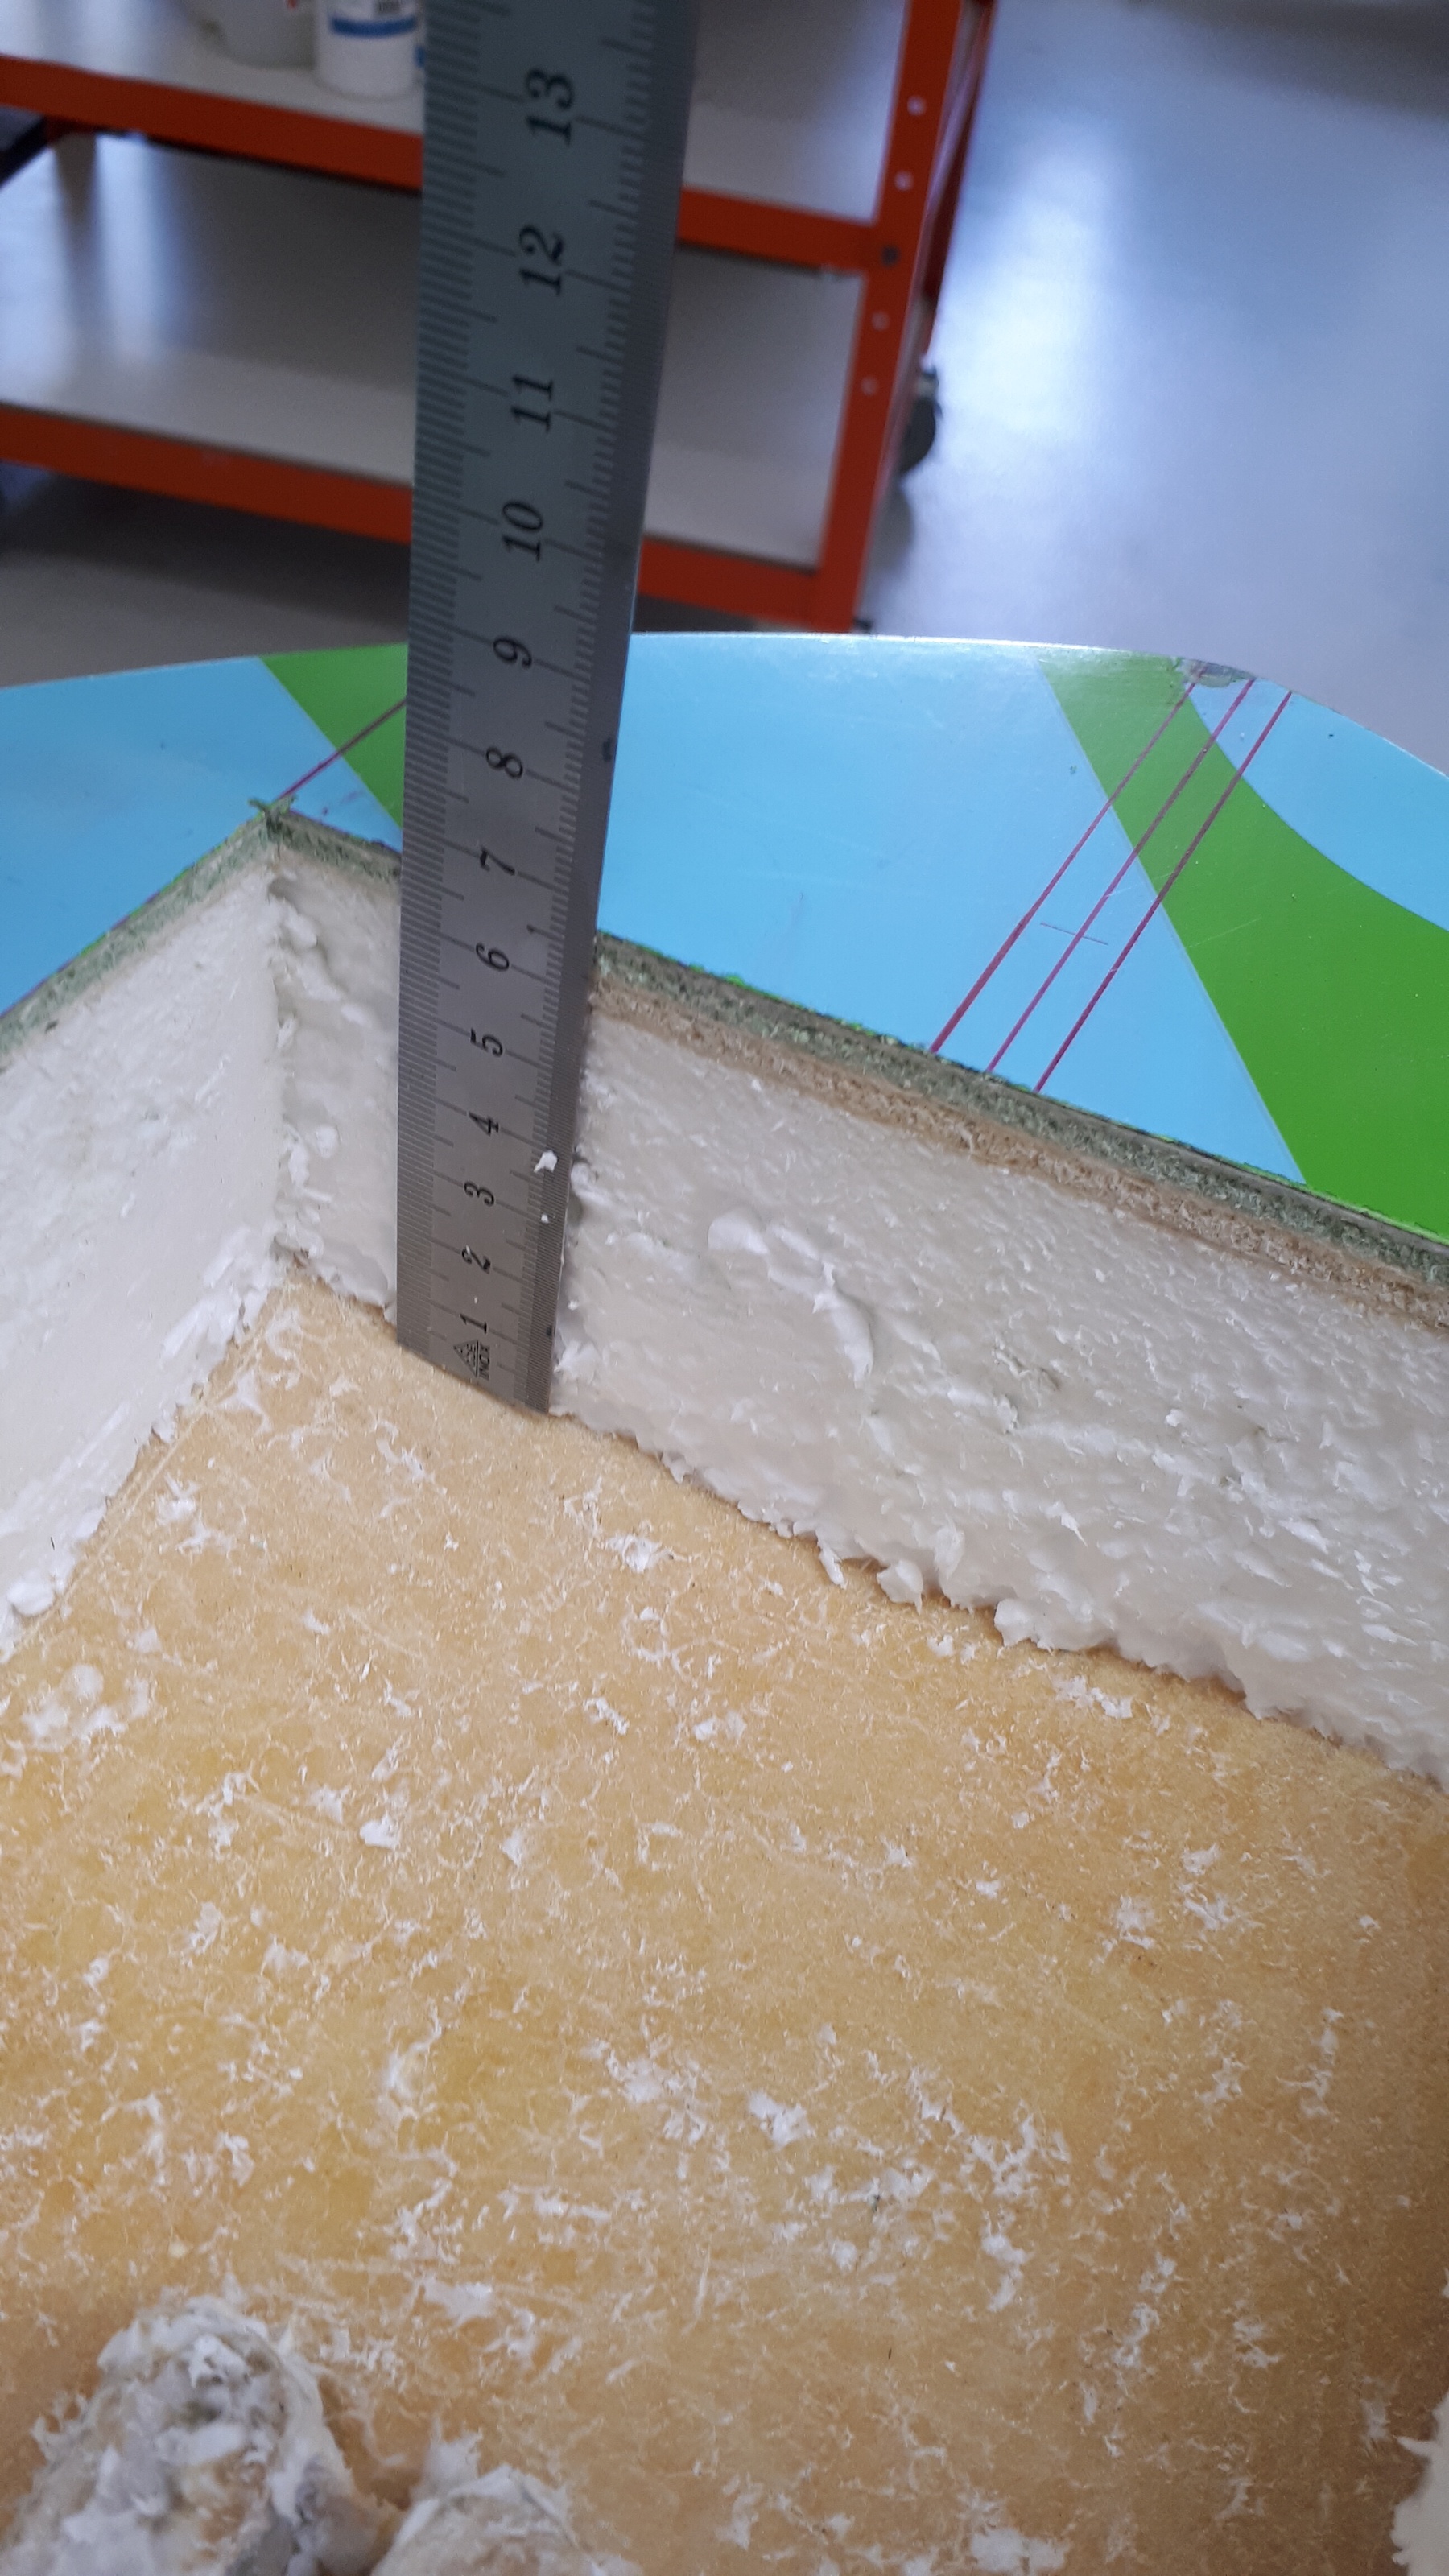
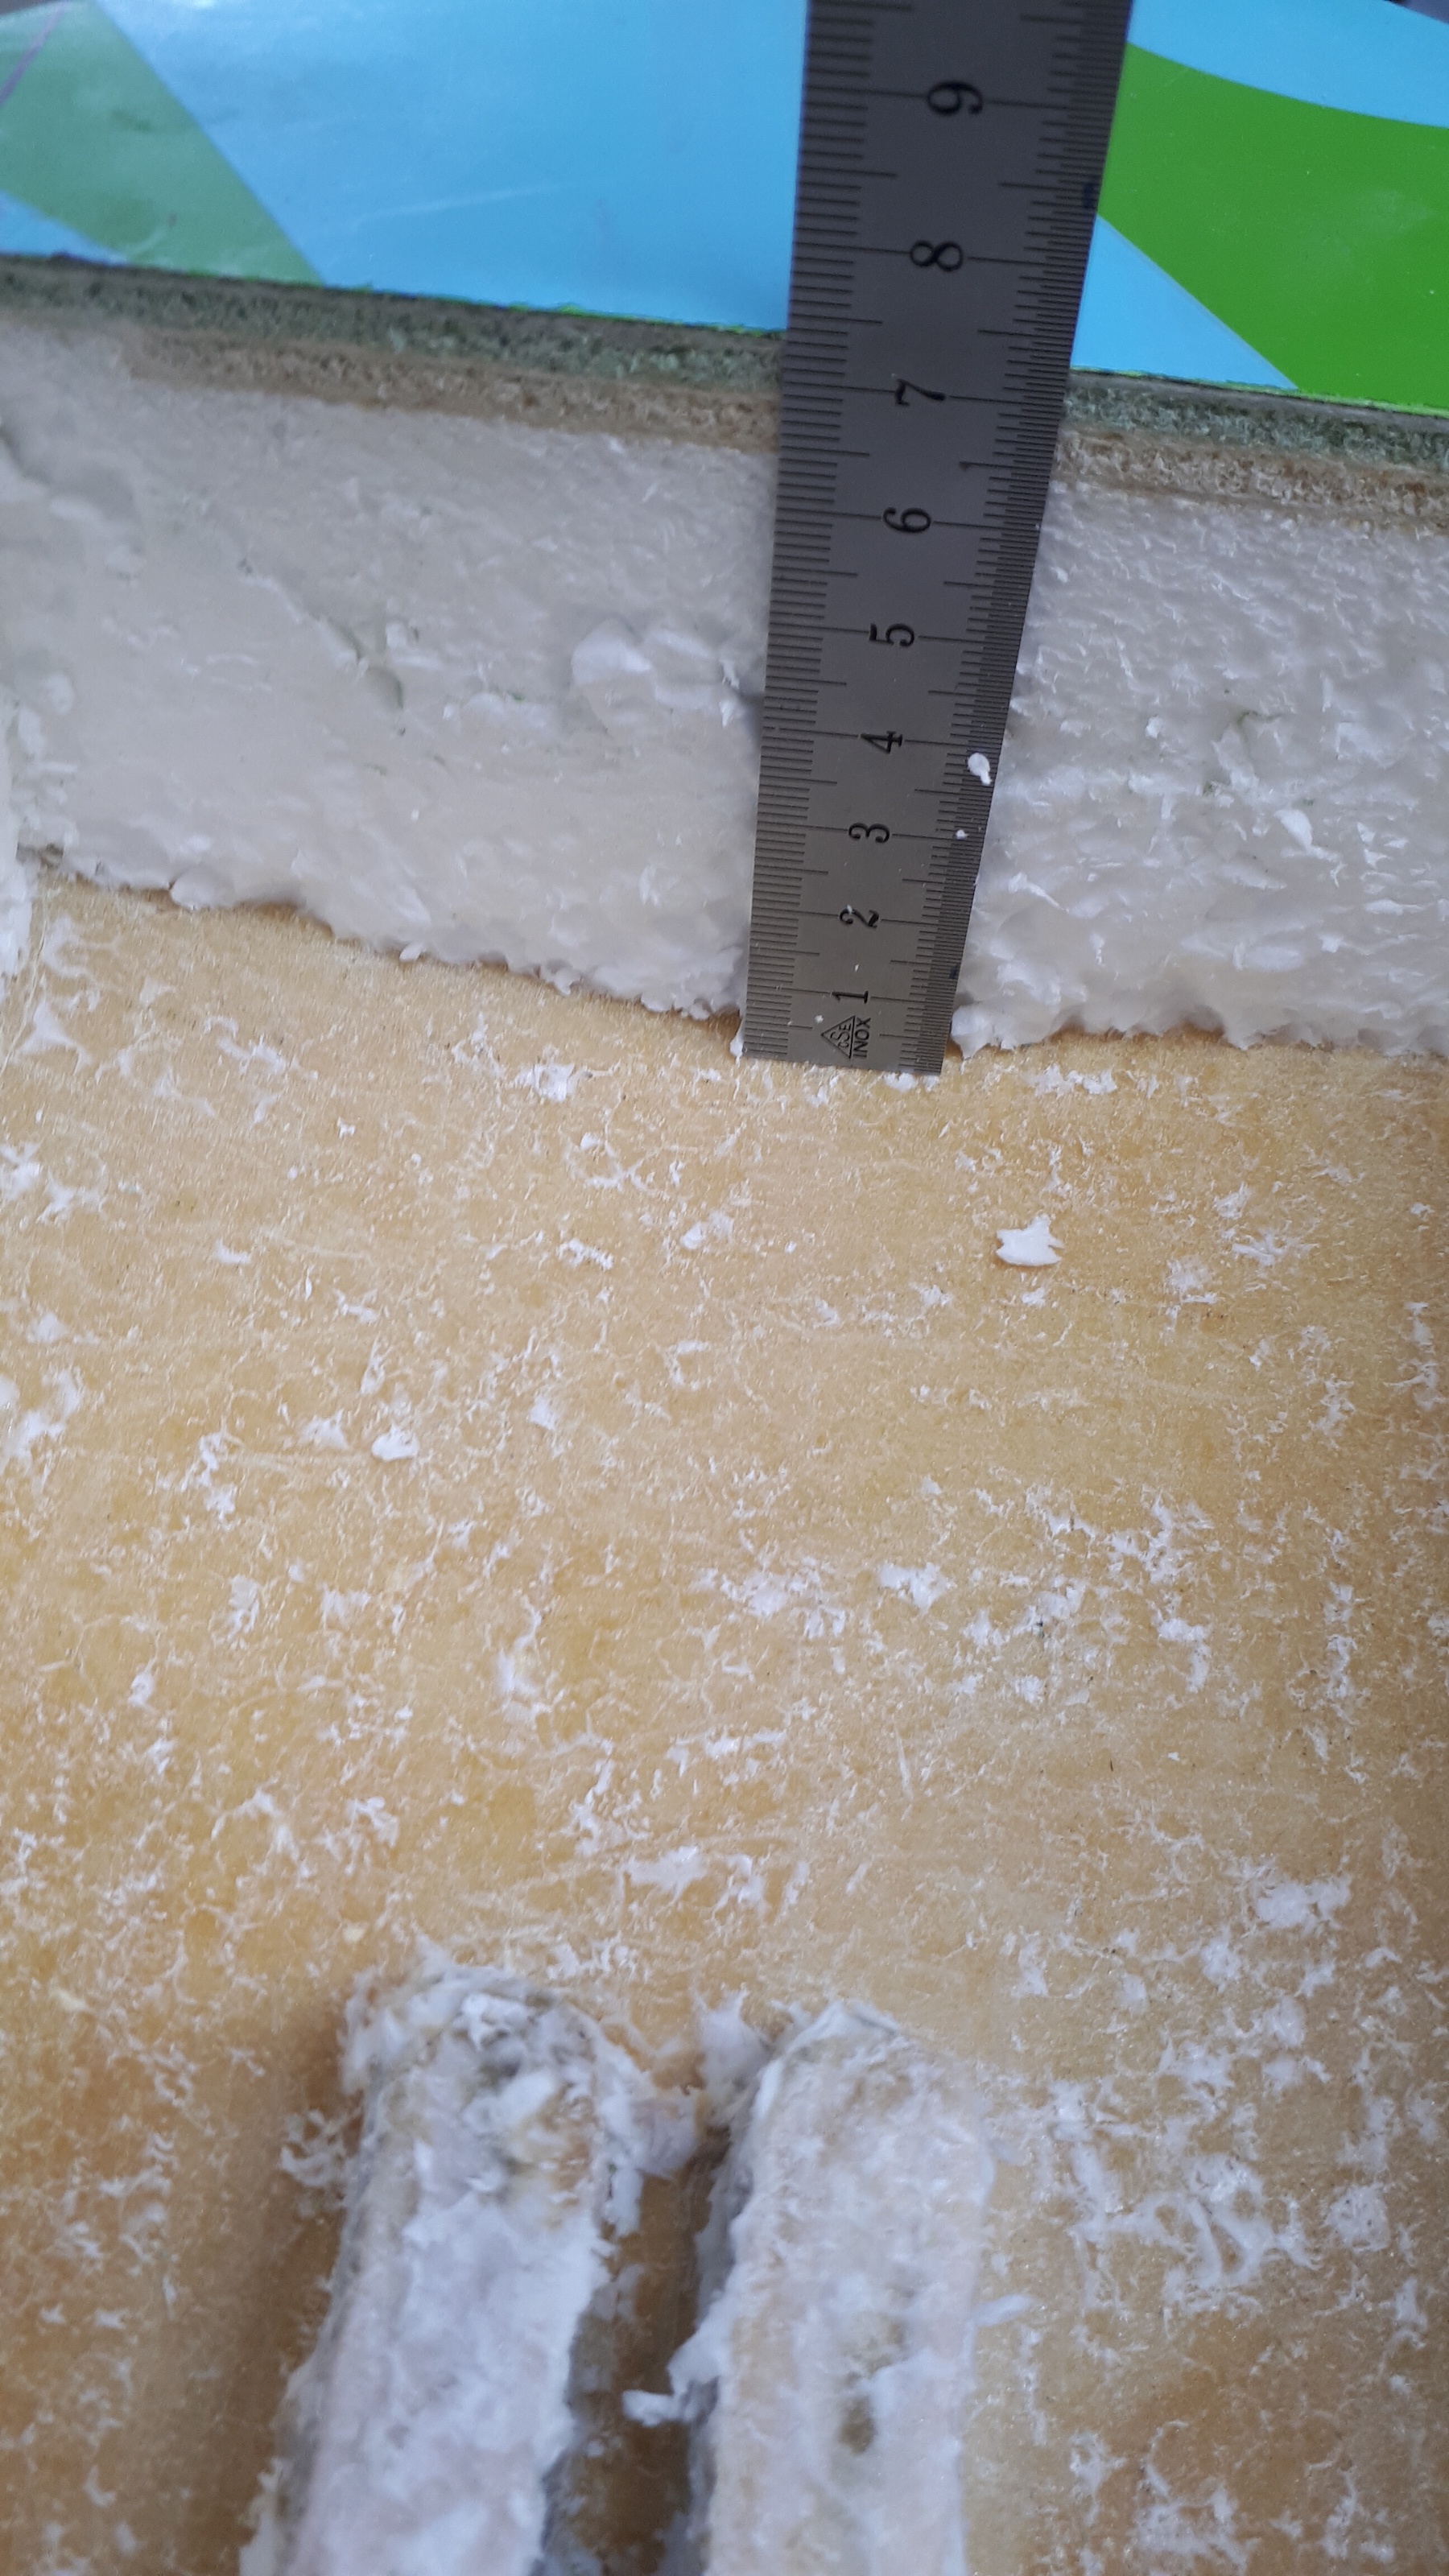
The next step was to cut a 260 x 140 mm2 box into the surfboard. After marking the outline it it took quite some time and effort to accomplish this (also because of a lack of proper tools, like for example a vibrating saw).


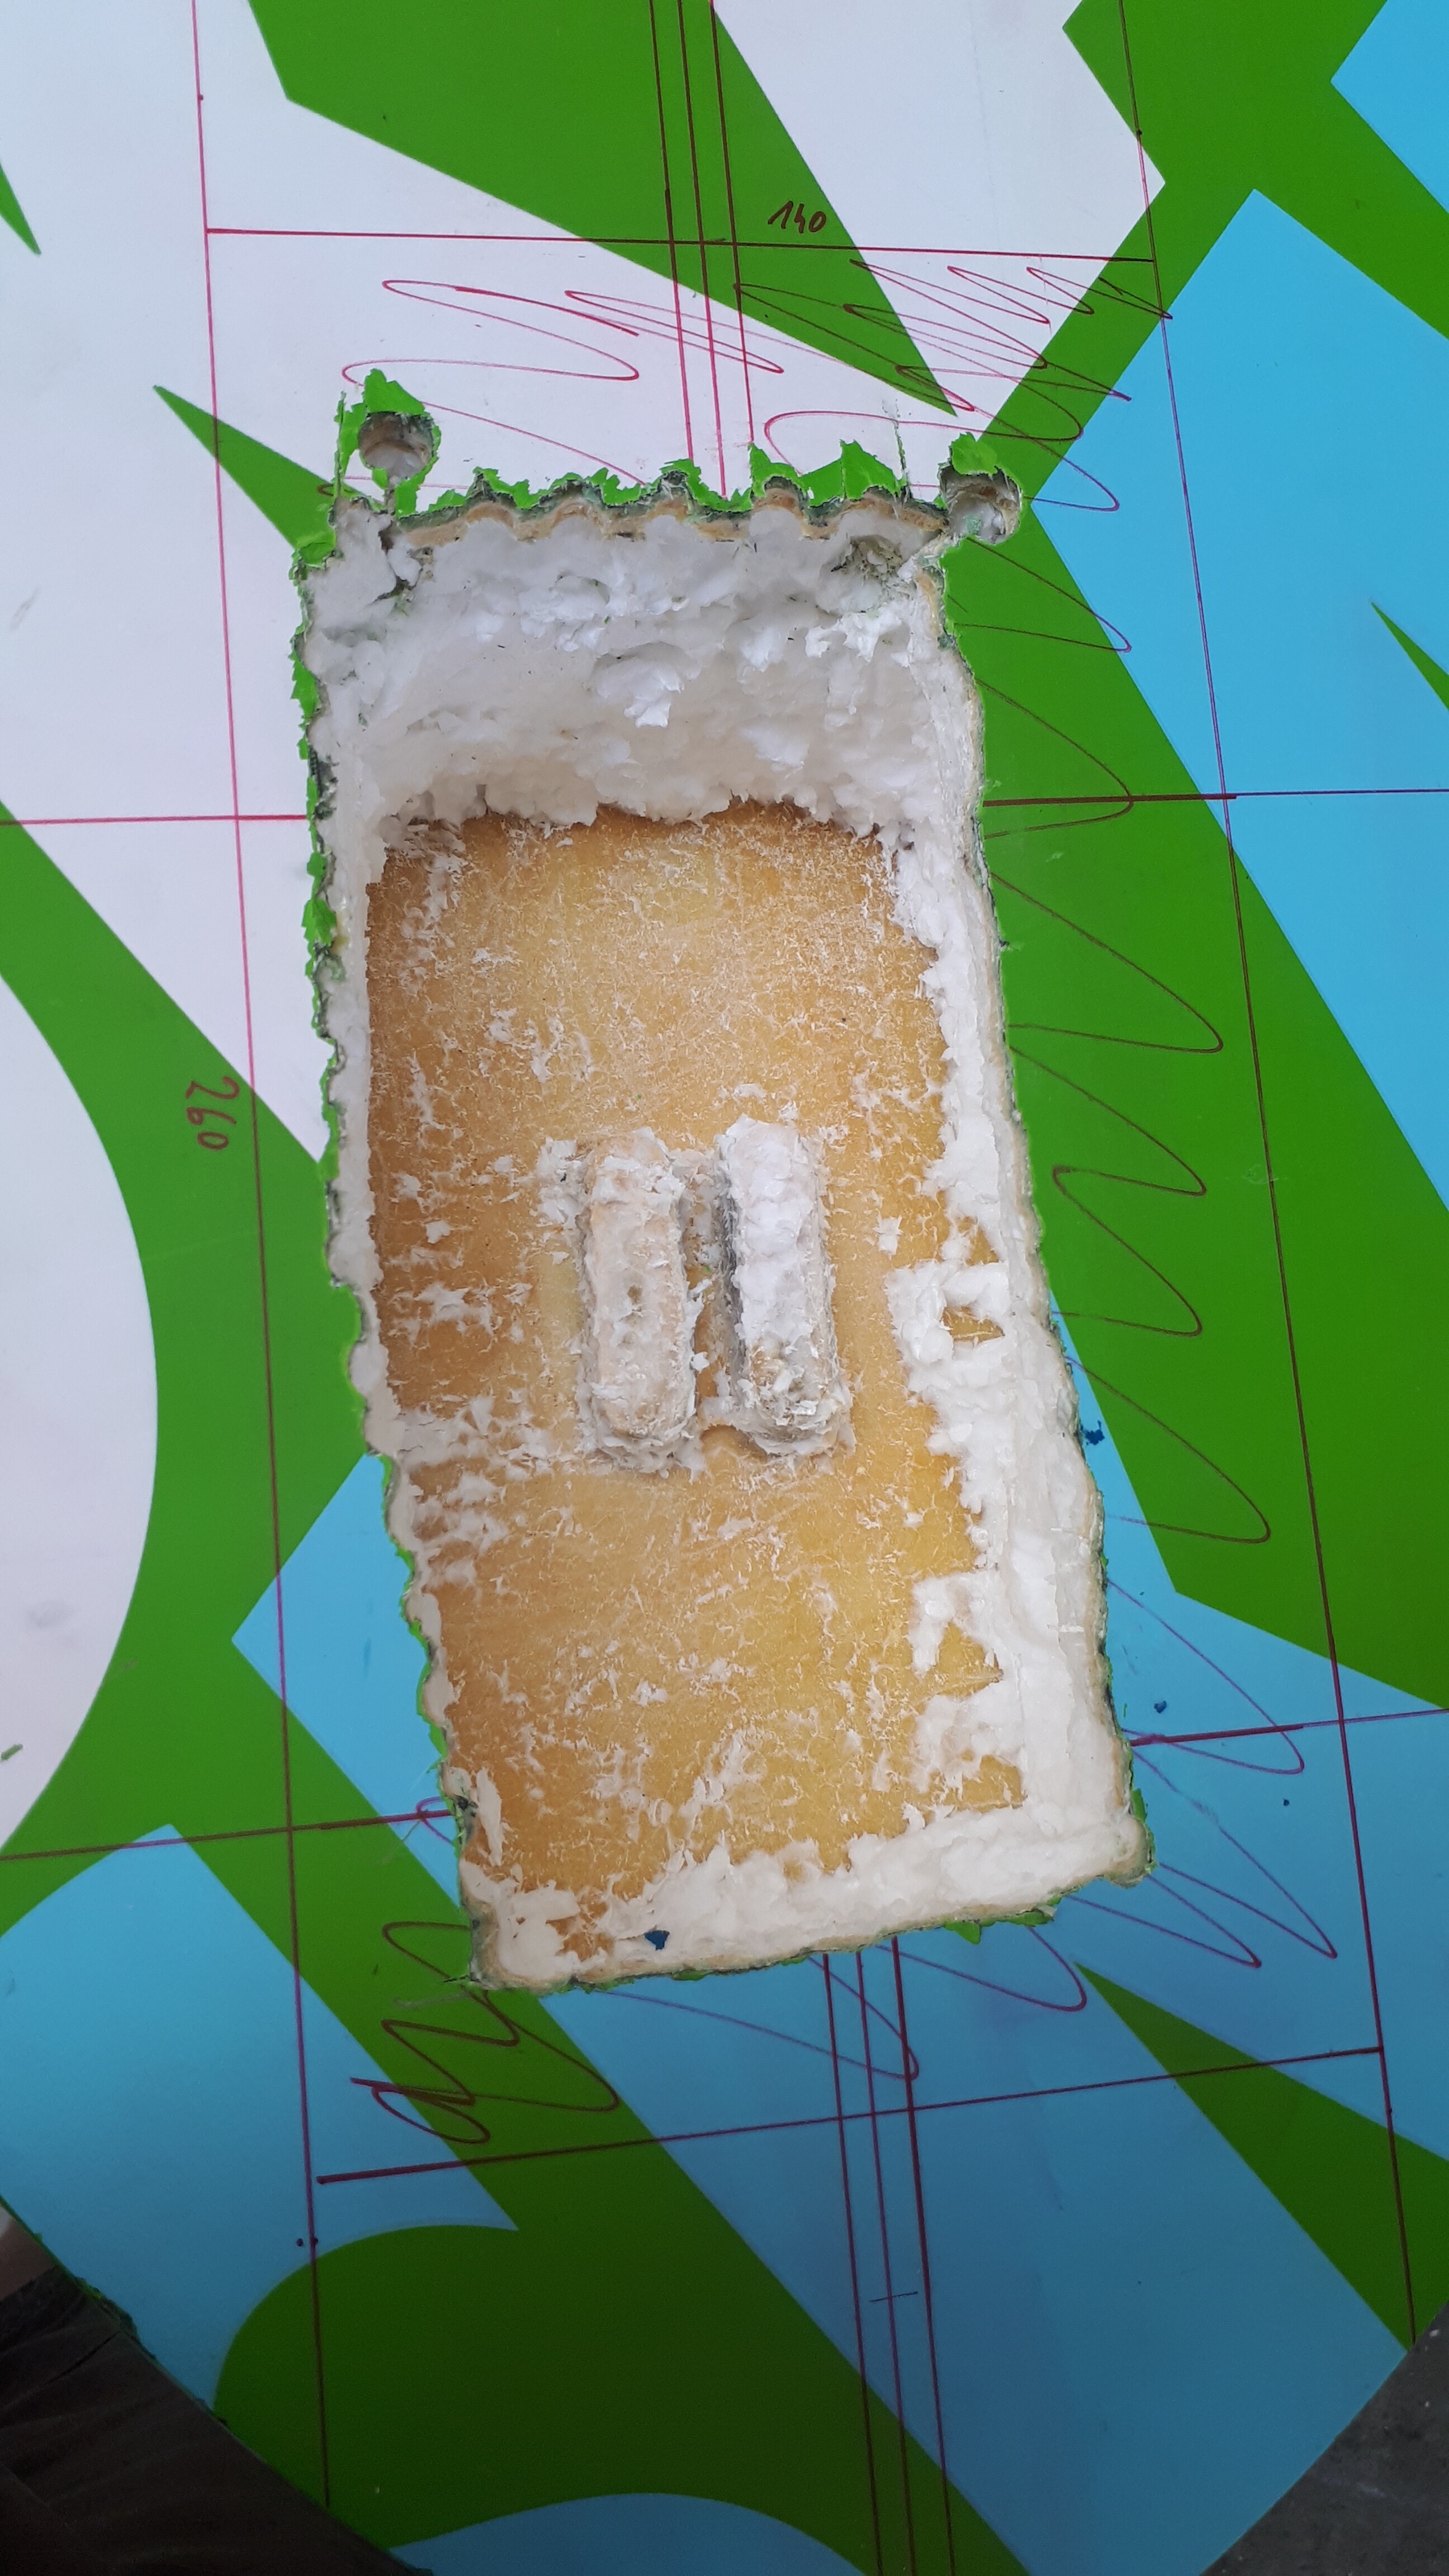

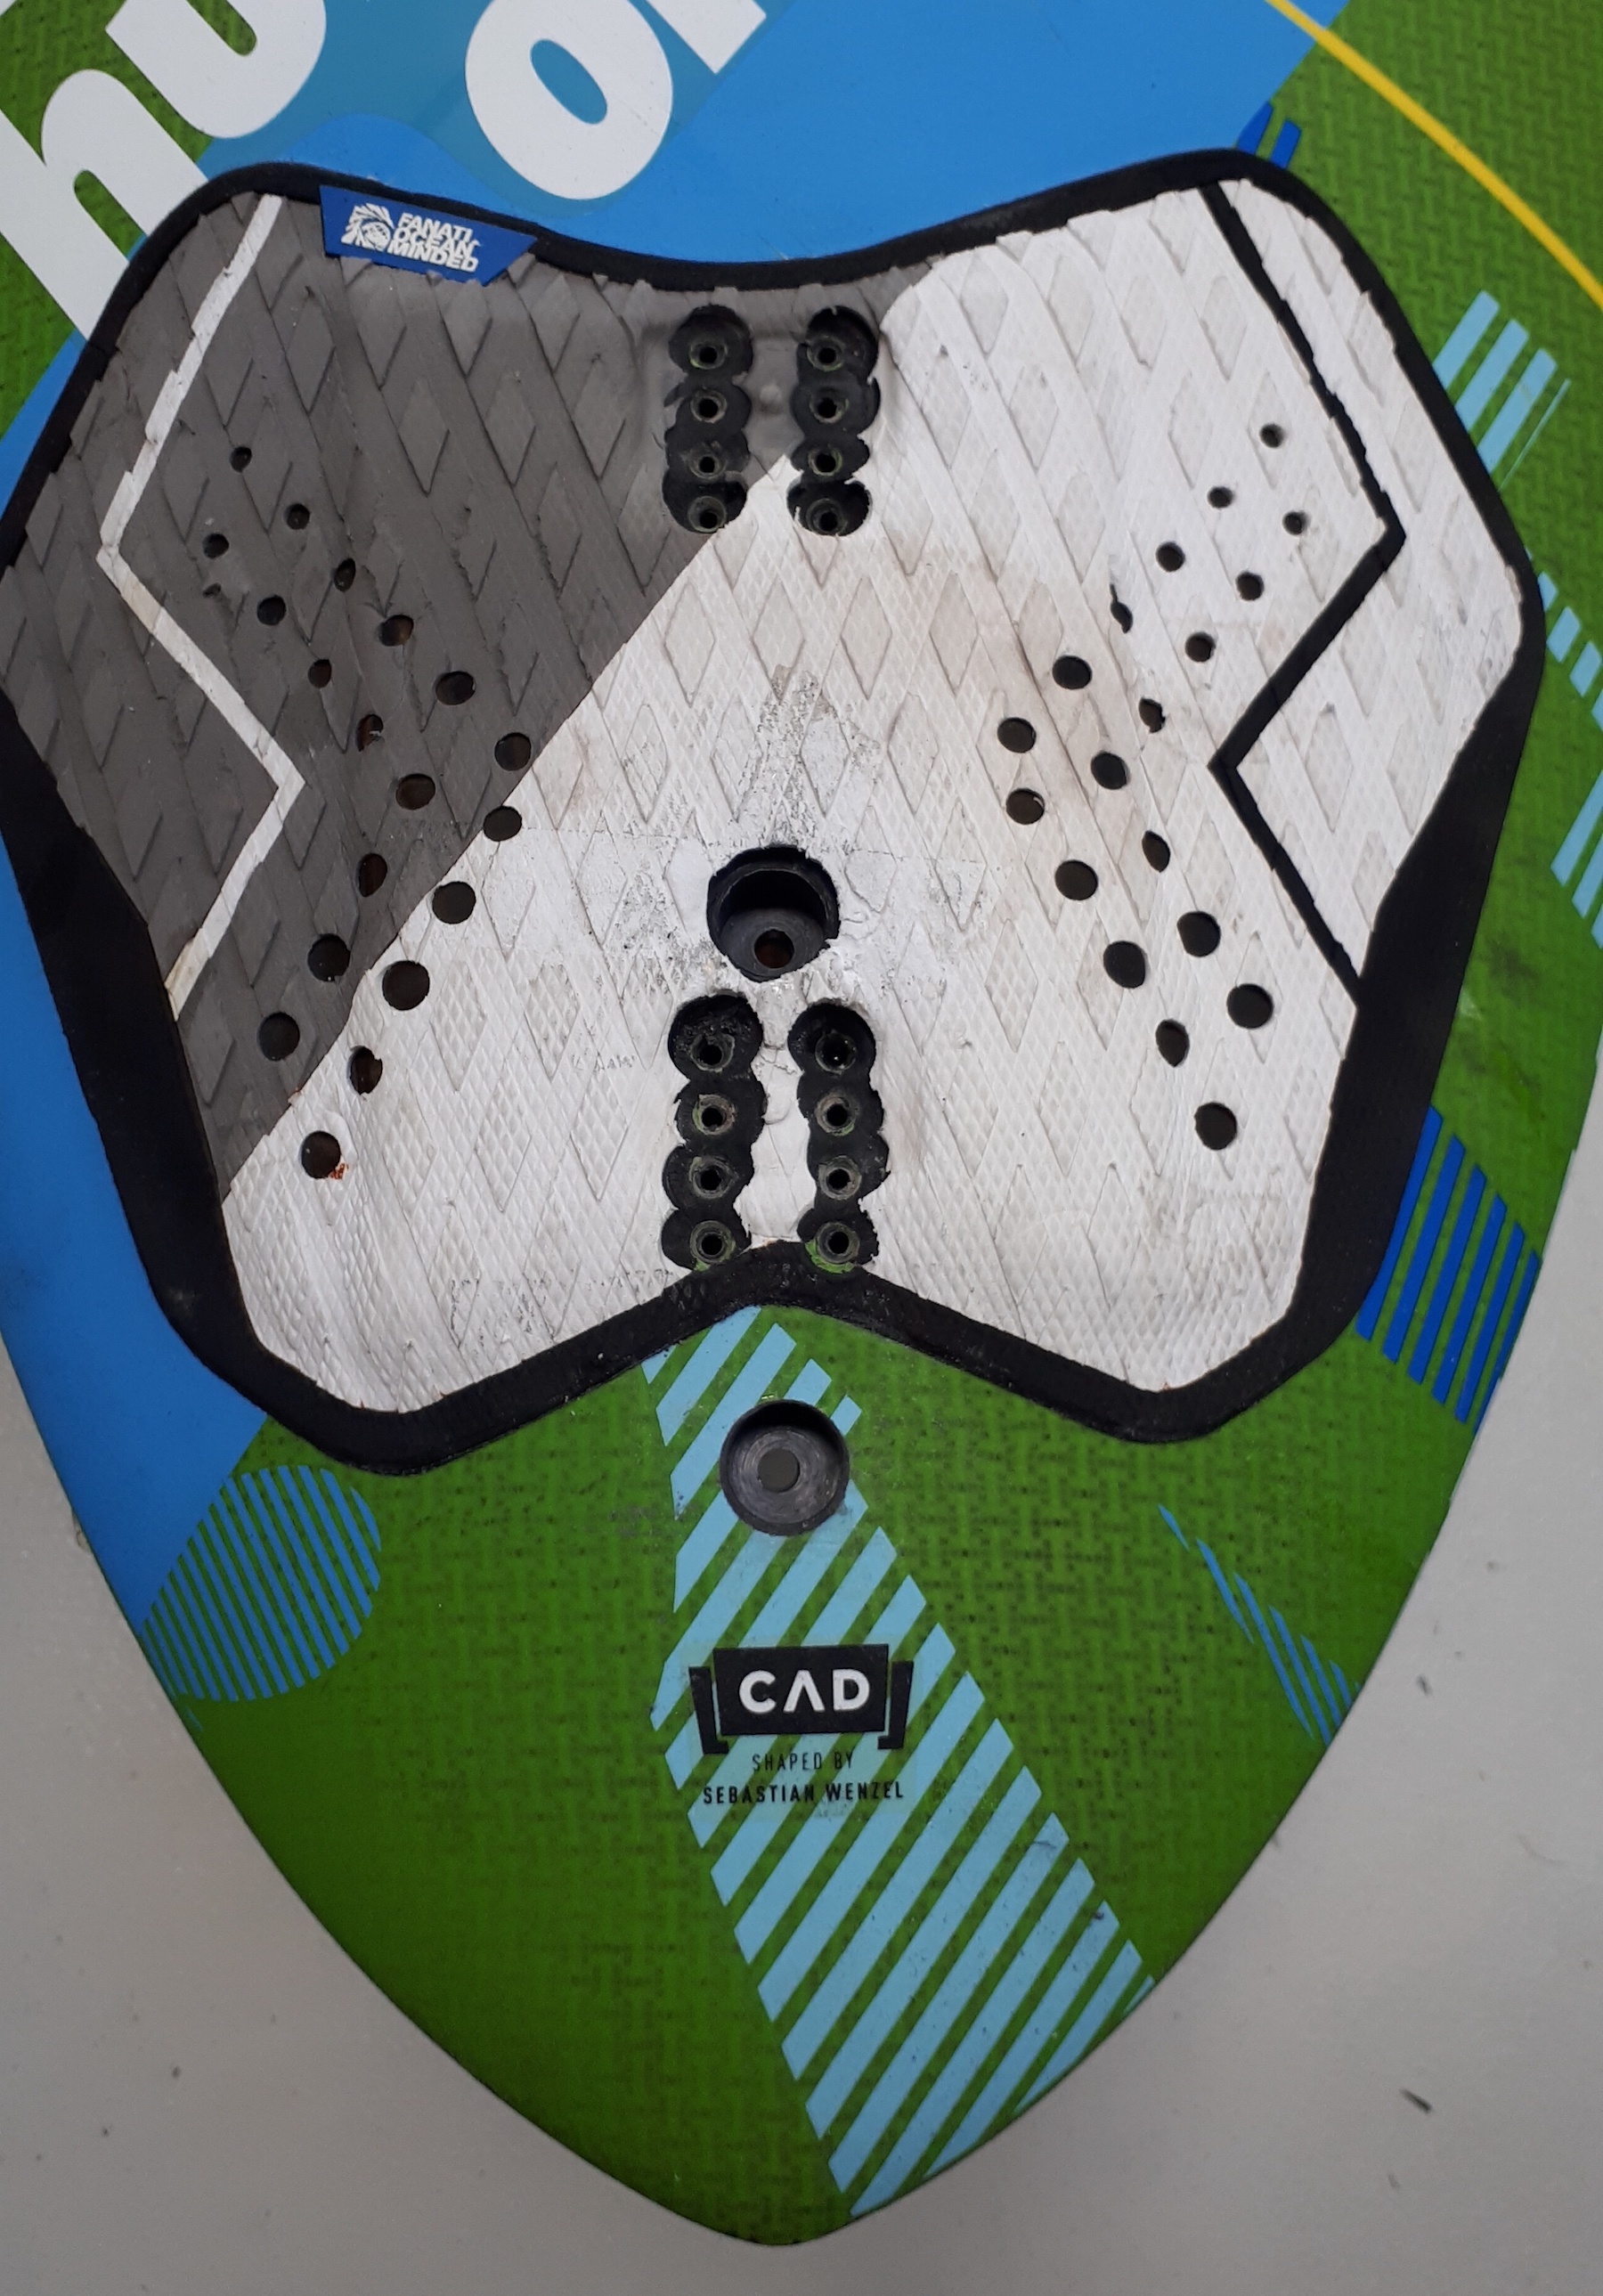
What I found interesting is how Fanatic strengthened the slot box with a second sandwich layer and how the foot strap inserts where embedded in the upper layer of the board. Nice work there Fanatic shaper(s) and engineers!
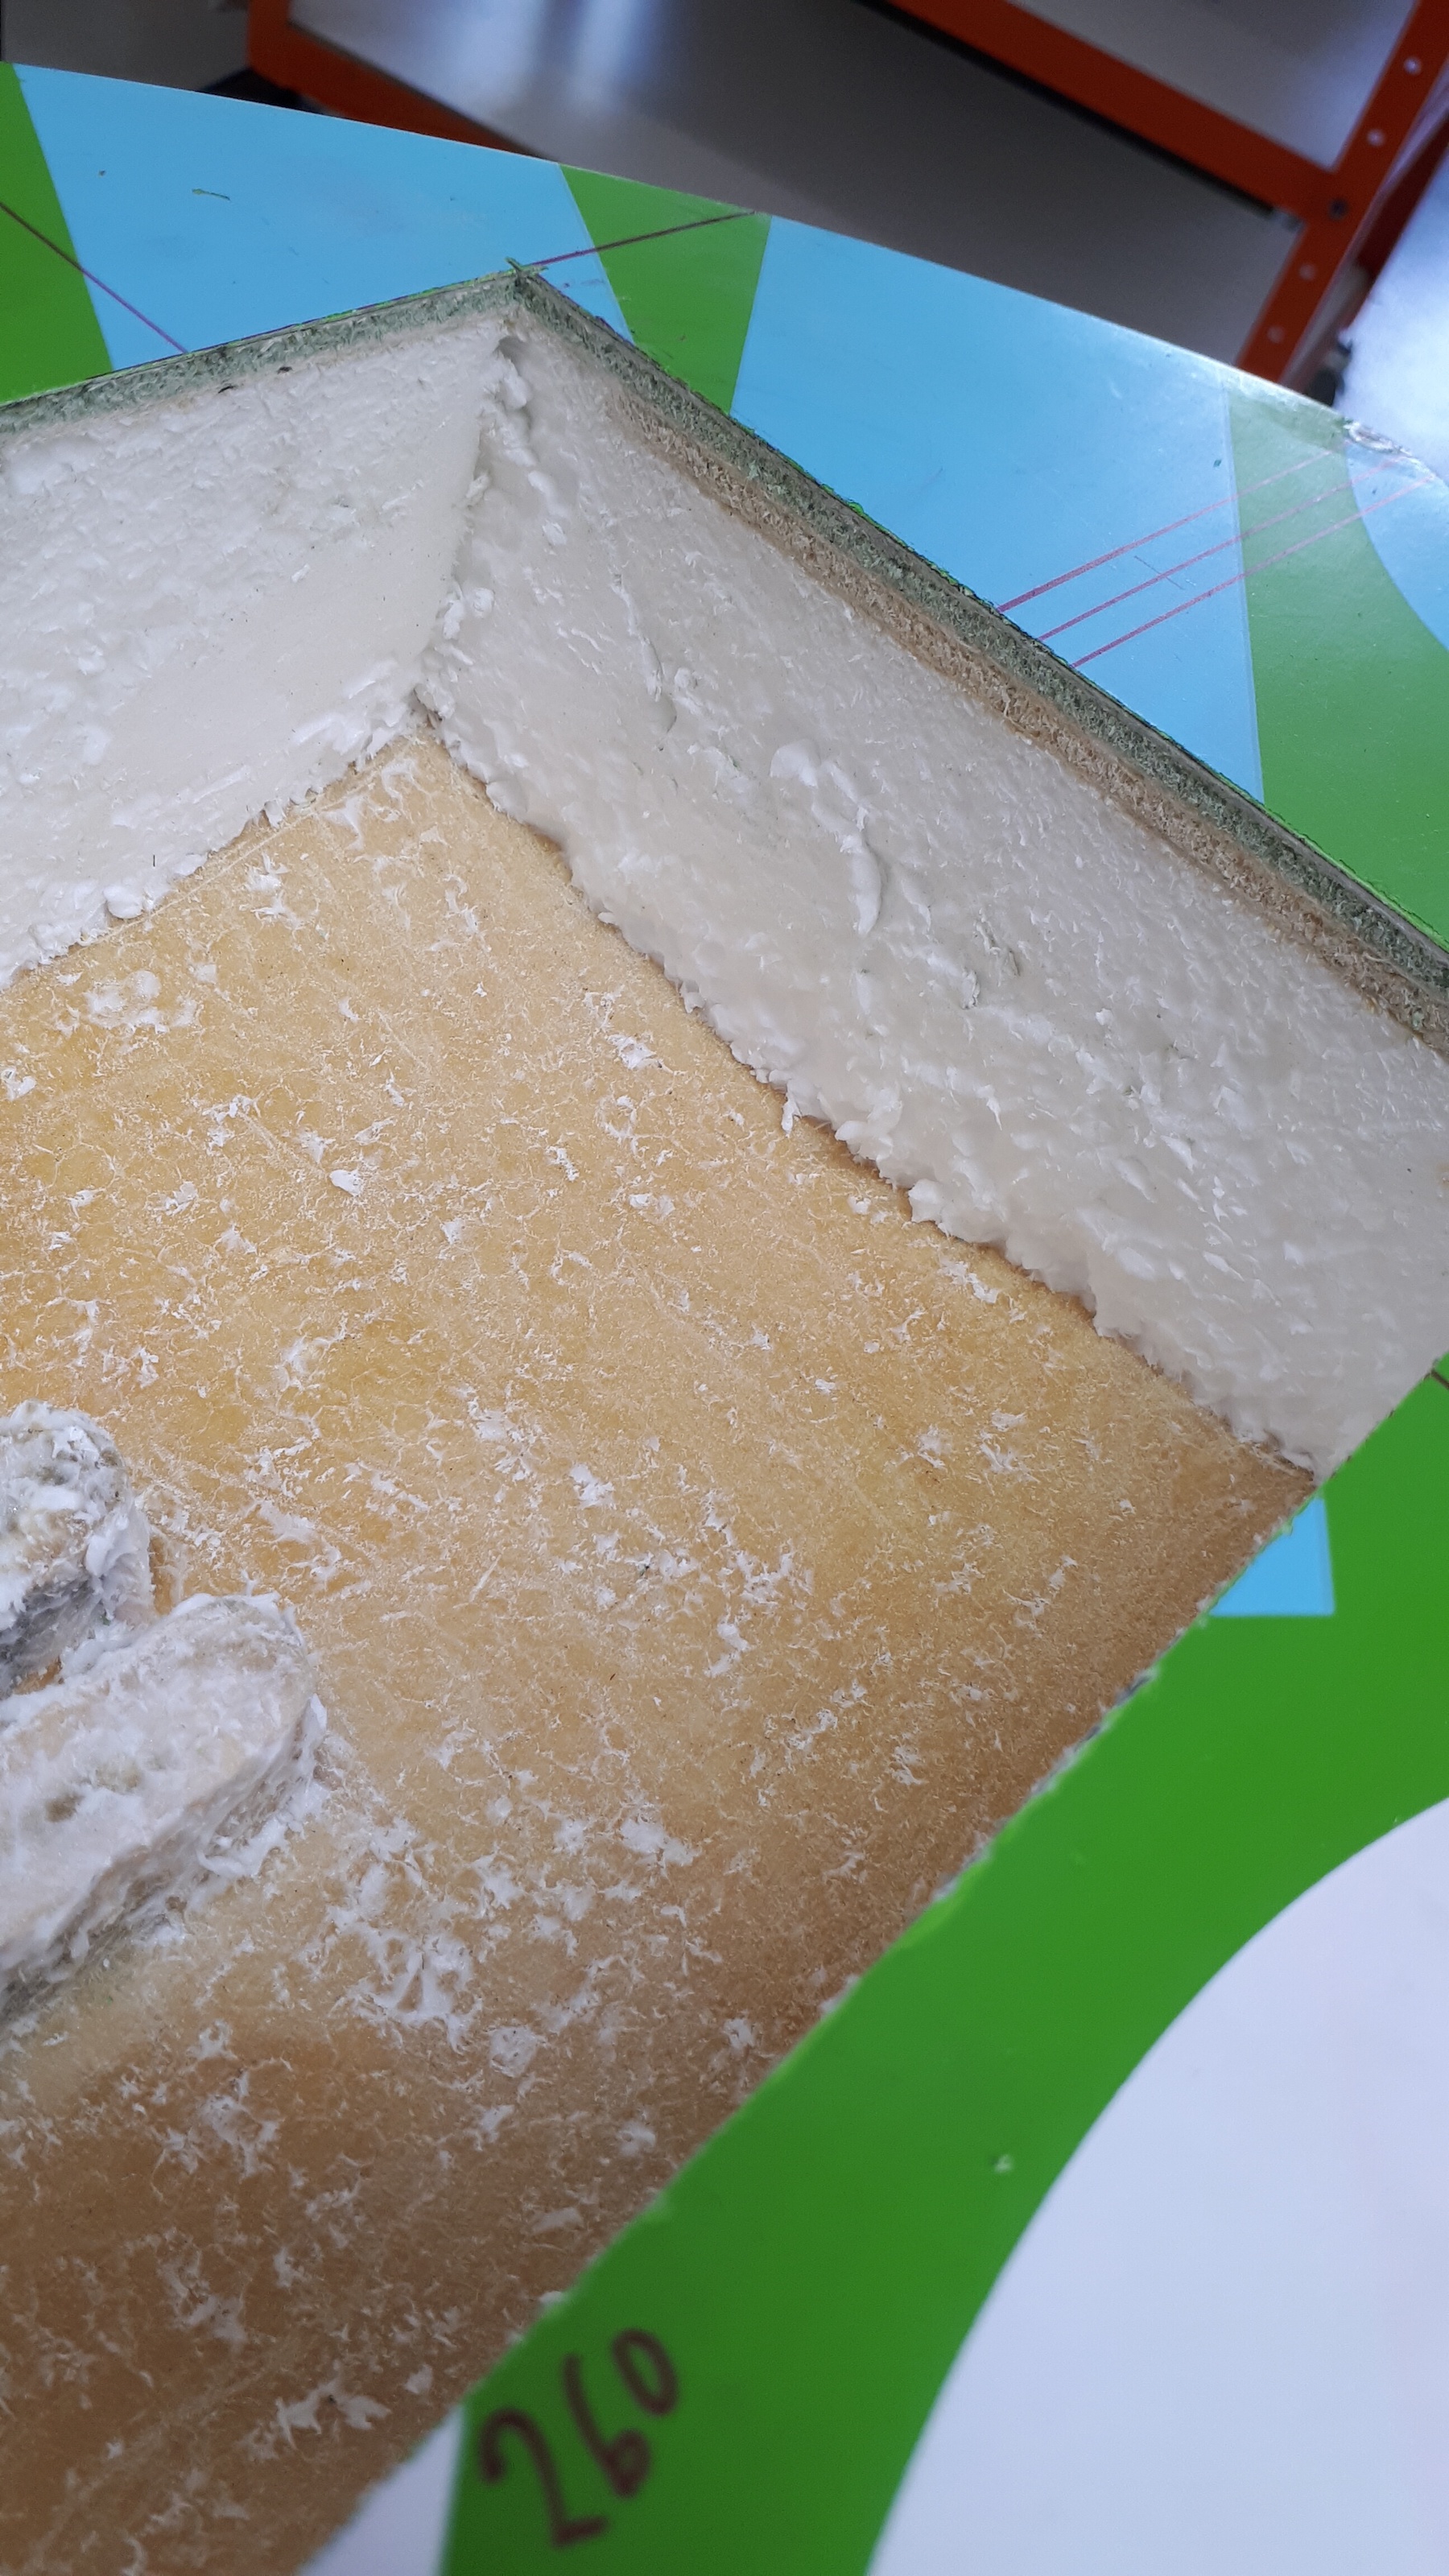
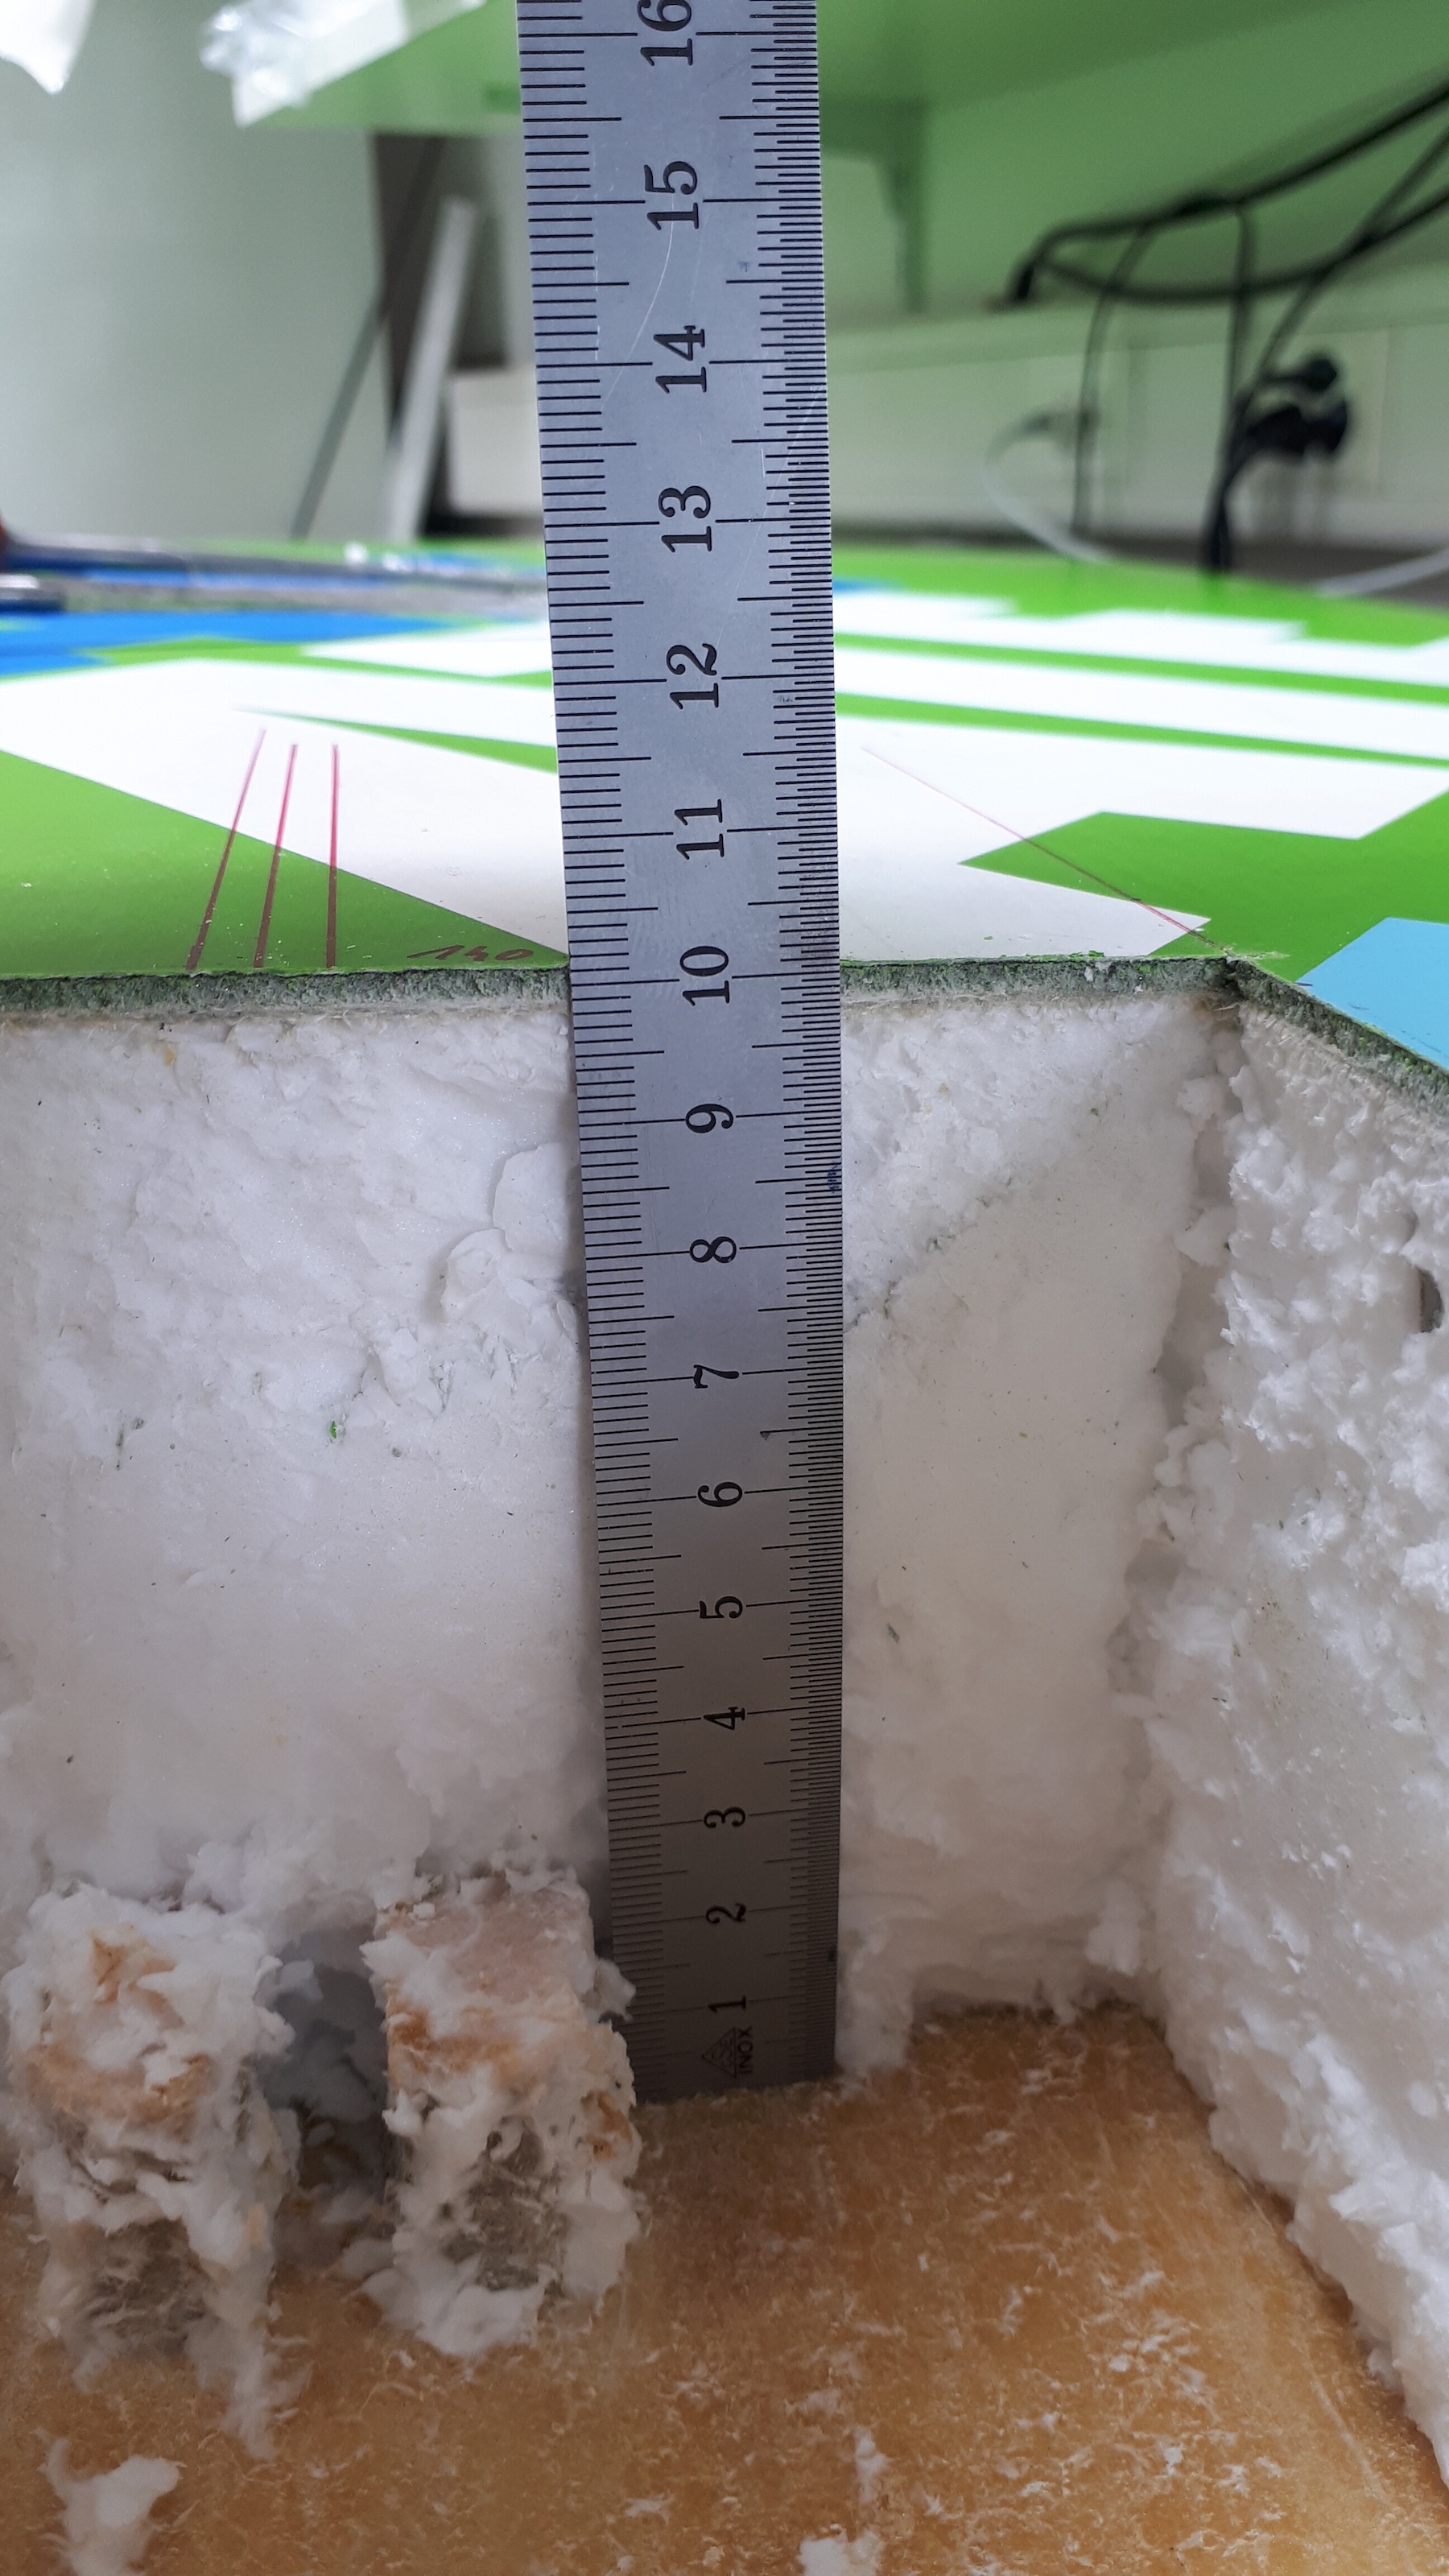
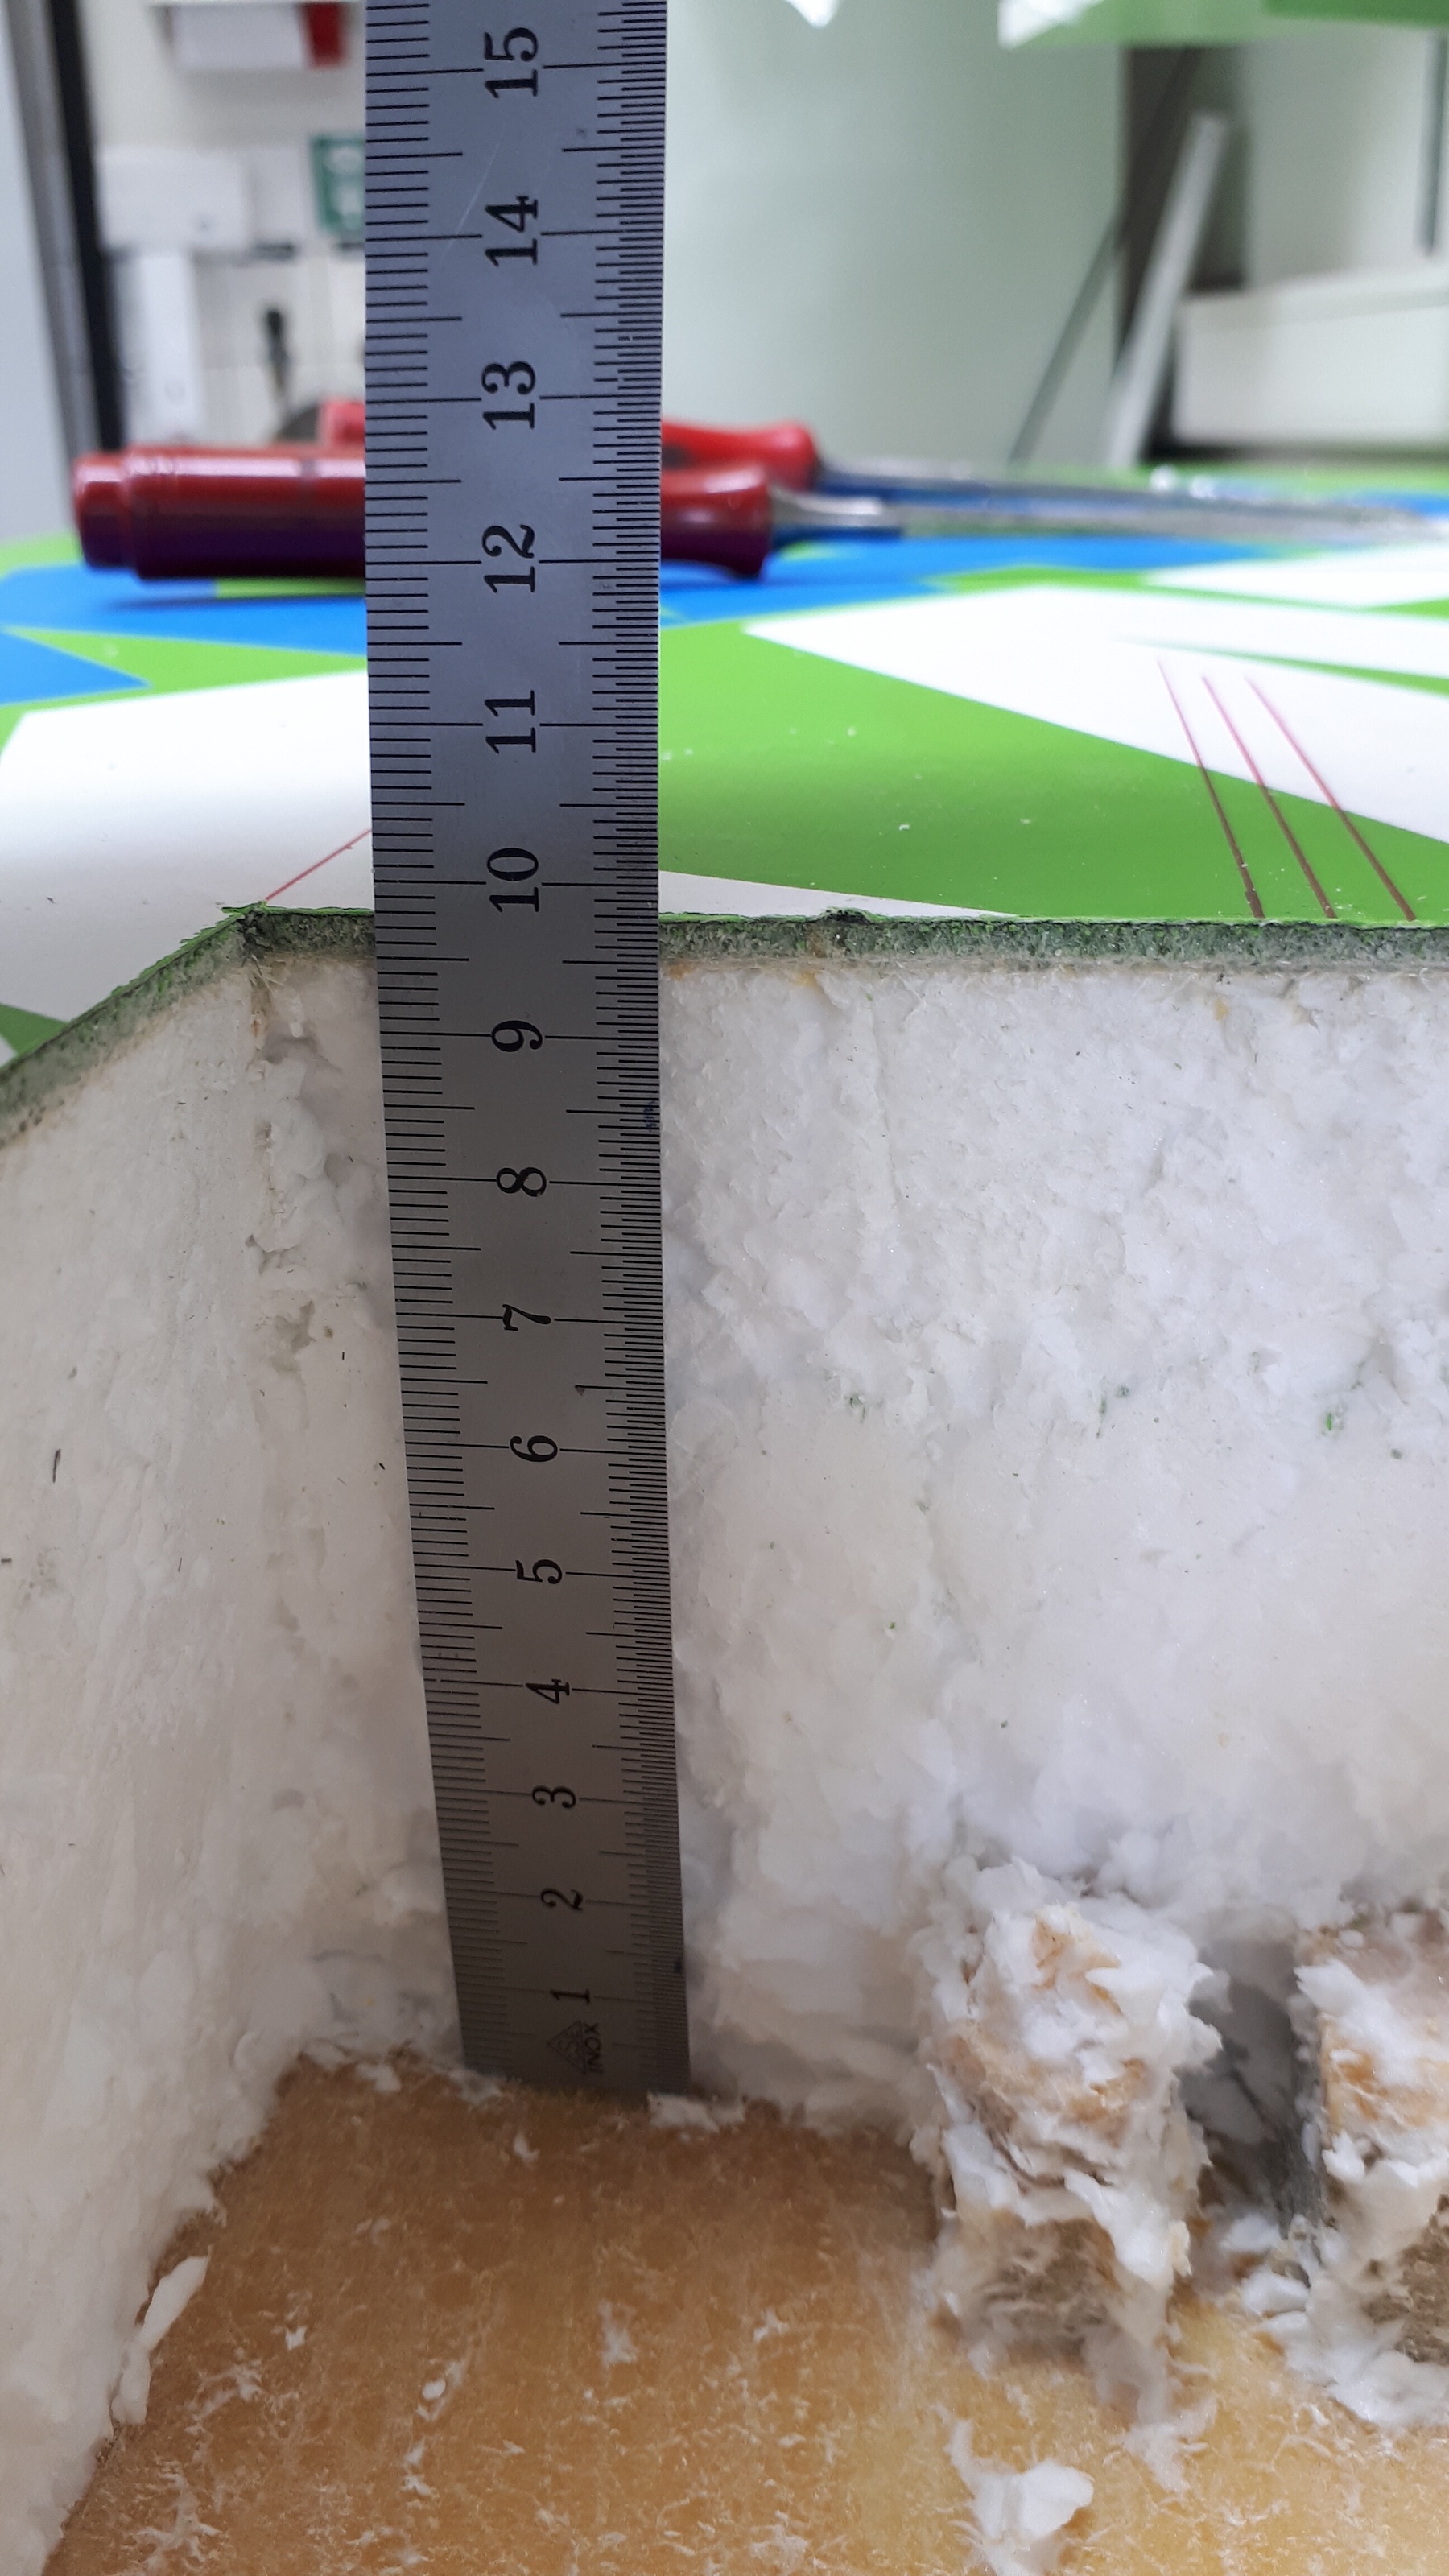
The resulting cavity was pretty deep - plenty of space for the deep tuttle box.
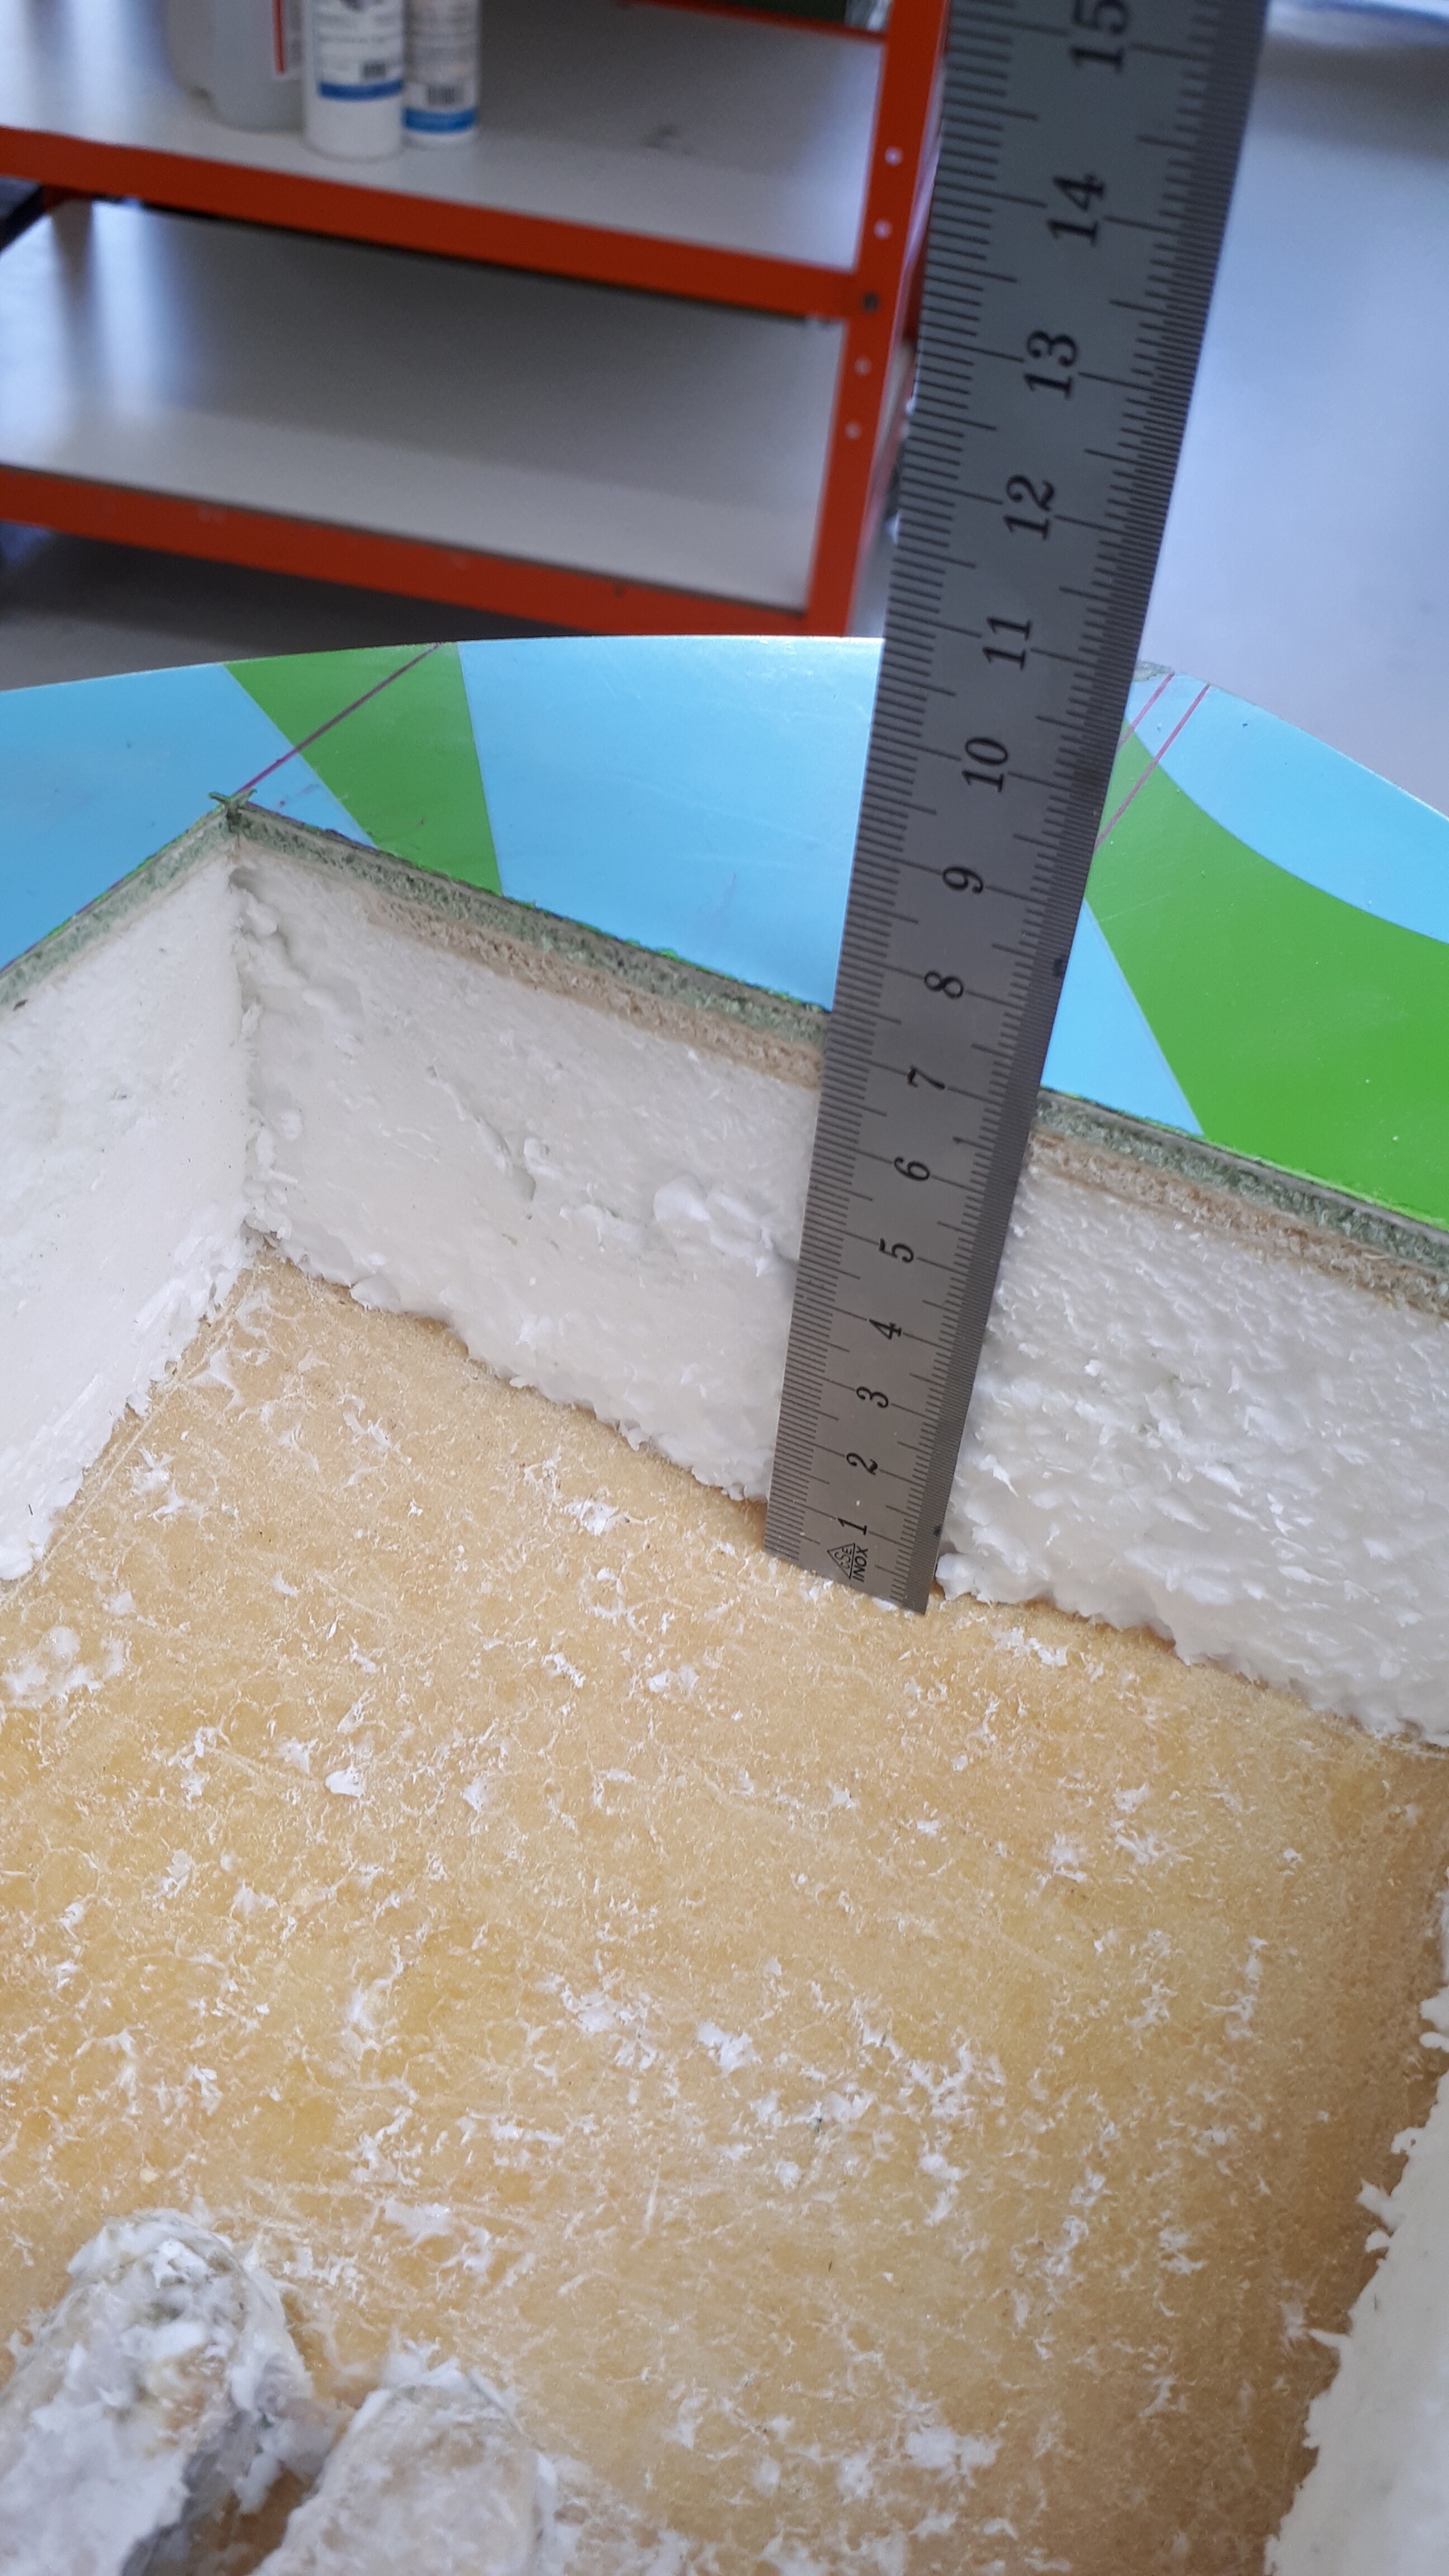
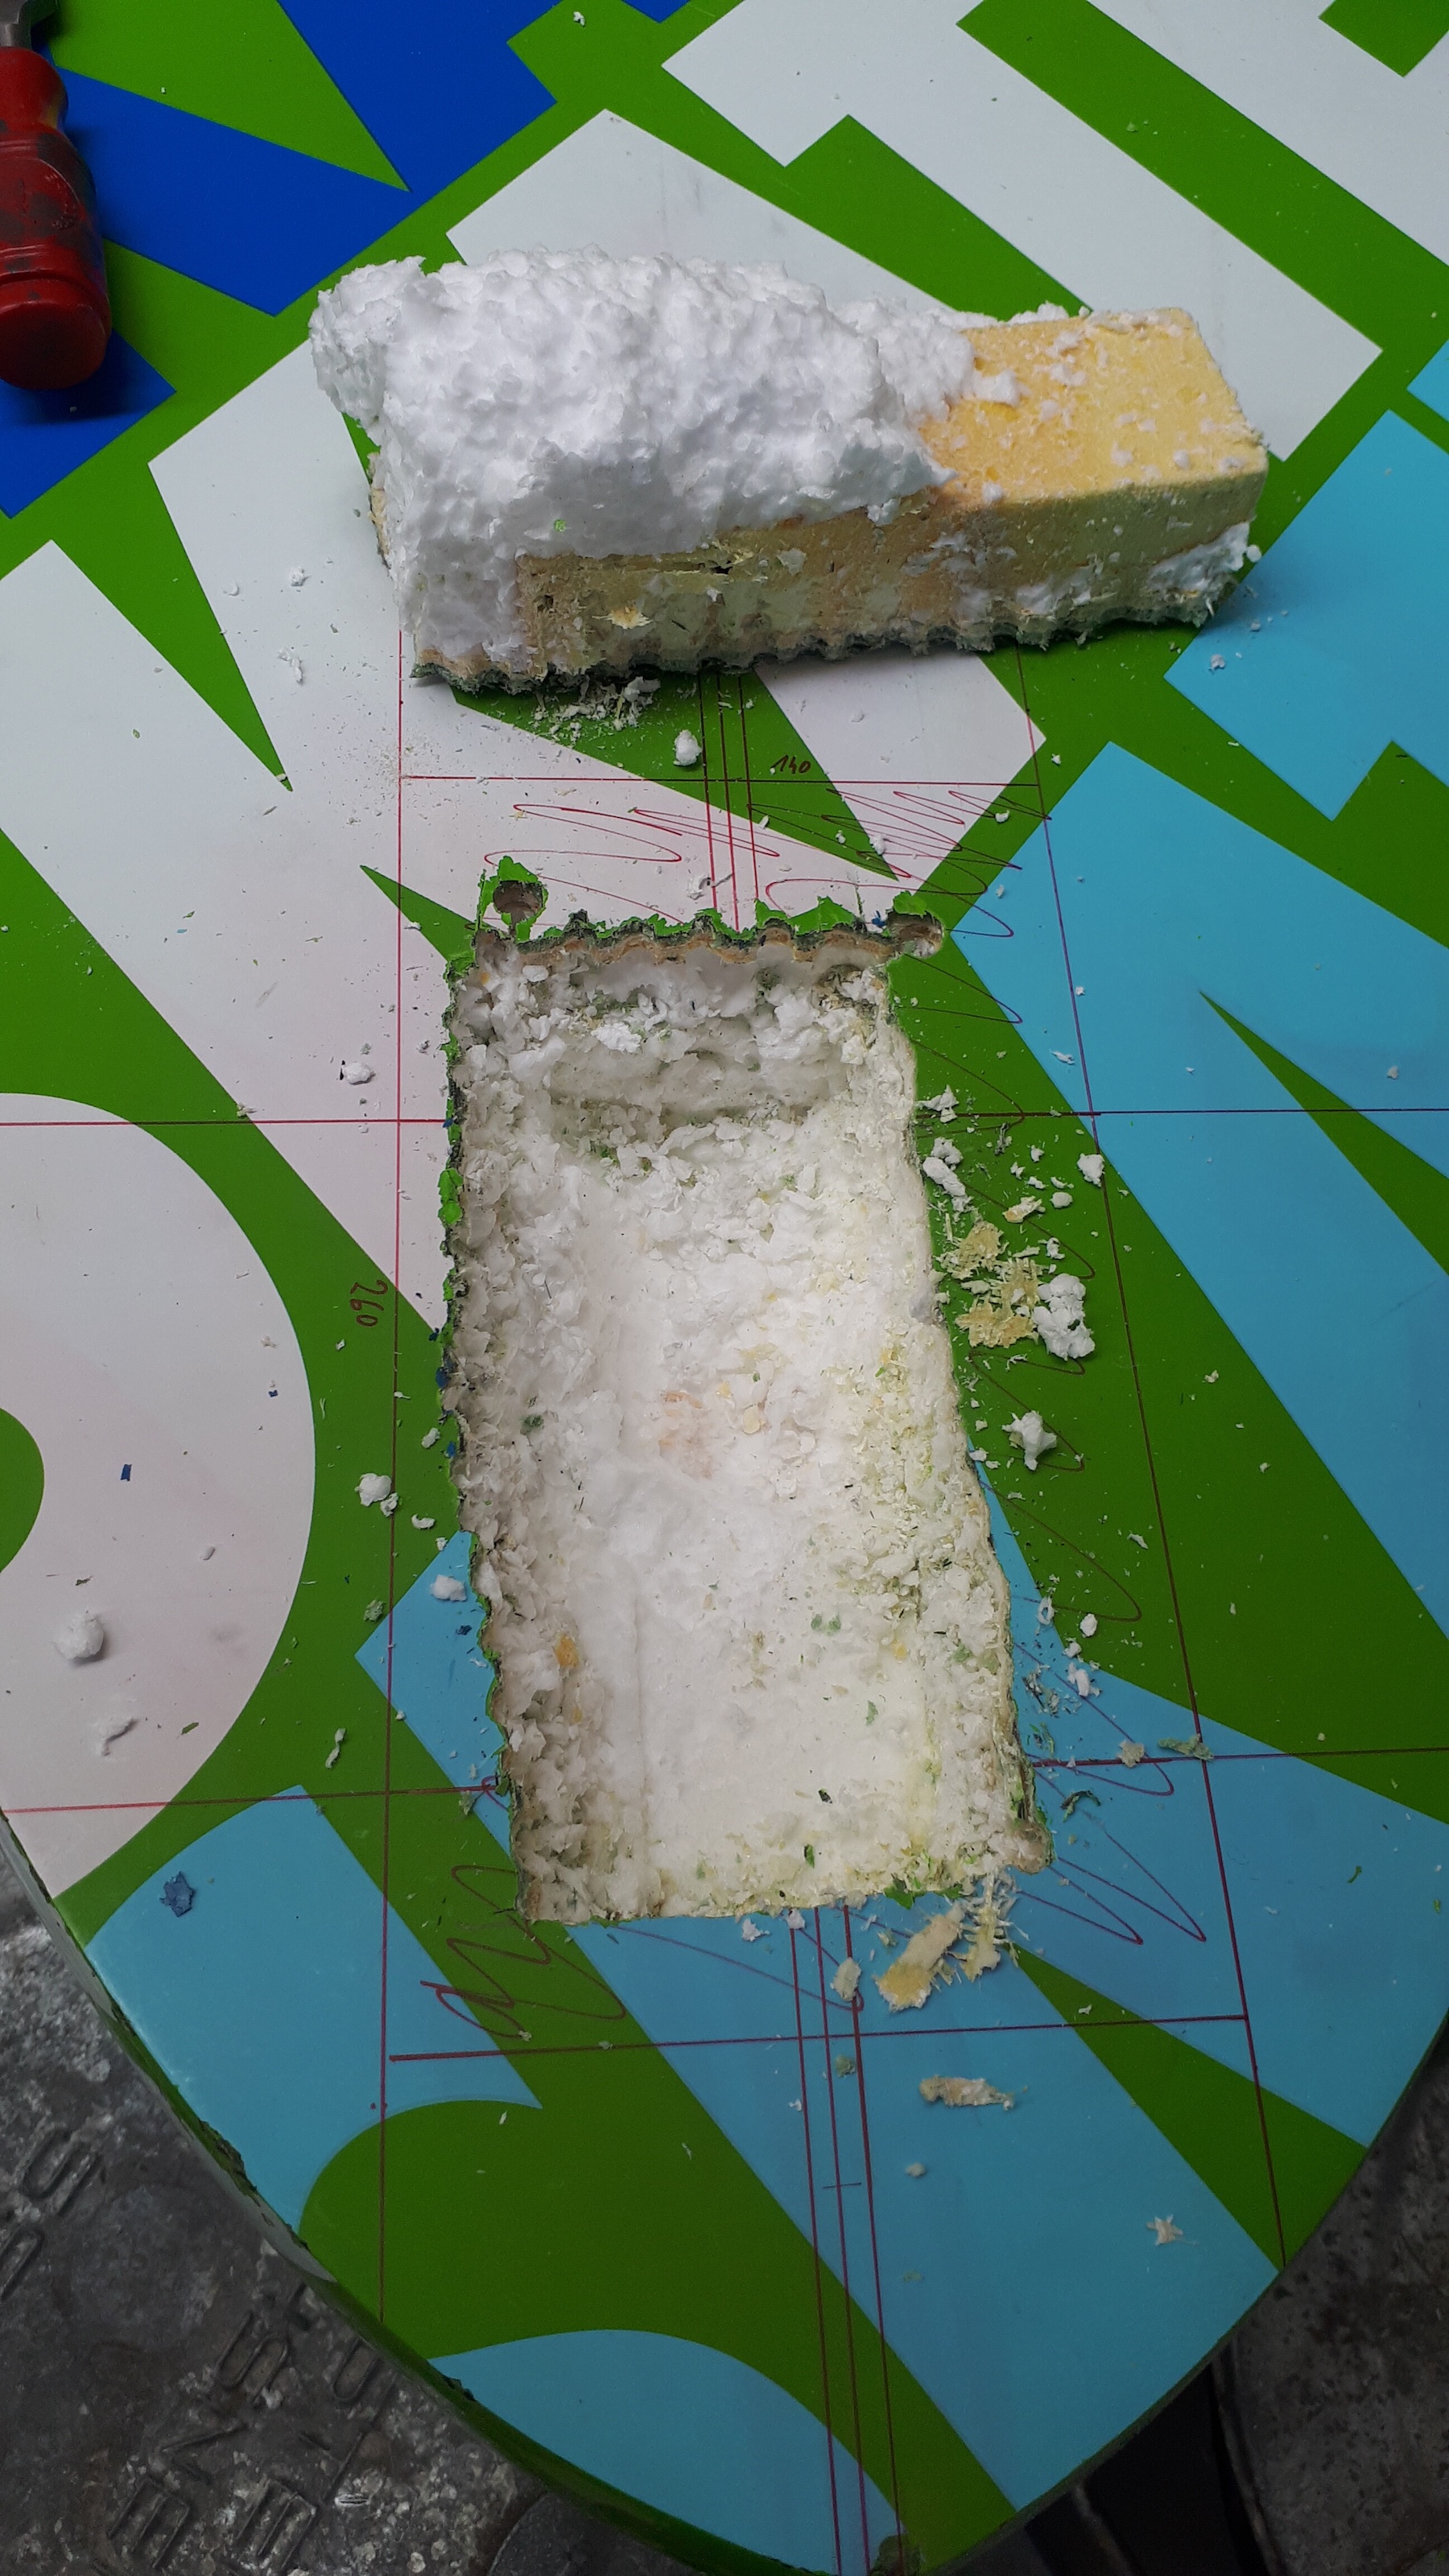
I decided against cutting through the upper deck as I think it makes your board ugly. Instead, I modeled the shape of the existing upper deck with bamboo profiles that where cut individually and then glued together. Why bamboo? Because the right high density PVC foam was extremely expensive and bamboo is nice to work with.
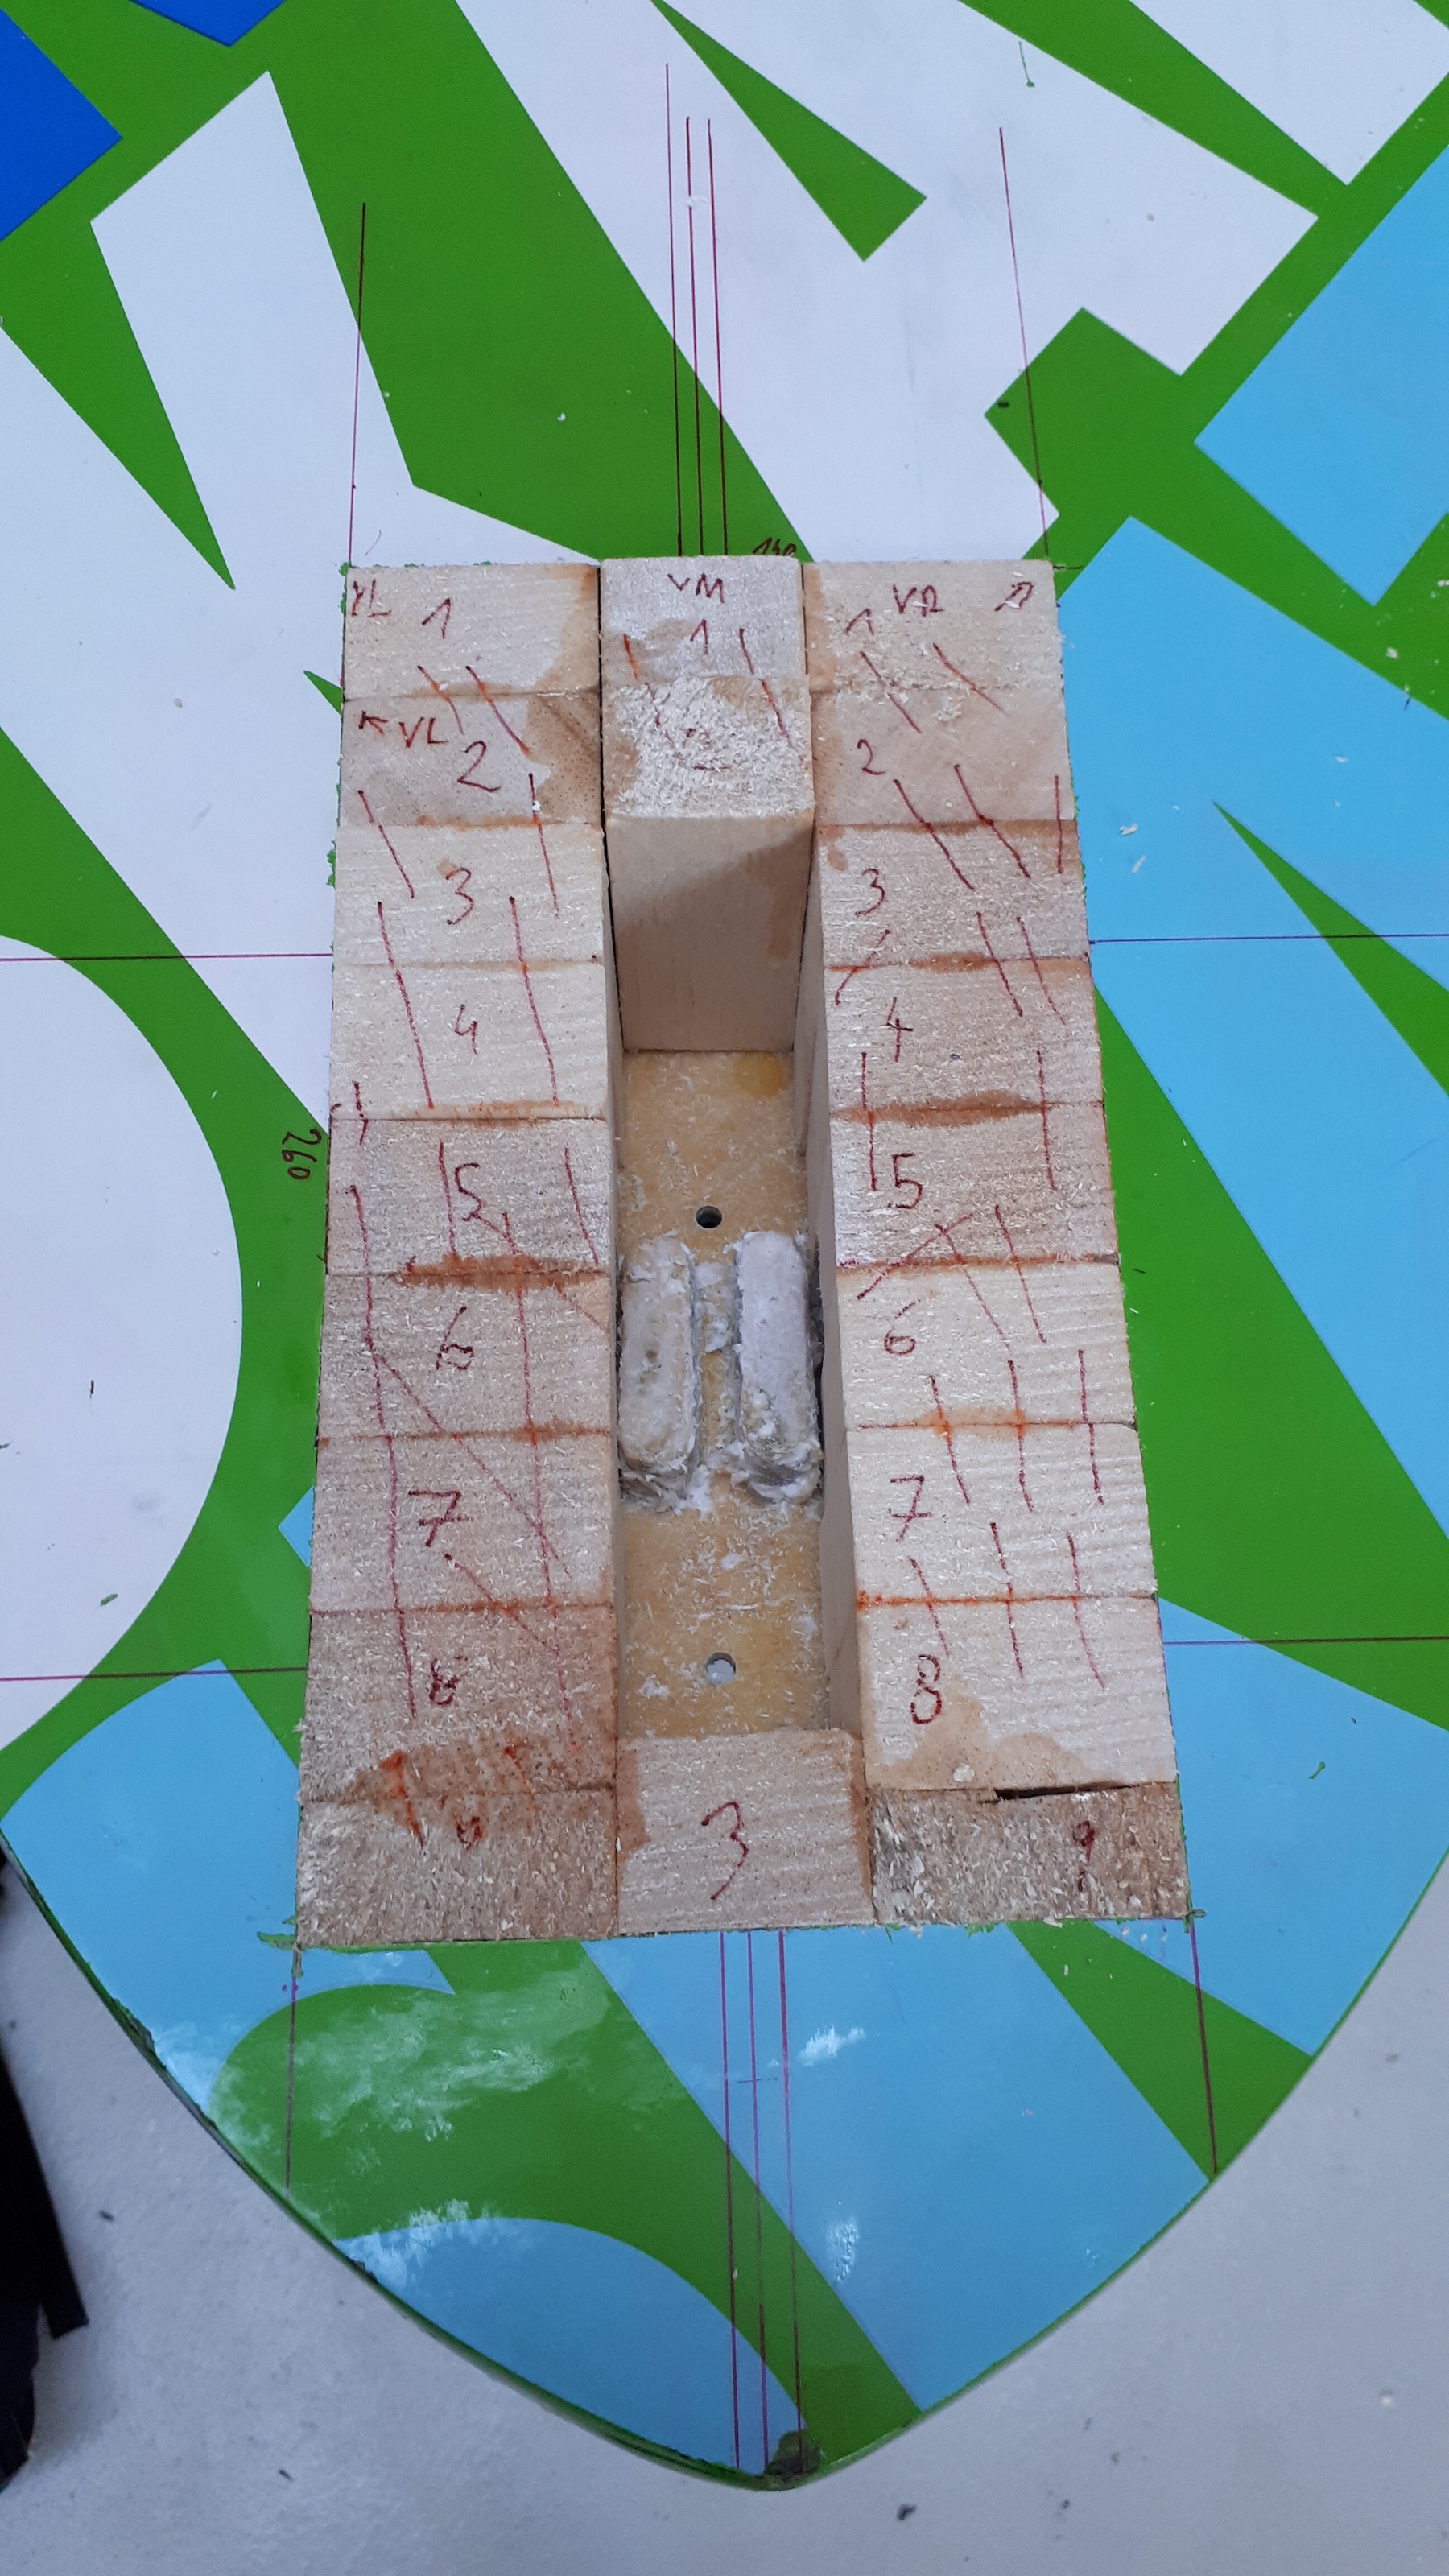
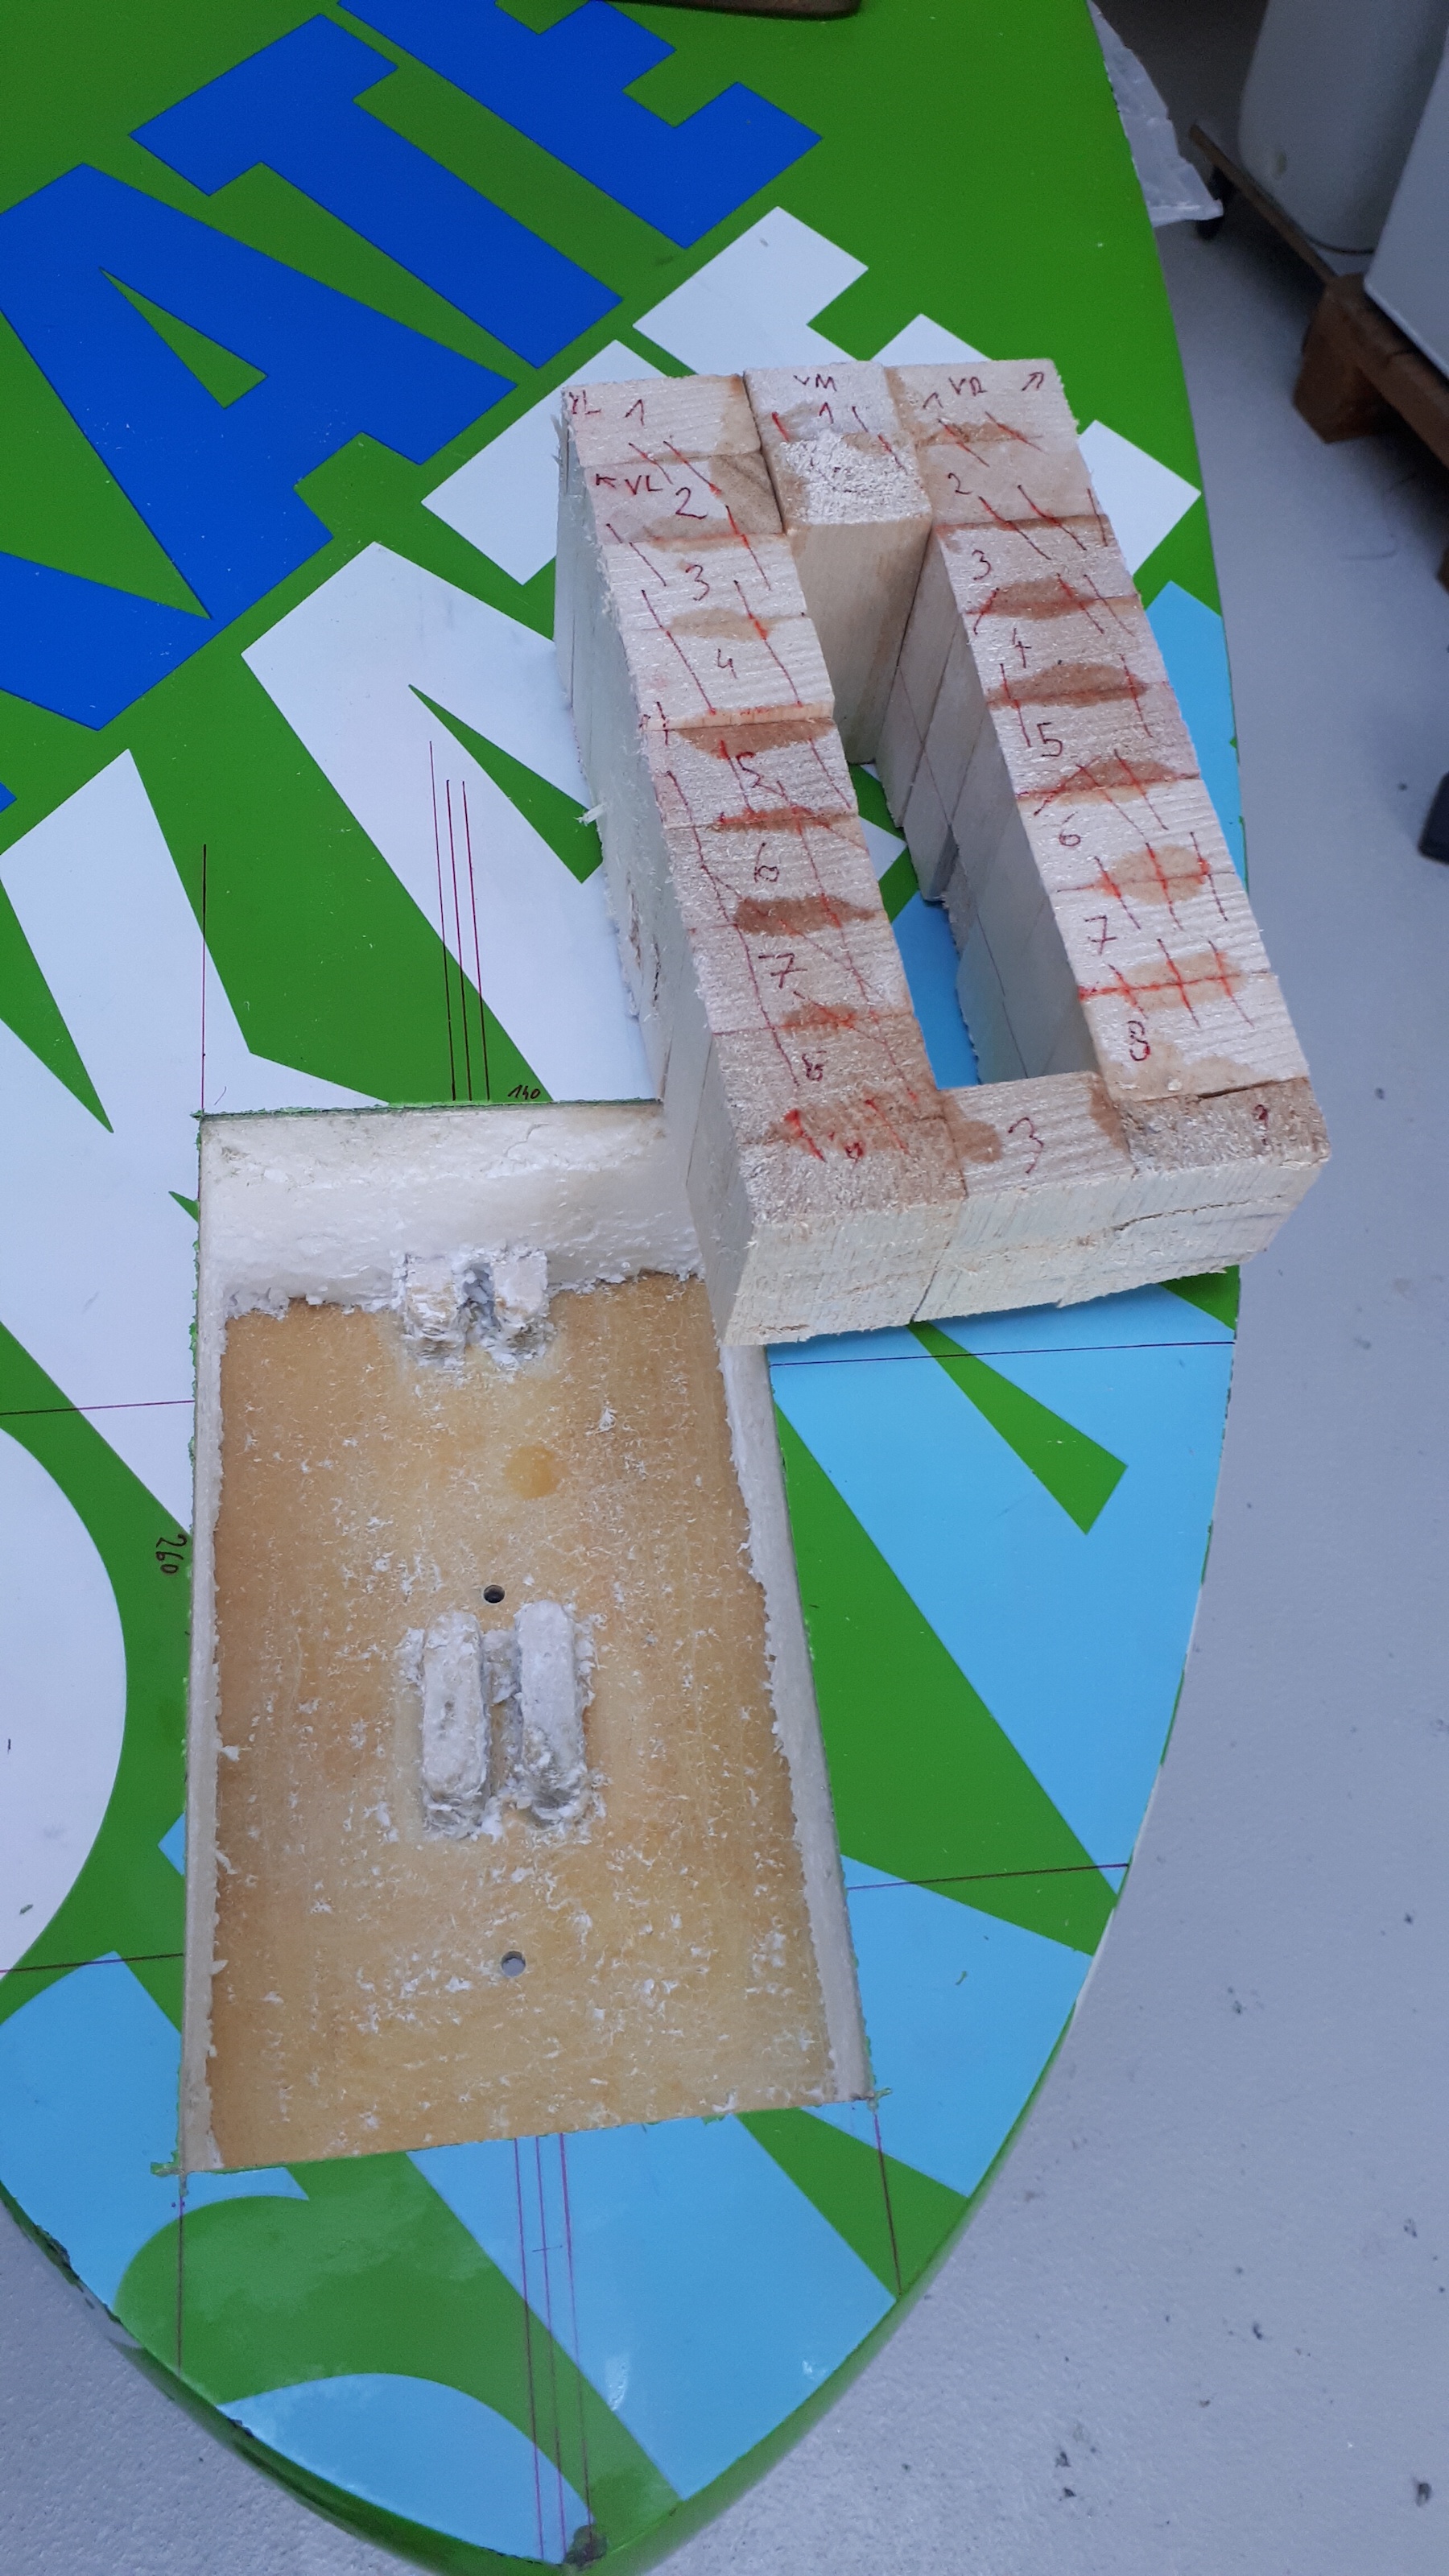
The next step was to cut the carbon piece to fit the 260 x 140 mm2 cutout in the board and to glue it to the bamboo block.
The bamboo block and the carbon piece could then be removed as one piece. This allowed to fill the cavities with PVC foam and a mixture of epoxy and 6 mm carbon chips.
Before gluing the deep tuttle box into the board I added a few layers of carbon leftovers for additional stability. For gluing the bamboo block into the board I used a mixture of 100 g epoxy with 3 mm carbon chips (not shown in the pics). After checking the proper position the bamboo block was clamped down.
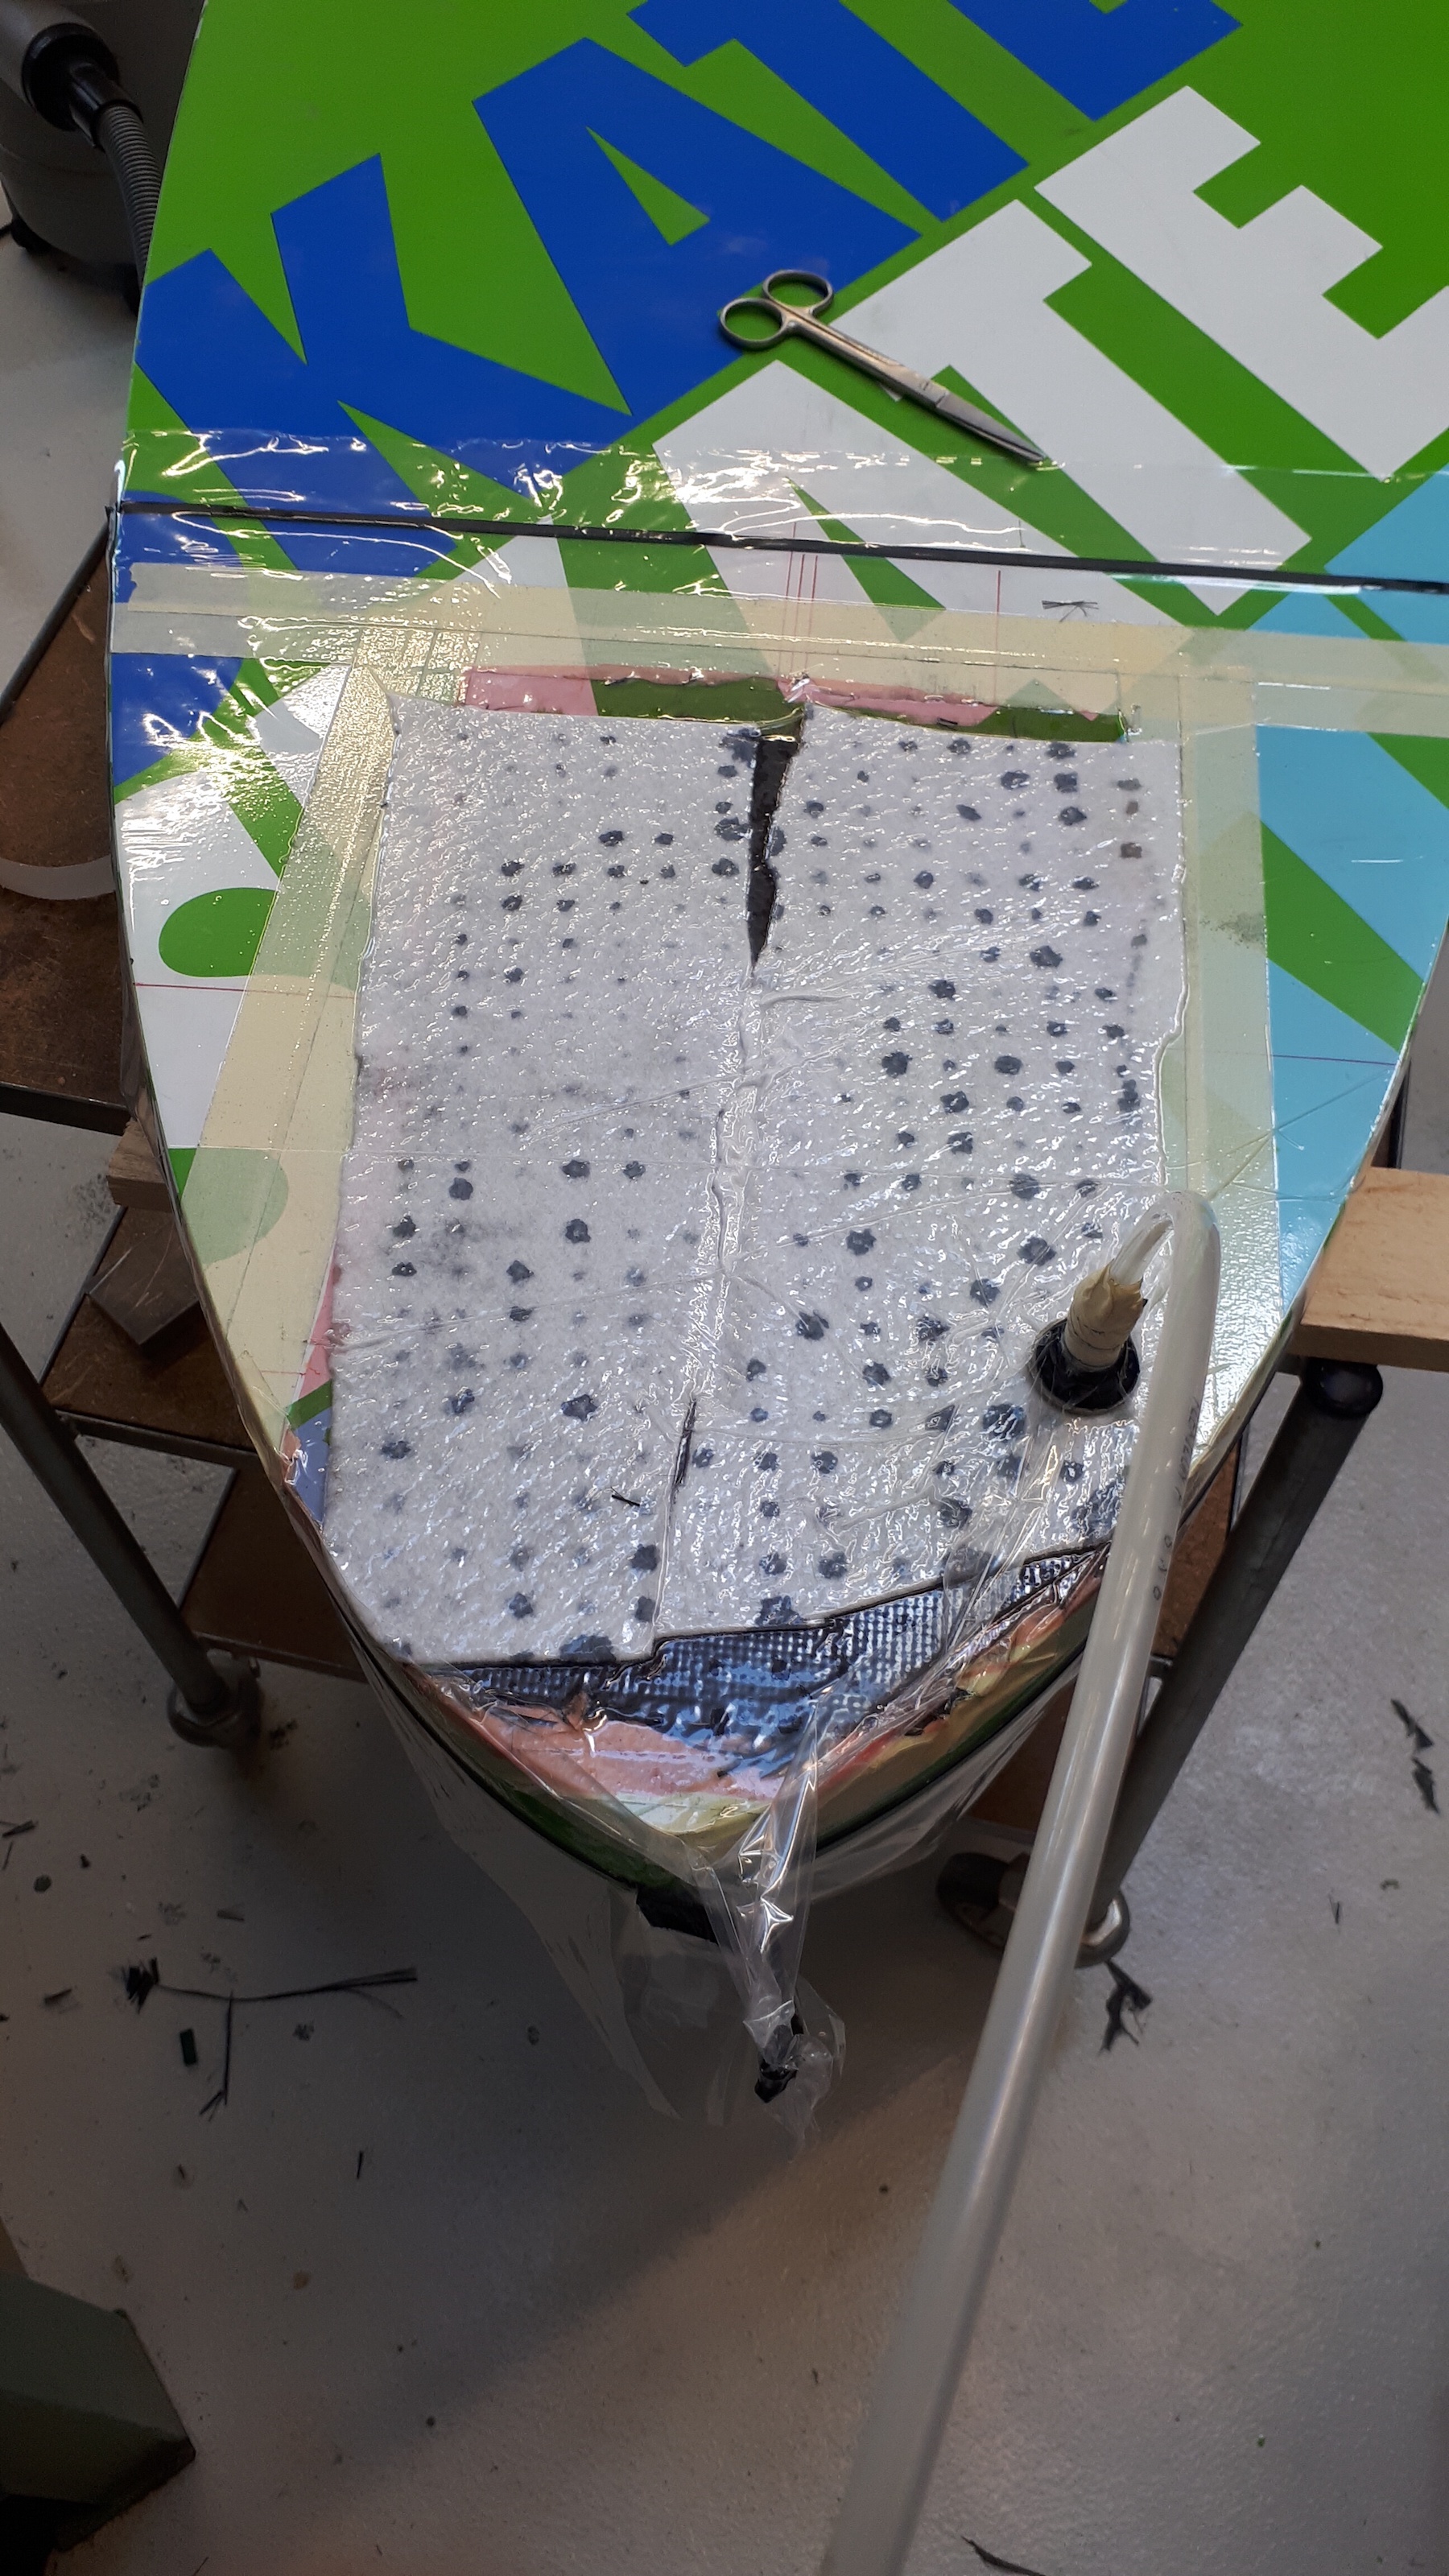
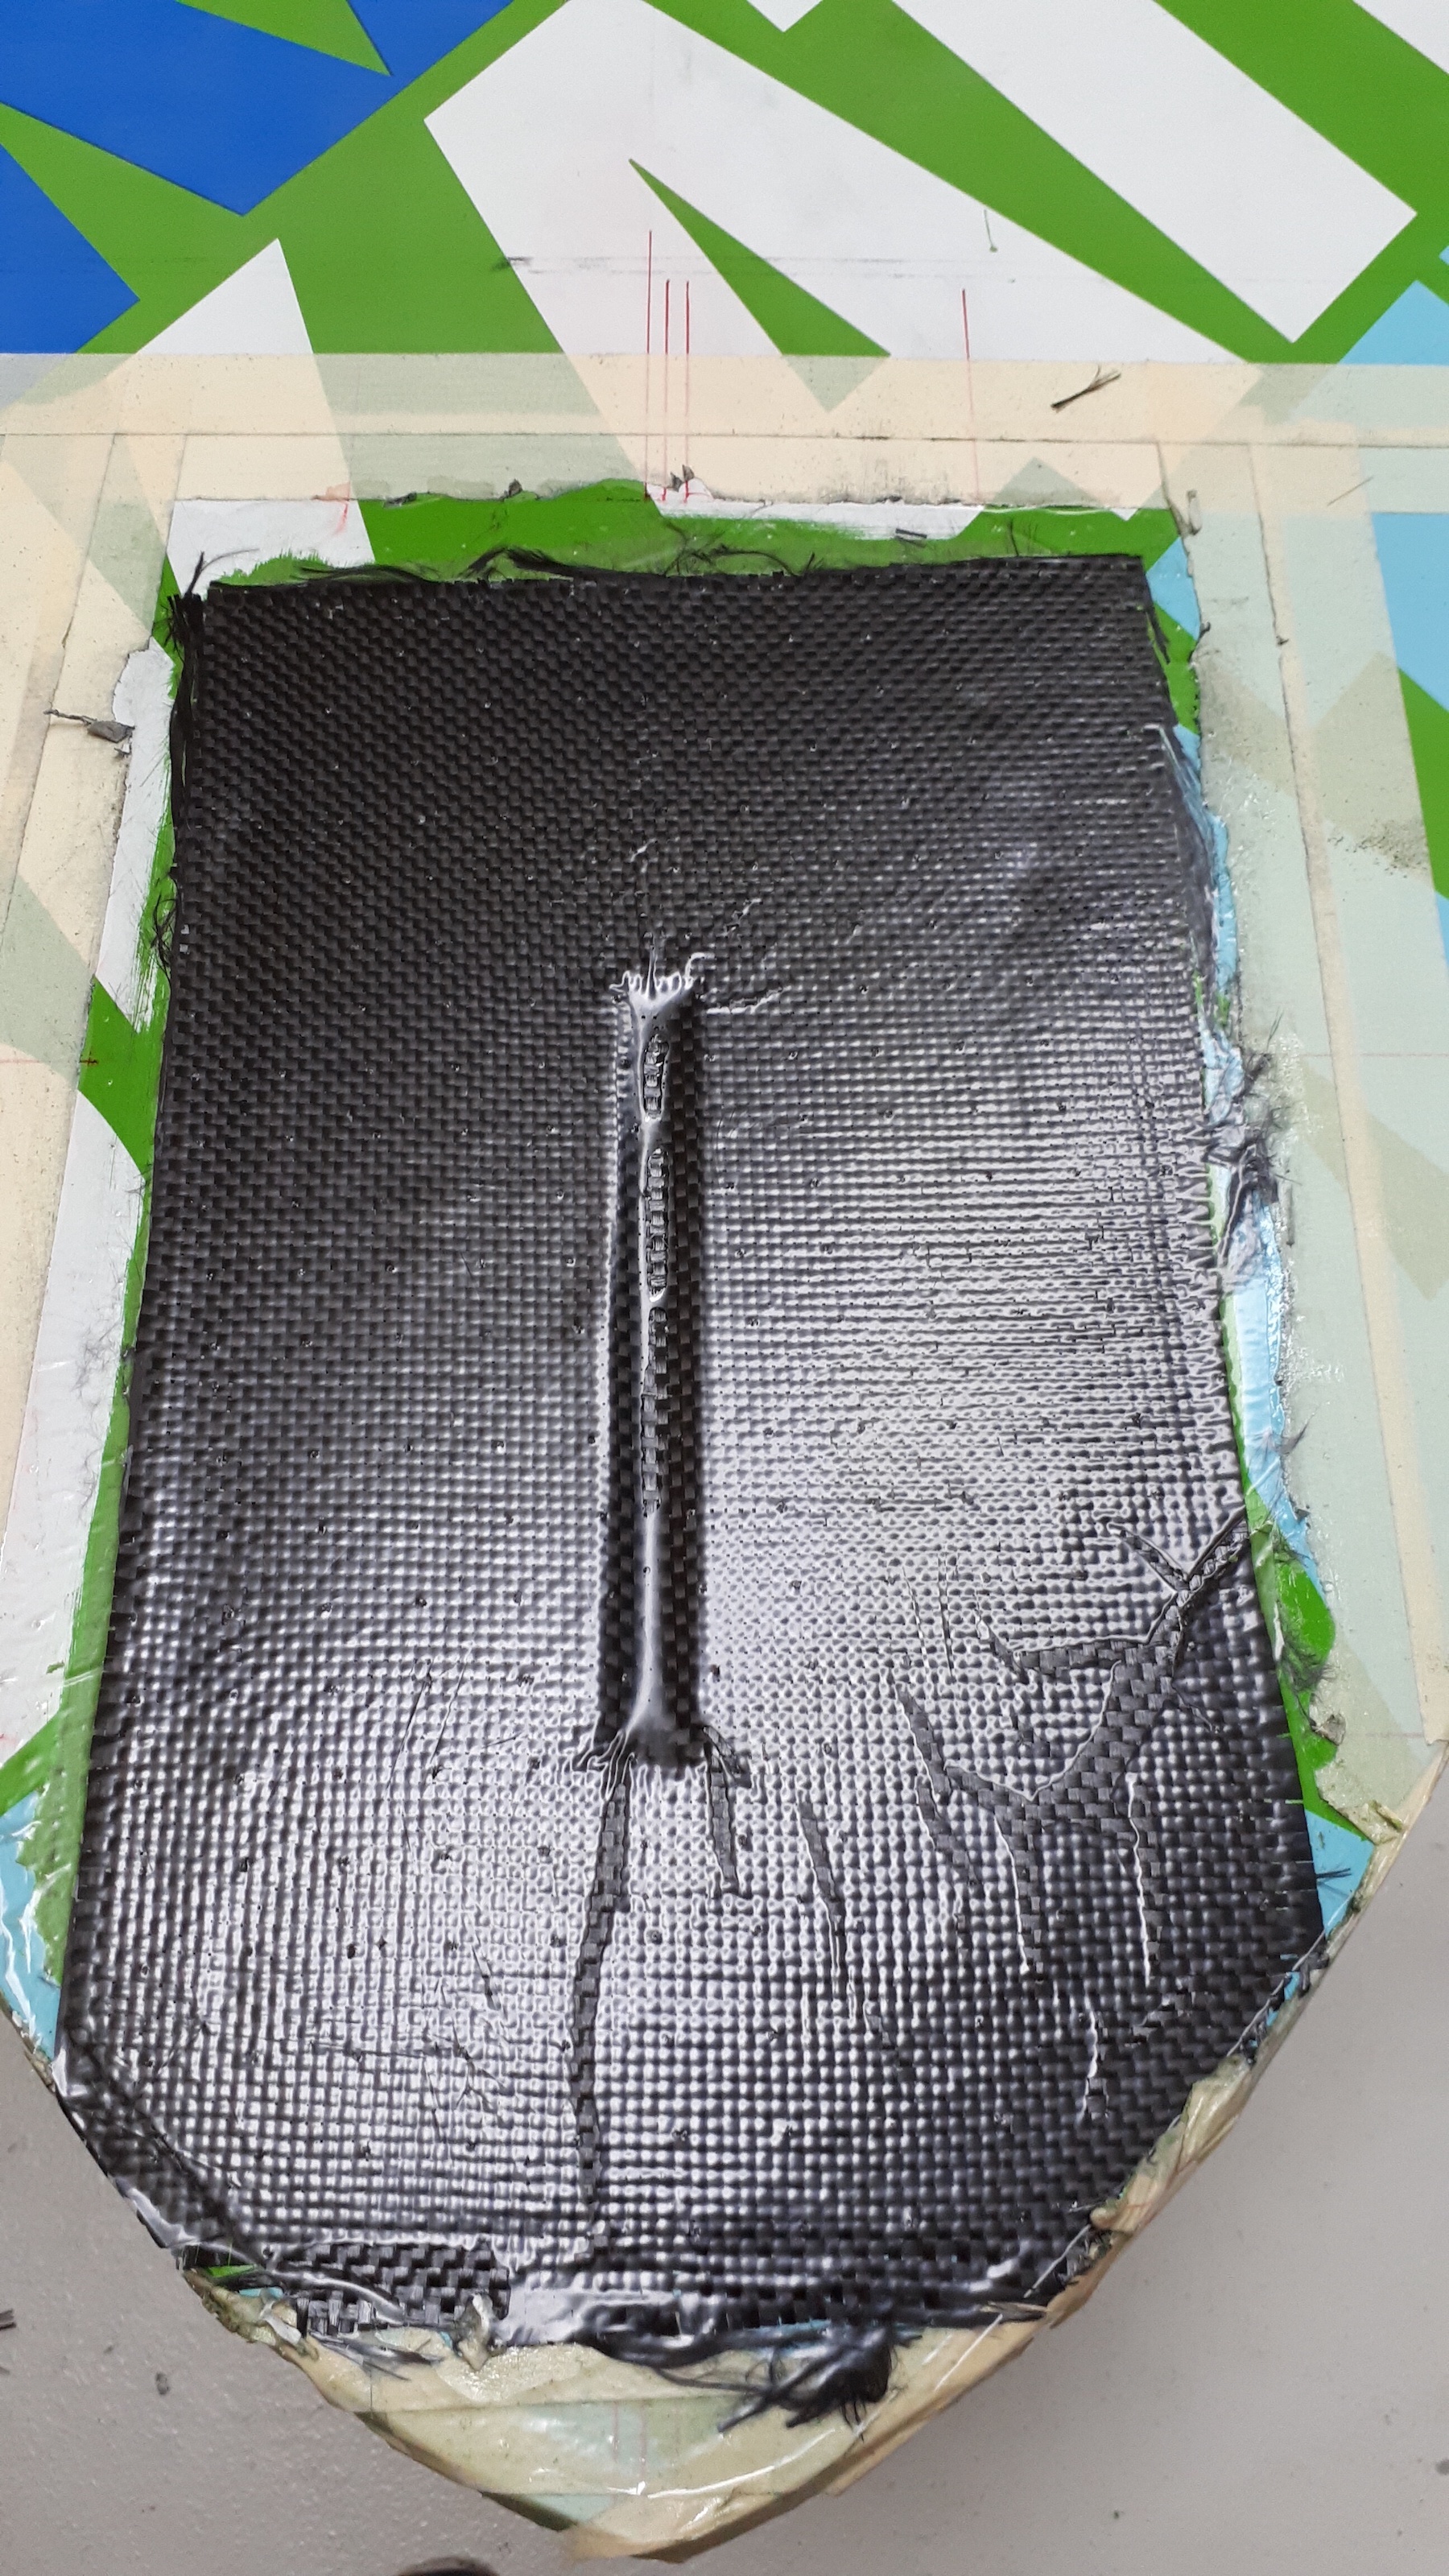
The next steps were sanding followed by laminating two layers of 180 g/m2 carbon fabric.
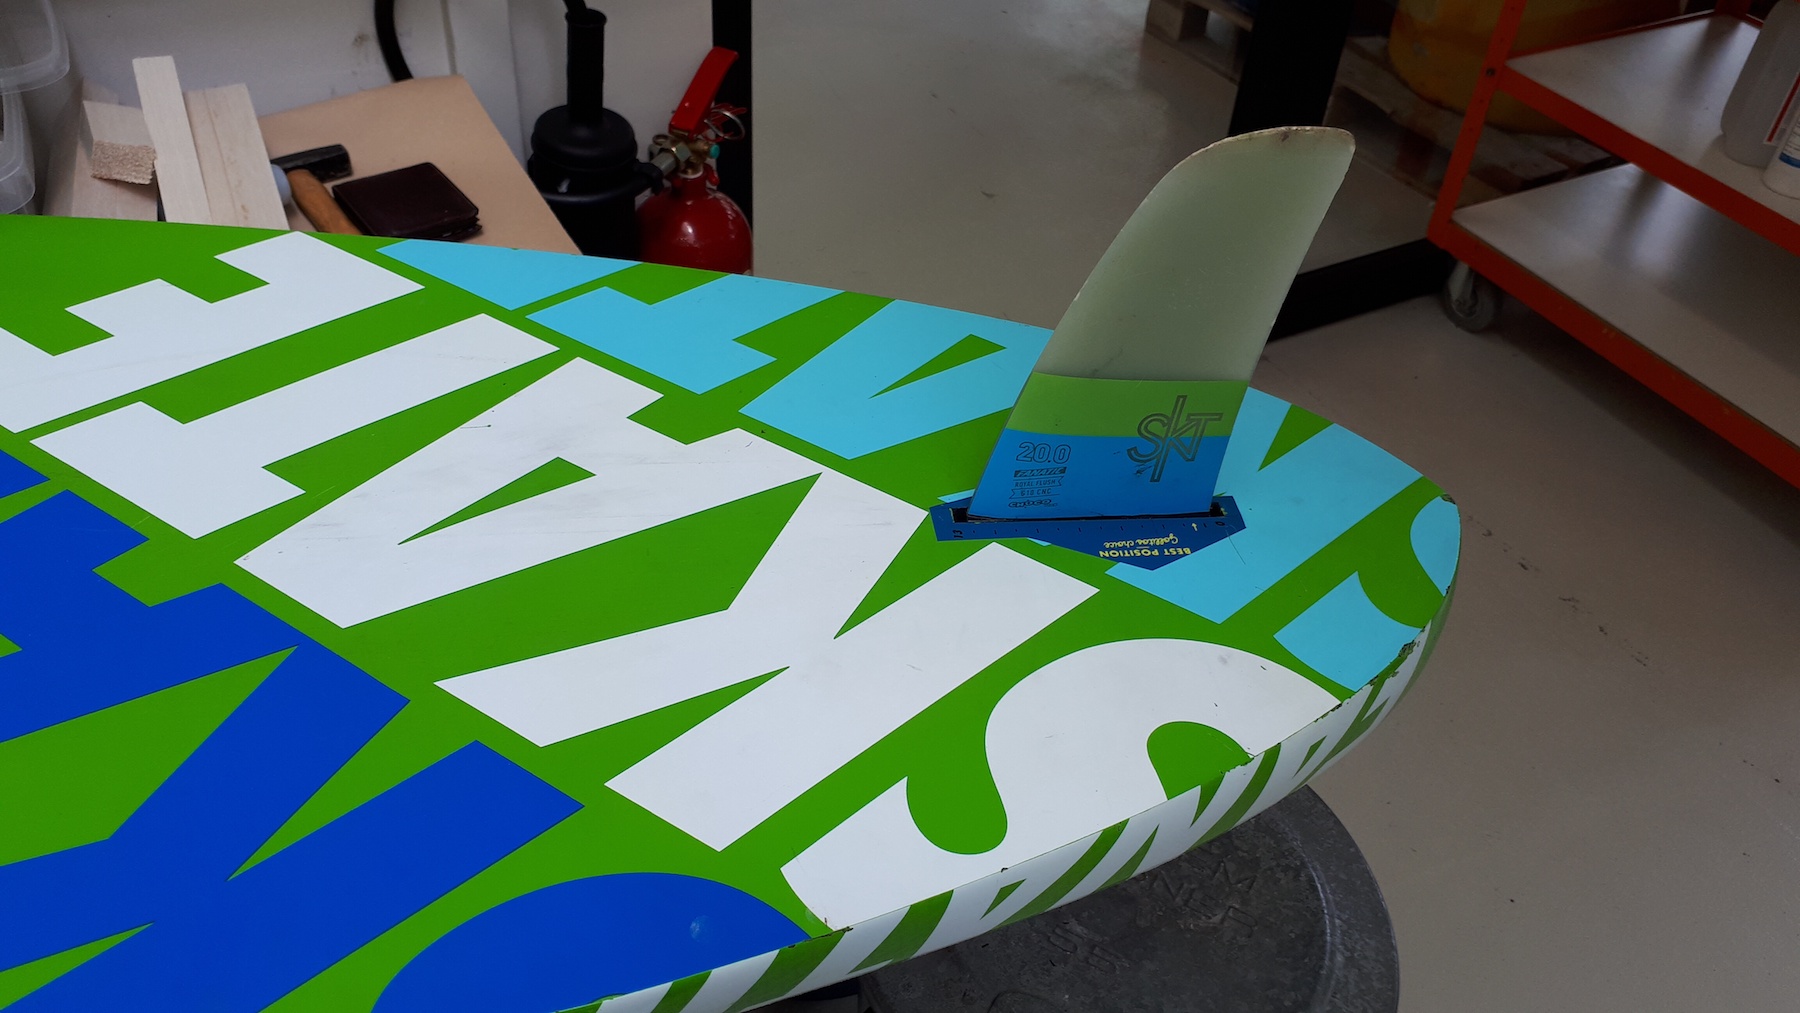
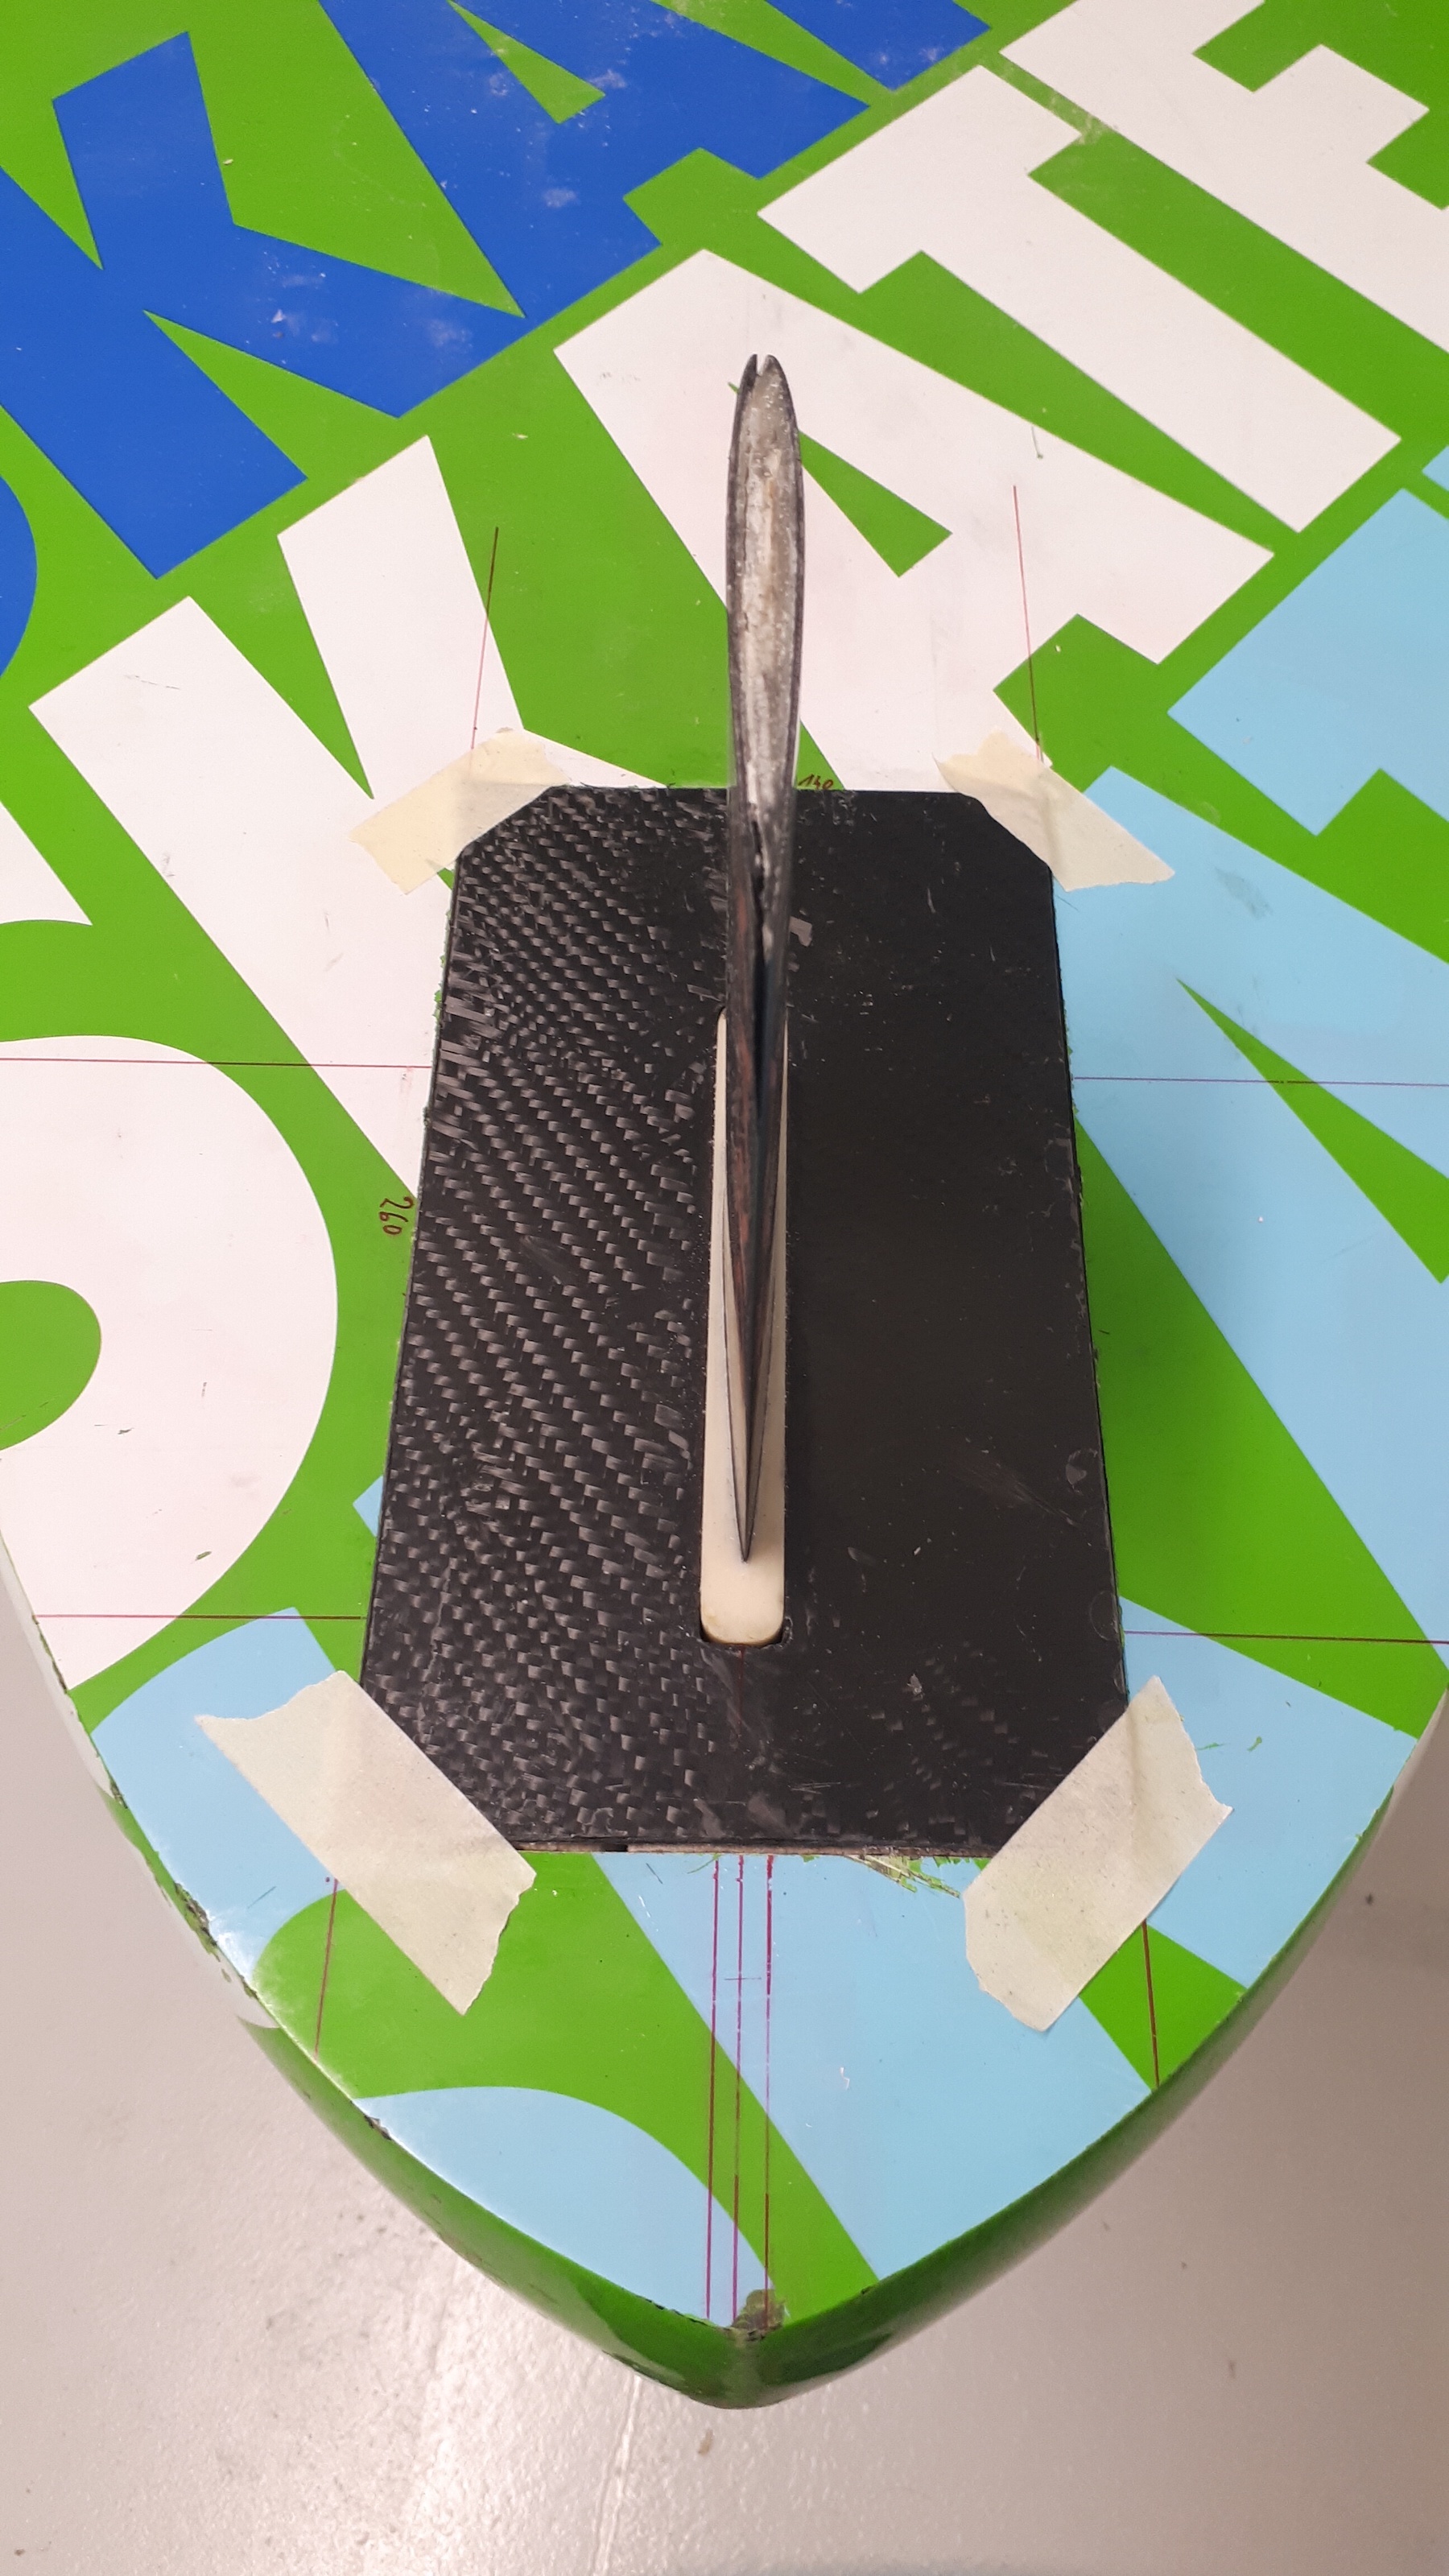
First fit test with the Moses deep tuttle mast:
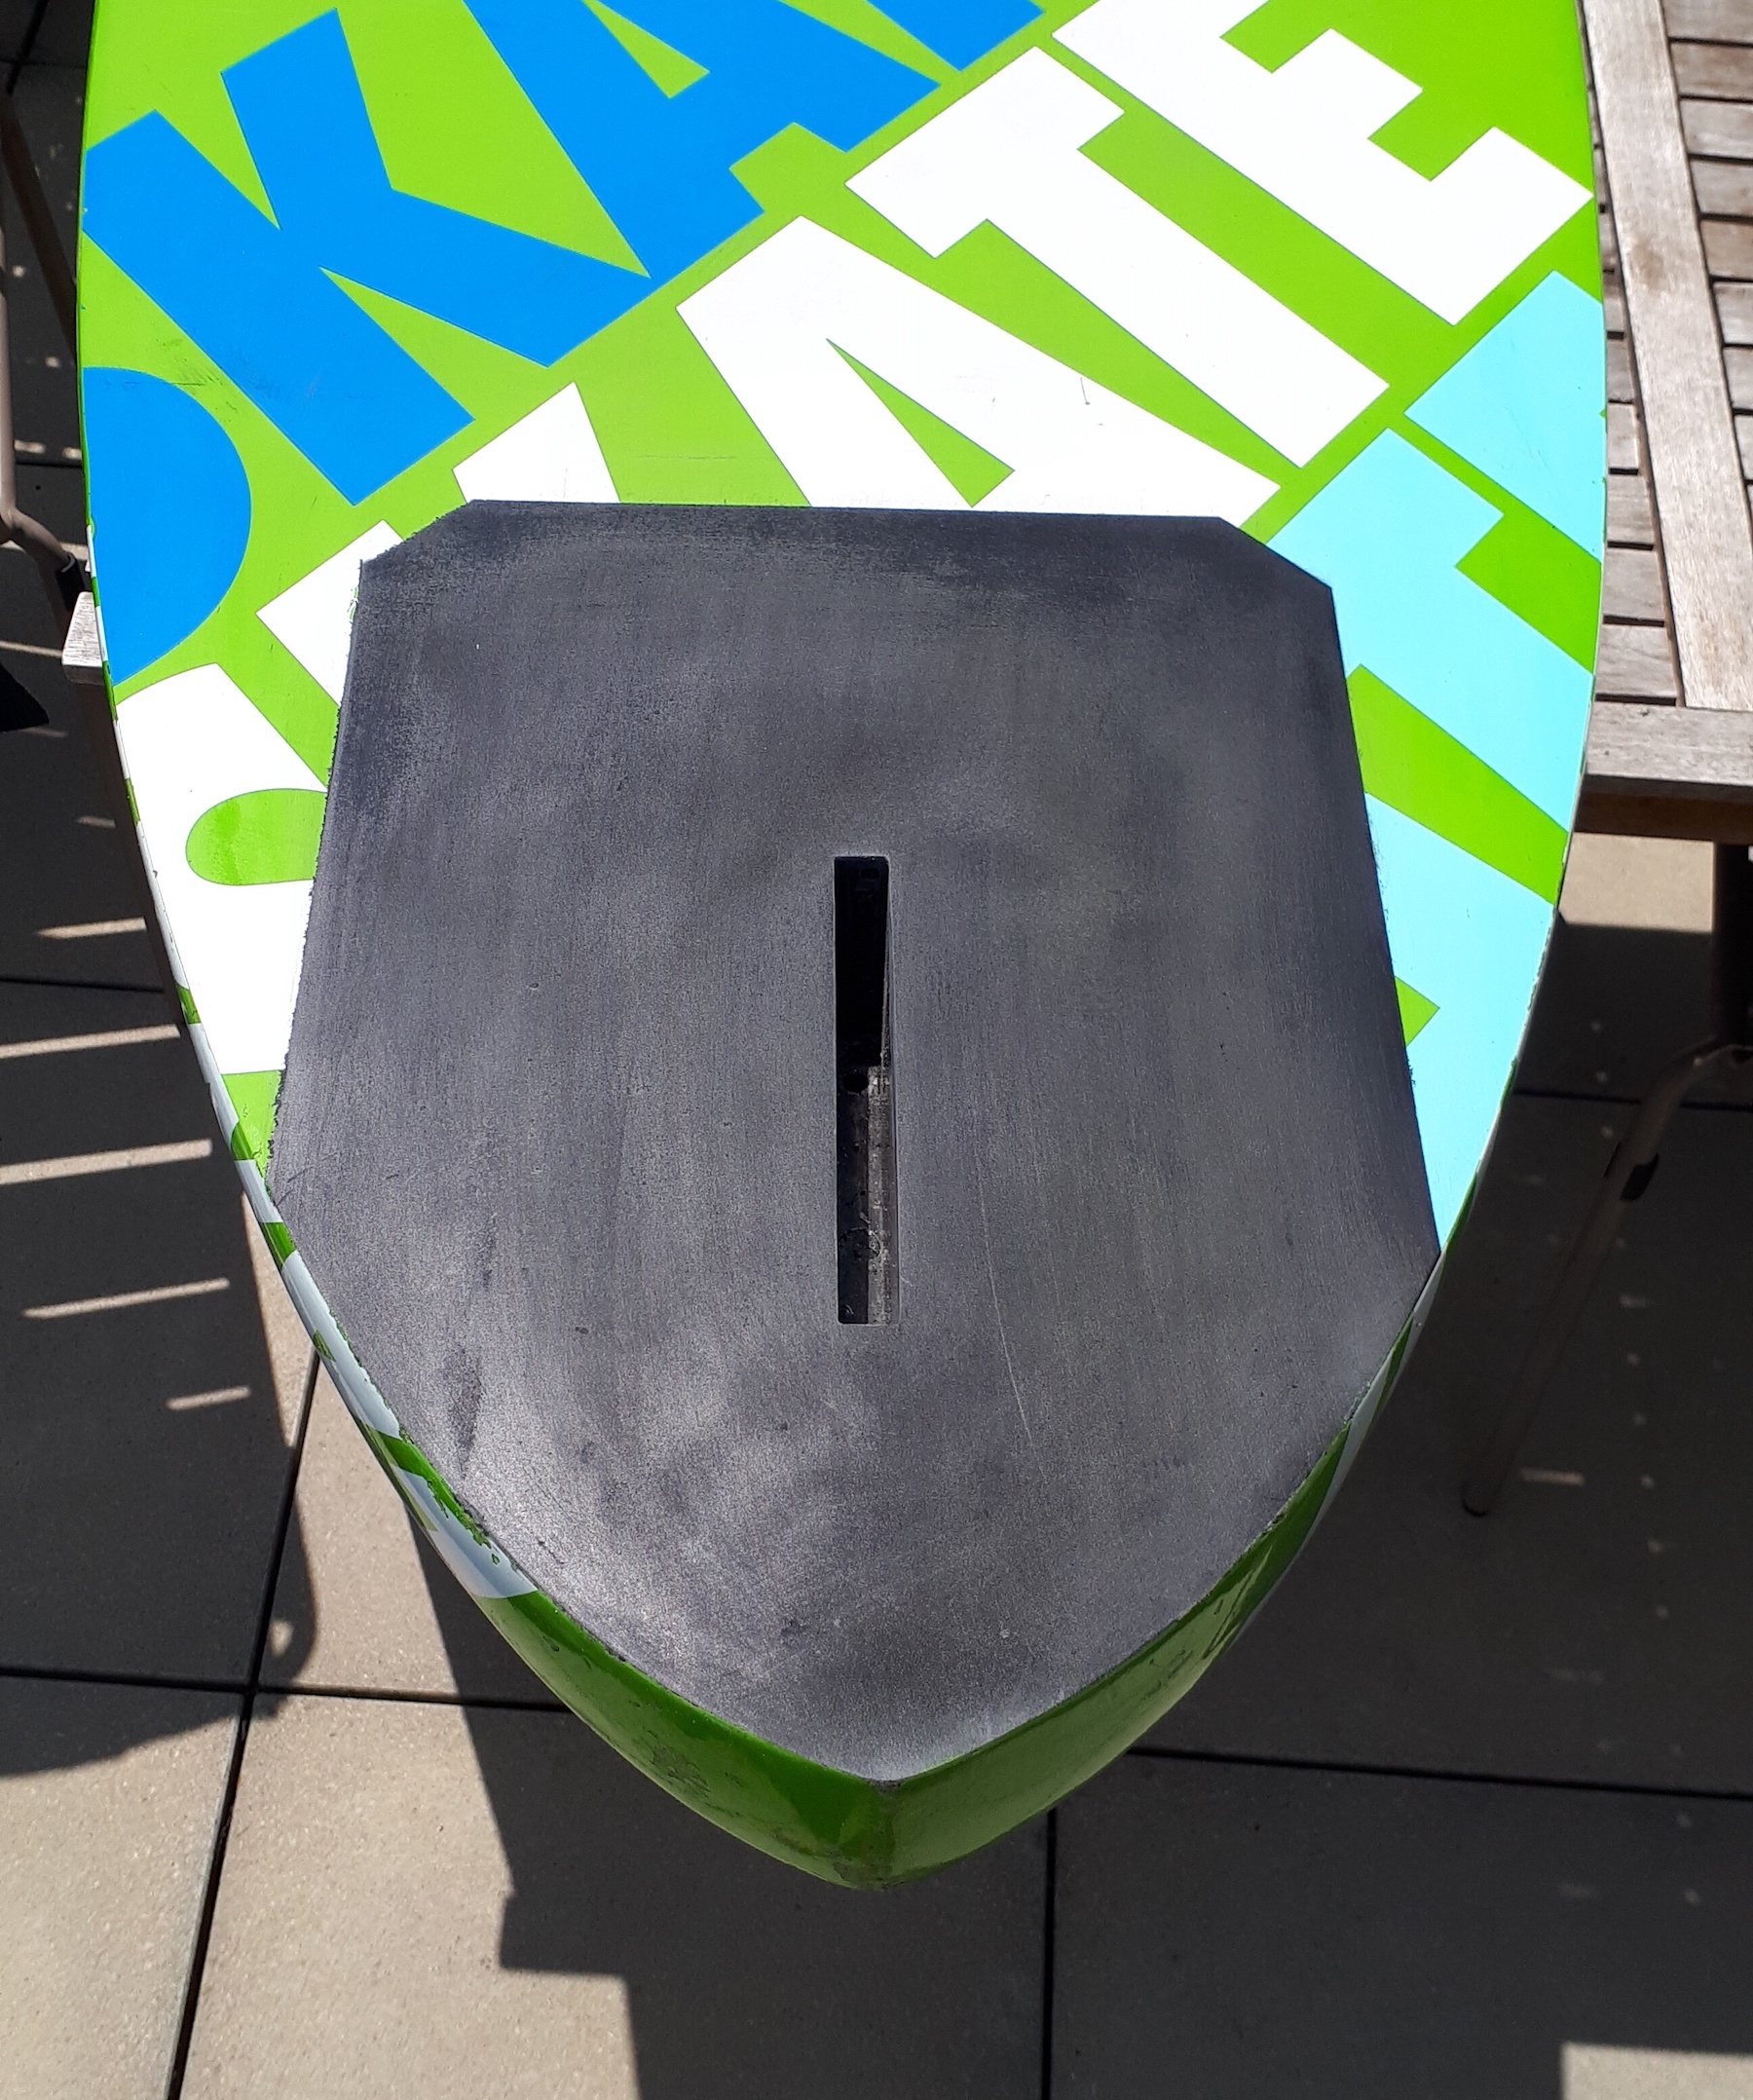
Another sanding and subsequently several iterations of polyester fine filler+sanding and spray-filler+sanding. Since I didn't have the proper green color at hand I added some remnant black paint and left it like that for the moment.

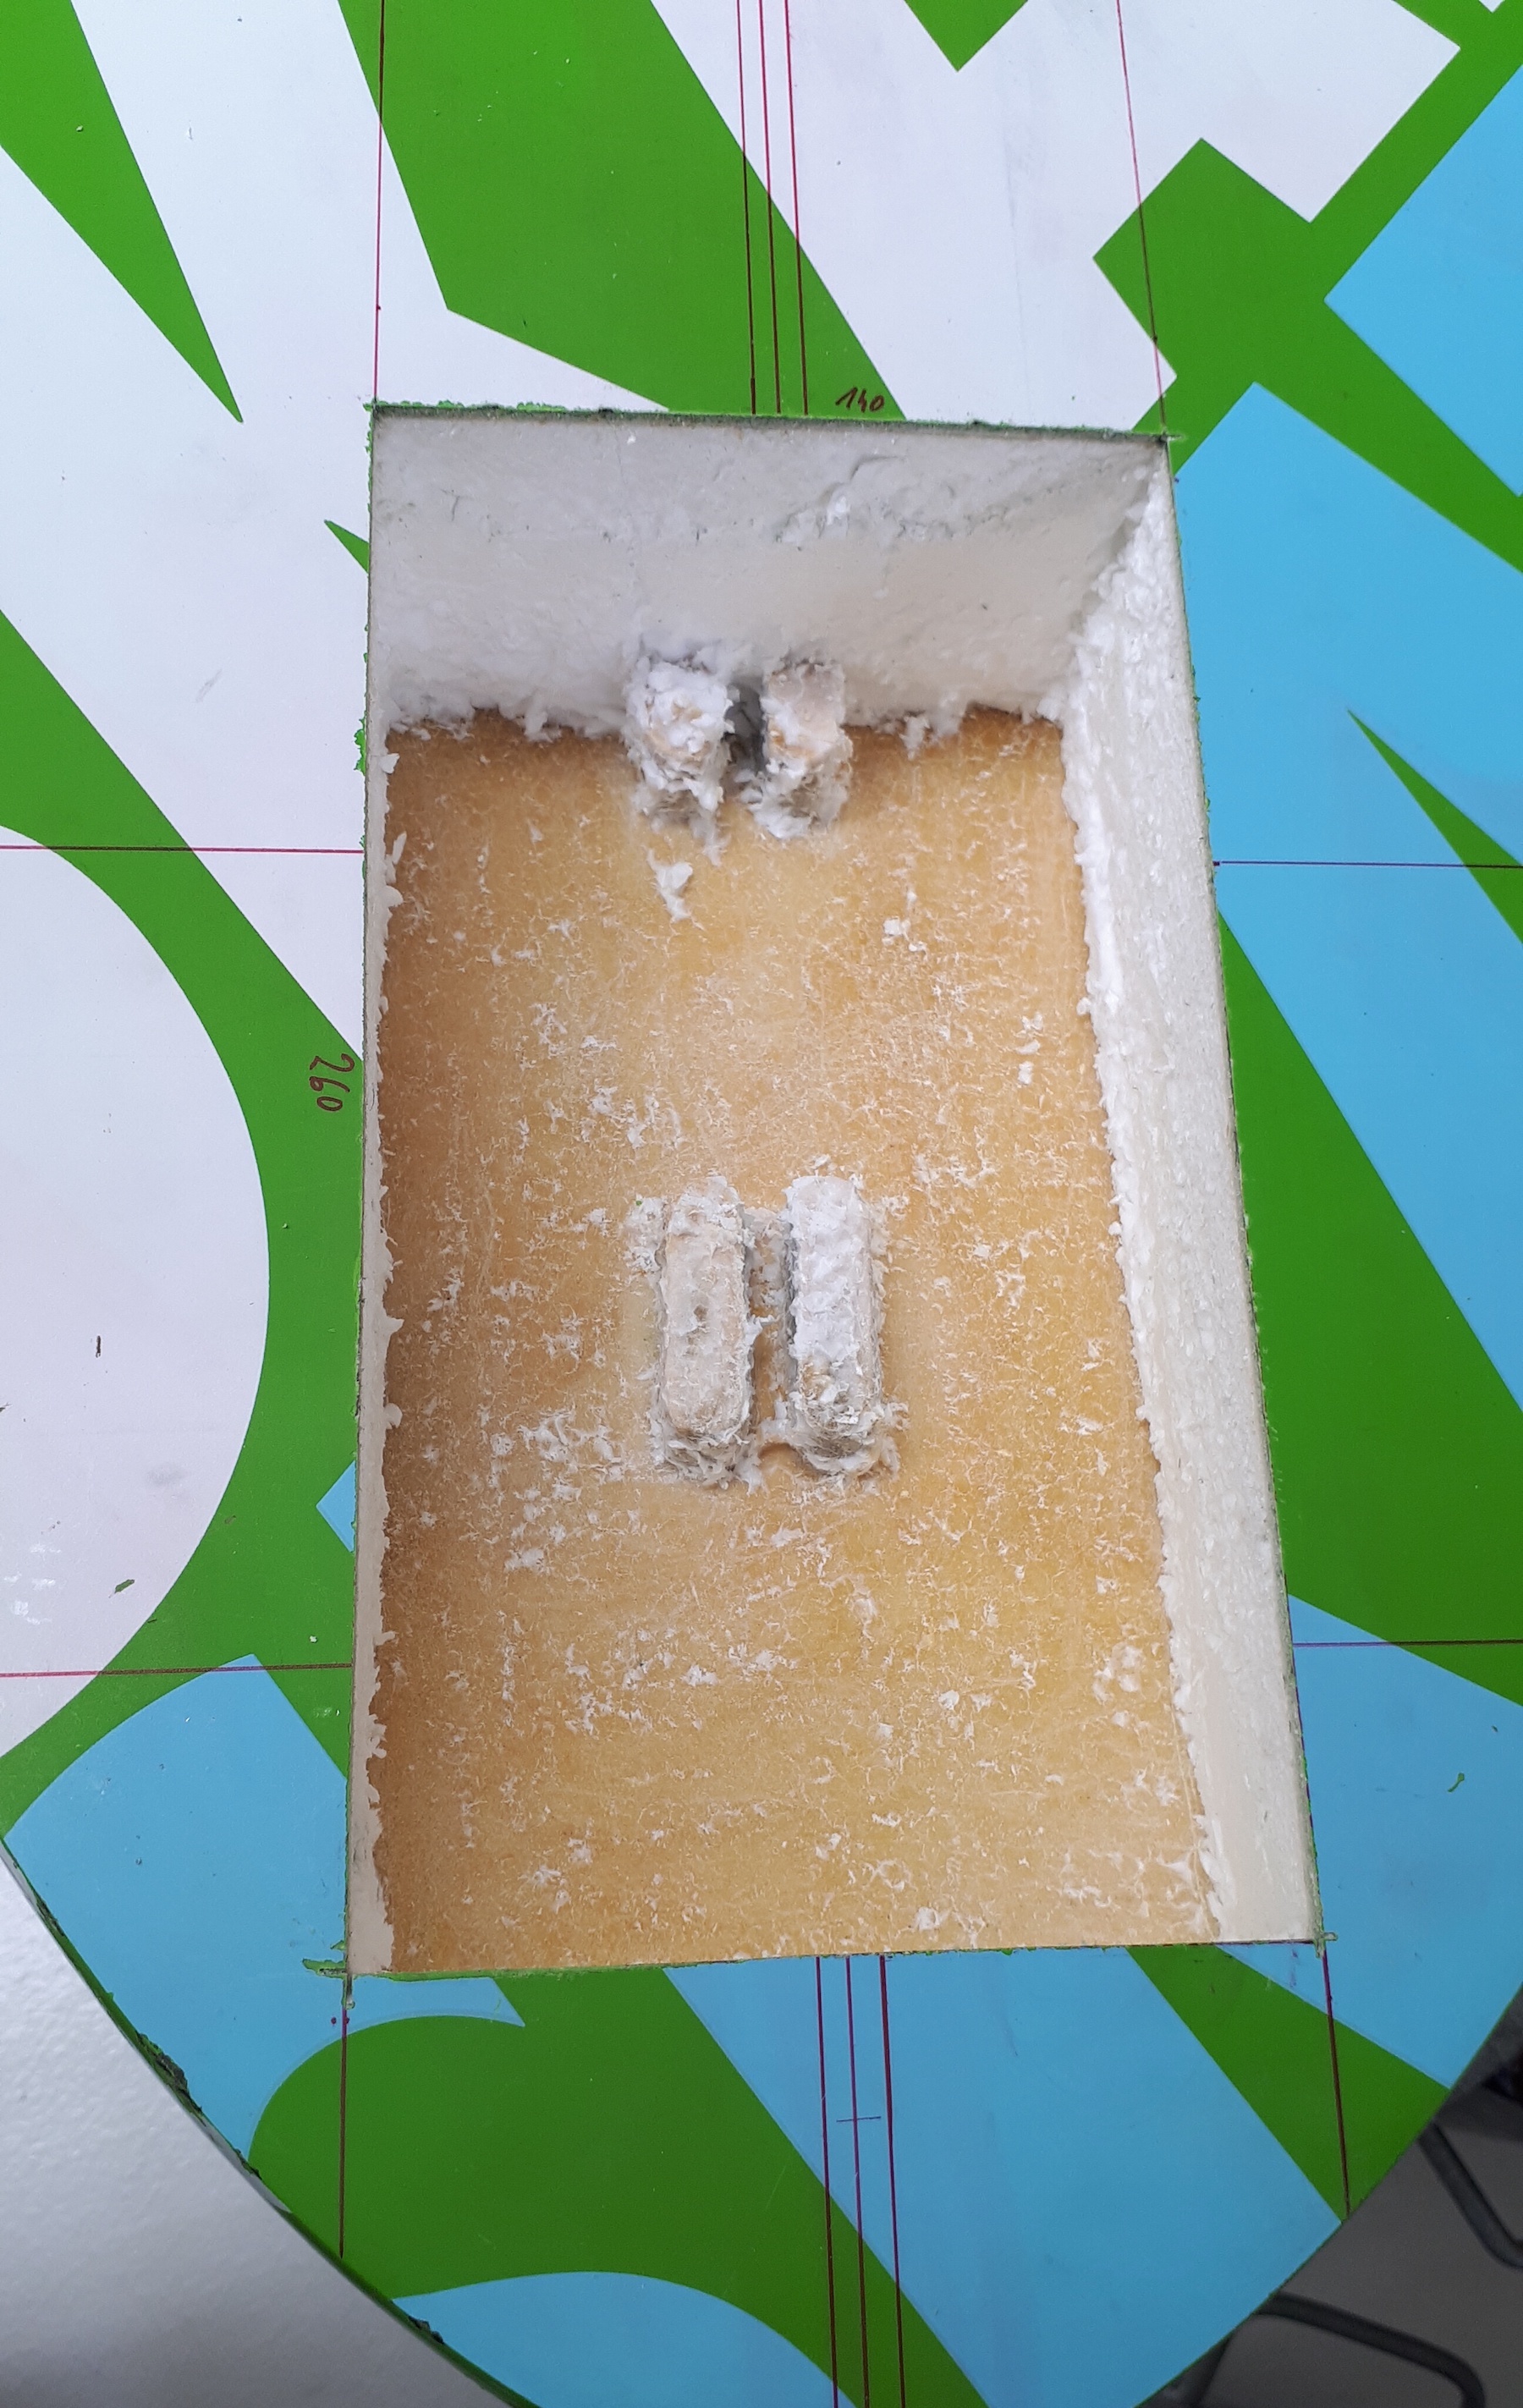
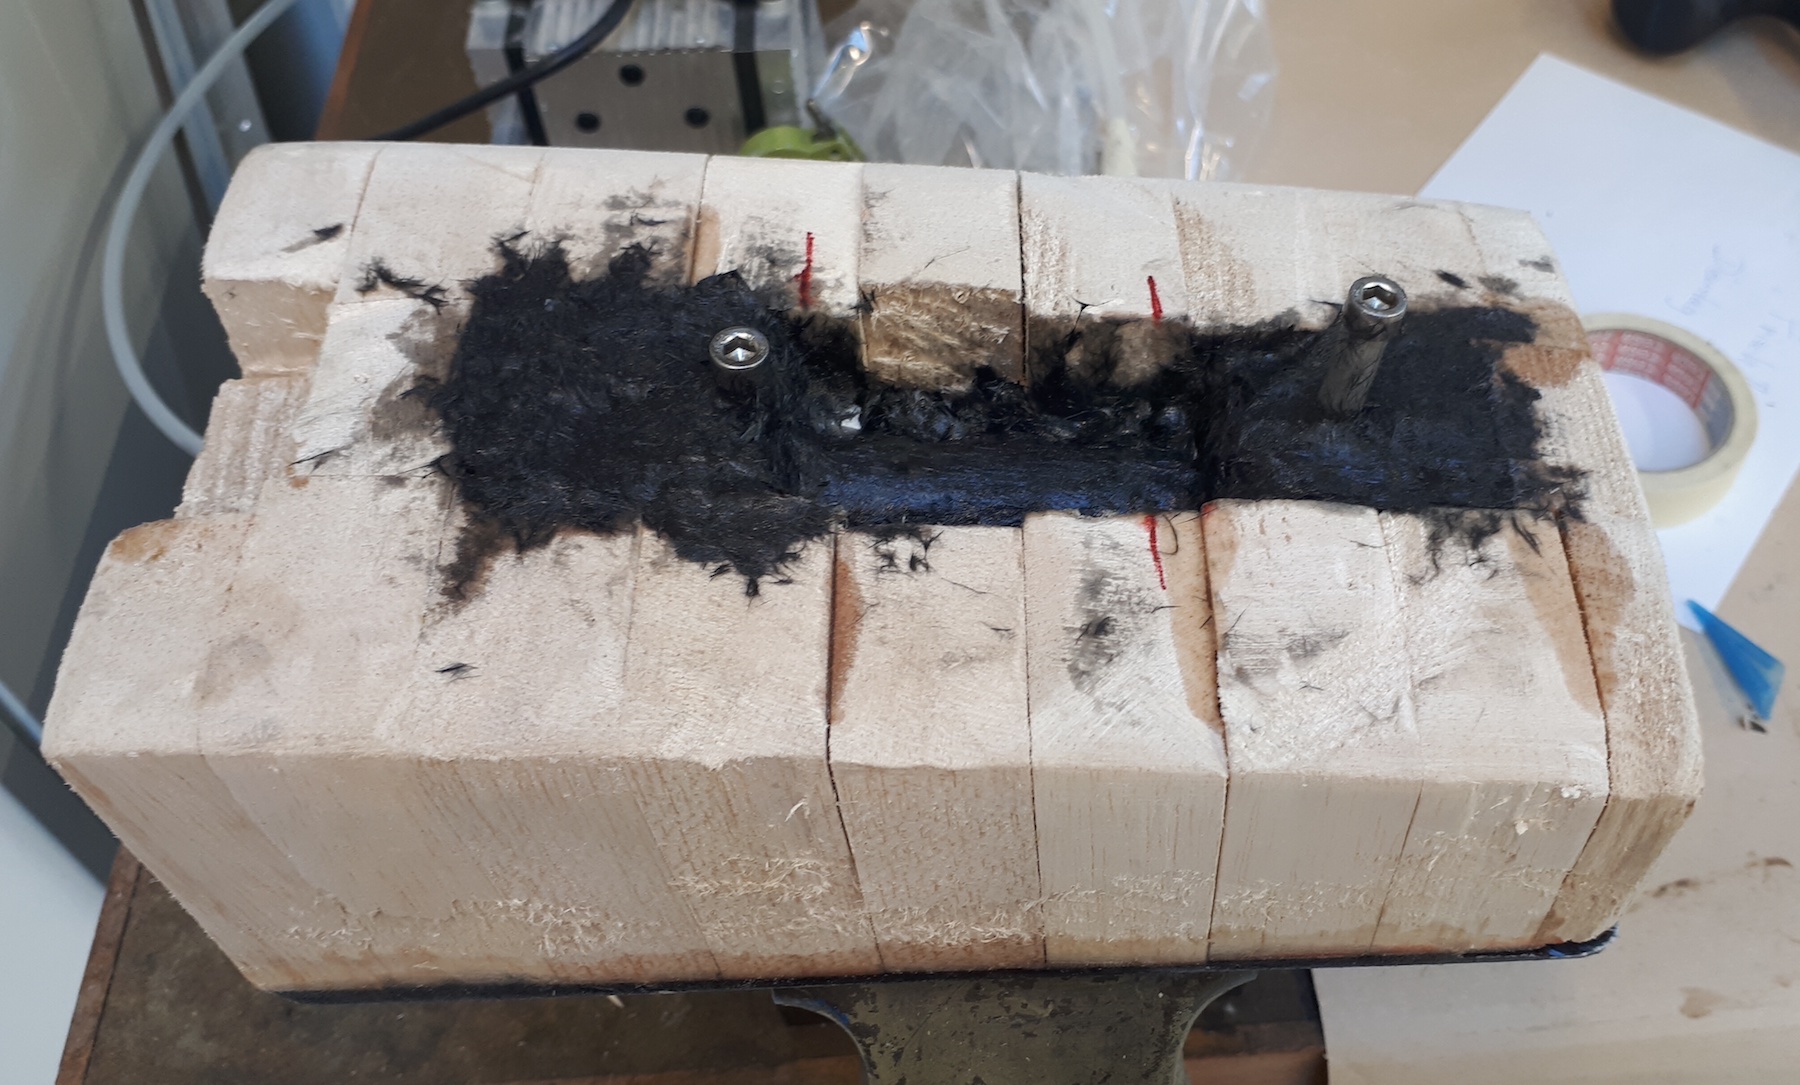
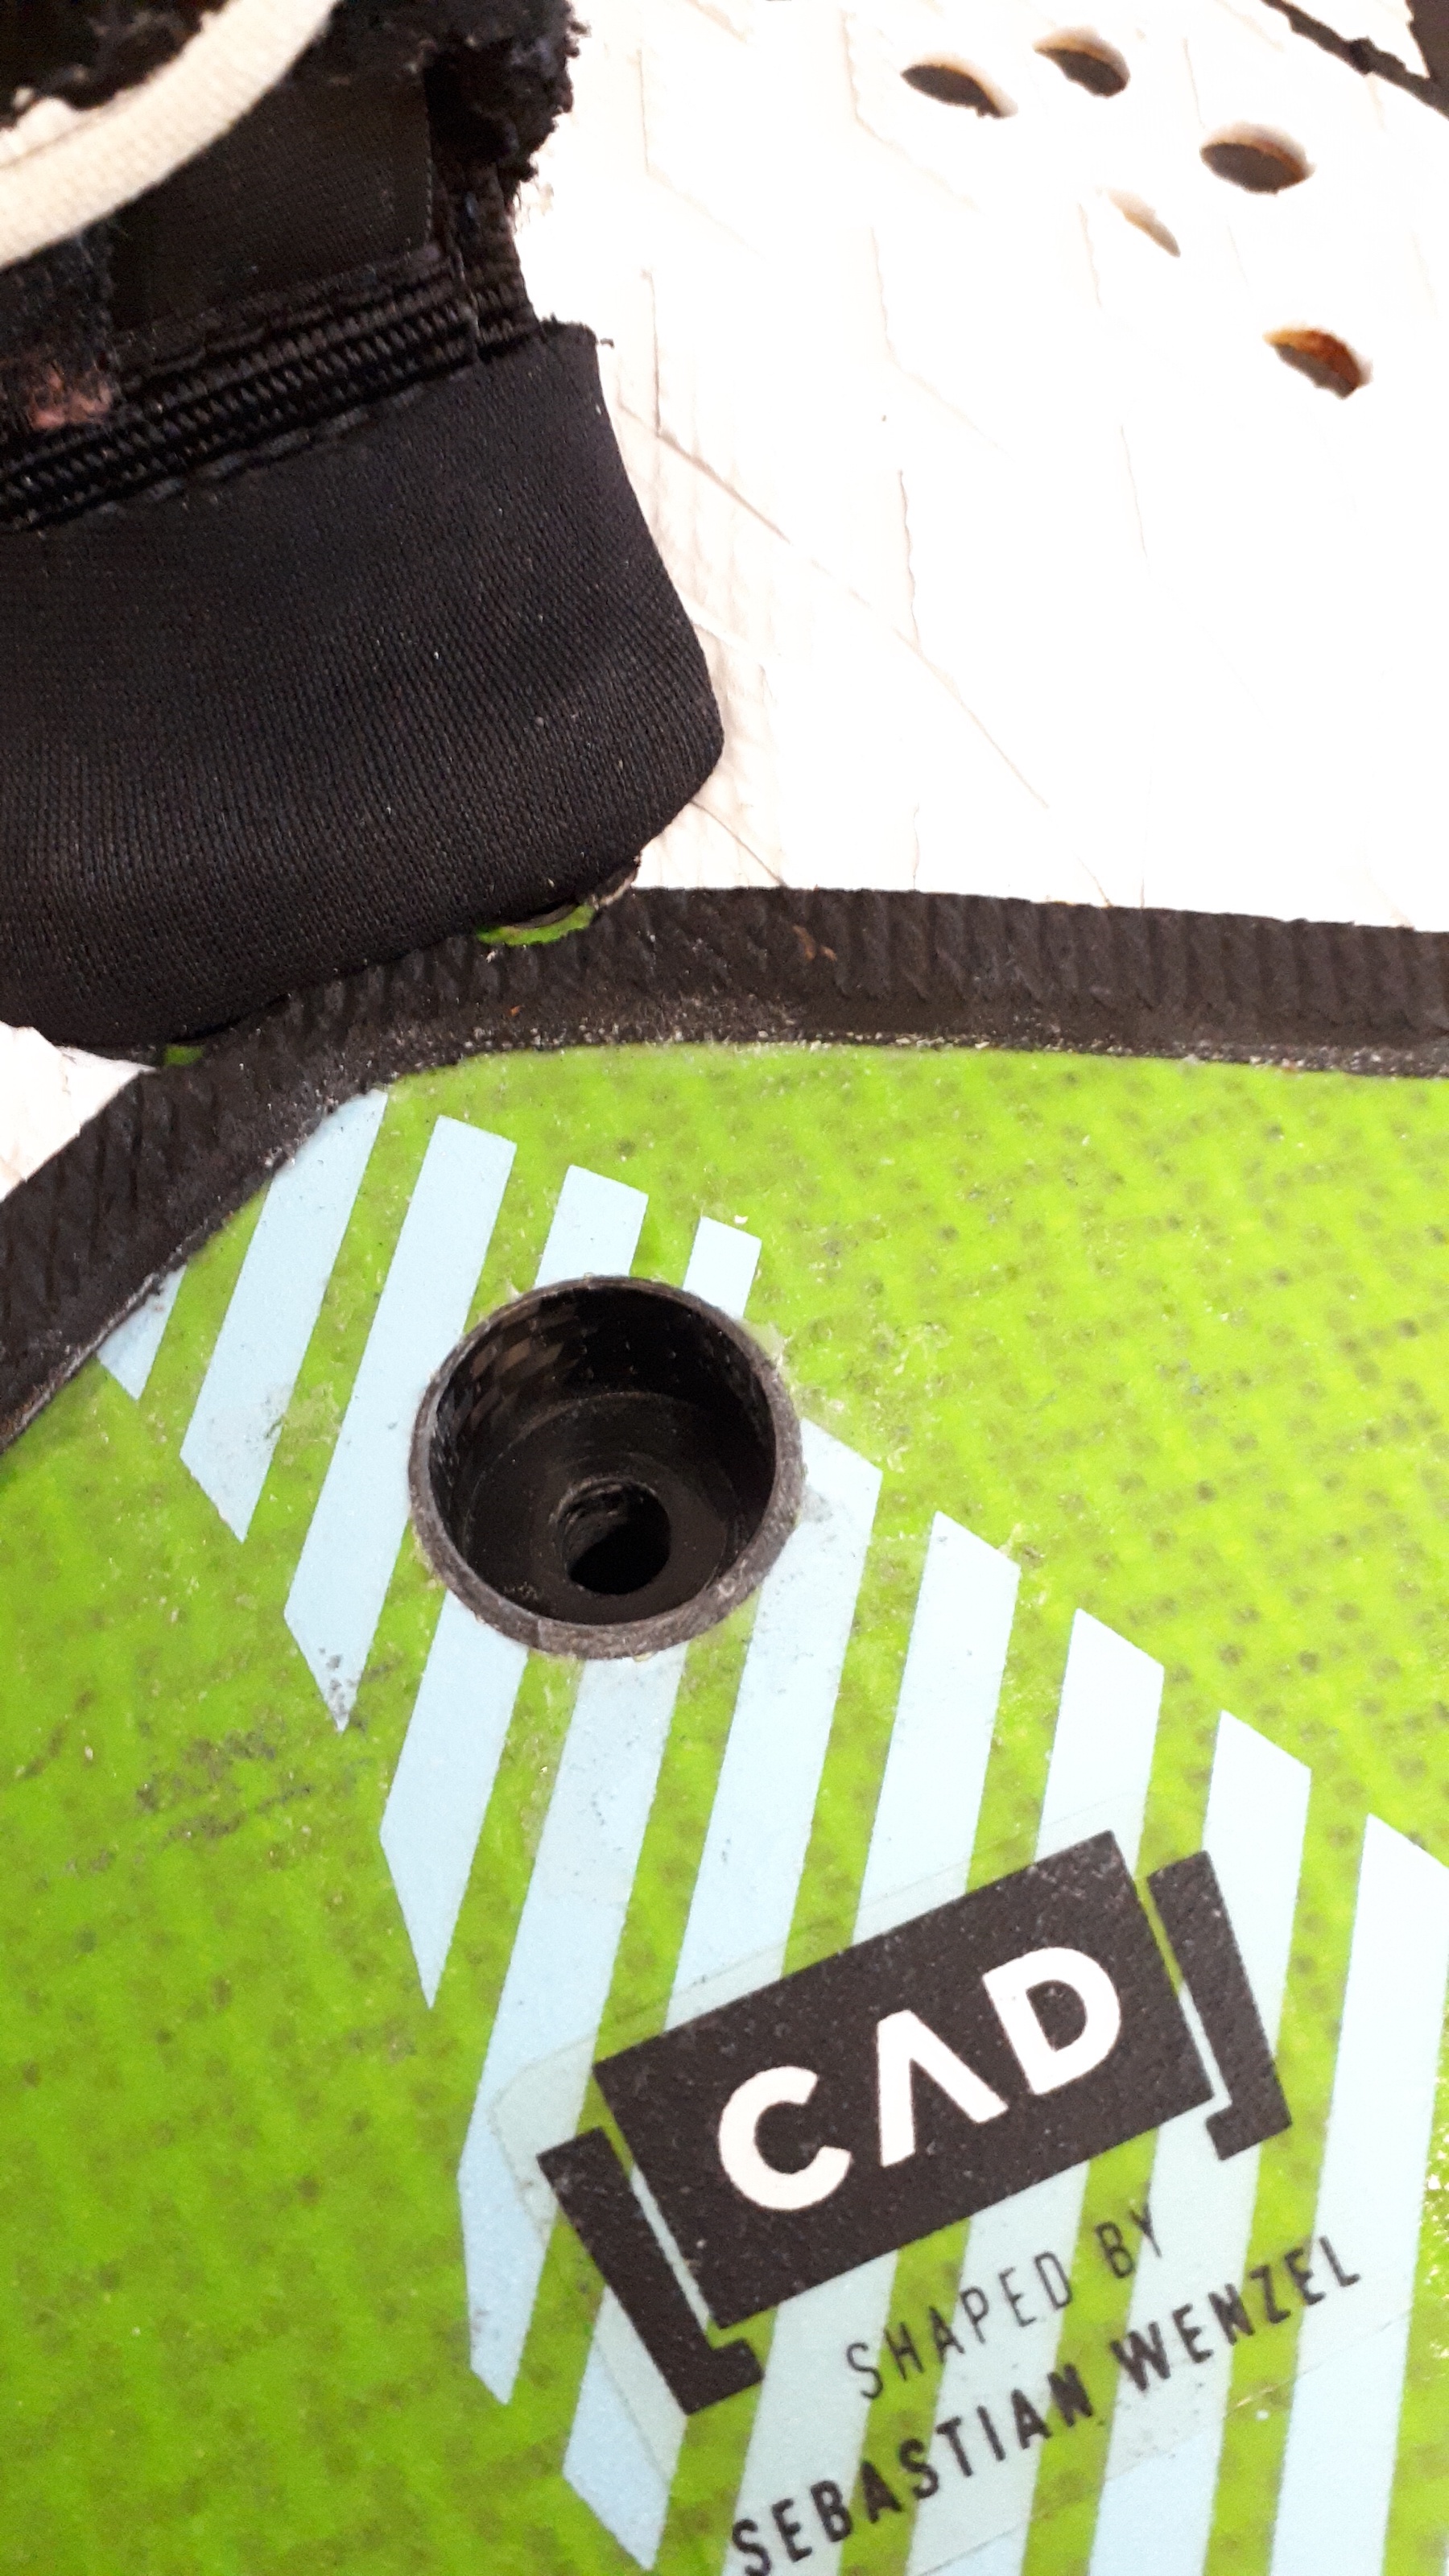
For the holes on the upper side I used a mill but a self centering wood drill bit would also work.
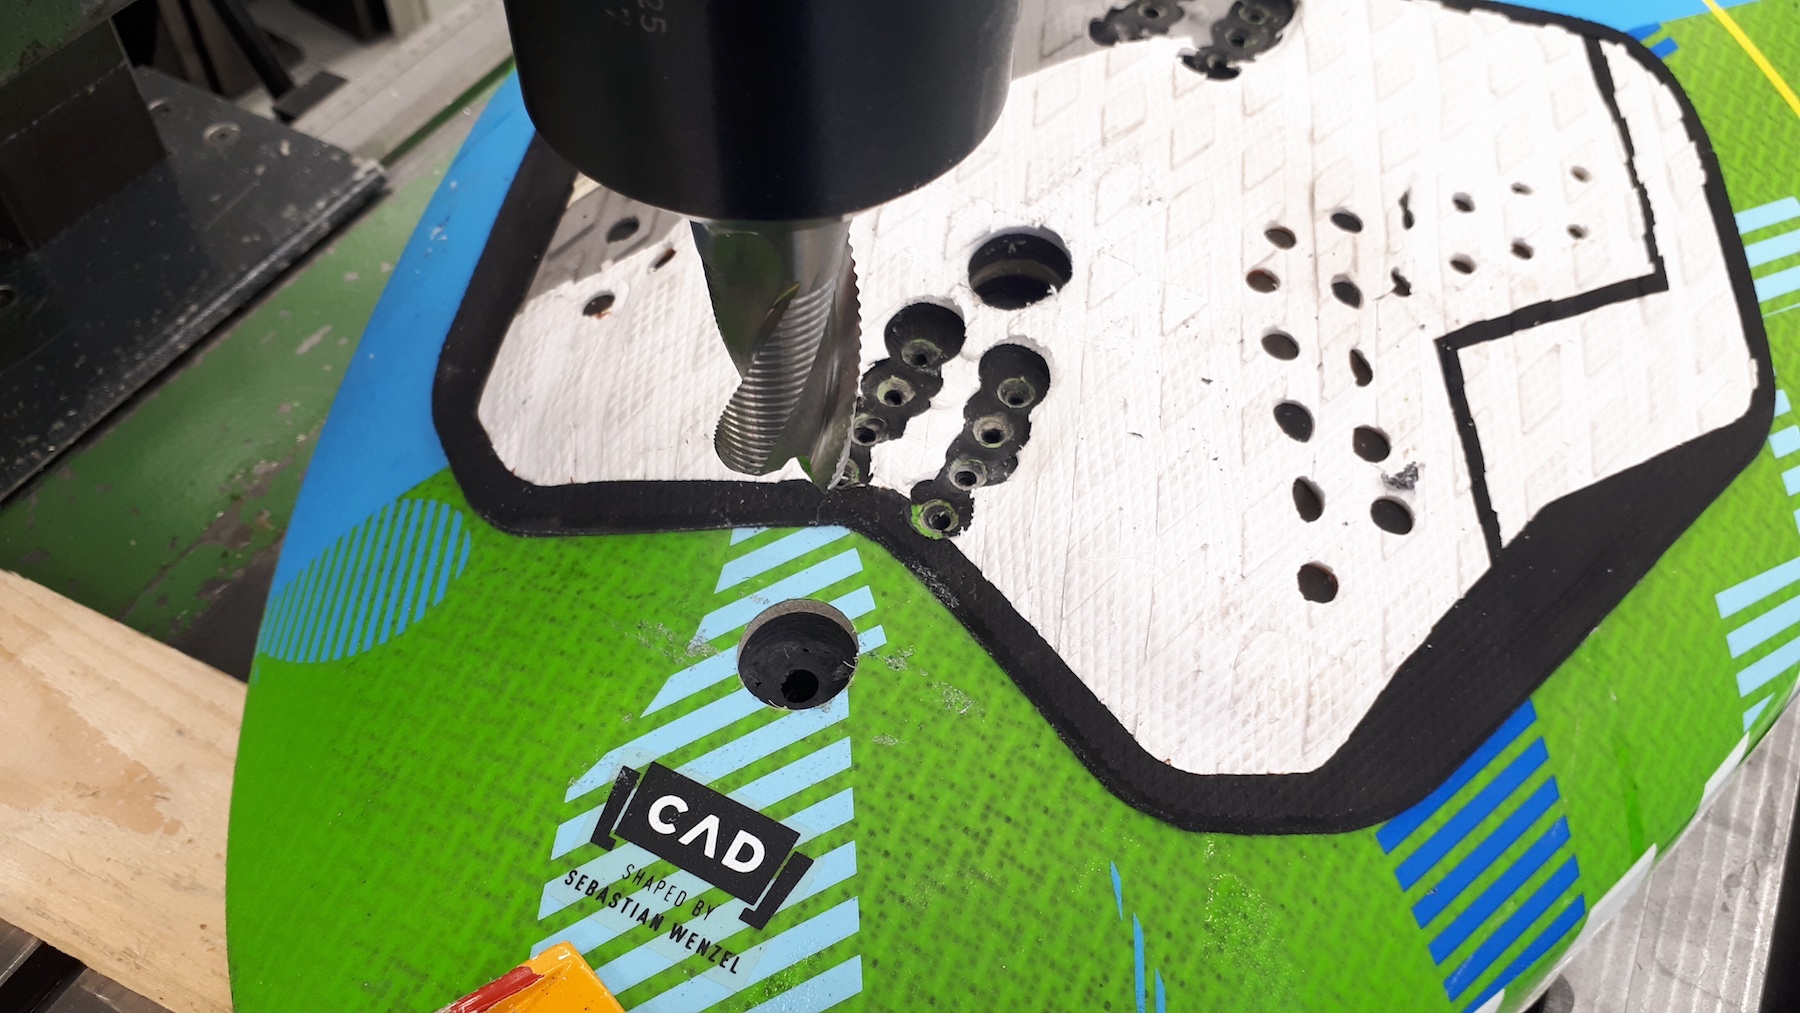
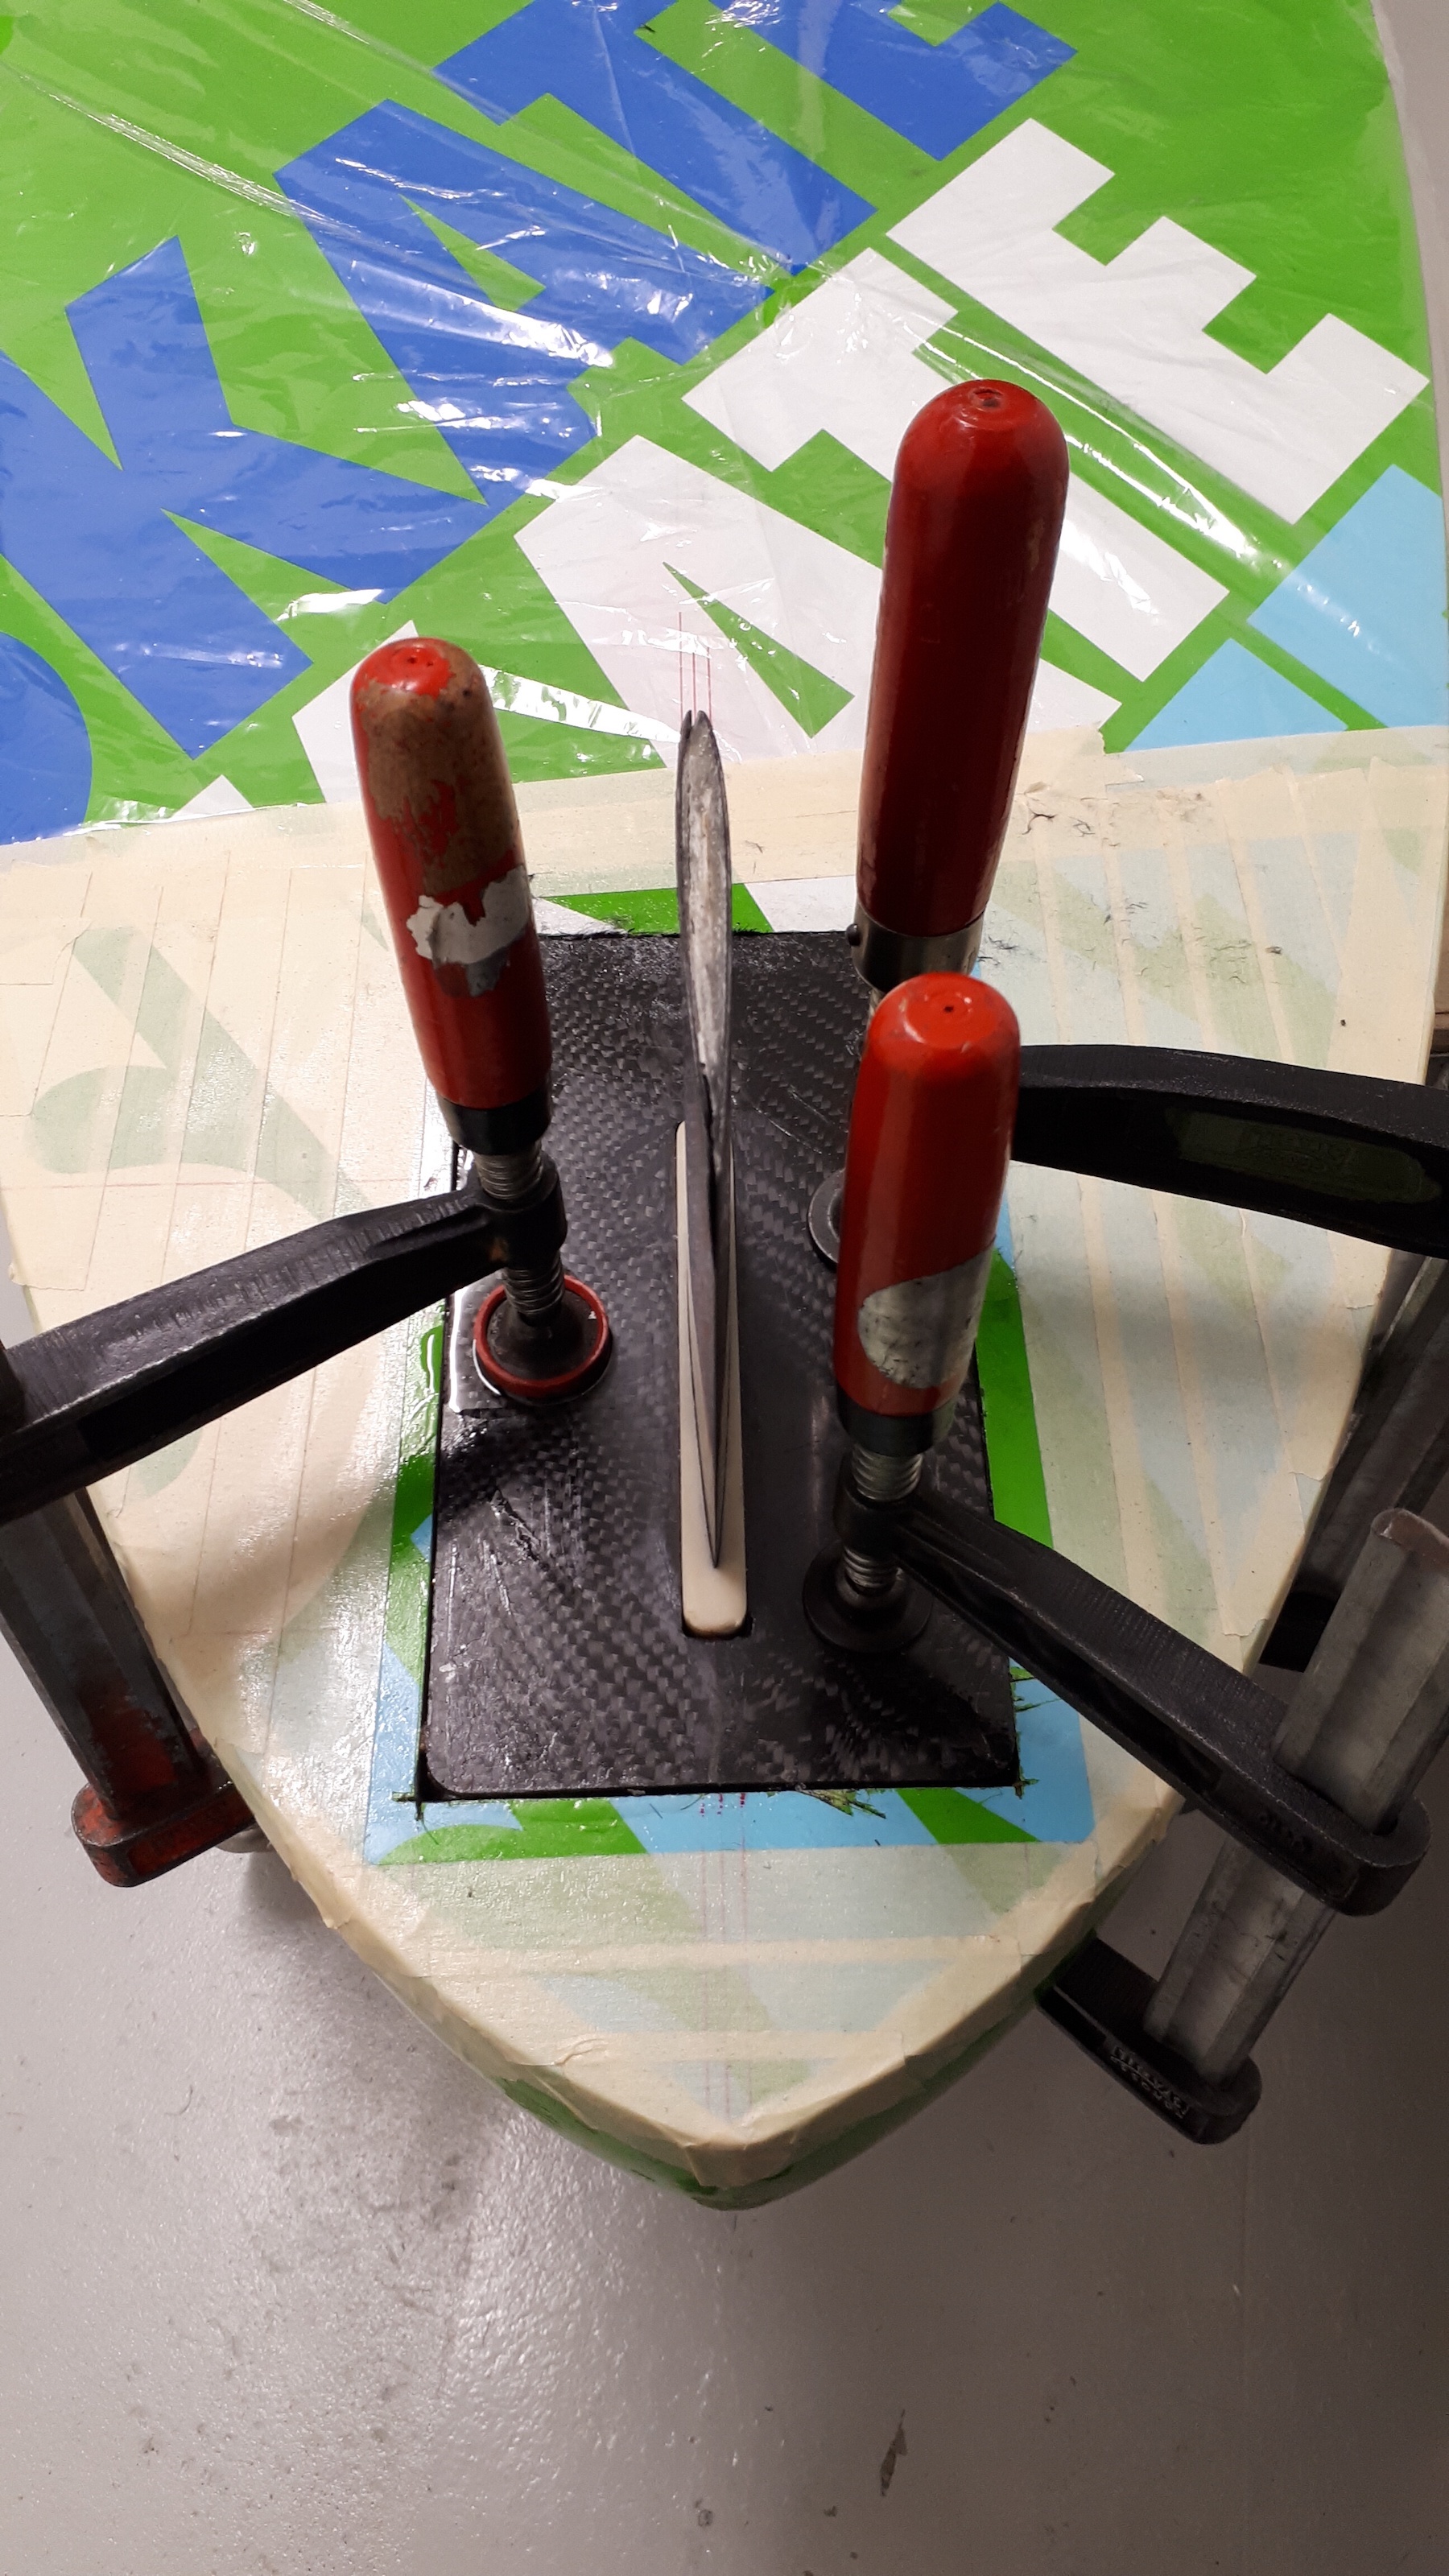
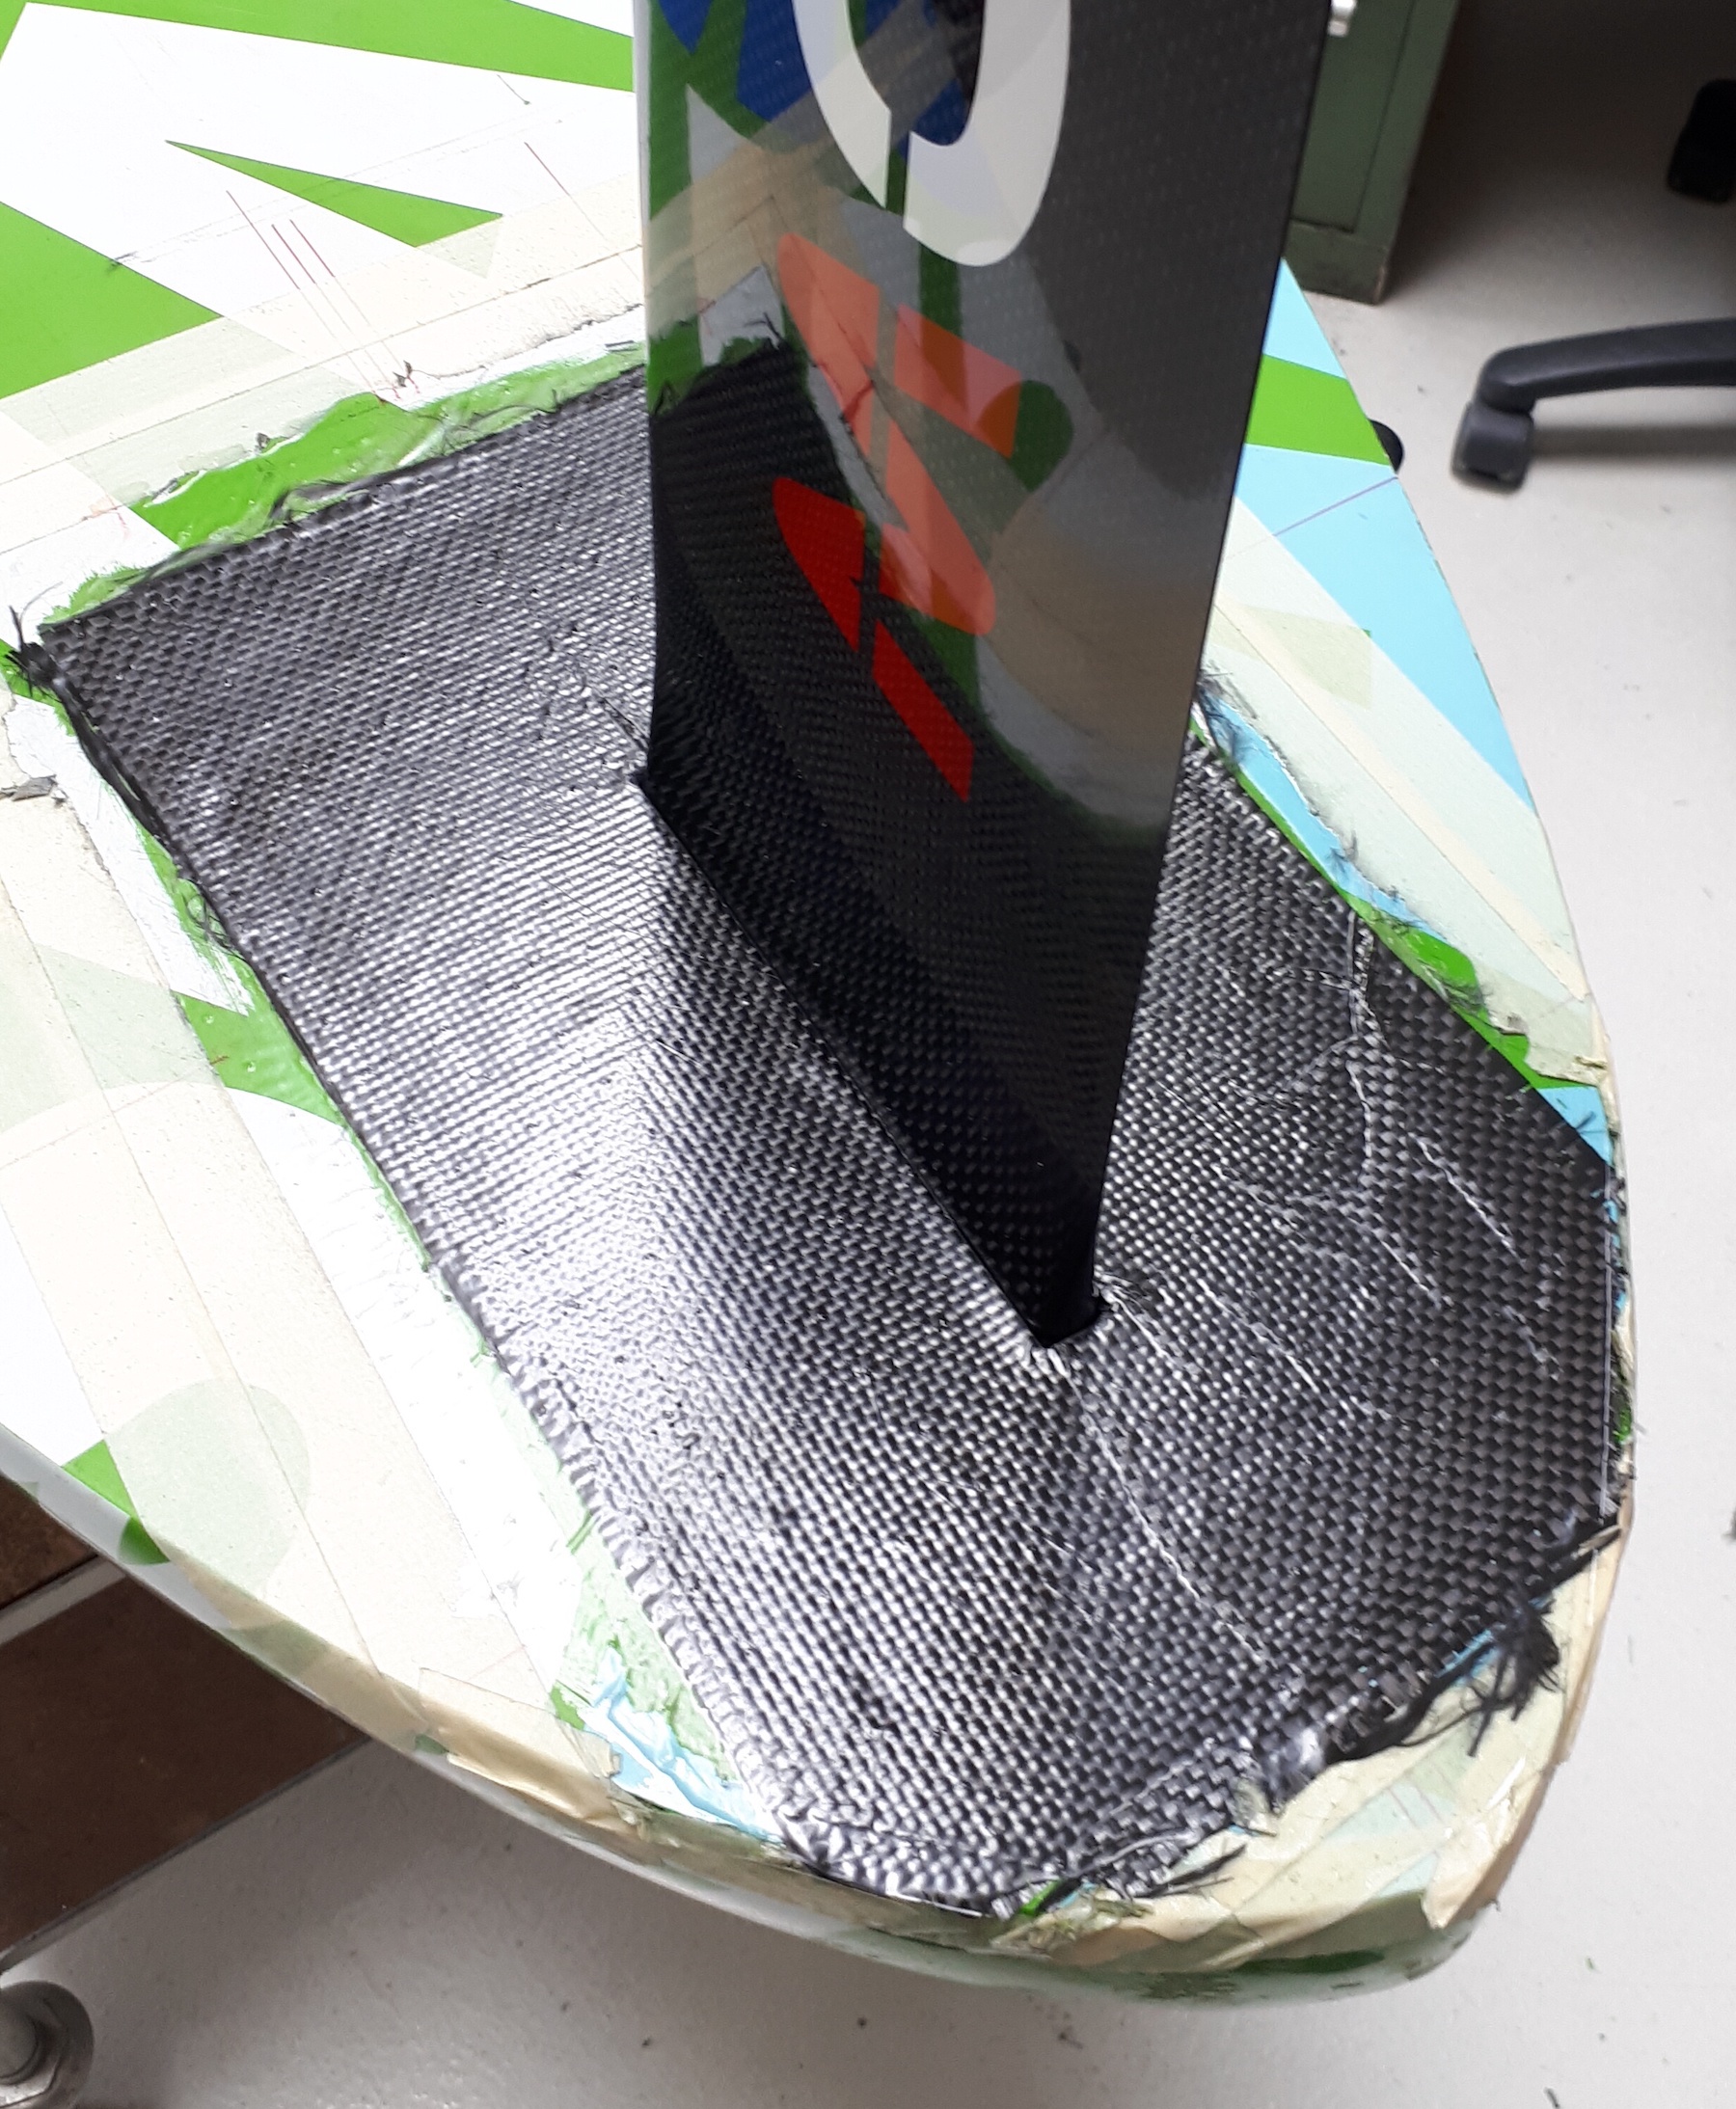
Then I inserted the deep tuttle positive with two screws pins into the fin box and used masking tape to cover the surrounding of the holes on the top. It is inevitable that epoxy will come in contact with the surface even if covered with tape. A good practice is to add some layers of mold release wax to the surface of the board before using the masking tape. This makes the removal of epoxy stains very easy.
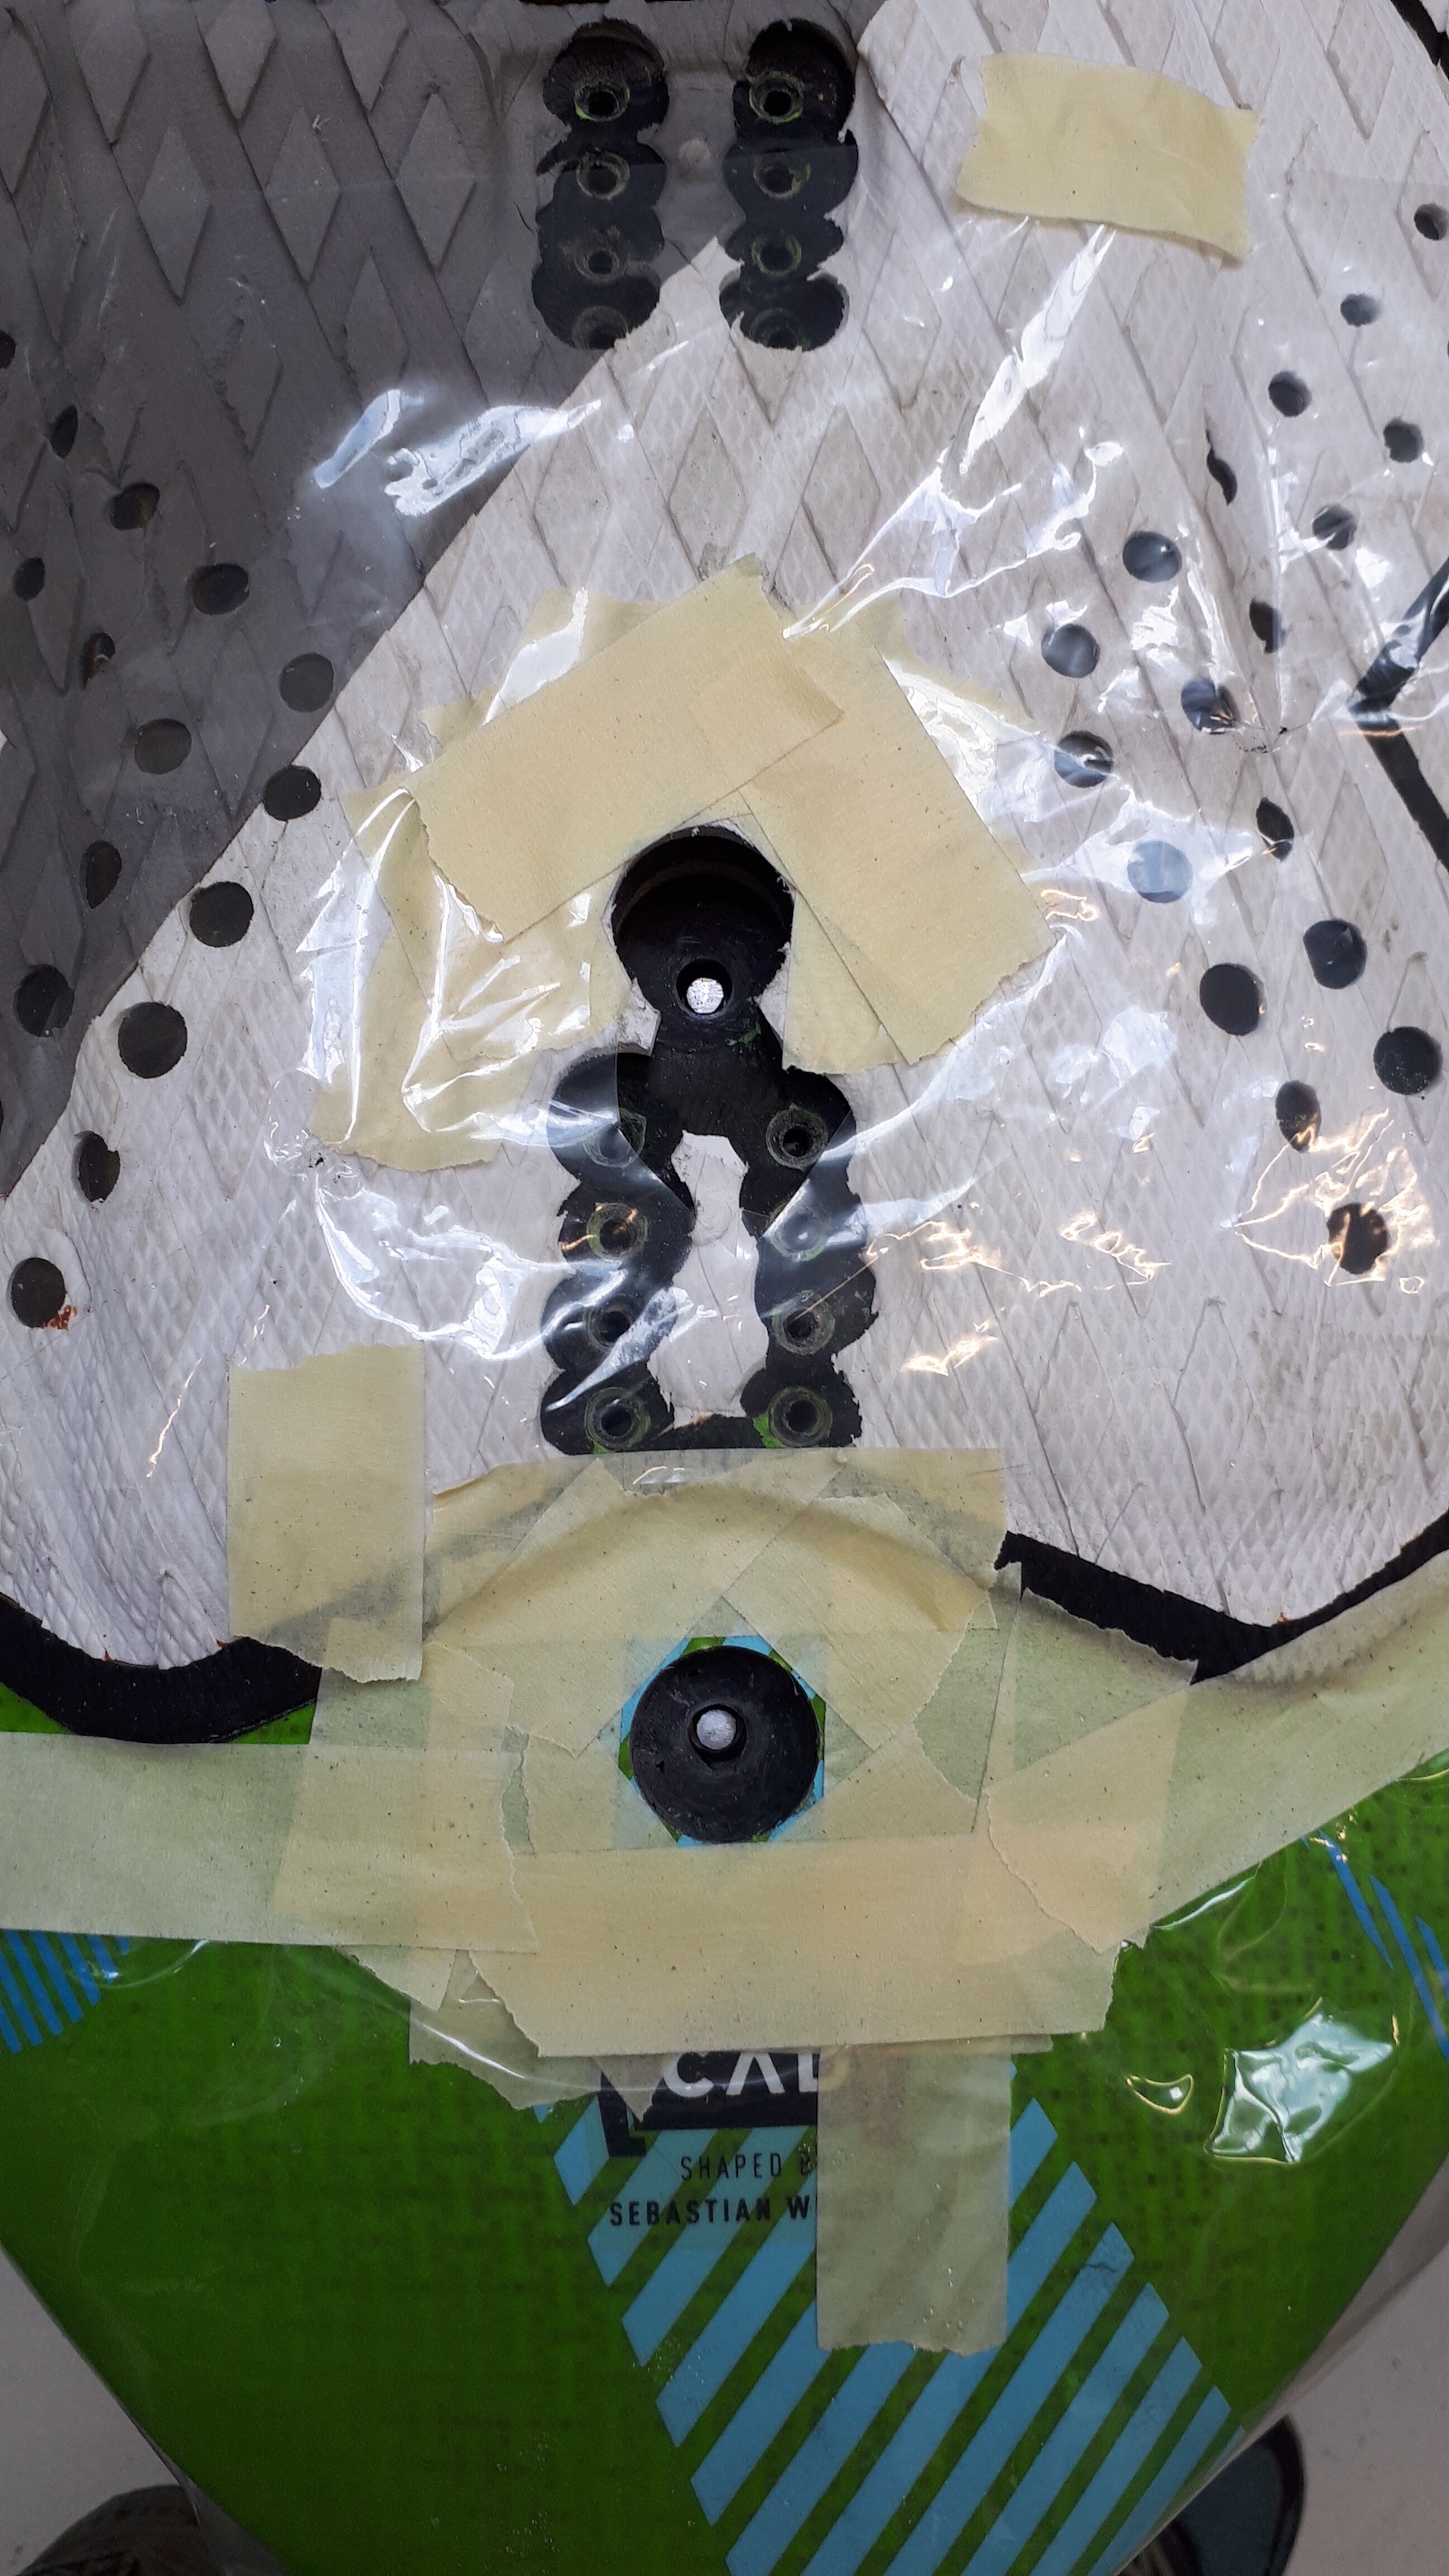
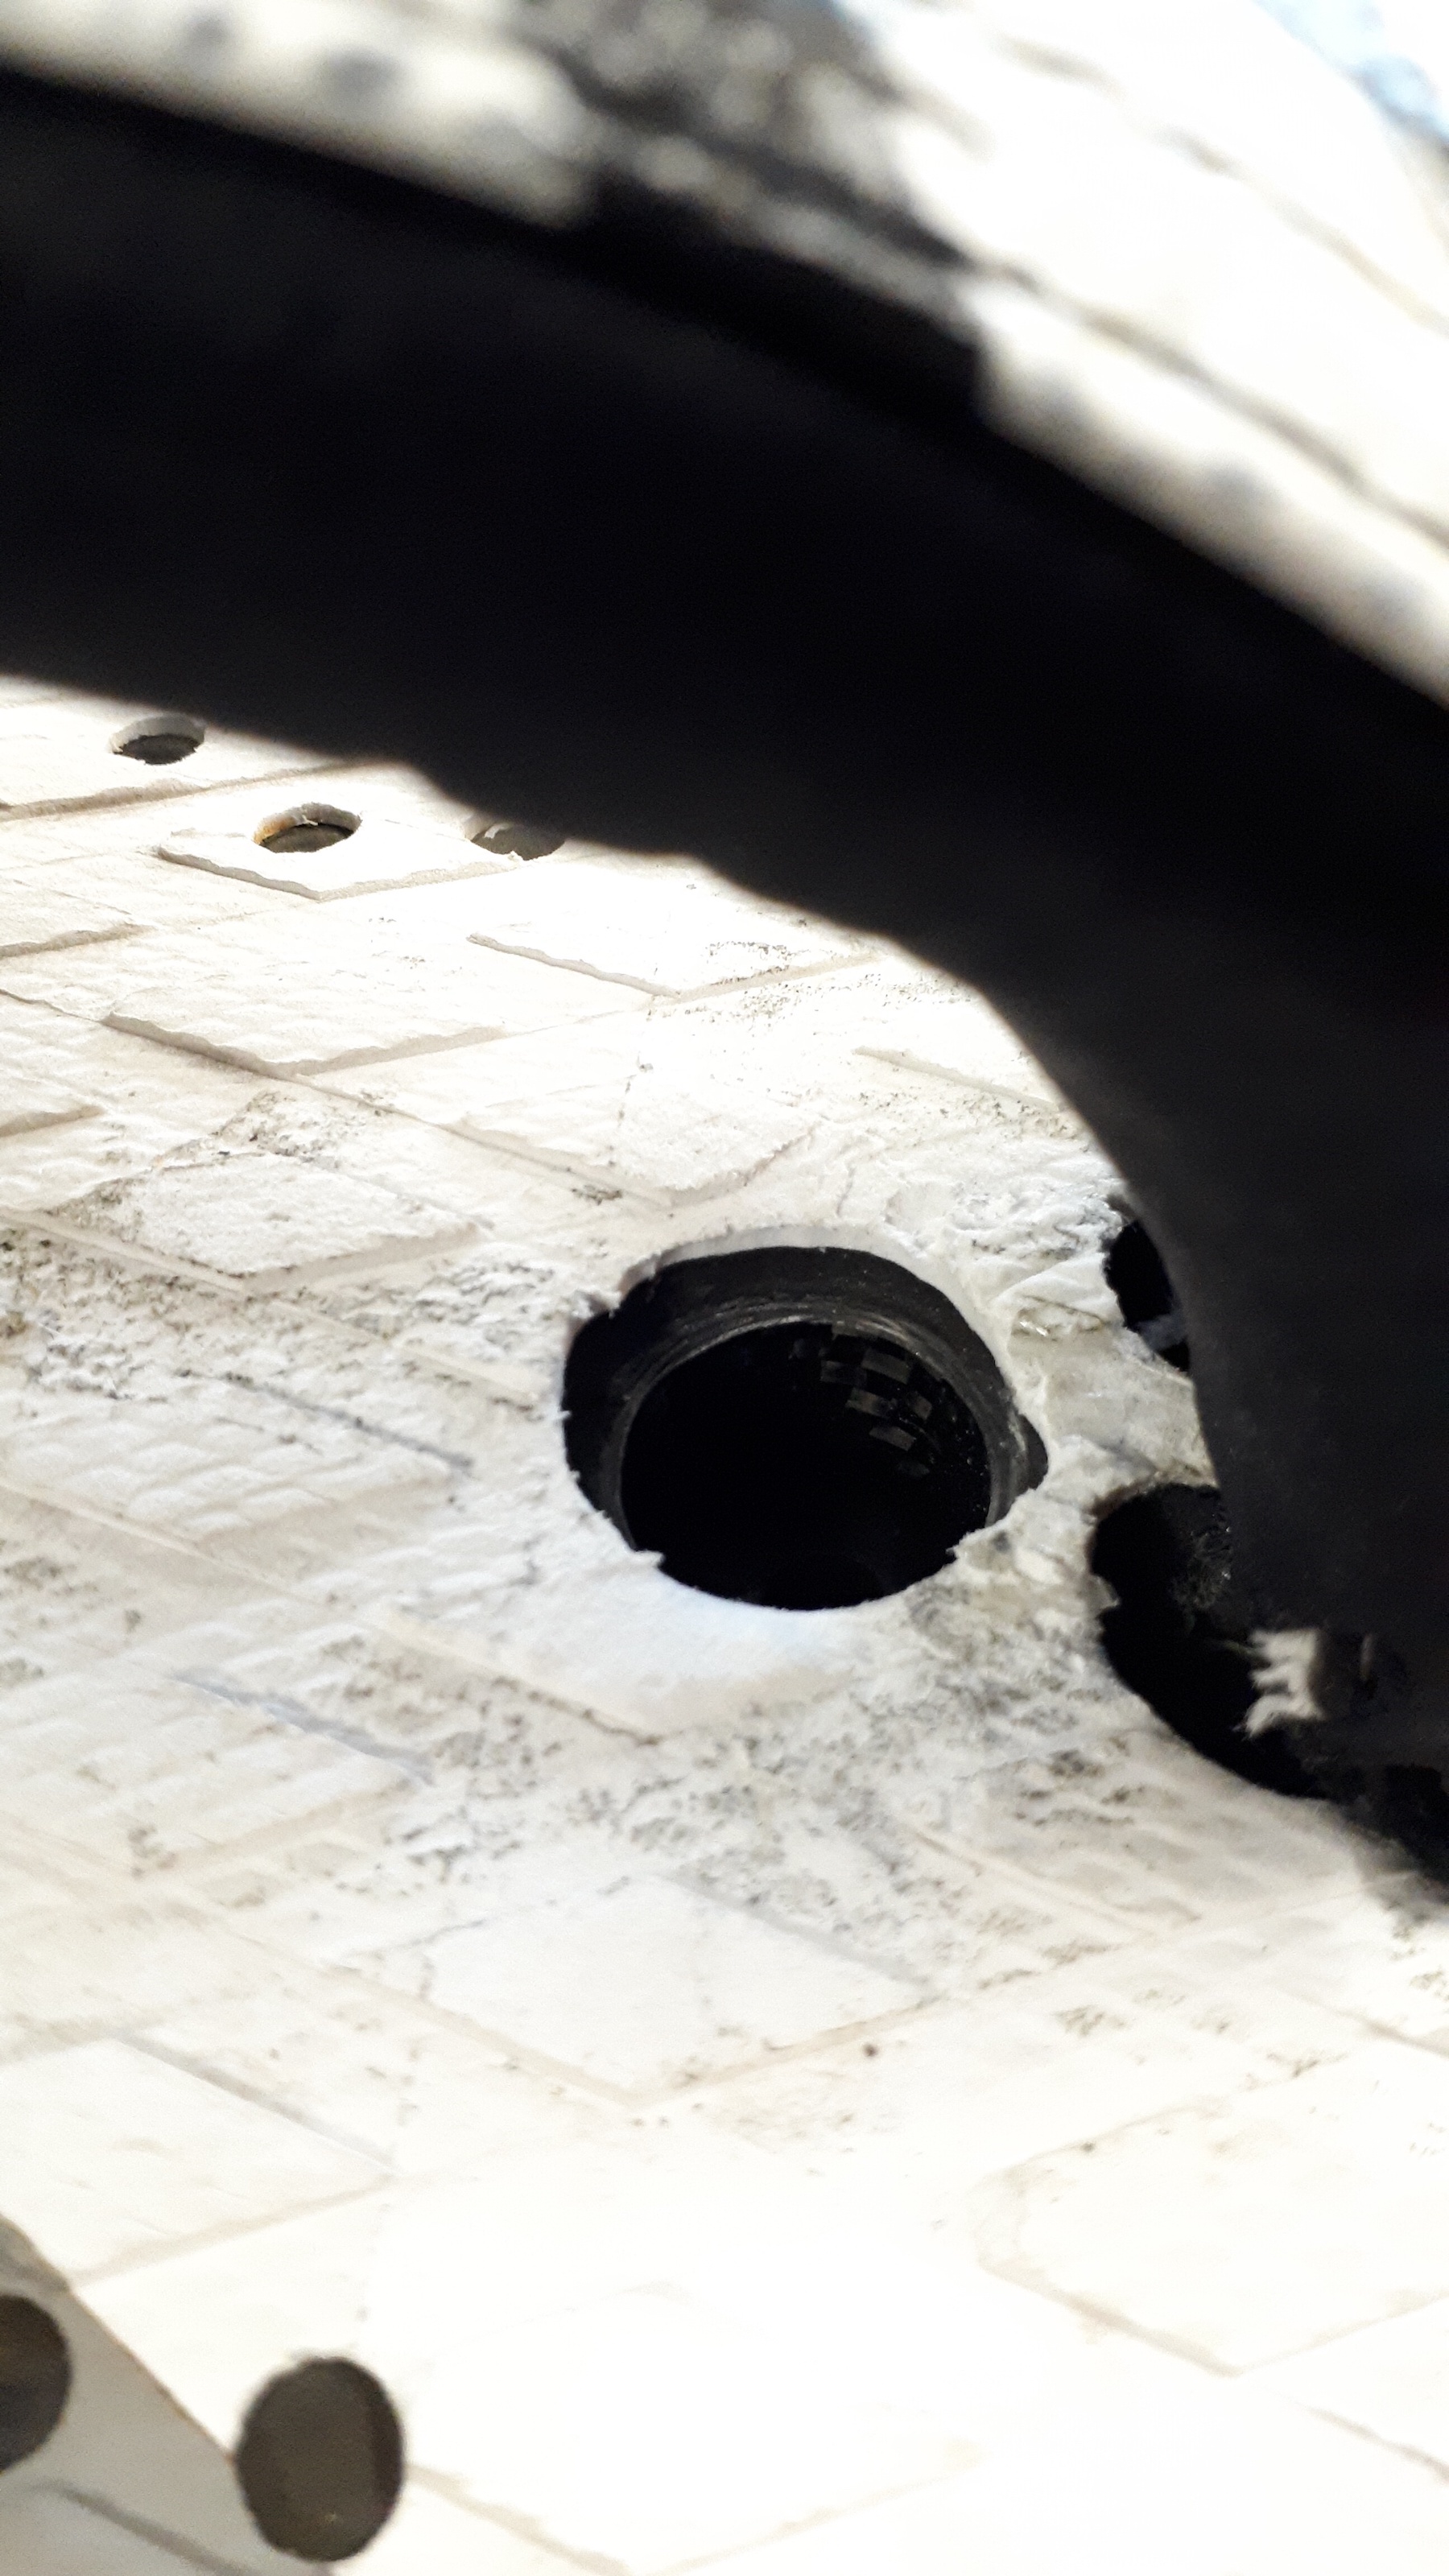
To avoid water entering the board all of the holes' surfaces have to be sealed with epoxy. I used two brass cylinders covered with mold release wax and 3 mm smaller than the diameter of the holes, wrapped them with soaked carbon fabric and inserted them with plenty of excess epoxy into the holes.
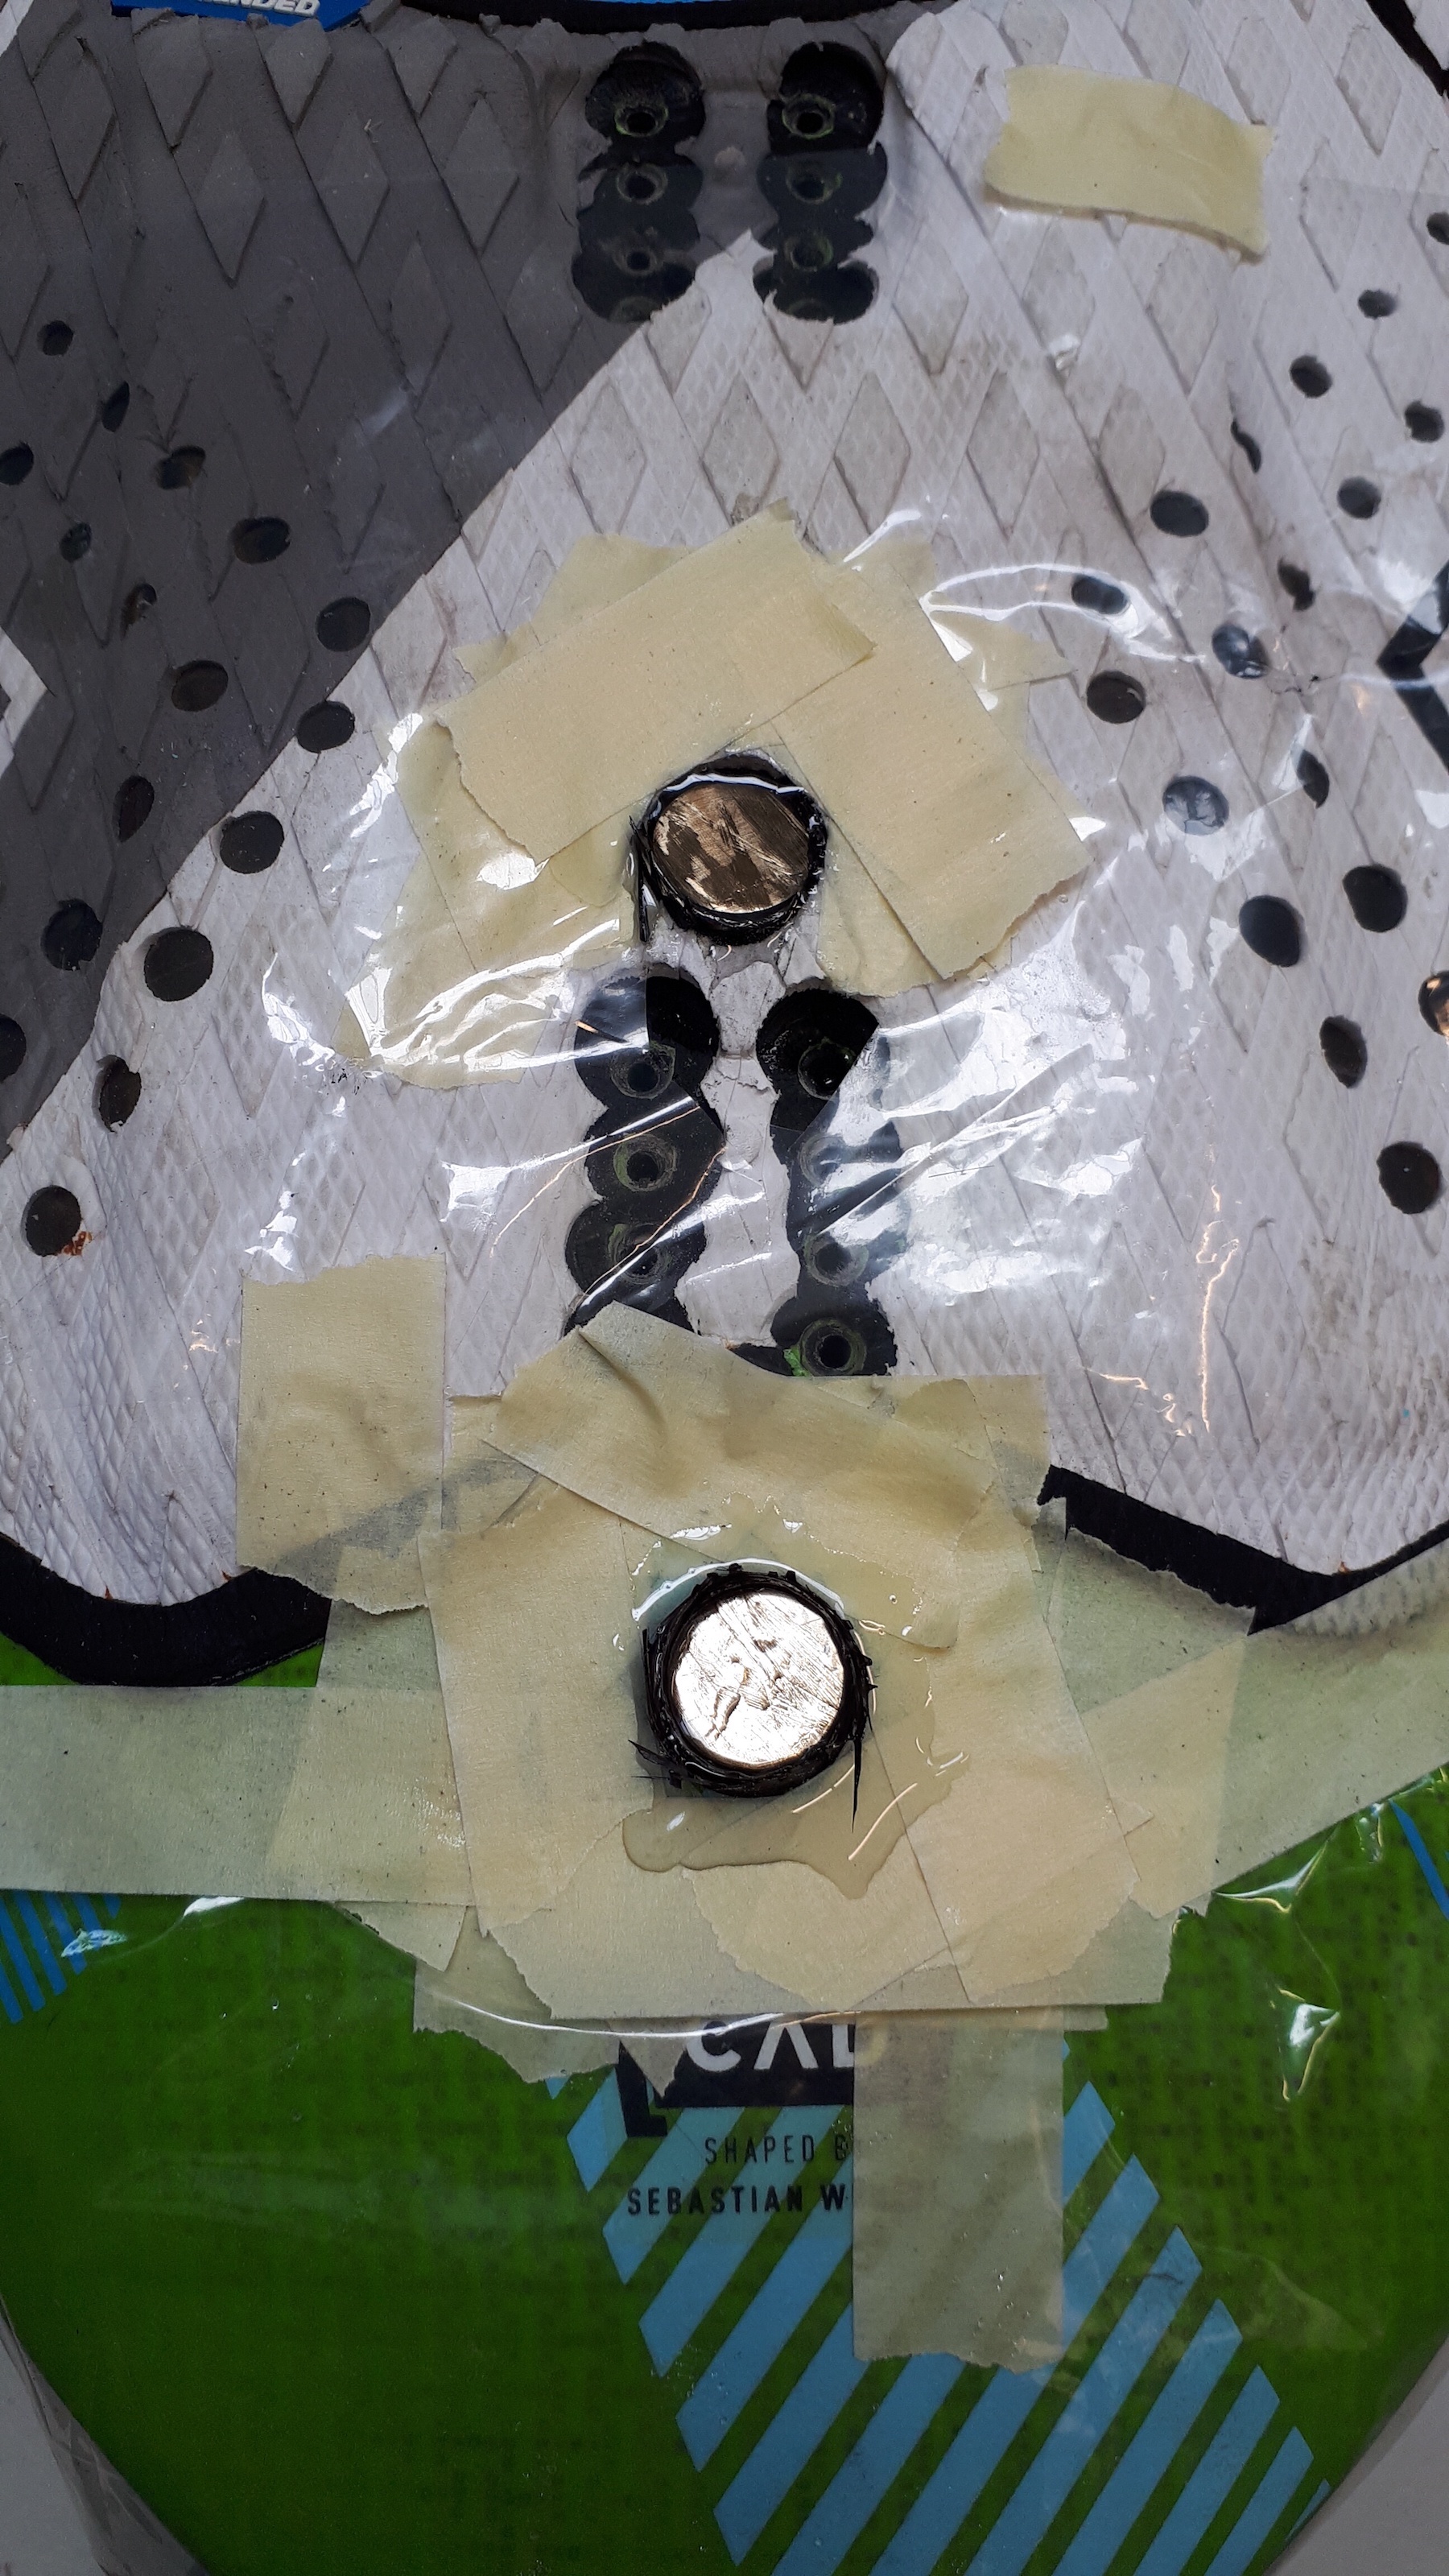
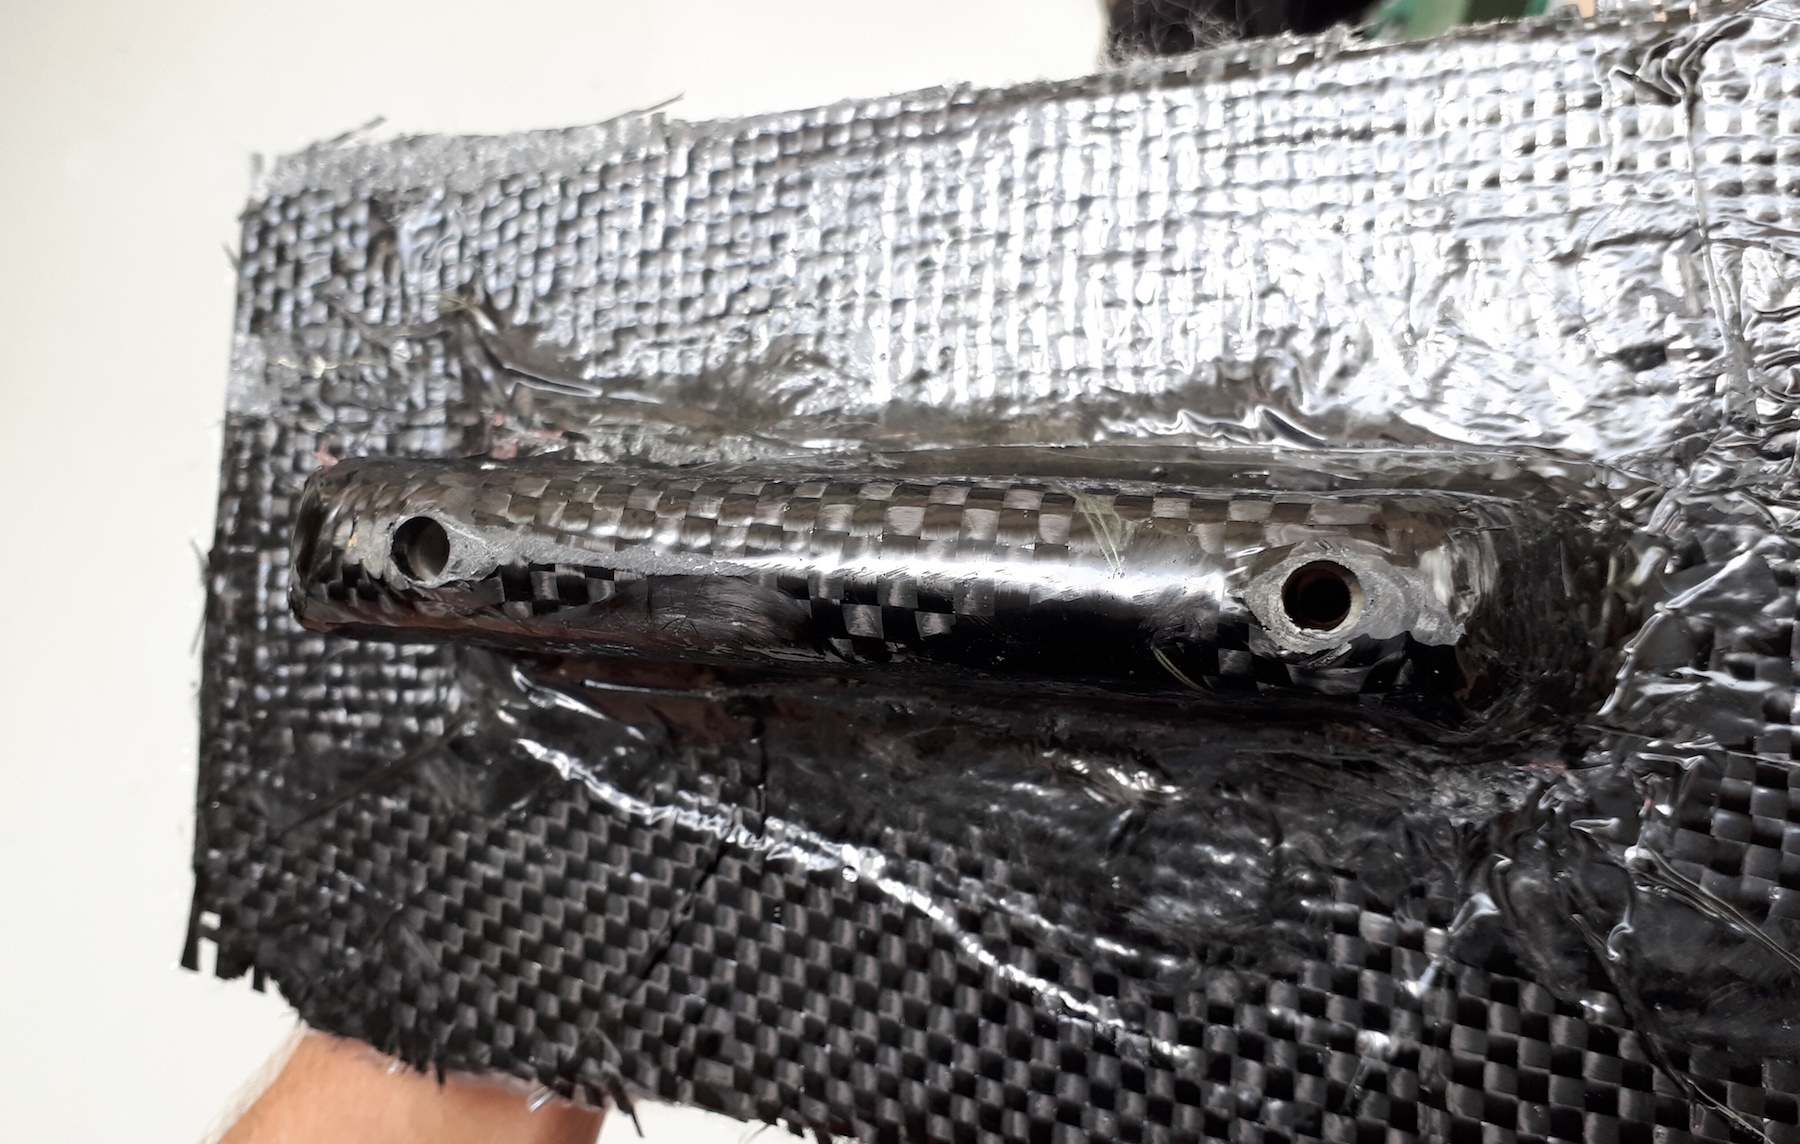
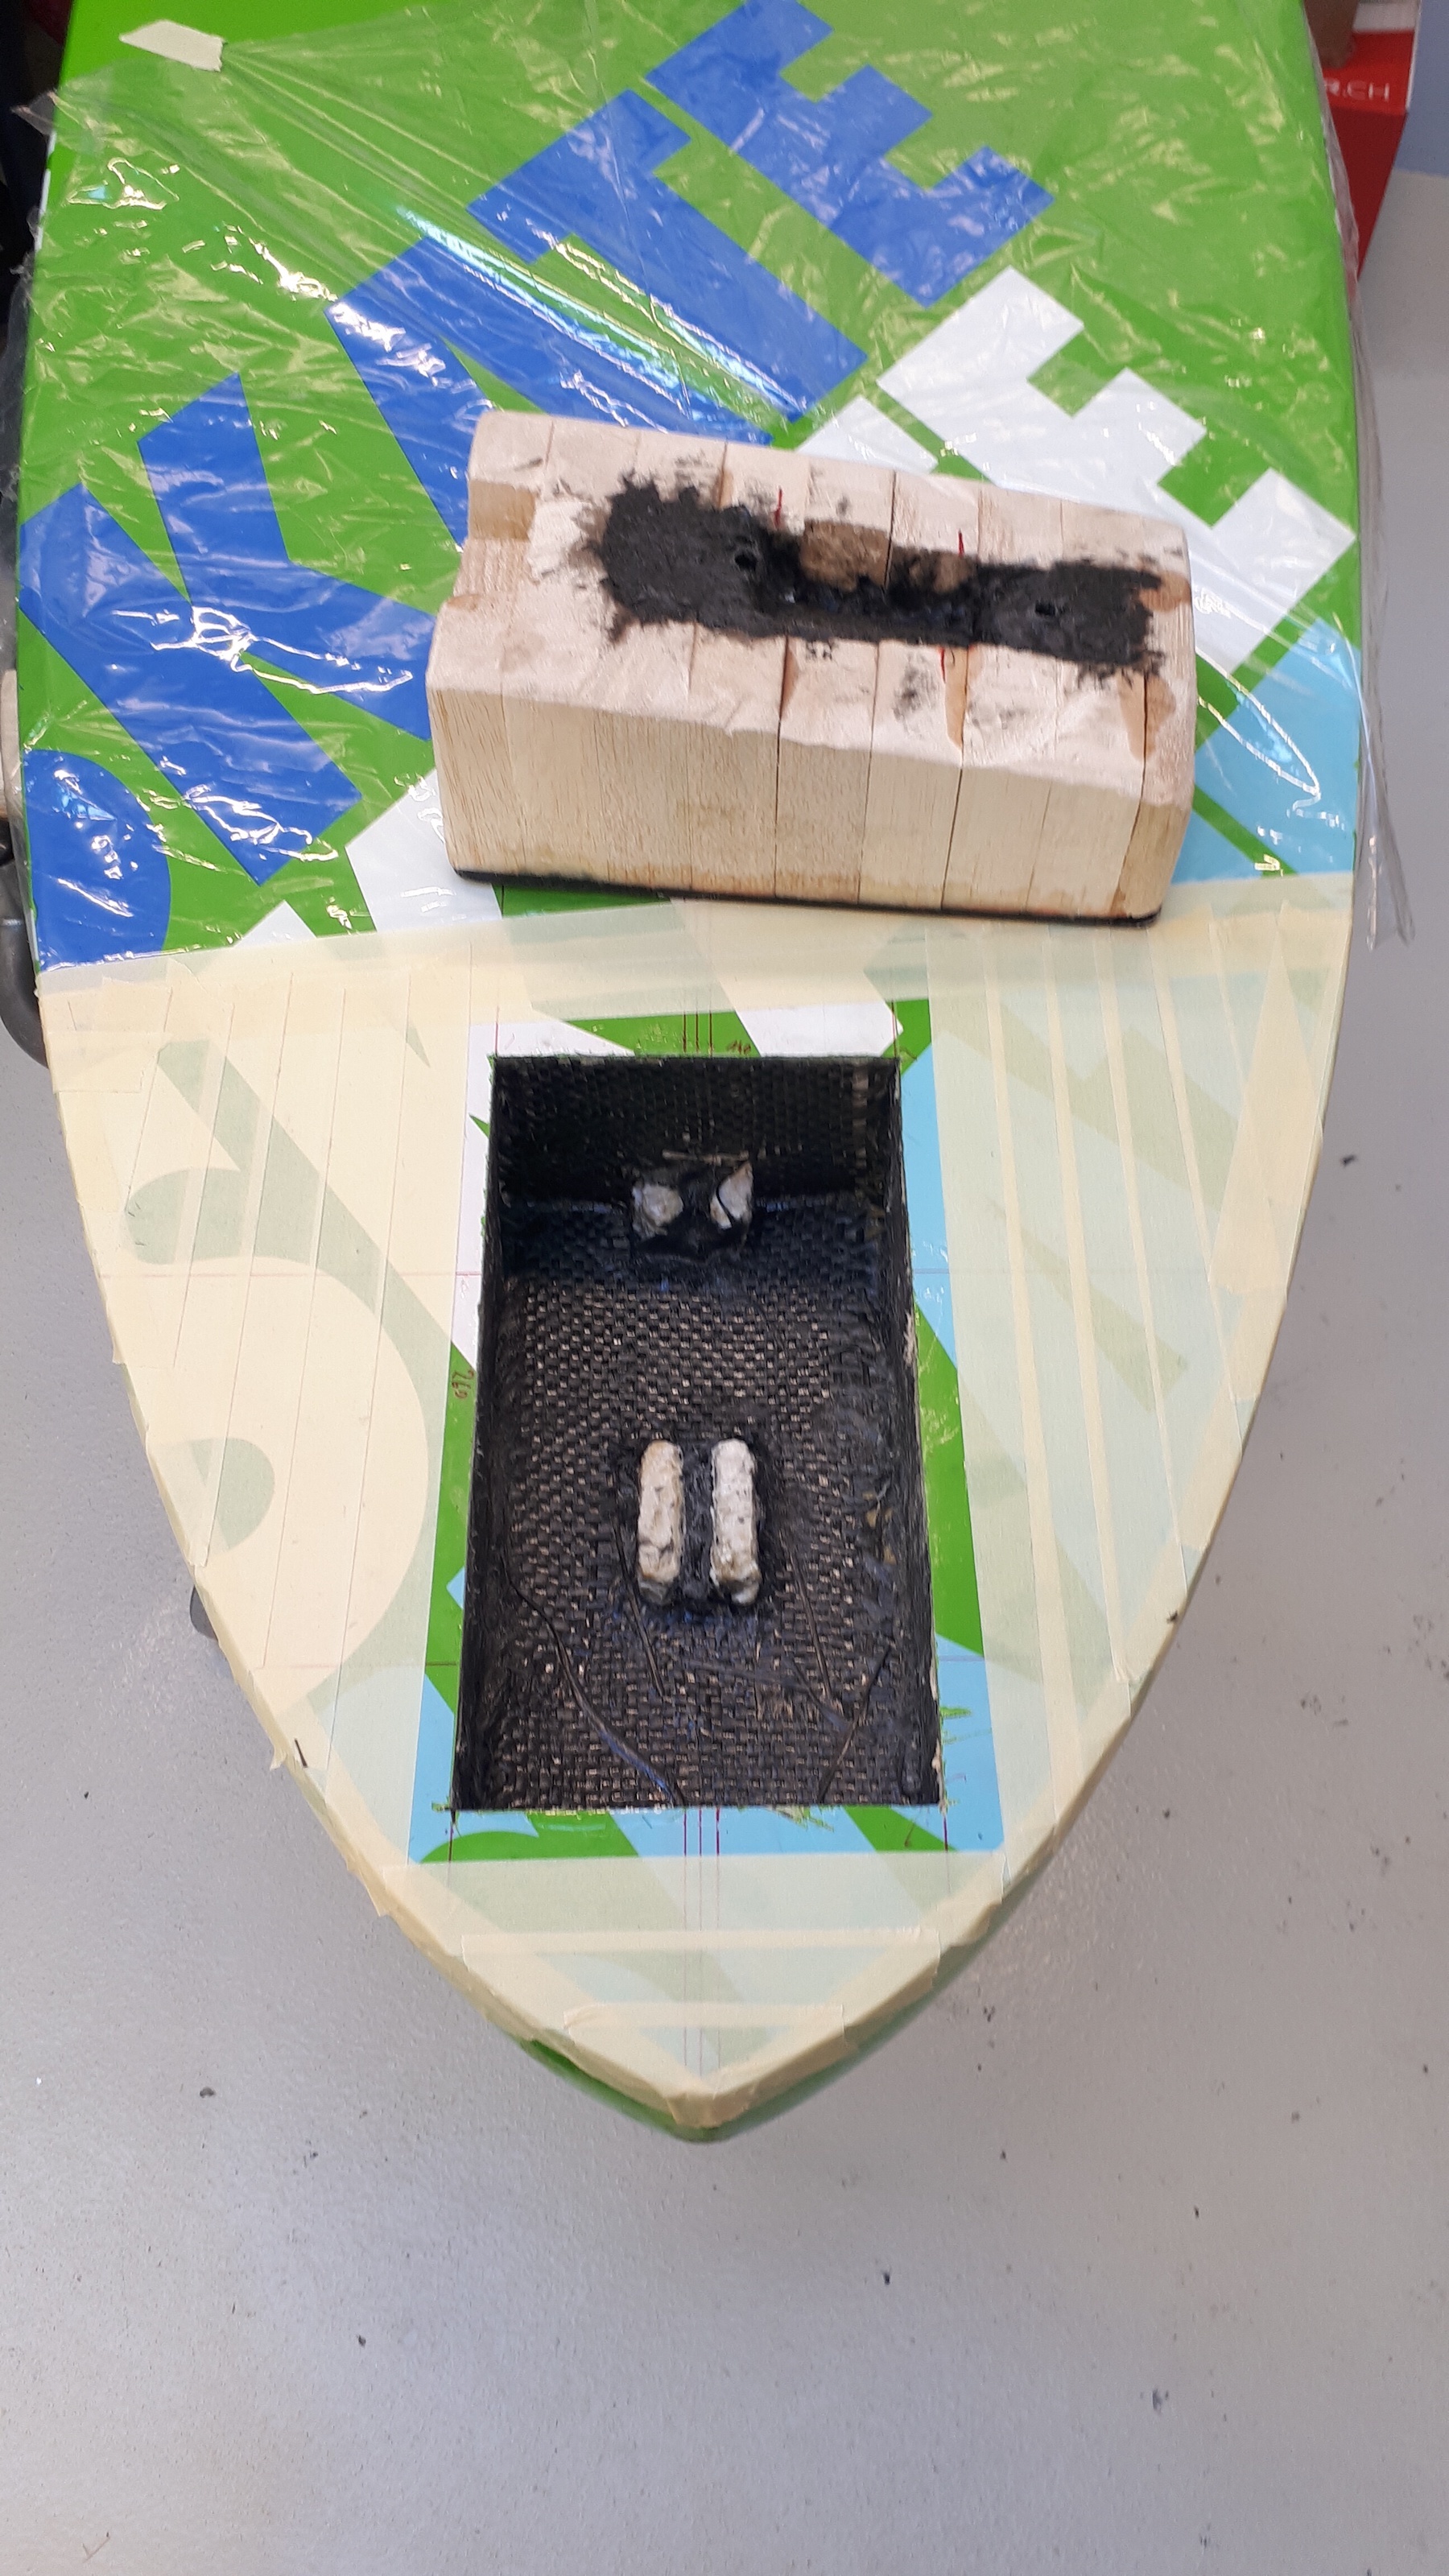
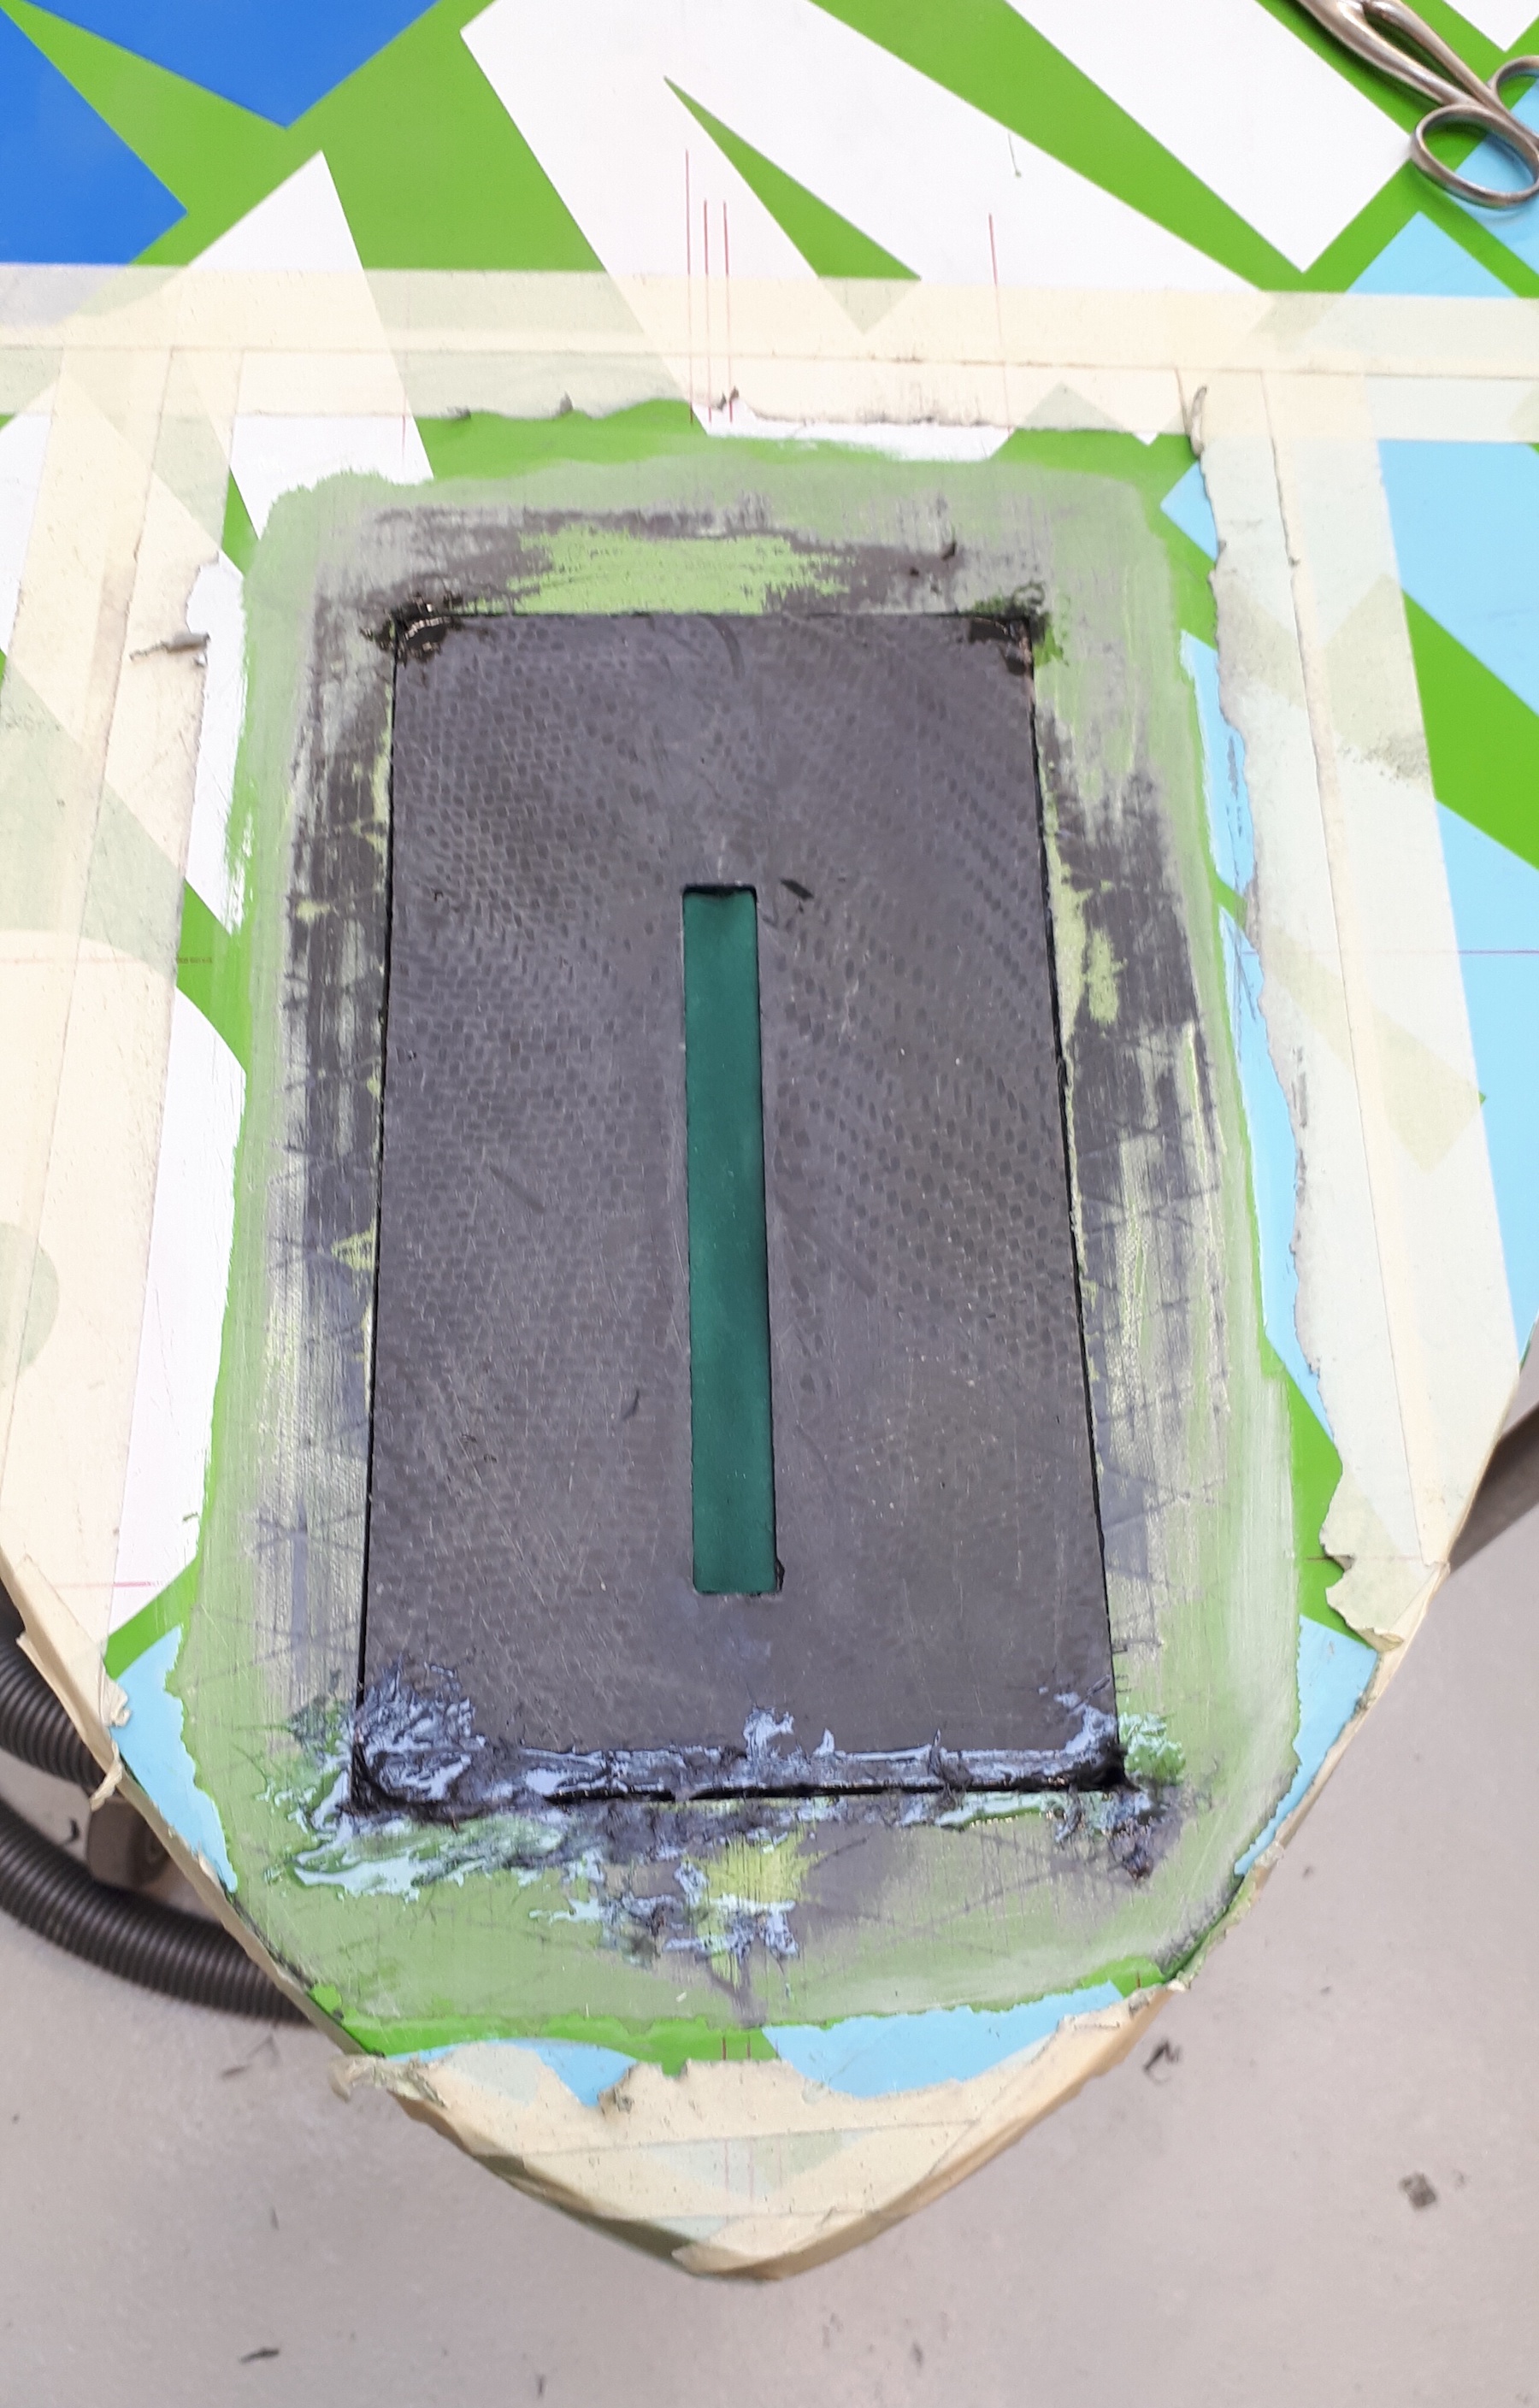
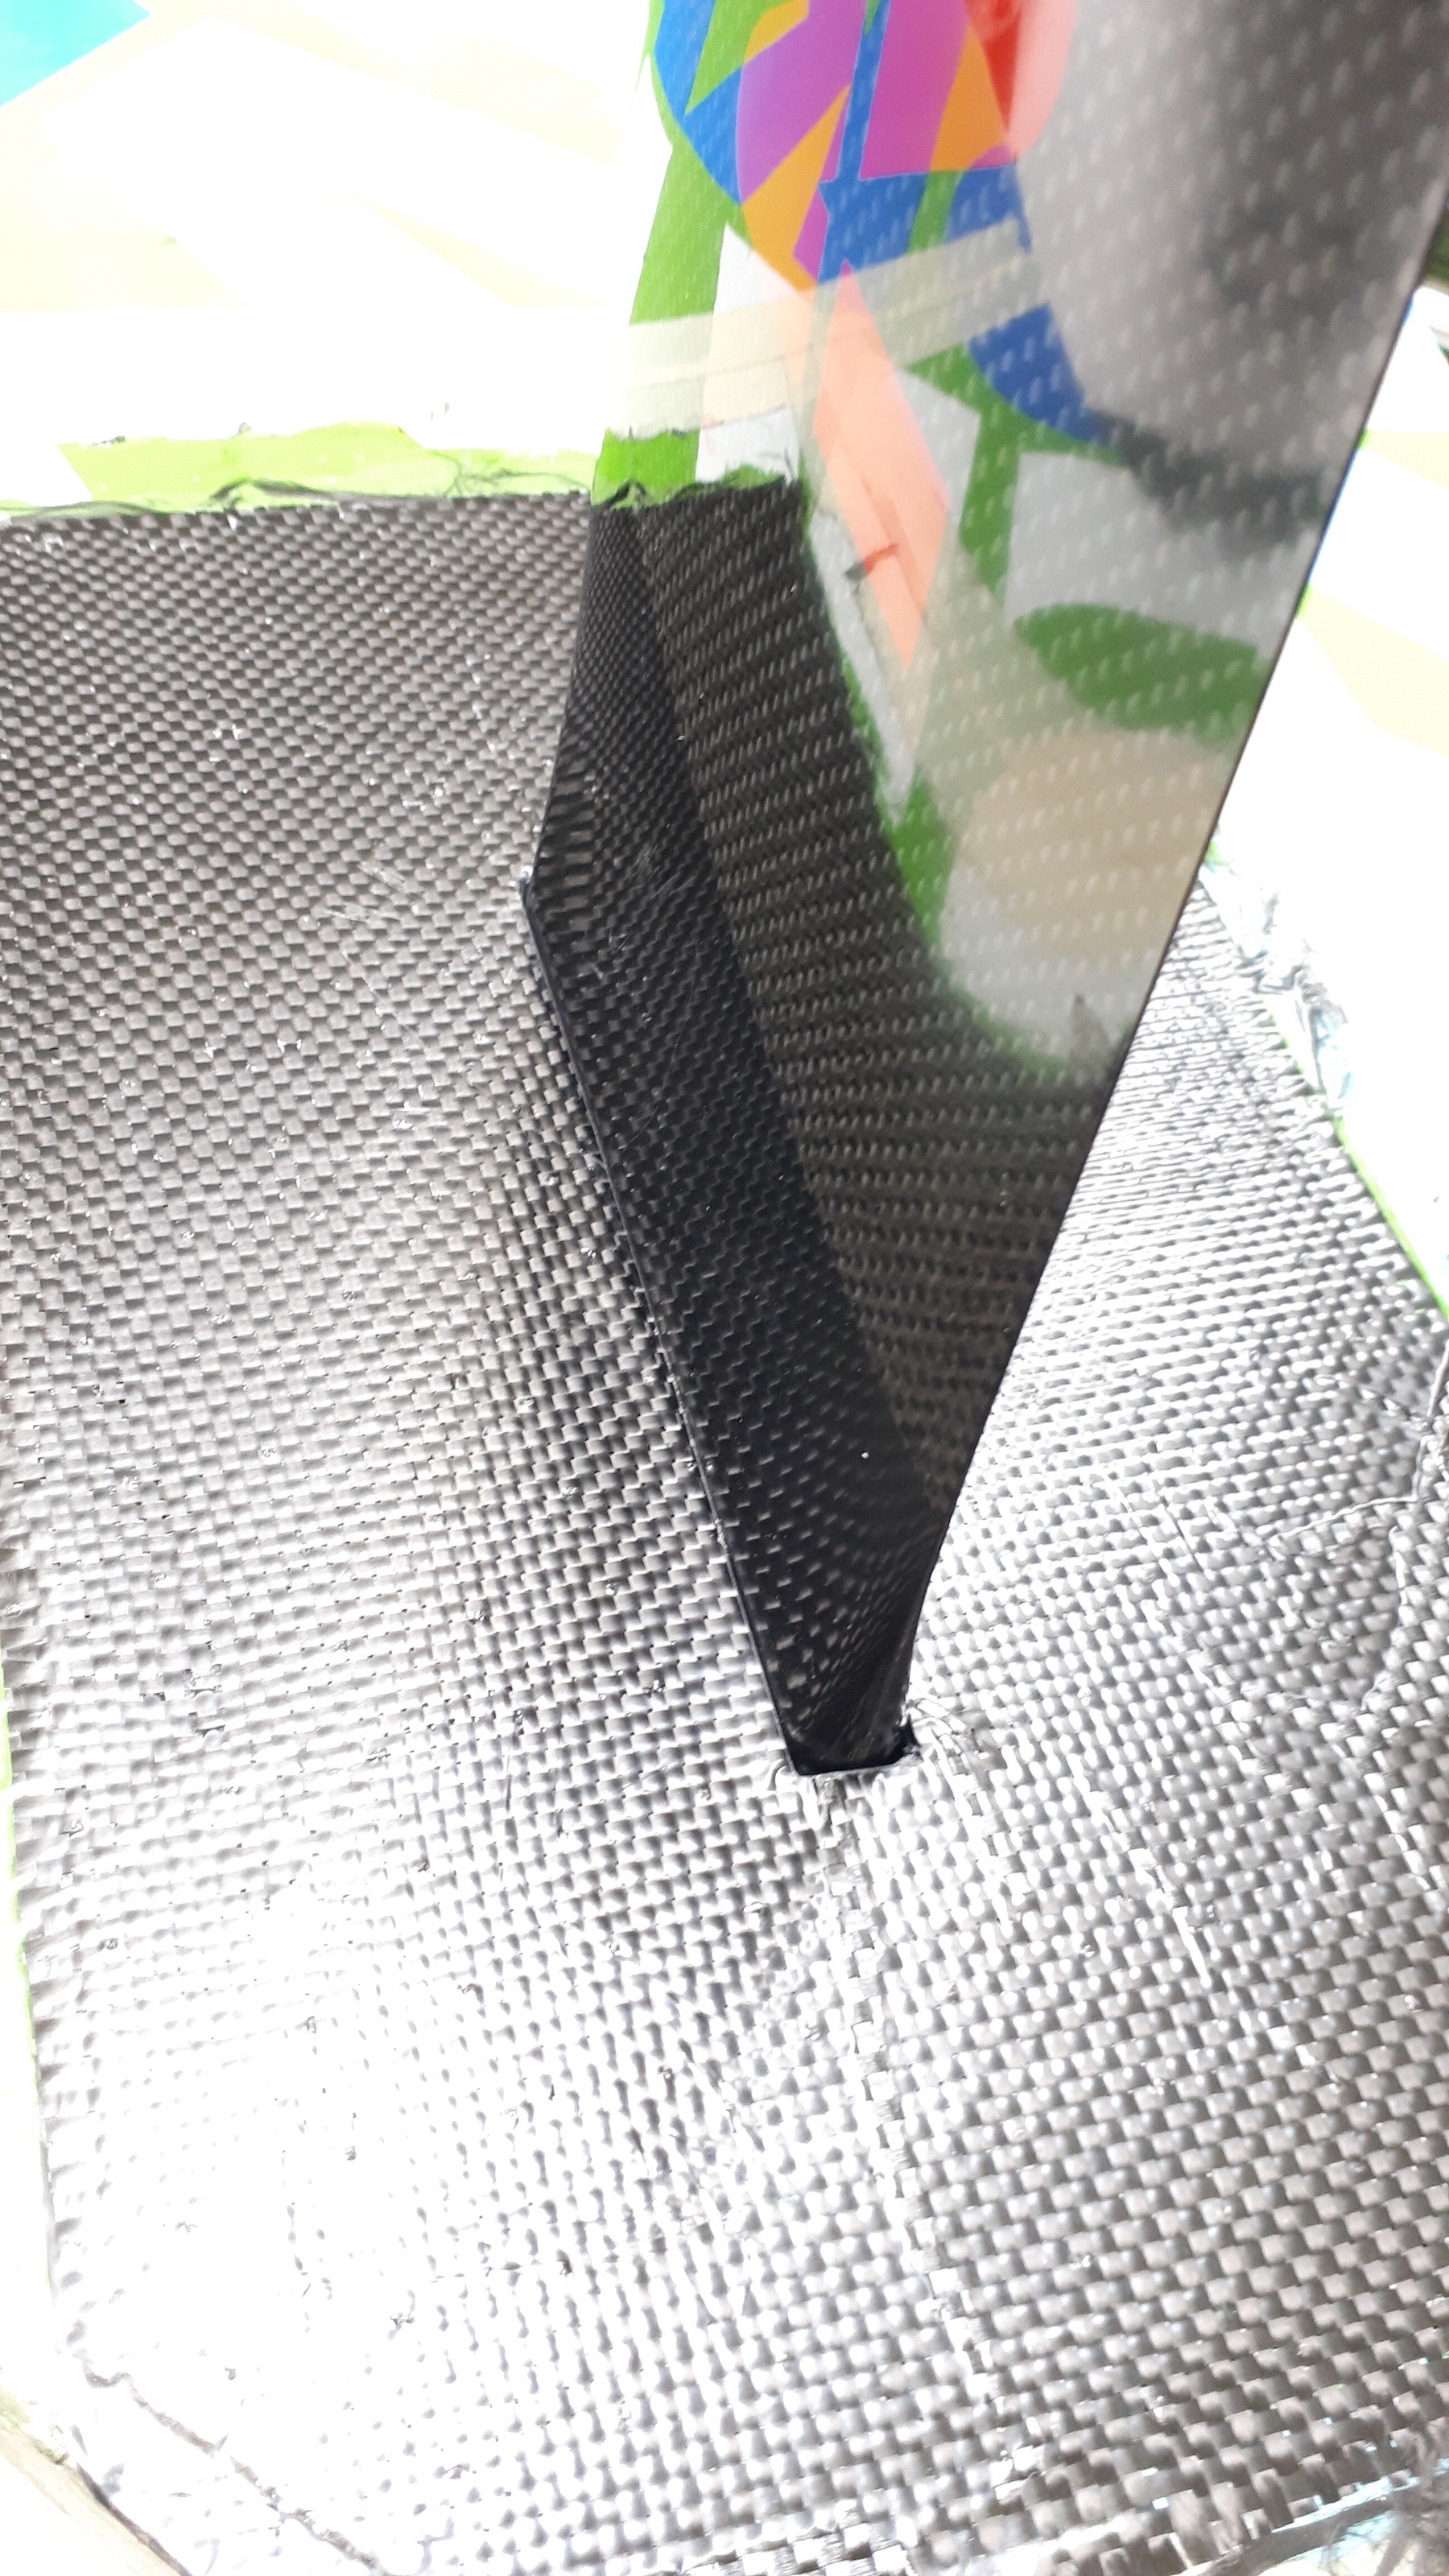
After removing the brass cylinders and the deep tuttle head positive the holes looked like this:
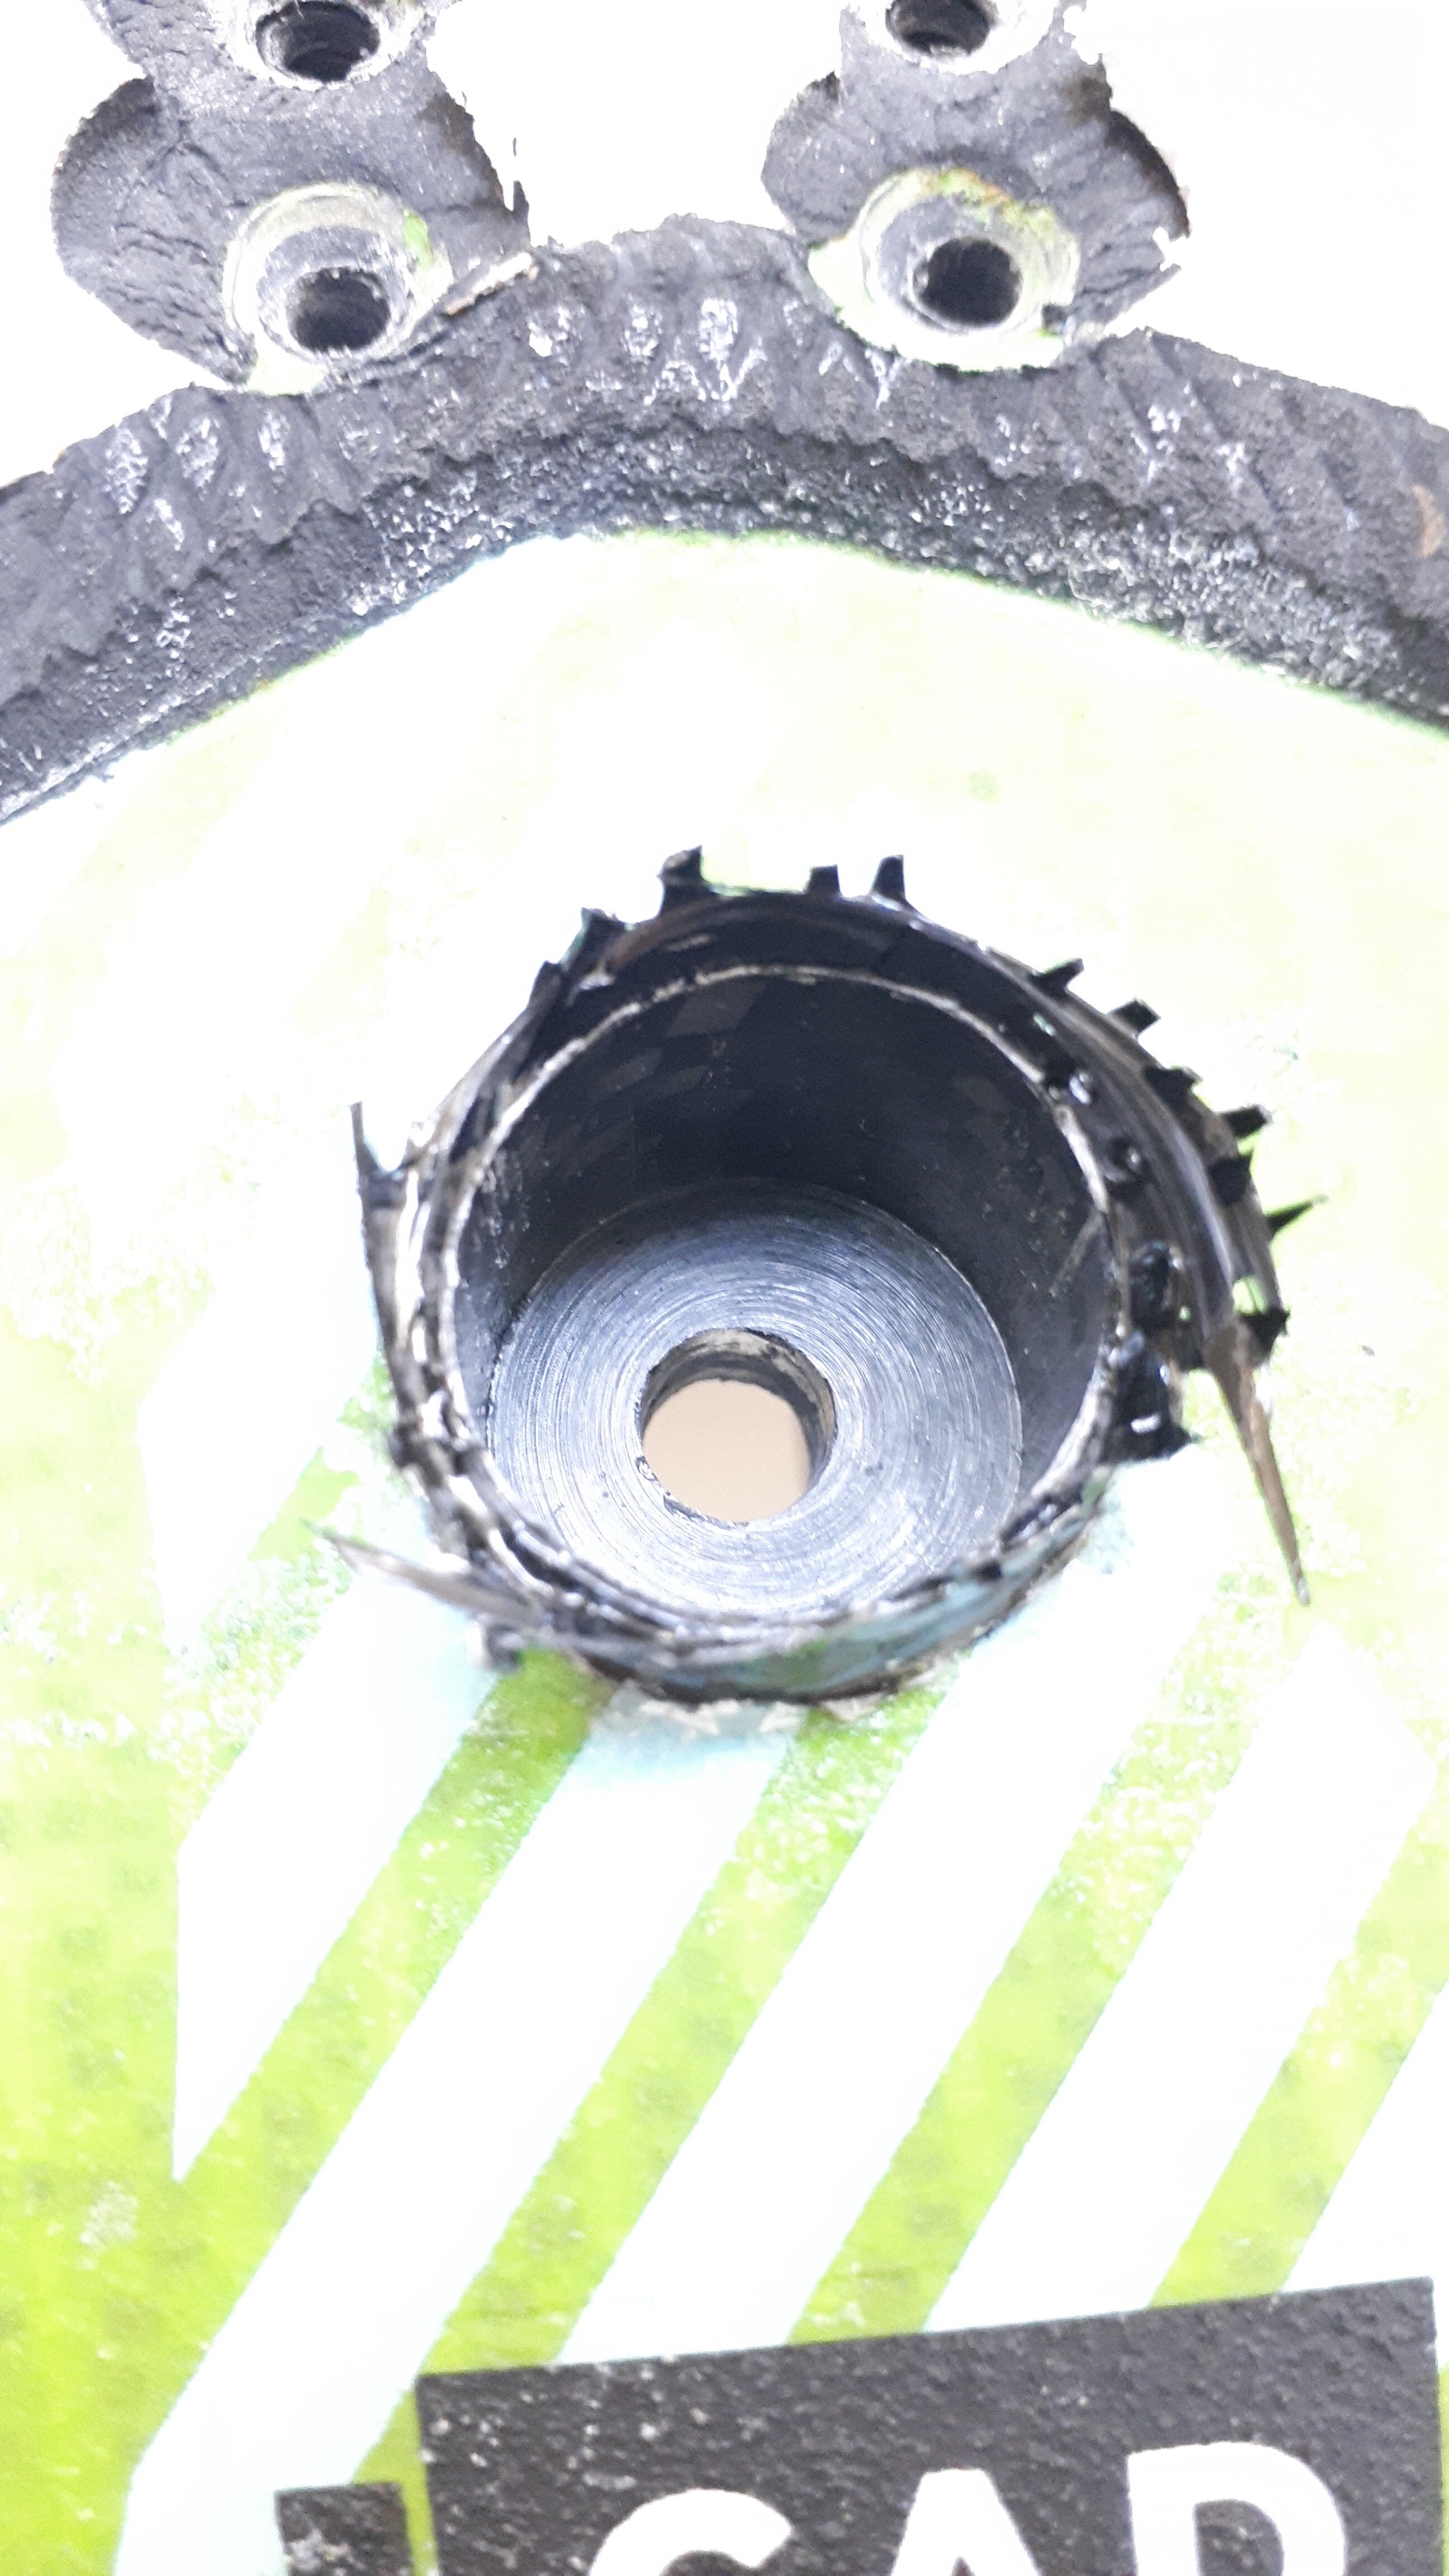
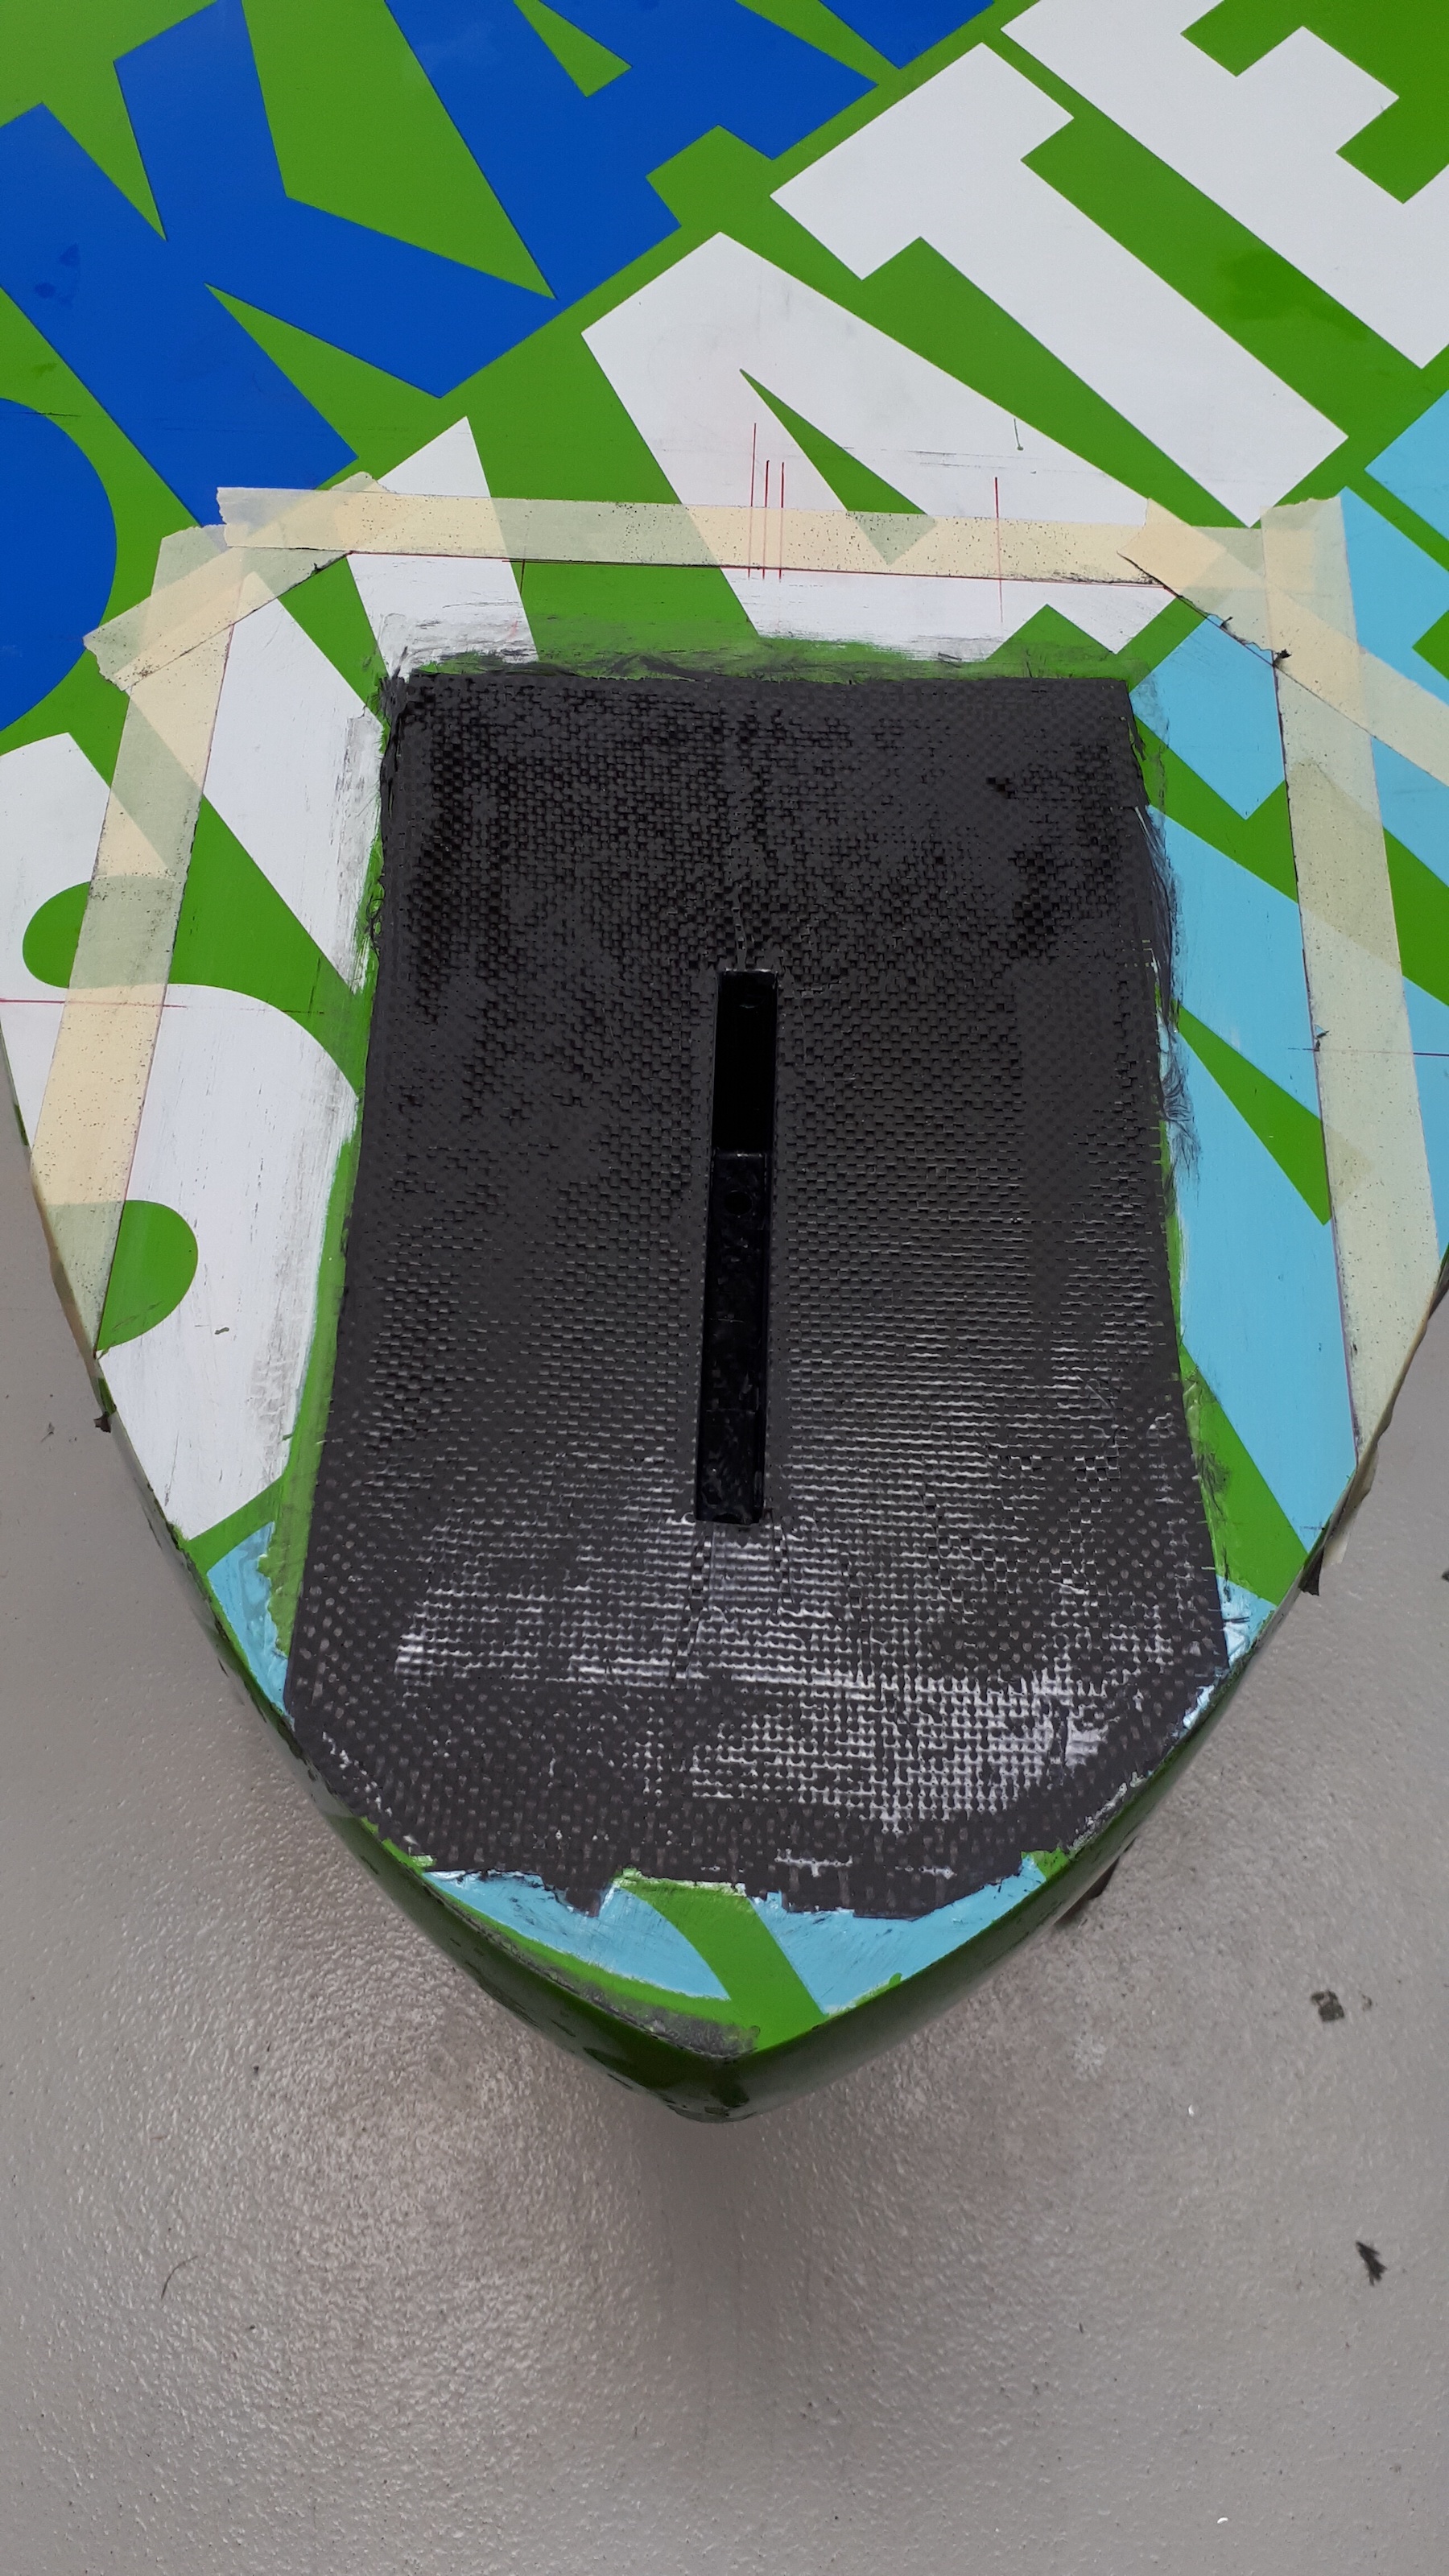
And after removing excess material like that:
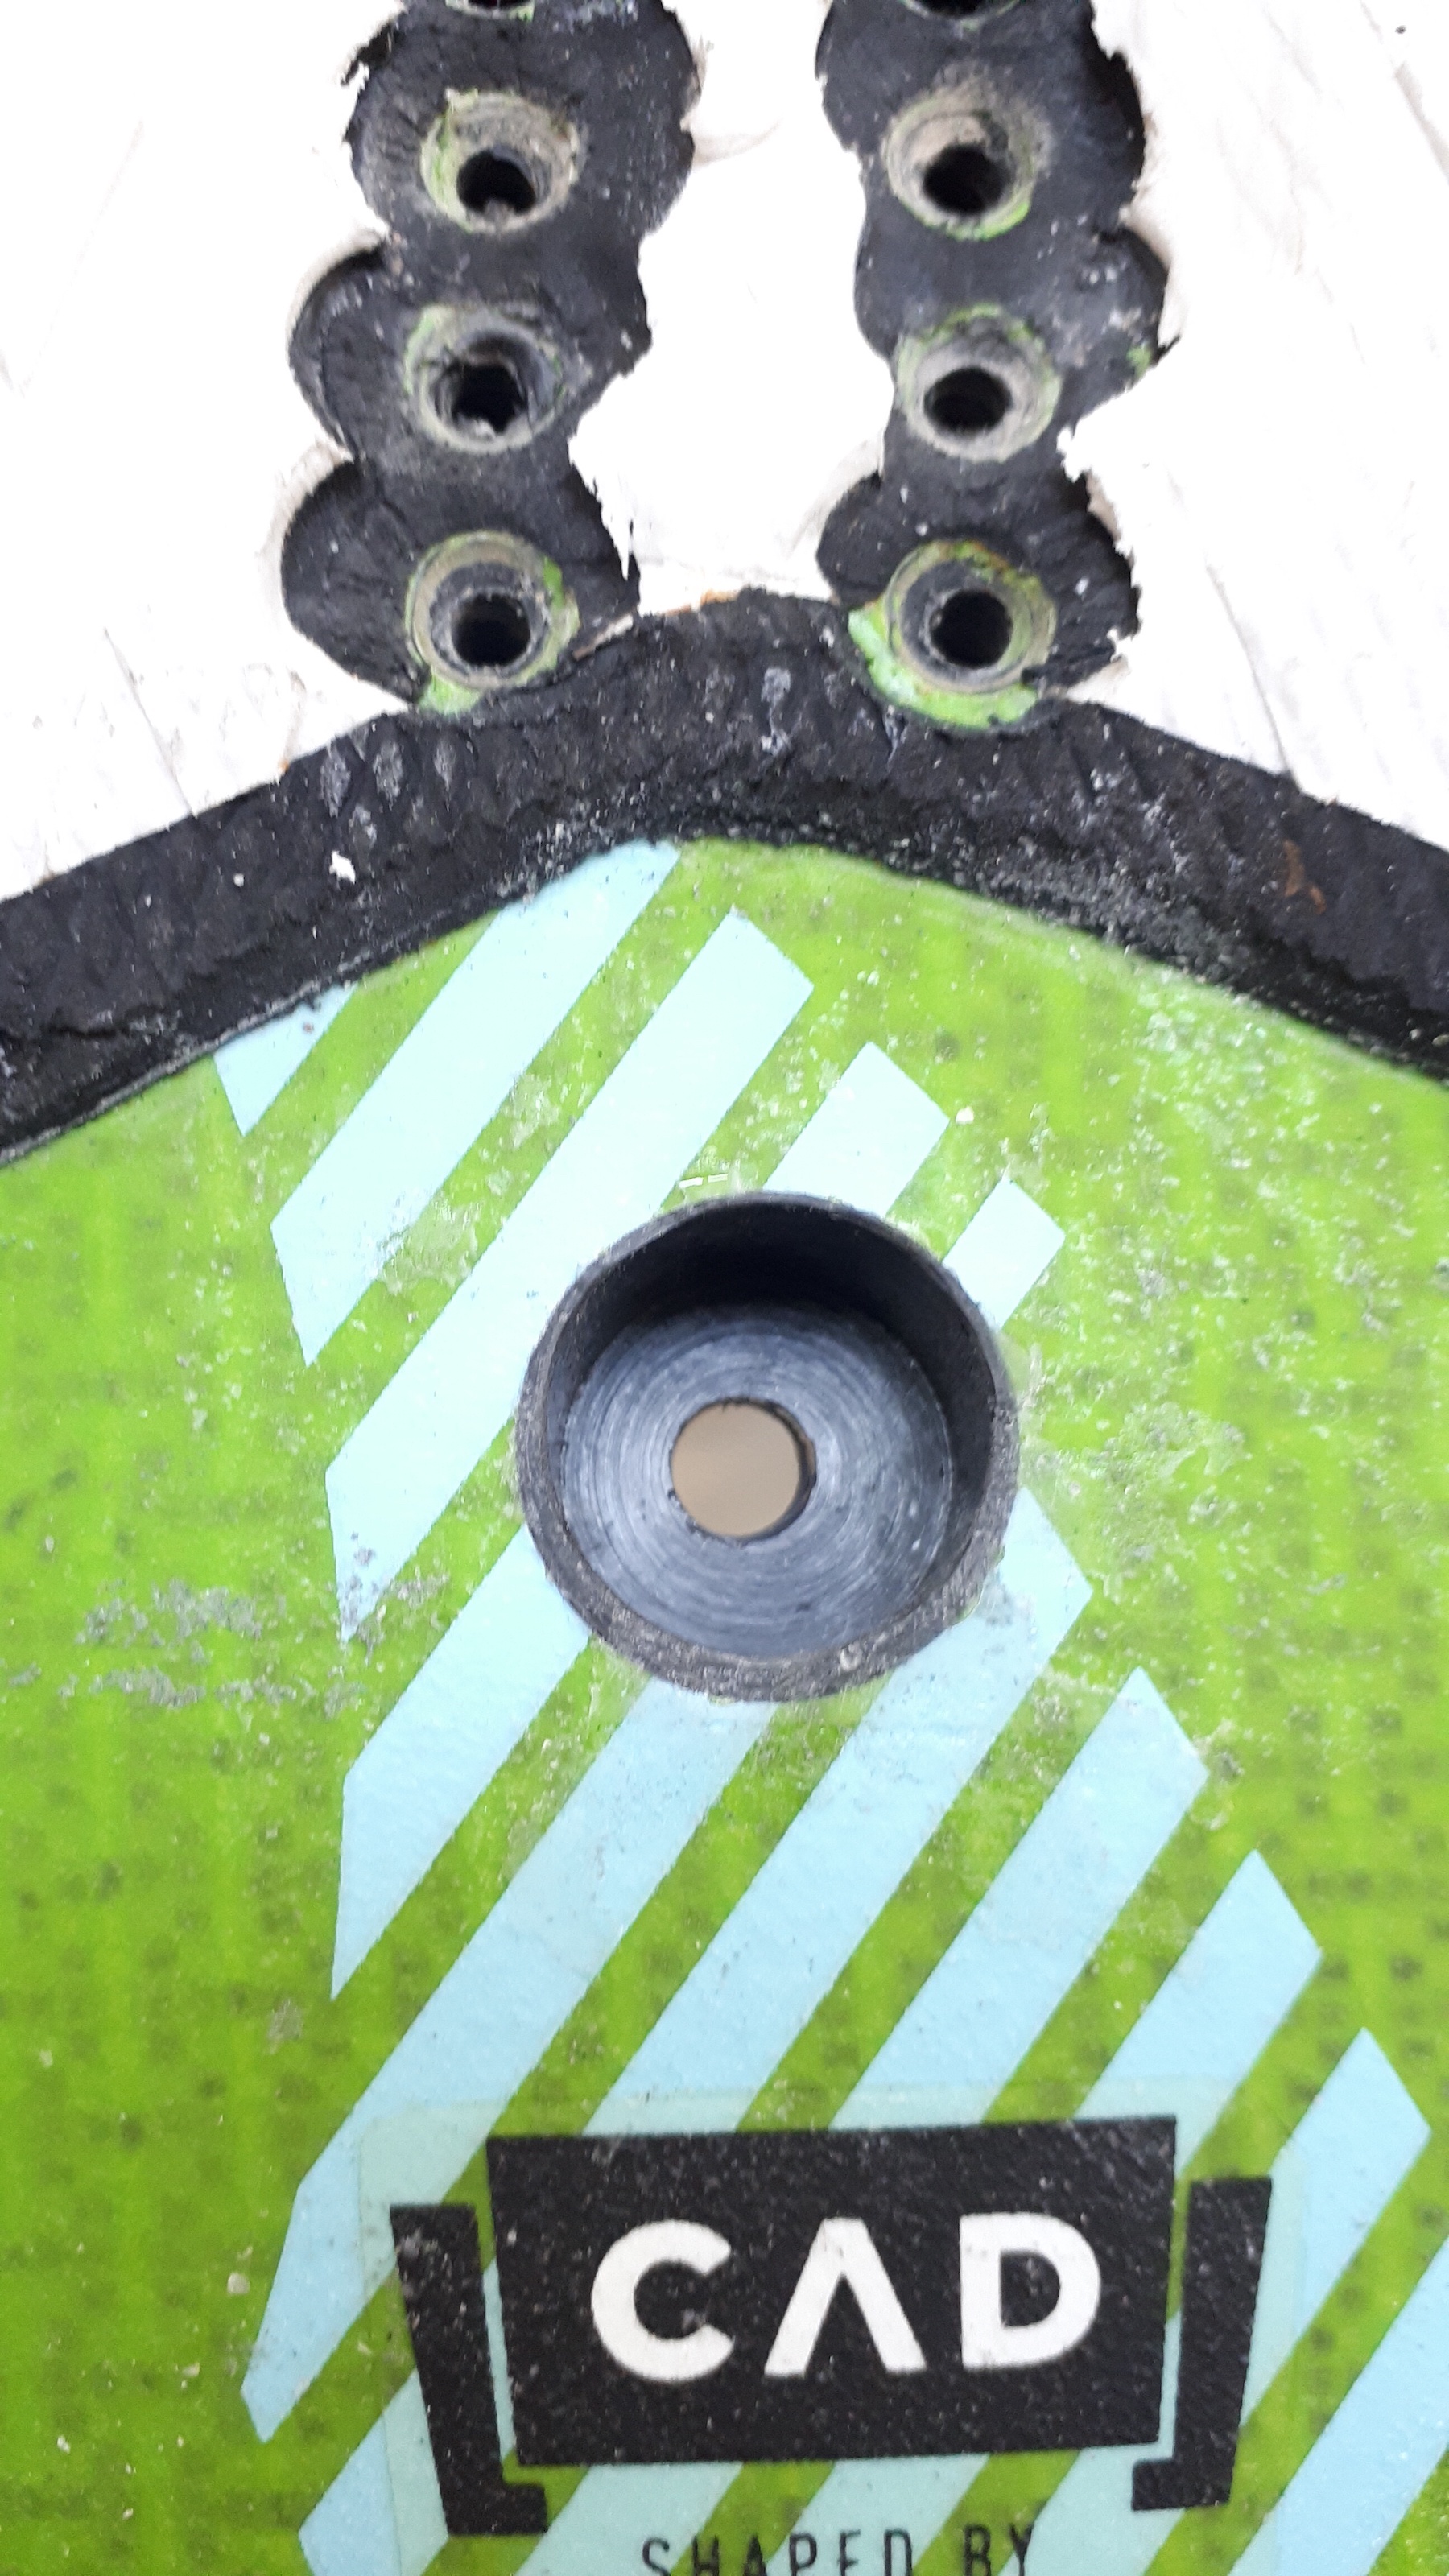
This was the result (still missing a proper paint job):

In a future post I will show how to convert a slot box fin into a deep tuttle fin.